How To Store Winter Squash After The Curing Phase
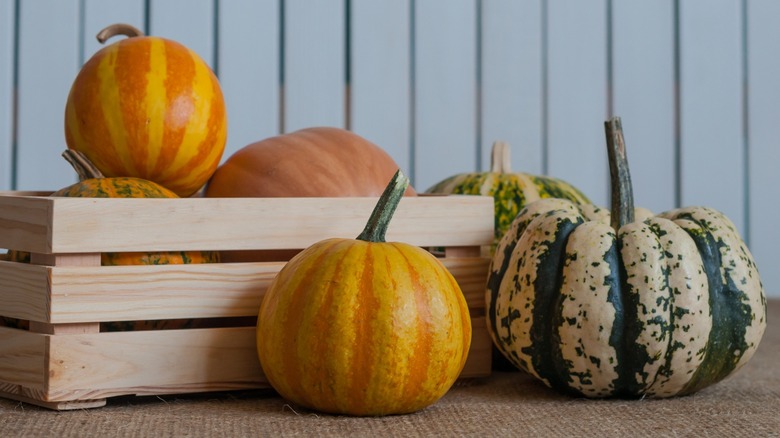
So, you've taken advantage of spring, summer, and fall to plant, grow, and harvest your winter squash. Now, you can look forward to a winter of yellow delicata, golden hubbards, and the lesser-known sweet dumpling winter squash. But before you take your fruits from the field to the fork, they must be cured — or, dried and prepped for long-term storage — and then stored properly to enjoy them at their finest. To store winter squash, find a cool, well-ventilated spot with lower temperatures between 50 and 55 degrees Fahrenheit to place them. A garage or cold cellar works just fine.
Optionally, you can wrap the fruits in newspaper loosely and place them in open boxes. After that, store winter squash between one and seven months, depending on the type. Smaller fruits like acorn and spaghetti squash store for up to two and a half months. Hubbard and banana squash, meanwhile, store for three to six months, and butternut squash is best consumed within two to three months of storage but will store well for up to six months. Just be sure to avoid placing them in areas of high humidity, in an abandoned room (where you may forget about them), or close to near-ripe fruit. It takes just a few ripe bananas to trigger a winter squash to ripen and, before you know it, it will have rotted.
Be careful, however, with storing different types of squash. Overripe acorn squash stored too long tend to develop dry skin and stringy flesh — and that's not the best condition to enjoy them in. Check on the fruits every week or so to stay on top of things. If you see any spotting on a winter squash, move it away from the rest to avoid spoiling the entire batch. Then, use this caramelized butternut squash with pearl couscous or baked acorn squash recipe to take advantage of the ripe fruit before it goes bad.
How to cure winter squash
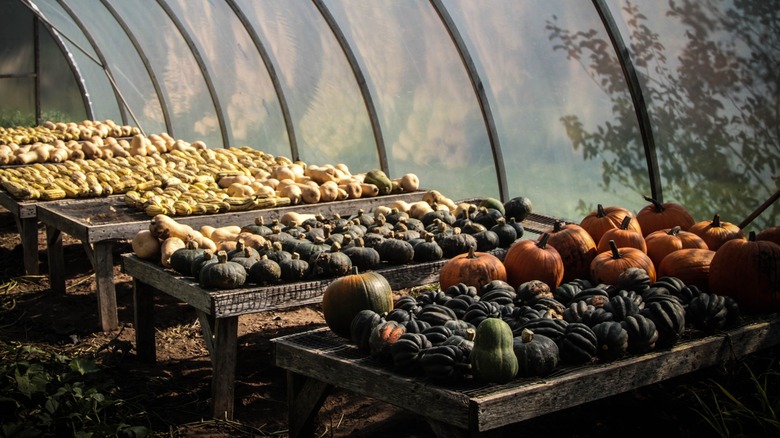
To cure winter squash, dry it by placing the fruit in a warm spot with good ventilation. The location should also be easily accessible to sunlight, such as a field or sunroom. As long as temperatures range from 80 to 85 degrees Fahrenheit, the environment is perfect for curing winter squash. Just lay the fruits out in one layer and leave them for five to 10 days, rotating them so they bask fully in the sun.
This process is important because it prepares the fruit for storage. As it cures, winter squash loses water and hardens until its exterior is tough. Essentially, it develops a thick skin so it can withstand the harsh temperatures come winter. Meanwhile, the effects of evaporation simultaneously concentrate the fruit's sugar content so you're left with deliciously sweet winter squash.
If the curing phase goes well, your winter squash will form a tough exterior so that it won't easily dent when you press it with your thumb or nail. You can even try this with store-bought winter squash. It hasn't cured long enough if it bruises easily and allows you to leave a fingernail print. Otherwise, your winter squash is ready to be stored and used in some of the best squash recipes.