13 Creative Ways To Use Wax Paper In The Kitchen
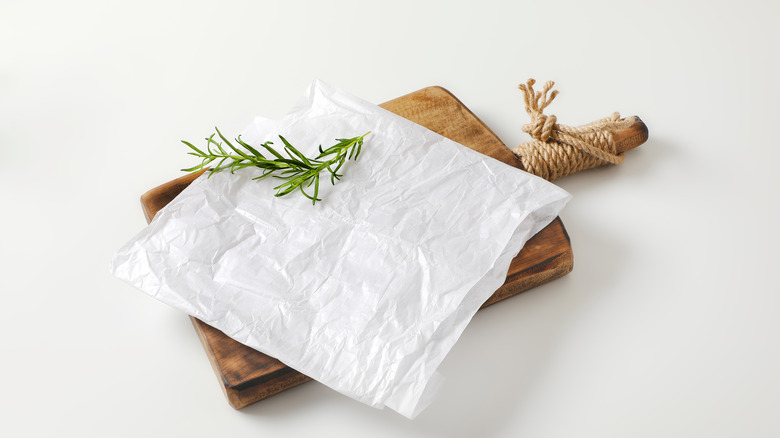
Wax paper is likely one of those items that languishes at the back of your drawer, causing frustration every time the box gets stuck. But wax paper is capable of much more than you may realize. It can be your trusty sidekick for so many kitchen tasks, from rolling out pastry without creating a sticky mess to making your faucets sparkle.
The thin layer of wax on the paper means it can't be used in the oven, as it is not heat resistant, but it can lend a hand in many other ways. Its non-stick properties make it an ideal option for many baking tasks, saving you from spending precious time cleaning up sticky surfaces.
The incredibly useful nature of wax paper means it should be promoted from the back of the junk cupboard to the "handy things I should use more often" drawer. Let's look at the best ways to put wax paper to good use in the kitchen and start giving it the credit it deserves.
Roll out pastry easily
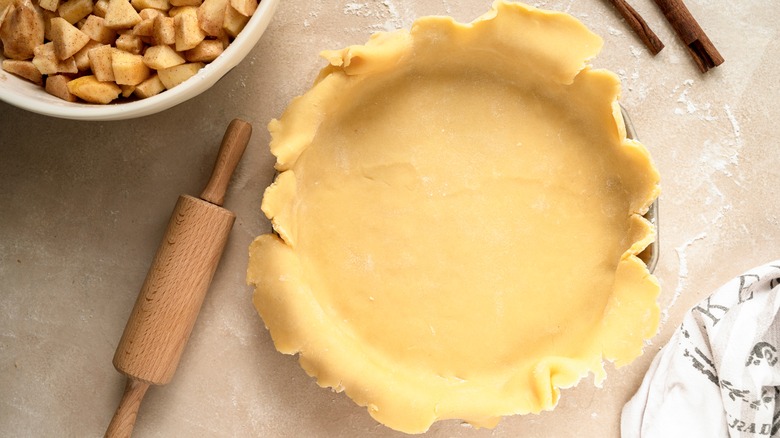
Making your own pie crust is a wonderful way to boost the flavor of your culinary creations and remain in control of what goes into your food. So many home cooks, though, are hesitant to make homemade pastry, thinking it to be an overly difficult task. One of the main challenges is rolling out the pastry perfectly without it tearing or sticking – something that can be made easier with the help of some wax paper.
To roll out your pastry, place one sheet of wax paper on the counter and lay the pastry on top, pressing it flat into the paper. Then add another sheet of wax paper on top so that your pastry is sandwiched between the two. You can then start gradually rolling the pastry using a rolling pin, starting at the middle and gently pushing out towards the edges. You don't even need to flour the rolling pin, as it will not make contact with the pastry.
When rolling pastry in the usual method, flour has to be added regularly to prevent it from sticking to the countertop or rolling pin. This can cause the pastry to become too dry, which will affect the texture of the finished product. By using wax paper, your pastry will retain the perfect texture. And for those who don't enjoy cleaning up, your worktop and rolling pin will be spotless, meaning you don't have to clean up the usual sticky mess.
Create a funnel

If you love to bake, you will understand how crucial it is to have a funnel in the kitchen. Whether you are returning your blind-baking beans to their canister, measuring out flour, or pouring oil back into the bottle, pouring baking ingredients freehand can result in a sticky mess.
If you don't have a funnel or have misplaced it at the back of a cupboard, don't despair – wax paper can come to your rescue to prevent a flour disaster. Creating a makeshift funnel couldn't be easier, simply take a sheet of wax paper and curl it into a funnel shape, taping the side if you wish to keep it secure. You can adjust the mouth of the funnel to suit the container you are using, making a small tip for a narrow bottle or a bigger opening if you are using a large canister.
The great thing about a wax paper funnel is the lack of washing up. Once you have finished your baking extravaganza, you can dispose of your substitute funnel and marvel at the lack of mess on your countertops. So next time you find yourself funnel-less, grab some wax paper and create the perfect homemade baking solution.
Use it to wrap cheese
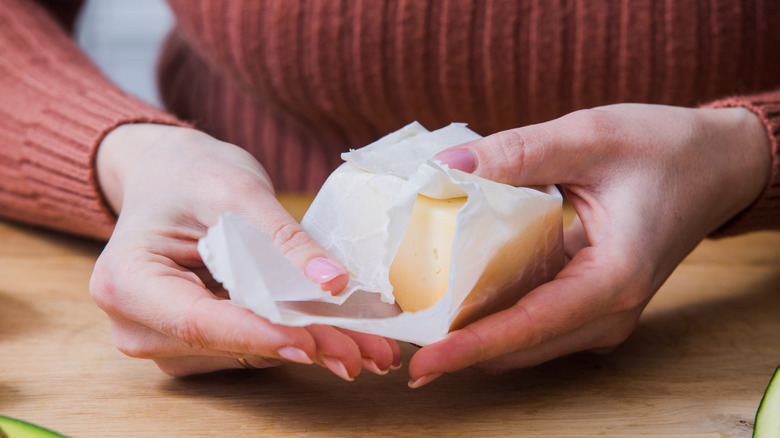
If you are a cheese enthusiast, you have likely received many delicious wedges of fromage already wrapped in decorative wax paper. The strange thing is, that many of us remove that packing and wrap the cheese instead in plastic wrap or a zip-lock bag, when in fact, wax paper is the best way to refrigerate it.
Wrapping cheese in plastic wrap can cause it to sweat, meaning the integrity of the cheese will be compromised. Wax paper, on the other hand, allows the cheese to breathe while still protecting it from exposure to air and drying out.
Keeping cheese under the right conditions may allow it to keep fresh in the fridge for many weeks without losing its texture or becoming moldy. Many fridges have a specified drawer for meat and cheese, which has just the right humidity level for these products. By wrapping your cheese in wax paper and storing it in the most suitable part of your fridge, you will be doing your delicious cheese justice and preventing waste at the same time. Plus, when people come round for dinner, you can impress them during the cheese course by bringing out your different cheeses in their wax wrappers.
Keep the fridge clean
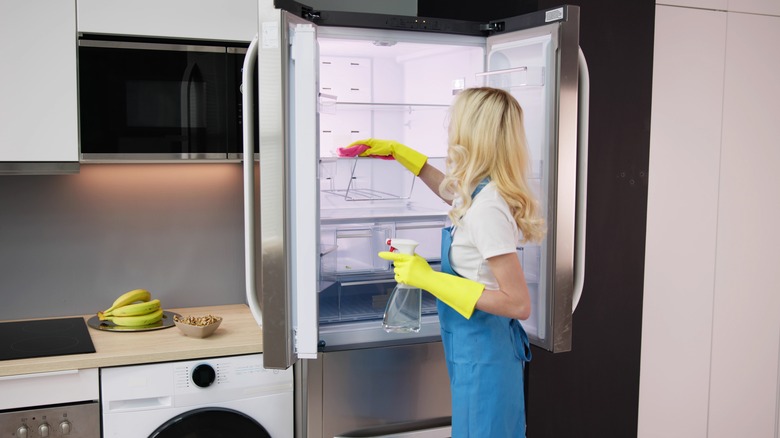
If you've ever stood in front of your fridge and thought "How on earth did it get so messy?" you are not alone. No matter how careful we are with ingredients, there always seems to be a dribble of milk, a few squashed blueberries, and a mystery pile of breadcrumbs that have somehow managed to escape their containers. To prevent you having to clean your fridge every day just to keep it presentable, try using some wax paper instead.
Lining the shelves of your fridge with wax paper will create a protective layer between the spilled food and the shelf. If you have a substantial spill, or the little ones have built up, you can simply throw the paper out and replace it. The nature of the wax paper means that most of the spilled food will stick to the surface instead of ending up smeared across the whole shelf.
Another benefit of this trick is that you can cut down on the amount of harsh chemicals you are using in your fridge. It is difficult to get the balance between keeping your fridge free of bacteria and looking clean and keeping the food away from nasties that may be lurking in your all-purpose spray. By using wax paper to catch spills, you can do a deep clean of your fridge less often and your whole family's health will benefit.
Prevent meat from sticking in the freezer
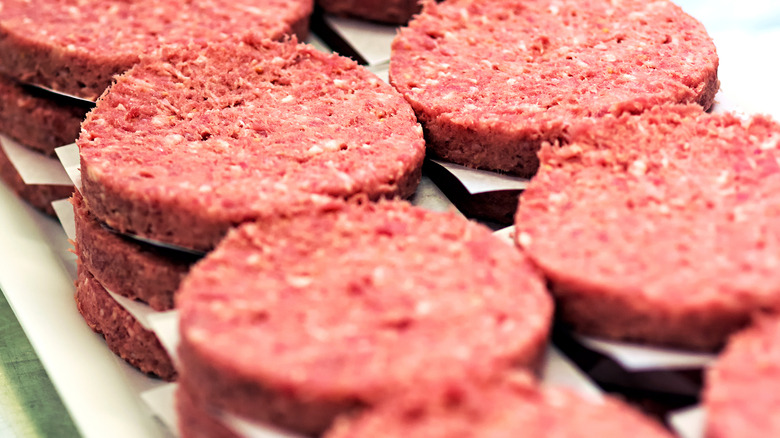
Throwing a barbecue in your garden is an exciting event — getting the grill fired up, serving drinks, and preparing the burger buns. Less fun, however, is removing burgers from your freezer to find them stuck fast and requiring super-human strength to release them. You can try using a knife to prise them open, but you run the risk of a nasty cut or a very broken knife. The key is to prepare in advance with the help of some wax paper.
Before freezing burgers or any other type of meat, wrap each individual piece in wax paper. By preventing the surface of each patty from touching the others, you can prevent them from freezing as one big block. When you need the burgers, you can simply unwrap them and they are good to go, saving you time, frustration, and of course, knives.
Wrapping your meat in wax paper will also reduce the chances of freezer burn, meaning the texture and flavor of your meat will be retained. By planning a little bit in advance, you can make cooking from the freezer so much easier and take the hassle out of your meals.
Protect your ice cream
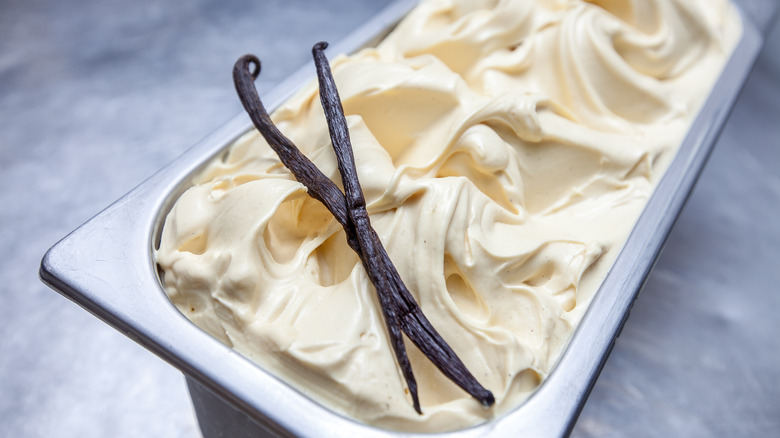
Ice cream is easily one of the best desserts out there. Whether it provides a cool companion to your chocolate cake or you simply eat it straight from the tub, there is just something about that creamy flavor and cold texture that most of us find irresistible. Imagine the horror, then, of opening your favorite tub to find it has crystallized and succumbed to the power of the freezer.
To prevent the scourge of freezer burn, which can ruin both the texture and taste of your beloved ice cream, use a small sheet of wax paper as a protective shield. When you first unseal the tub of ice cream, cut a piece of wax paper to the size of the lid, and press it onto the top of the ice cream before closing. The waxy paper will keep the moisture of the ice cream in and keep the cold air from the freezer out, preventing the dreaded crystals from forming. This simple step can keep your ice cream safe and prevent the gut-wrenching disappointment of it becoming an icy disaster.
Prevent mess in the microwave
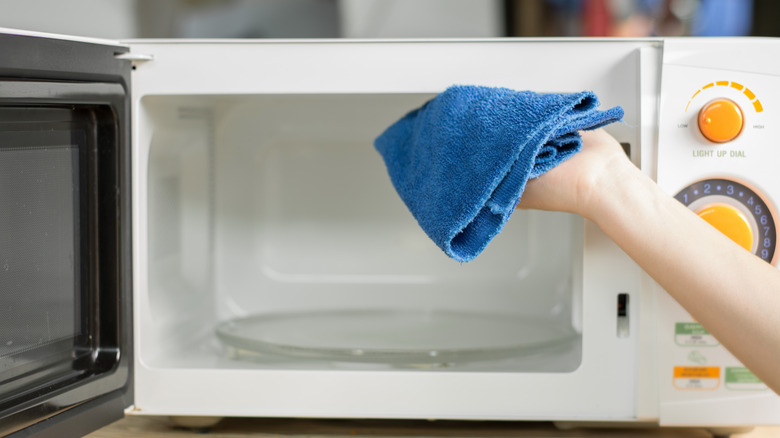
Cleaning the microwave may just be the winner of the most annoying kitchen chore title. Somehow, spatters of sauce manage to get into the smallest corners, making it extremely difficult to get it shining brightly. The simple solution is to cover food before cooking, and that is where wax paper comes in.
Although wax paper, unlike parchment paper, is not heat resistant, it is safe to use in the microwave. Wax paper is a safe option, whereas certain plastic containers are not, and could leach toxic chemicals into the food. You should cut the wax paper small enough that it will not touch the sides of the microwave, to make sure it does not touch a heating element.
As well as preventing spatter and keeping the microwave clean, the wax paper can make the cooking more consistent, avoiding the issue of piping hot exteriors and cold middles. Once your dish is cooked, you can simply discard the paper and enjoy the lack of cleaning up.
Use when pounding meat
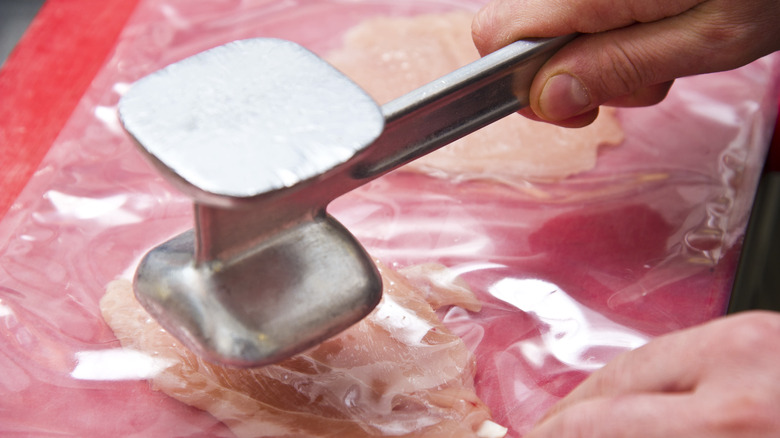
Tenderizing meat with a mallet can be a great way to release any pent-up rage and is a fun activity while you're preparing dinner. However, it can create a bit of a mess, with juices and blood from the meat potentially spattering onto kitchen worktops and tiles. To avoid the mess and protect the meat, the best option is to avoid hitting the meat directly with the mallet and cover it with wax paper instead.
To tenderize your meat, cover it with a square of wax paper, before pounding firmly with the meat mallet, starting at the inside and working outward. If you don't have a meat mallet, you can use a rolling pin, a heavy-based frying pan, or even a can of beans. The beauty of the wax paper is that it will keep your utensils clean, meaning you don't need to worry about getting raw meat on whatever tool you use.
Using wax paper when tenderizing meat will make the whole process easier and less messy. If you are not relishing the prospect of pounding your meat into submission, find out how to tenderize your meat using a fork, instead.
Makeshift a pot lid
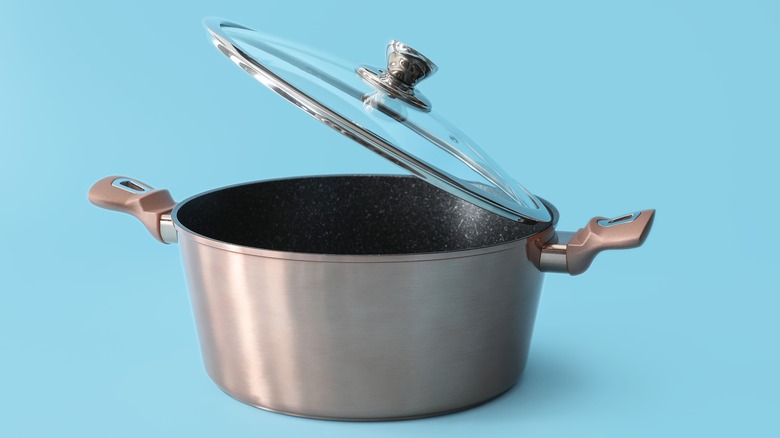
If you're in the middle of simmering away a casserole or soup on the stove and reach for your pot lid only to realize you still haven't washed it from the night before, don't worry. You can make a makeshift lid for your saucepan from wax paper. Though it may not be a permanent replacement for a proper lid, it will definitely be good enough to see you through for a short while.
Cut a circle of wax paper just smaller than the size of the pan, and lay it inside, on top of the food. If you wish, you can cut a hole in the center of the paper to allow some heat to escape and prevent it from bubbling over. Since some dishes benefit from time spent both with the lid on and off, the wax paper lid can be the ideal compromise between the two, allowing your dish to bubble away to delicious perfection.
Keep the kitchen faucets clean
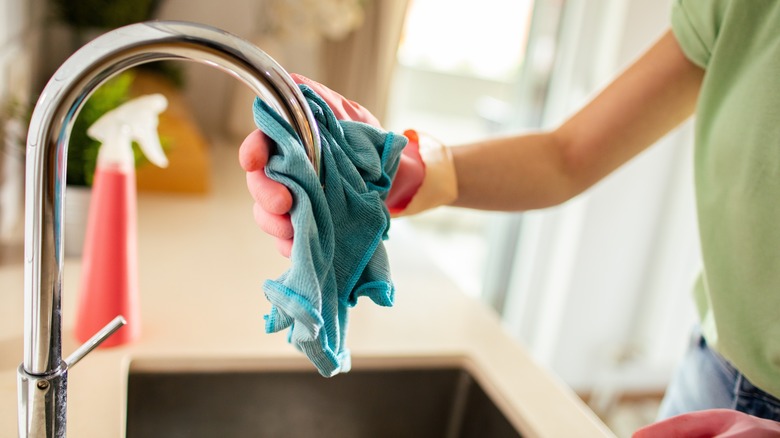
When you've spent all morning cleaning the kitchen and everything is gleaming, it is so disheartening to see that, within 10 minutes, the kitchen faucet is covered in fingerprints. There they are, sticking out like a sore thumb and taunting you in among the other sparkling clean surfaces. Keeping them smudge-free may seem an impossible task, but an unlikely item is here to save the day – your roll of wax paper.
Cut a small piece of wax paper and rub it across your faucets once you finish cleaning your kitchen. If you look closely you will see a thin film of wax left behind — don't rub that off. This thin layer will repel water and prevent fingerprints, meaning your taps will stay clean for longer. Be sure to reach every surface of the faucet with the wax paper, including the handles and rear surfaces. This technique will work on all taps in your house, so keep a few squares of wax paper in your bathroom too, to make sure every faucet is glimmering.
Coat your cutting board
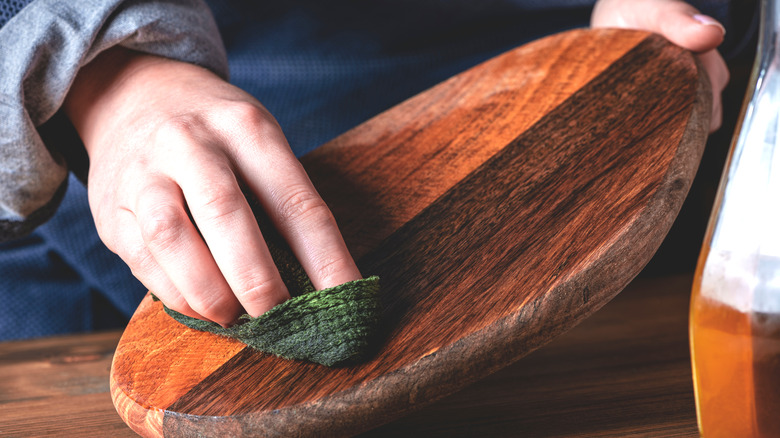
Wooden cutting boards are a great addition to your kitchen and they are now available in so many different styles, from modern acacia to traditional oak. Cutting boards are a crucial part of our kitchens and it's important that we look after them and extend their lifespan. The issue with wooden cutting boards is that over time they become marked by the scoring action of the knife, which can make them look unsightly.
Oiling your wooden cutting board fully is a task you should do every month to protect it from moisture which can cause warping and cracking. In between oiling, you can top up the effect by using wax paper. Rubbing some wax paper over your cutting board after washing and drying it will give it a fine coating of wax that will do a similar job to a full oiling, and keep the board protected until the next one. This trick can be used on any wooden kitchen tools, including cutlery and panhandles. It is an economical way to look after your utensils without using harsh chemicals.
Put the cork back in a wine bottle
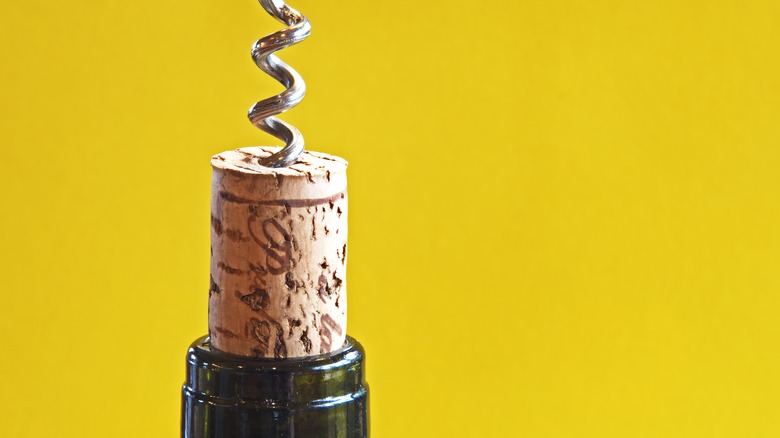
If you've ever tried to put the cork back into a bottle of wine, you will know that it is not an easy task. It can be disheartening to have made the sensible decision not to finish the bottle, only to find that resealing it is going to take Herculean strength.
The reason it is so difficult is that the cork expands a little when it is released, making it very slightly larger than the bottleneck. It is important to reseal the wine to prevent oxidation, so grab your trusty wax paper to give you a hand. Wrap a square of wax paper around the cork at the end nearest the bottle, then push the cork firmly into the neck, without twisting. The wax will act as a lubricant and help to ease the cork into the bottle. With the cork successfully back in the bottle, the wine should keep fresh for a few days.
Make stencils for cake decorations
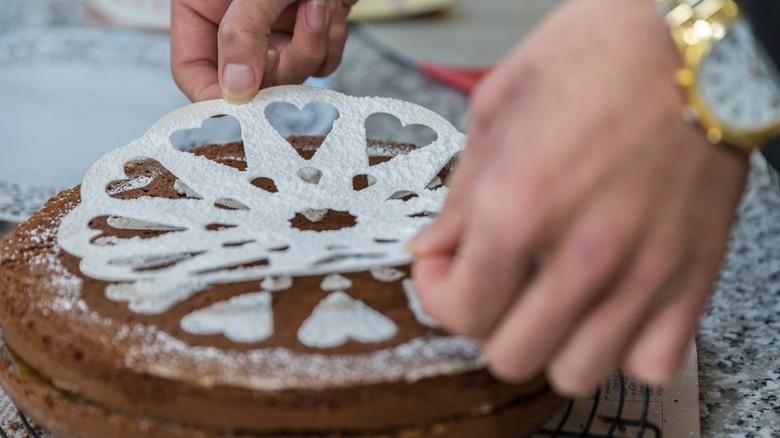
If you love baking and making cakes in particular, you may want to use your wax paper for creative purposes. By cutting out shapes, lettering, or flowers, you can use the wax paper as a stencil and create beautiful decorations for your baked goods.
Sketch or print your design onto regular paper, then trace on the wax. Cut out the shape carefully with scissors or a knife, trying to keep the outline as smooth as possible. You will then have a stencil of your chosen shape, allowing you to sprinkle cocoa or icing sugar over it, or pipe buttercream or icing into the space. This hack allows you to create attractive designs without spending a fortune on fancy baking accessories. You can also take this opportunity to get the kids involved, asking them to sketch out their favorite designs while you do the more difficult cutting.