17 Unique Ways To Use A Panini Press
If you love hot sandwiches, you likely own a panini press, also known as a sandwich press or panini grill. It's a handy tool for cooking sandwiches on both sides at once, resulting in perfectly toasted and crispy sandwiches. But despite the name, a panini press isn't just for paninis. The tool is surprisingly useful for preparing a variety of dishes and individual ingredients, many of which have nothing to do with sandwiches. In fact, depending on the food, a panini press can be a viable substitute for the skillet, oven, air fryer, and the grill. It can also replace other types of kitchen gadgets, such as waffle makers or pancake griddles.
The magic of a panini press comes down to its hot plates. The bottom plate is fixed in place, while the top plate can be moved up and down using a handle. Both plates will warm up at the same time, cooking the food from multiple sides and paving the way for even heating. However, you're not required to use the top plate; you can use the bottom plate like a frying pan and heat food on its own, opening up a whole range of possibilities. Whether you're preparing a recipe for one or need more space to cook food, a panini grill is about to be your new best friend. Here are unique ways to use a panini press, plus tips and tricks for each method.
Fry bacon

If bacon is a staple in your kitchen, you've likely tried multiple ways to cook the delicious meat: in a skillet on the stovetop, on a baking sheet in the oven, in an air fryer, and maybe even the microwave. Each method has its pros and cons, especially when it comes to convenience and cleanup — but if you have a panini grill on hand, it might be time to add it to your bacon-cooking routine.
The technique hails from chef Alton Brown, who shares that it's possible to cook bacon in just two minutes using the appliance. The best part? Once you remove the bacon, there will be grease leftover, but you won't need to clean it up. Instead, take a tip from Brown and add raw spinach leaves and eggs on top of the grease, close the grill, and cook everything for one minute. The result will be a spinach omelet coated in delectable bacon grease.
Grill burgers
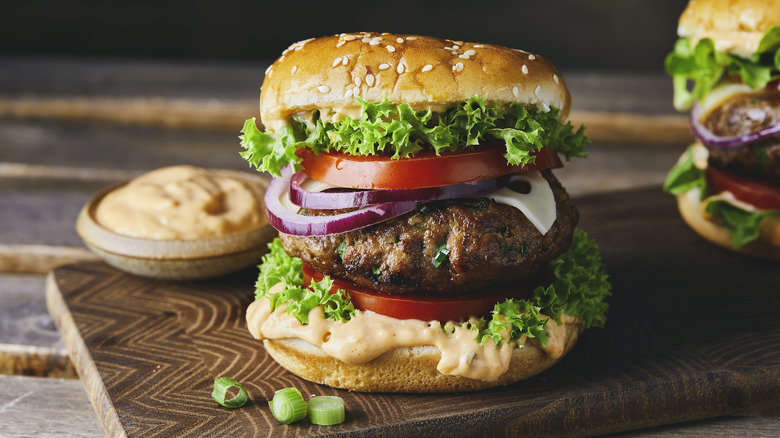
From grilling to pan-frying, there are so many ways to cook a hamburger. However, if you're trying to save space on the grill or stovetop — or if you only need to cook a few burgers — consider using a panini press. Since the appliance consists of a bottom and top plate, it can heat both sides of the burger at the same rate, ensuring an evenly cooked patty.
Try it with beef, chicken, turkey, lamb, seafood, or vegetable burgers. For best results, aim to make the patties the same size, so they cook at the same rate. While you're at it, if you're cooking burgers made of raw meat, use a meat thermometer to check for doneness, just like you would with any other method. Burgers made of ground beef should reach an internal temperature of 145 degrees Fahrenheit, while ground poultry (like chicken or turkey) should reach 165 degrees Fahrenheit.
Heat pizza
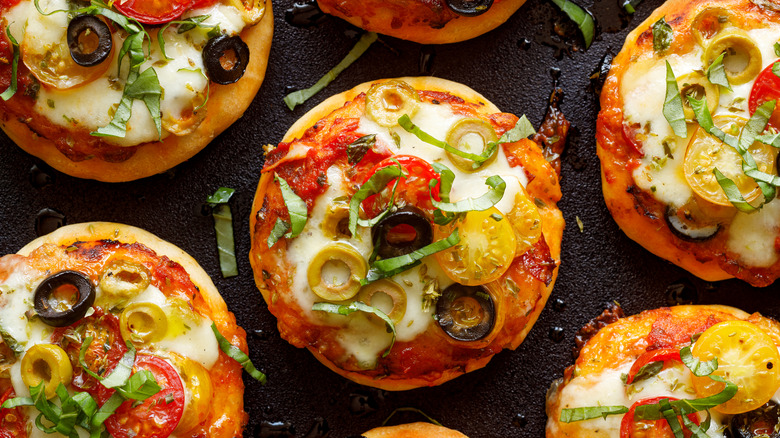
You might be surprised to learn that it's possible to cook a mini pizza on a panini press, but you'll want to keep a few things in mind to ensure success. First, if you want the cheese to be perfectly melted, consider folding the pizza in half so the cheese doesn't stick to the plates. Otherwise, you'll be left with a gooey mess and a cheese-less pizza. Alternatively, if your panini grill has an adjustable height locking mechanism, you can set it just above the pizza, so that it heats the toppings without touching it.
It's also a good idea to avoid using raw ingredients, particularly meat, on your pizza. This is recommended for cooking pizza in general, regardless of the method, as raw meat will take longer to cook than other ingredients. If you add them to the pizza raw, they'll be undercooked when the rest of the pie is good to go, posing a risk for food poisoning. To avoid this mealtime mishap, always cook raw meat before adding it to your pizza.
Make homemade croutons

There are a few things more disappointing than buying a loaf of bread with the best of intentions, only to realize that it's become stale. One common way to repurpose leftover bread is to make homemade baked croutons, but, as it turns out, you don't need to use the oven at all. With a trusty panini press by your side, you'll have another option for making croutons at home.
This method is especially useful for smaller batches or if you need to free up space in the oven. Start by cutting the stale loaf into cubes, then tossing the pieces with oil and seasonings — parsley, salt, and pepper are classic choices. For a richer flavor, feel free to swap the oil for butter. Next, spread the cubes of bread on a panini press in a single, even layer. Toast the cubes of bread until they're crispy and golden, then enjoy on salads or by the handful.
Cook quesadillas
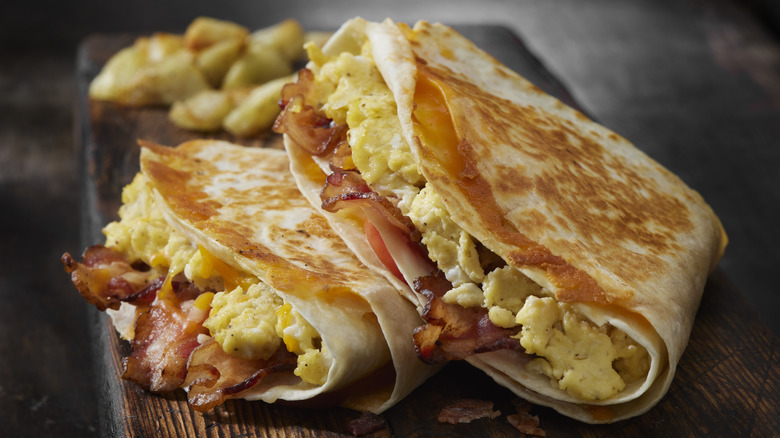
When you own a panini grill, making a great quesadilla is easy to do. In fact, using a panini press is preferable to the traditional stovetop skillet method, which requires you to flip the quesadilla to cook both sides. A panini press allows you to skip this step, as the bottom and top plates will heat each side at the same time, ensuring even cooking.
The trick is to avoid overfilling the quesadilla, as tempting it might be. Stick to a few tablespoons of ingredients, whether you're using beans, corn, shredded chicken, or ham. This way, you'll be able to completely close the panini press and consistently cook the quesadilla. Also, avoid adding too much cheese, which can melt and spill onto the hot plates, causing a sticky mess. Instead, you'll need just enough shredded cheese to keep the quesadilla together, as it will act like glue once it melts.
Fry eggs
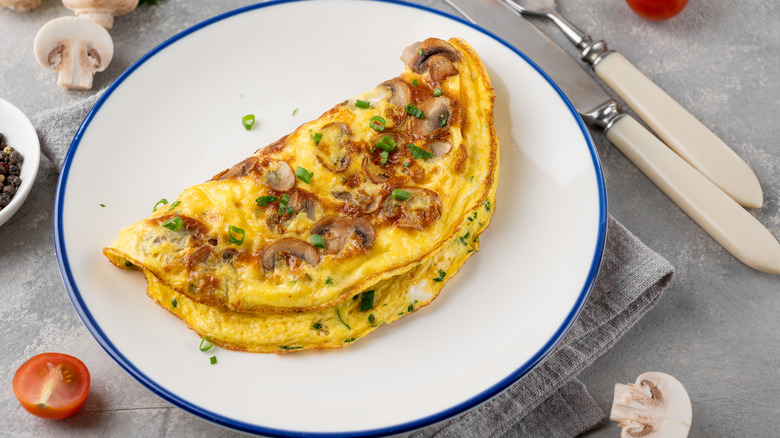
Eggs might seem like an unlikely candidate for a panini press, but it's all about your method. As mentioned, you can use the appliance to cook an omelet, so long as the plates are sufficiently greased. This can be done by cooking bacon first — because who doesn't love eggs with bacon? — or simply greasing the plates with oil or butter. Next, add vegetables to the pre-greased grill, then pour whisked eggs on top. Close the panini press for just 1 minute and you'll have a perfectly cooked omelet.
If you prefer sunny-side-up eggs, you can use the bottom plate as a makeshift frying pan. Go for the flat plate for this technique, as the grooved version might make it difficult to remove the eggs. You can also use egg rings, or non-stick rings (usually made of silicone or metal) that let you cook sunny-side up eggs in perfect circles. Another option is add the raw eggs inside bell pepper rings or slices of buttered bread with the centers cut out. In either scenario, you'll essentially be using the bottom plate as a frying pan, rather than pressing the eggs from the top.
Make hash browns
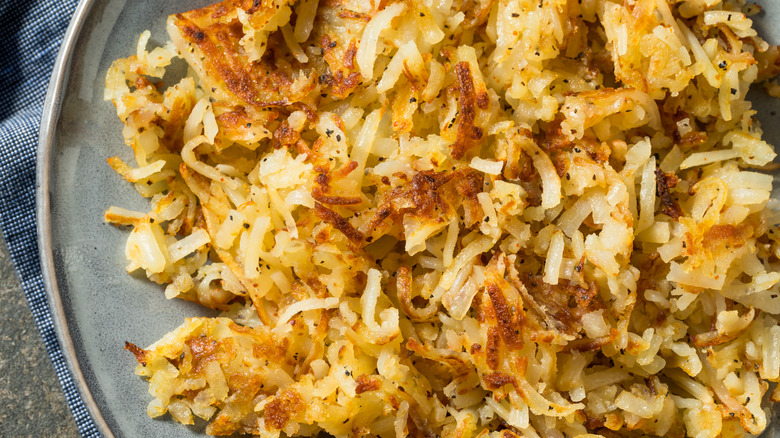
Turn shredded potatoes into hash browns by cooking them on a panini press. It's a great way to free up space on the stovetop, especially if you're feeding a crowd. Plus, the appliance lets you cook both sides at once, so you won't have to think about flipping them at the right time. Just be sure to keep the shredded potatoes away from the edges, as this could make it difficult to properly close the panini press.
Alternatively, if you're cooking for one, you can use a panini press to prepare hash browns and eggs at the same time. You'll need to flip over the hash browns as usual, but it may be worth it if you want to cook everything at once. Additionally, to make perfectly crispy hash browns, try not to use too much oil to grease the panini grill. A thin layer is all you need, as using too much can make your beloved hash browns soggy.
Cook French toast
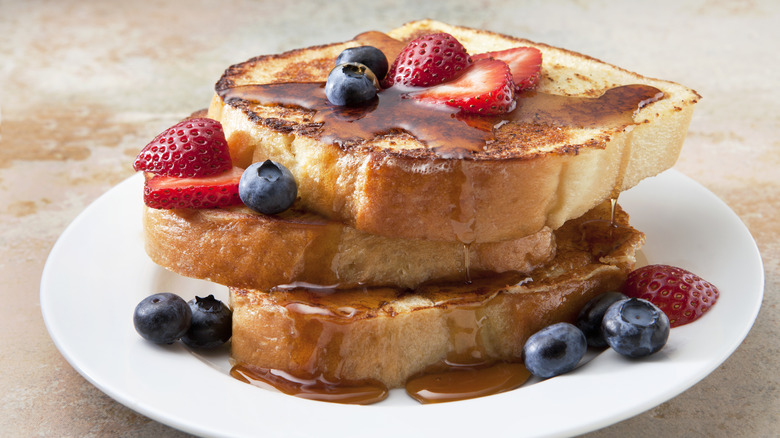
Another clever use for a panini press involves French toast, a classic and tasty breakfast staple that you can make out of dry bread. By using the handy appliance, instead of the traditional stovetop, you won't need to worry about flipping the French toast at the right time. Simply follow your go-to French toast recipe, making sure to soak the bread in the egg-milk mixture as usual. Place the soaked bread on the panini press, then bring down the top plate and cook for four to five minutes, or until the bread is golden brown.
To elevate your French toast, consider making a stuffed version with sweet or savory ingredients. You can do this by layering fillings between two slices of bread, essentially making a sandwich, then dipping the entire thing in the egg-milk mixture before cooking it on the panini press. If you have extra-thick bread, cut a slit along the side and stuff with ingredients of your choice.
Reheat French fries
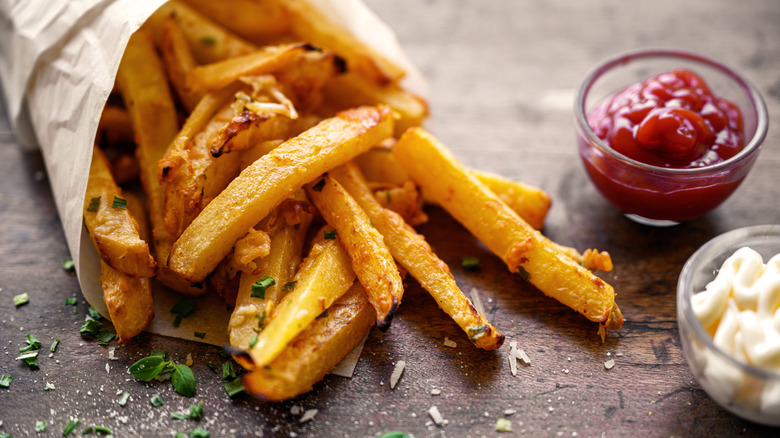
Although French fries are best when they're freshly made, you may have leftovers that need to be reheated. One of the quickest methods is to use the microwave, but you'll need a crisping tray to ensure the fries have the right texture. You can also use the oven or skillet, which are more likely to yield crispier results — but it can take about 15 to 20 minutes. If you want to expedite the process, reheat the fries in a panini press instead. Not only will it take just a few minutes, but the top and bottom plates will crisp up both sides of the fries, making them almost good as fresh ones.
As with hash browns, French fries will benefit from a light layer of oil. Avoid using too much, as excess oil will make your reheated fries soggy, rather than crispy. You can toss the leftover fries in a bit of oil or brush the oil directly on the panini press.
Cook chicken

When cooking boneless chicken breast, try using a panini press instead of the oven or stovetop. Again, the appliance will heat both sides at the same time, ultimately making the process quicker. You also won't need to think about turning over the chicken, as the top and bottom plates will do the work for you. As always, use a meat thermometer to check the doneness of the chicken. The thickest part of the chicken should reach 165 degrees Fahrenheit, which will indicate that it's fully cooked and safe to eat.
Worth noting, this technique works best with thinner cuts of chicken. For thicker cuts, consider slicing it in half, lengthwise, to make it thinner. You can also slice the chicken breast into strips or cubes, should you plan to use the meat for salads or wraps. Otherwise, if the chicken is too thick, you'll run the risk of cooking the top and bottom and undercooking the center.
Grill fruit
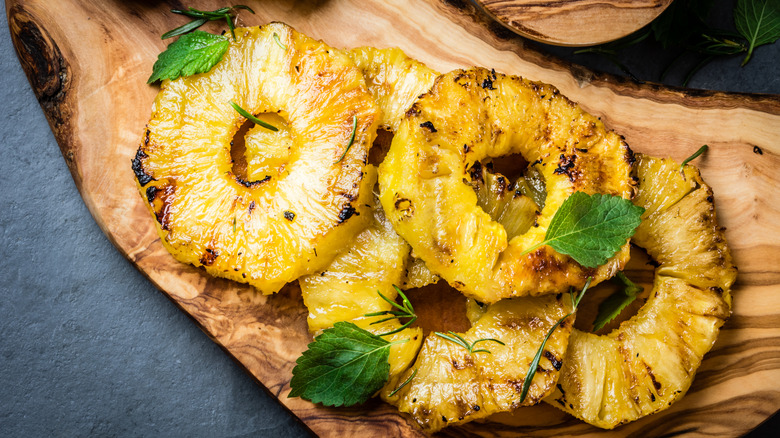
Cooking fruit is a simple way to enhance its natural sweetness. The heat will cook the sugars in the fruit, turning it into a caramelized delight. This can be done on the grill, but if you don't have access to one, the panini press is a great alternative. Likewise, fruit can also be cooked in the oven, but this might not be the most practical choice for smaller batches. That's where the panini press comes in.
To cook fruit on a panini grill, add it to the bottom plate and bring down the top. If you want the fruit to have the iconic grill marks, use grooved plates. You're also welcome to use fresh or canned fruit, depending on what you have on hand. If using canned fruit in syrup, be sure to drain it well to avoid a sticky mess. From there, enjoy the grilled fruit on its own as a simple dessert or as a topping on pancakes, waffles, yogurt, oatmeal, or cake.
Cook vegetables
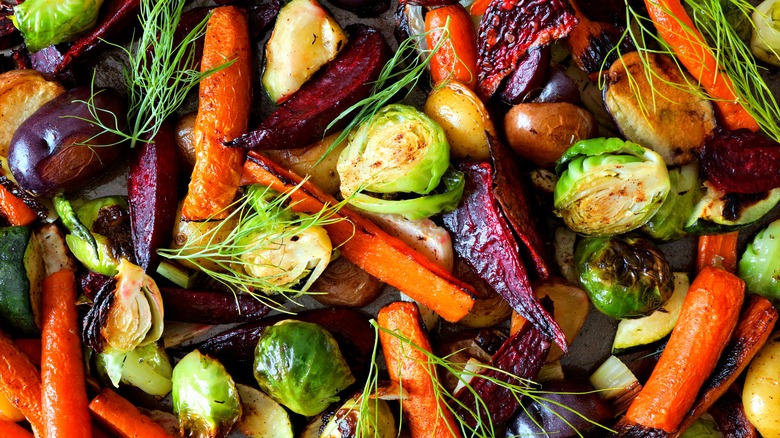
Vegetables, like fruits, can be cooked on a panini press. This technique is especially handy when cooking a small amount of vegetables for a side dish, topping, or another panini press recipe, like quesadillas or omelets. With that in mind, avoid overfilling the panini press and placing vegetables too close to the edge, which will make it hard to completely close the top.
When preparing the vegetables, keep your cuts as consistent as possible to ensure even cooking; the vegetables should be about the same size. Also, note that different vegetables cook at different rates. Start with heartier vegetables, such as broccoli or cauliflower, which need more exposure to heat. Moister vegetables, such as onions and bell peppers, will cook slightly quicker, while leafy greens like spinach will cook even faster. To ensure even cooking, stagger the vegetables when adding them to the panini press or cook each type separately.
Make waffle cones
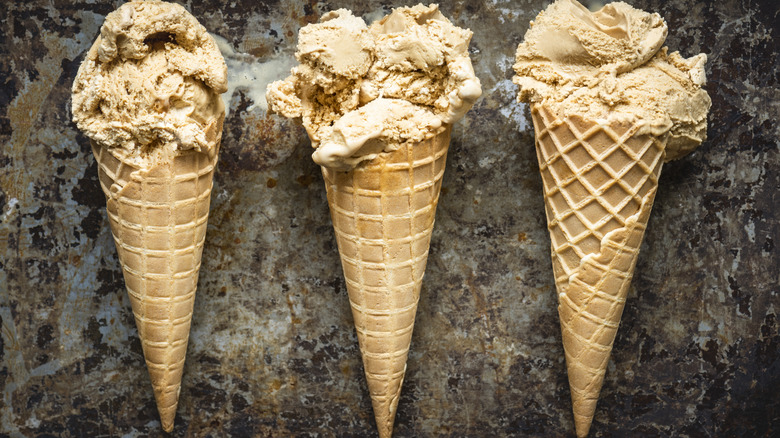
As it turns out, you don't necessarily need a waffle maker to make waffle cones at home. It's possible to do it in a panini press, which will cook the waffle cones in a similar fashion. Start by preparing a waffle cone batter and lightly oiling a panini press. Spread the batter on the bottom plate, creating a circle, and close the lid for a few minutes. Once the waffle is cooked, wrap it into a cone shape and let it cool completely. Note that waffle cones on a panini grill won't have the iconic grid pattern. However, the cones will still taste delicious, especially if you dip the edges in melted chocolate and sprinkles.
Of course, you're not limited to cone shapes. To make a waffle bowl, create smaller circles with the batter, then place them on upturned bowls as they cool. Another option is to let the waffle circle cool flat, then break it into chips for an ice cream sundae topping.
Bake cake
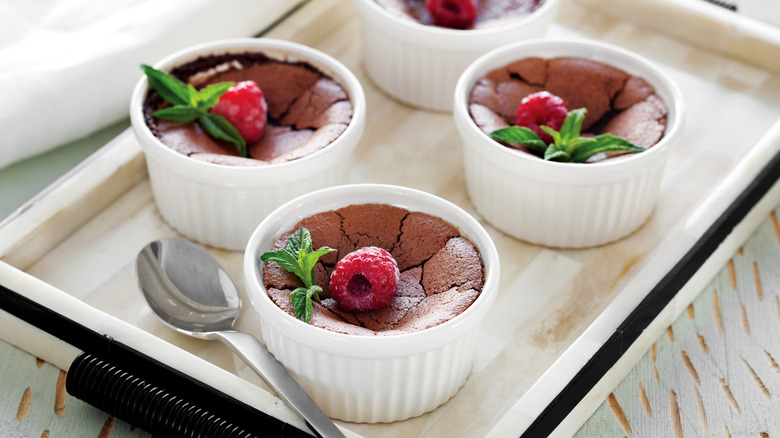
The next time you're craving a quick treat, try baking a mini cake in a panini press. The concept might sound strange, but the secret is to use a greased ramekin. Fill it halfway with cake batter, then place it on a pre-heated panini grill and close the lid; the top plate should touch the top edge of the ramekin. After about 20 minutes, you'll have a mini cake that's delicious and adorable to boot.
With this panini press hack, you'll be able to bake one or two mini cakes at a time. This means single-serving or microwave cake recipes are the most practical options for this technique. Alternatively, if you're making a regular-sized cake and have leftover batter, you can use a ramekin and panini grill to bake it without the oven. To whip up a small batch of homemade frosting, mix together a bit of softened unsalted butter, powdered sugar, milk, and vanilla extract.
Cook fish
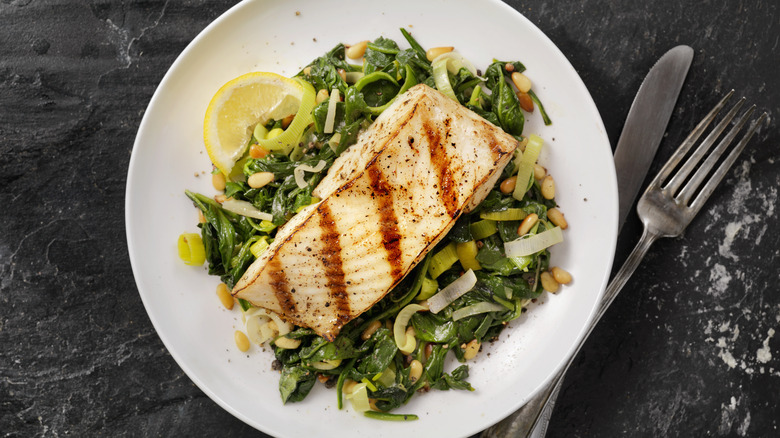
As an excellent source of protein and healthy fats, fish is a tasty alternative to red meat and poultry. However, it's essential to be delicate when cooking fish, as it's fragile and prone to breaking. One trick is to avoid moving fish as it cooks. This is easy to do when using the oven, but if you're looking for another option, grab your panini press instead. The closed nature of the appliance will make it easy to leave the fish untouched, so long as you avoid opening and closing the lid. This is especially handy for cooking flakier fish, such as flounder or cod.
Depending on the thickness of the fish, it can take up to 10 minutes to cook. Use a meat thermometer to check the internal temperature for doneness; it should reach 145 degrees Fahrenheit. Also, to maintain the moist texture of the fish, consider adding a sauce or butter once it's cooked.
Bake cookies
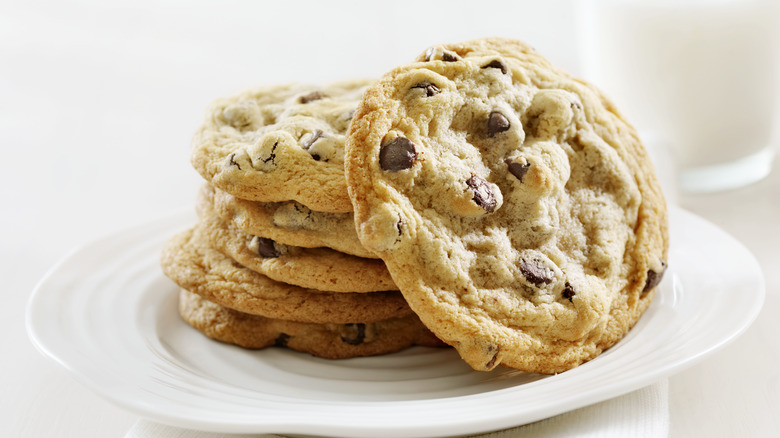
Whether you're making cookies from scratch or using store-bought dough, a panini press can be a gamechanger for your baking game. It lets you prepare a small batch of cookies without turning on the oven and heating up the kitchen, which is especially helpful during the warmer months. The method also takes just about 10 minutes, though the exact timing will depend on your specific cookie recipe.
To successfully bake cookies on a panini grill, you'll need to use the adjustable height mechanism on your appliance. This is key because the top plate shouldn't touch the actual cookies. Line the bottom plate with parchment paper and add balls or scoops of cookie dough, making sure to leave at least 2 inches between cookies; this will give them space to spread. Cook for a few minutes, rotate the parchment paper to ensure even heating, then continue cooking for several minutes until the bottoms of the cookies are golden brown.
Cook pancakes
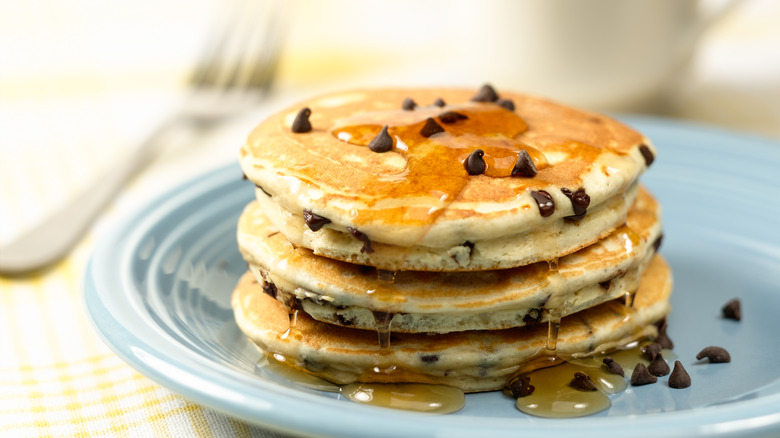
Making breakfast can be a hectic job, especially if you're preparing multiple types of food items. It can also turn the stovetop into a chaotic scene. Thus, if pancakes are on your menu, consider using a panini press instead of the usual skillet method. With the right technique, the appliance can be used to cook pancakes and free up space on the stovetop.
The trick is to use flat plates and treat the panini press like a pancake griddle. Prepare your go-to pancake batter, then ladle it onto the bottom pre-heated plate. Once the edges are set and the centers start to bubble, flip the pancakes over with a spatula and continue cooking. Avoid bringing the upper plate down, which may burn the tops of the pancakes. This will also ensure more fluffy pancakes, as placing pressure on them will burst the air in the batter, making them more dense.