12 Stand Mixer Mistakes Pro Bakers Avoid At All Costs
If you're a baker, you know how valuable a stand mixer can be. This powerful, heavy-duty appliance is frequently used for making easy work of baking tasks, taking the strain off your arm muscles, and often getting the job done faster than by hand. Once you use a stand mixer, it's hard to imagine kneading, mixing, and whipping without one.
I owned and operated a bakery for many years and worked with every kind of stand mixer, from countertop models to commercial floor mixers. At first glance, stand mixers may seem simple to use, but there are several common mistakes that everyone makes. These mistakes can prevent someone from utilizing the mixer's full potential — or worse, shorten its lifespan. Avoiding these pitfalls will allow you to take advantage of all the features your stand mixer has to offer. Read on, and you'll be baking like a pro in no time.
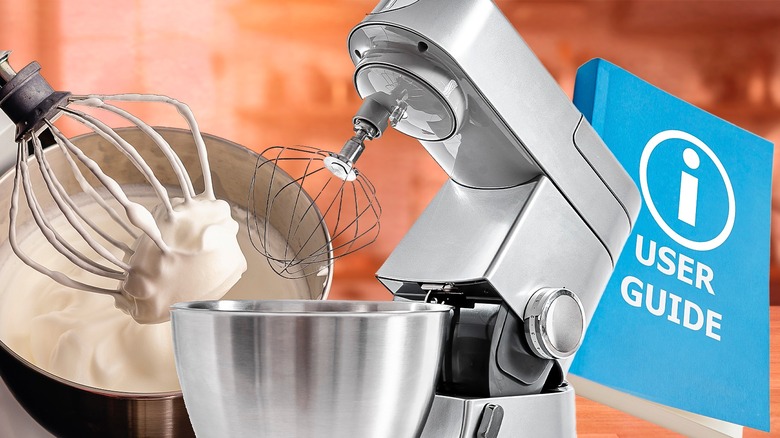
1. Not reading the manual

Reading the owner's manual should be your first step when you buy any appliance, let alone a stand mixer. It may not be the most exciting task, but doing so will prevent future damage to your mixer and improve its performance — which ultimately will improve your baking. You invested in a stand mixer, so why not make it worthwhile?
One of the most useful information found in the manual is how much flour your stand mixer can hold. This helps you know if a recipe will fit in the bowl or if you can double or triple a batch without it overflowing. The owner's manual includes cleaning instructions, maintenance, and warranty details. You'll learn helpful safety tips, like not to plug your mixer into a power strip, which can easily overload and spark a fire. By reading the manual, you'll also learn when to use the different mixer attachments — whip, paddle, dough hook — and if you're lucky, you may come across some recipes to test out on your new mixer.
2. Ignoring beater-to-bowl clearance
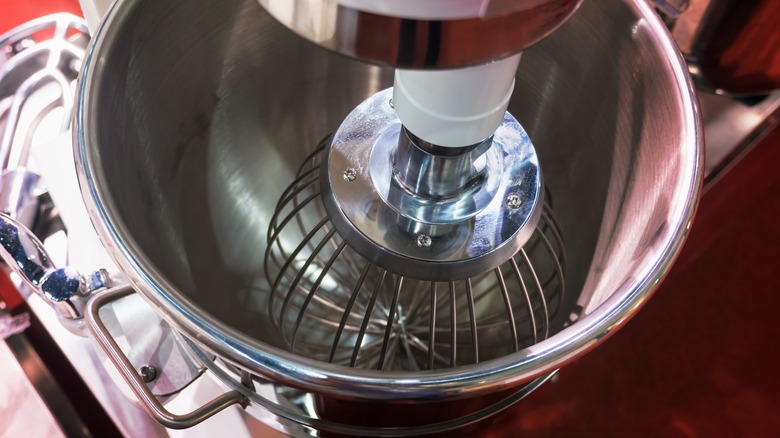
If you regularly use your stand mixer, it's a good idea to test its beater-to-bowl clearance every few months. An incorrect clearance can lead to improperly mixed ingredients or damage to the bowl. Adjusting the clearance is easy — look for a small screw at the mixer's joint or head, then use a screwdriver to tweak the screw until the proper clearance is achieved.
The dime test is an easy way to check your stand mixer's beater-to-bowl clearance. The thickness of a dime is the ideal distance between the beater and the bowl. To perform the test, attach the paddle to your stand mixer, drop a dime into the bowl, and turn the mixer on low. If the dime stays put, the paddle is too high and needs to be lowered. If the dime moves continuously around the bowl, the paddle is too low and should be raised. If the dime moves about ¼-inch forward with each passing of the paddle, the beater-to-bowl clearance is correct, and no adjustment is needed.
3. Starting off on high speed
Stand mixers have powerful motors that effortlessly mix batters and doughs that would otherwise be a struggle to mix by hand. These impressive appliances take a lot of the work out of baking. However, that strong motor can also wreak havoc in your kitchen if you're too eager to crank up the speed. If you start at high speed right off the bat, you can instantly send flour, eggs, or whatever ingredients in the bowl flying onto the counter and walls (and yourself)! Your hard work measuring ingredients will be for naught, and there's a good chance your ingredients will be improperly mixed.
It's easy to be anxious when you've got an urge to bake, but resist the urge to start the process by mixing at high speed. Always start at a low speed to allow for proper and even blending of ingredients. You'll have a chance to speed things up later, so be patient; let the mixer do its thing, and watch the ingredients come together perfectly.
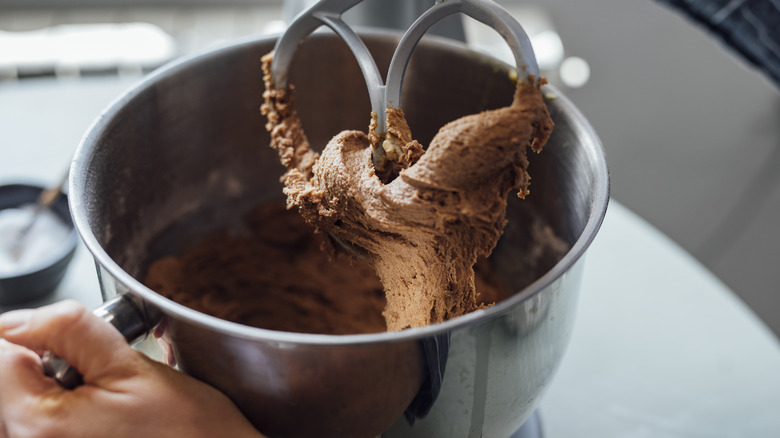
4. Not scraping the bowl while mixing
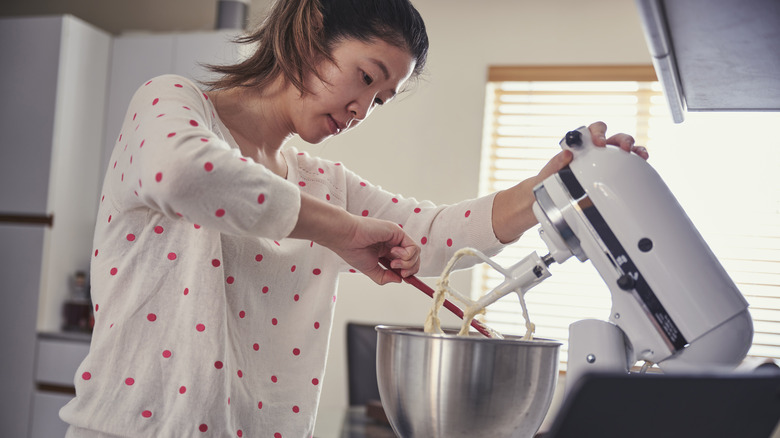
Even though your stand mixer can impressively mix on its own, it occasionally needs a helping hand. As the mixer runs, ingredients get pushed up the sides of the bowl and often get stuck there, resulting in improper mixing. So, make it a habit to periodically turn off your mixer, raise the beaters (or lower the bowl), and scrape down the sides of the bowl. Take a few seconds to scrape down the beater, too. Then, return the mixer to its original position, and continue mixing and scraping as needed, until all the ingredients are well combined.
Flexible utensils like a rubber spatula or plastic scraper are best for scraping as they conform to the shape of the bowl without tarnishing it. And whatever you do, don't scrape the bowl while the mixer is running. While it may look like you can squeeze in a quick scrape down the sides, your utensil will likely get mangled in the moving beaters, becoming mangled and causing your mixer to lurch haphazardly.
5. Overfilling the bowl
When you upgrade to a stand mixer from a hand mixer, you'll be in awe of the voluminous bowl it comes with, as it's likely bigger than any mixing bowl you've used before. But don't be fooled by its size — every bowl has a limit to its capacity, especially when things need to be mixed and stirred in that bowl.
If you overfill the mixing bowl, you risk the ingredients not incorporating together properly or, even worse, spilling out over the bowl's edges and onto the kitchen counter. Overfilling the bowl can also make your mixer work harder than it's able to, causing the motor to wear down and overheat. To avoid these mishaps, determine your bowl's capacity (this can be found in the manual), do the math, and measure out smaller batches to be mixed separately. Your mixer — and your kitchen counter — will thank you.
6. Not chilling the bowl and attachments

In the world of baking, recipes often call for room-temperature ingredients. But sometimes, colder is better. Take, for instance, heavy cream when making a whipped cream recipe. The colder the cream's fat is, the more air bubbles it can trap, and the lighter and fluffier your whipped cream will be. By using chilled cream — and keeping it cold — you'll get the best results possible.
So, when working with ingredients that need to stay cold, take the time to pre-chill your bowl and attachments. This can quickly be done by placing them in the freezer for about 5 minutes. If you don't have enough freezer space, you can place them in the refrigerator instead. Just keep in mind that they'll need to chill longer to cool sufficiently. If you're in a rush with no time to spare, don't fret. Skip the pre-chill step, set your bowl in a larger bowl filled with ice, and whip away.
7. Not using the splash guard
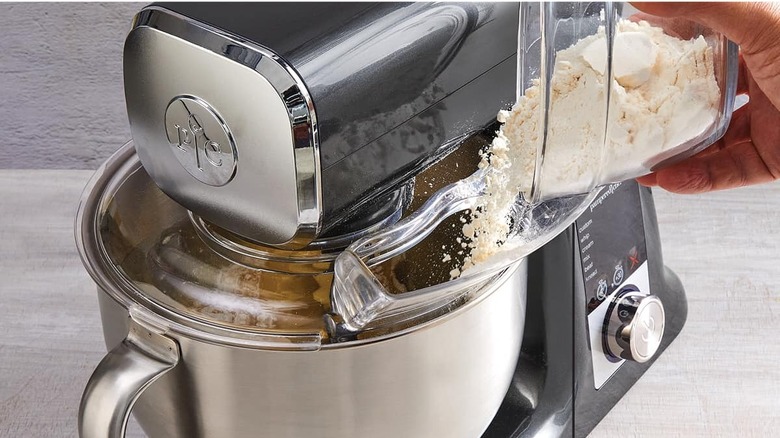
A splash guard, also called a pouring shield, covers the top of the mixing bowl and helps prevent ingredients from splashing out while mixing. It also features a chute through which you can easily add ingredients into the bowl without stopping the mixer — perfect for when you want to gradually add sugar to egg whites for meringue or stream in ice water when making pie dough. Another benefit to using a splash guard? Preventing a mess from happening if you inadvertently and abruptly turn your mixer to high speed.
Because splash guards are made of clear plastic, you can monitor the mixing progress at all times. The plastic covering fits securely to the edge of the bowl, so ingredients have nowhere to escape. To keep your splash guard in tip-top shape, always clean it with hot, soapy water after each use and dry it thoroughly before storing.
8. Using the wrong attachments

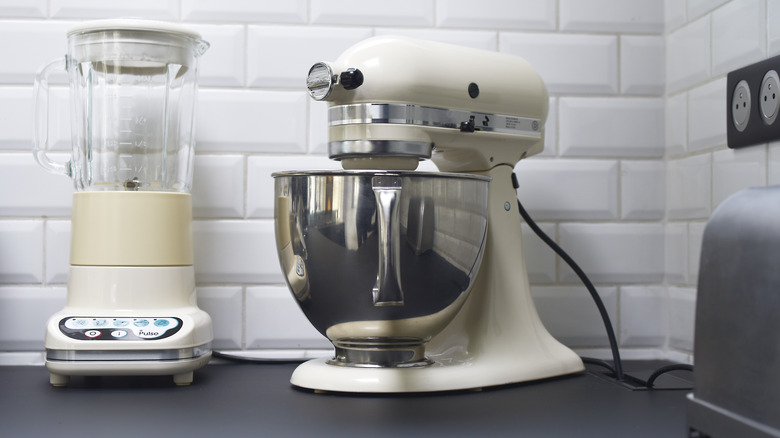
When you buy a stand mixer, it will likely come with three attachments: wire whip, paddle, and dough hook. Each one has a unique shape and purpose. Some recipes will specifically state which attachment to use (and sometimes, you'll need multiple attachments for a single recipe). Since recipes are not always as detailed, it's good to know what each attachment is used for so you know the proper time to use it.
The wire whip is primarily used to incorporate air into ingredients, like egg whites for meringue or heavy cream for whipped cream. The paddle attachment can also aerate ingredients, but its sturdiness can handle mixing tougher doughs and thicker batters, including everything from cakes and frostings to cookies and mashed potatoes. The dough hook is used to knead dough, as its uniquely curved shape mimics the movement of hands to develop gluten when making bread, like homemade ciabatta.
9. Leaving the mixer unattended while it's running
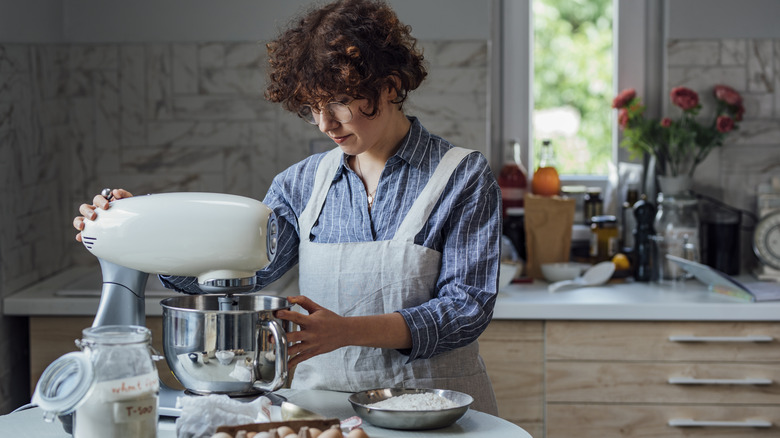
Upgrading from a hand-held beater to a stand mixer is one of the most glorious moments in a baker's life. The freedom of hands-free mixing is notable and exciting. But don't make the mistake of thinking that you can walk away while the mixer is running since your hands are free. It may seem like a good time to complete another task, but leaving the mixer unattended isn't a good idea. As it runs, the mixer can become unsteady and wobble back and forth. Before you know it, it can topple over. If the mixer falls to the floor, its frame can crack, the motor can get damaged, and the ingredients in the bowl can splatter everywhere.
Another reason to stay close by? You can monitor the mixture in the bowl and make any needed adjustments, such as increasing or decreasing the mixer speed and scraping down the bowl if ingredients get stuck to the sides. Remaining close ensures the entire mixing process runs smoothly — and safely.
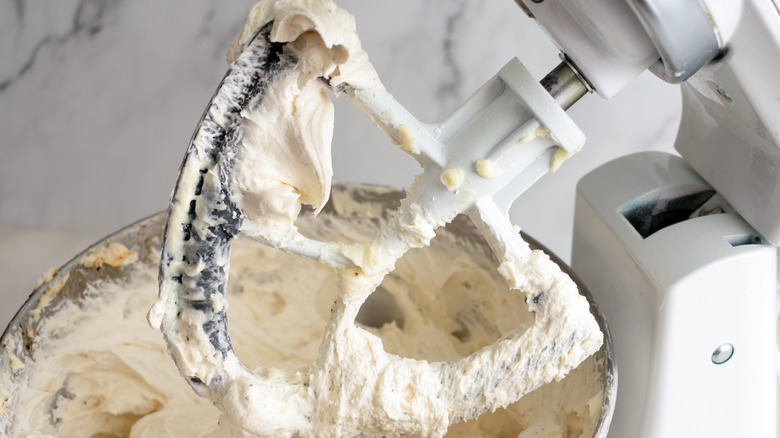
10. Not giving the beaters a good final spin
Experienced bakers have nifty tricks that help them work more efficiently. One of those tricks is to give the attachment — be it the paddle, whip, or hook — a good final spin when done mixing. This simple step releases any batter or dough left on the attachment and prevents having to scrape the attachment with a spatula or your fingers. It's quick and tidy and limits the wasting of any mixture.
When you're done mixing, raise the attachment (or lower the bowl, depending on the model) so the attachment is just above the surface of the mixture. Turn the mixer on low, then gradually increase the speed until the batter or dough clinging to the attachment begins to fling off. This quick and easy step saves time and keeps you from dirtying up another utensil or your hands.
11. Not cleaning the stand mixer after every use
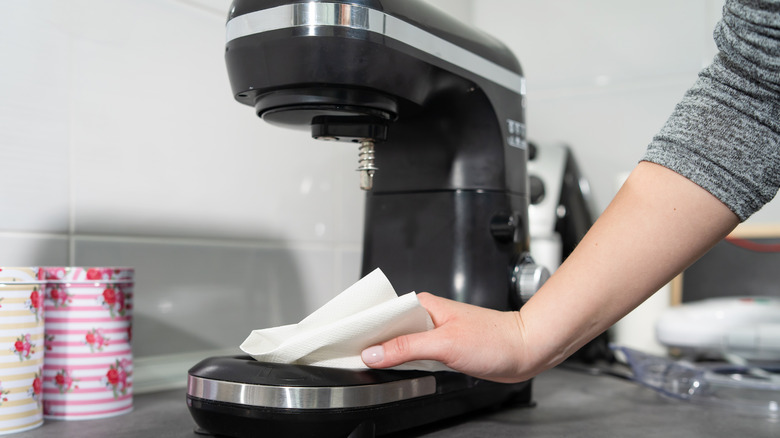
It's essential for you to clean your stand mixer after every use. Even if you used your mixer briefly — and it appears spotless — chances are it's covered with trace ingredients, like a dusting of flour, a splash of vanilla, or a thin film of grease that may not be detectable to the eye. If you repeatedly neglect to clean your mixer, layers of food residue will build up.
The first step when cleaning your mixer is to unplug it. Then, remove the accessories, such as the slash guard, bowl, and beater, and wash them in warm, soapy water. Wipe away any large spots of food on the mixer with a paper towel, then use a damp cloth or mild cleaner to wipe down the entire mixer, paying close attention to the attachment hub, knobs, shaft, and levers where food can sneak into. If any stubborn areas remain, make a paste with baking soda and water and rub the mixture onto the stuck food. Let the mixture sit for a few minutes, then wipe away with a damp cloth. As far as tools, Q-tips and toothpicks work wonders for those hard-to-reach areas.
12. Storing the mixer improperly
A stand mixer is heavy and can be a real pain to move around, so you'll want to store it within easy reach. The kitchen counter is the most practical place, and you'll probably use it more often if it's within eyesight, too. However, if your kitchen counter is already pretty packed with appliances, you can store your mixer in a lift cabinet or pull-out drawer. Just try to store it as close to chest height as possible to prevent injuring yourself or dropping it. It's also a good idea to store the bowl and attachments with the mixer so you don't have to search for them next time you do some baking (speaking from experience here)!
Once you decide on the ideal storage spot, you may want to consider purchasing a cover for your stand mixer if you don't plan on using it frequently. A stand mixer cover will protect the appliance from scratches, unwanted dust, and damage when not in use. One last piece of advice: Store the mixer upright instead of on its side to prevent grease from dripping out of your stand mixer.