The Reason Why Your Chocolate Is Stuck To Your Candy Molds
Making molded chocolates looks like it would be easy: Just melt, fill, cool, and release! But like many aspects of chocolate-making, it can be finicky. Miss the mark on any of several key steps by just a tiny bit, and instead of releasing beautiful hearts, flowers, or other shapes, you'll literally be stuck with chocolate in the mold. Let's take a closer look at what could be causing this common mishap.
It all starts with your equipment. Polycarbonate and silicone are popular choices for molds. Polycarbonate cools at a different temperature than the chocolate, so releasing your treats is easier. It also makes the chocolate turn out glossy. Silicone comes in lots of fun shapes and is naturally non-stick, but its soft, bendable form can make it a little trickier to work with, and the results will not be as shiny. Either way, the mold must be completely clean and dry to avoid sticking or creating white blooms on the surface of the chocolate. It's a good idea to run a non-shedding cloth over all the nooks and crannies to absorb any remaining water before you fill them.
Keep your cool & your temper
Chocolate is very sensitive to temperature, and we love it when it melts in our mouths. But when it comes to chocolate making, it's very important to work in a cool room, ideally around 68 degrees Fahrenheit, so that it doesn't heat up any more than we want it to. Remember that your hands need to stay cool too, so run them under cold water if necessary, and avoid touching the mold so you can keep it at room temperature while you temper the chocolate.
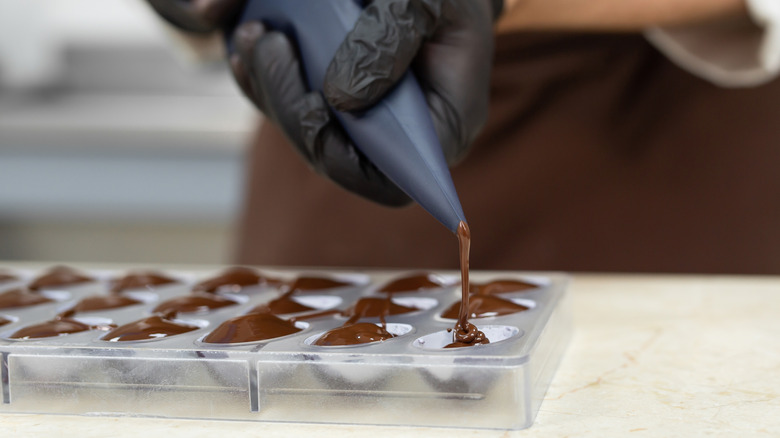
Tempering, or the process of carefully heating and cooling chocolate, is key to making its texture hard and shiny. For best results, choose couverture chocolate, which melts smoothly and evenly. You can use the microwave method like Ina Garten does, or try Preston Stewart's two-step tip to temper it like a pro. Once the chocolate is ready, keep it cozy in a sous vide bath until you're ready to put it in the molds. Then carefully spoon it in, leveling off the top of the molds with a scraper and tapping the pan against the counter to remove air bubbles. Properly tempered chocolate will gradually shrink as it cools so that it's easier to pop out of the mold.
The waiting game
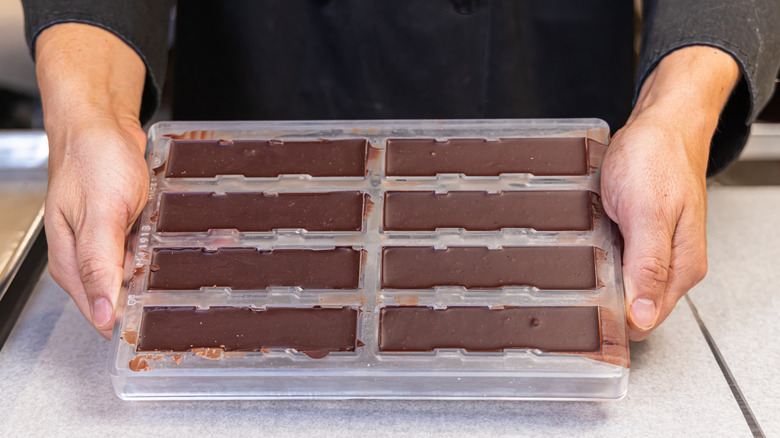
At this point, the process is almost done, but you'll need to be patient for just a few minutes more. Leave your filled mold on the counter until the chocolate looks dry. At that point, you can move the mold to the fridge and let it cool for another 15 to 30 minutes, when the chocolate will be completely hard. If you've done everything by the book so far, congratulations! Your treats should be ready to pop out of the mold.
Lay a clean towel or sheet of wax paper on the counter, and run your hands under cold water again. Then flip your mold upside down over the counter and watch them slip out. If any pieces hesitate, you can gently tap the bottom of the mold with your hand or a wooden spoon to help them release. Your decorative chocolates should be complete, ready to wrap, give, or eat right away — because you've earned it with all your careful work.


