The Messy Mistake To Avoid While Cleaning Your Blender
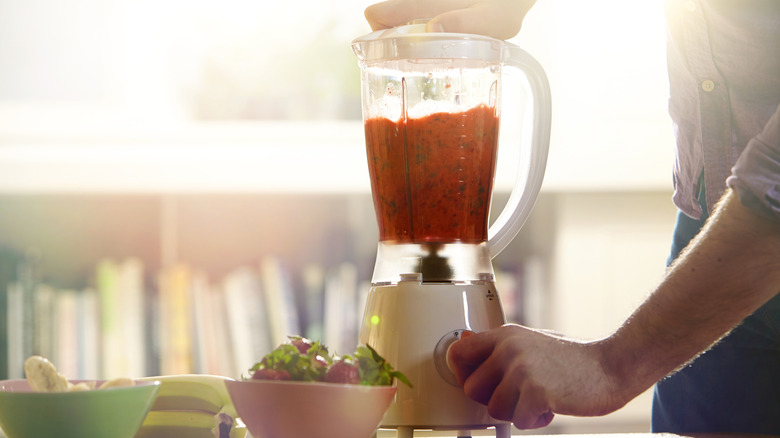
For at-home chefs who spend a great deal of time spinning up smoothies or whirling together soups and sauces, a blender is a cornerstone of the kitchen. If this is you then you understand just how helpful and versatile the whizzing appliance can be–but also just how hard it can be to clean.
With so many pieces and parts from the blade cutter and ring seal to the screw cap and jar, the washing process can be daunting and potentially dangerous if your fingers draw near to the sharp razor-like edges. To avoid injuries and tedious washing rounds while cleaning your blender, you may have employed the popular hack in the past of swishing water and soap in the assembled device, creating a sudsy tornado. This cleansing method seems like an easy and convenient dream. However, when overfilling the blender could wreak havoc as liquid and suds erupt from the blender. We suppose it's better to have bubbly water cascading from the cabinets and ceiling rather than a chocolate milkshake, but it's still not ideal.
Follow these tips instead for a squeaky clean blender
There are a few additional things you'll need to remember if you want to keep the swirling soap and water trick in your cleaning repertoire. First, it's important to clean your blender soon after using it, so that food and substances don't have a chance to dry and harden onto the tool's surfaces. A good rule of thumb is to fill the blender about halfway with water, and just a few drops of dish soap will go a long way.
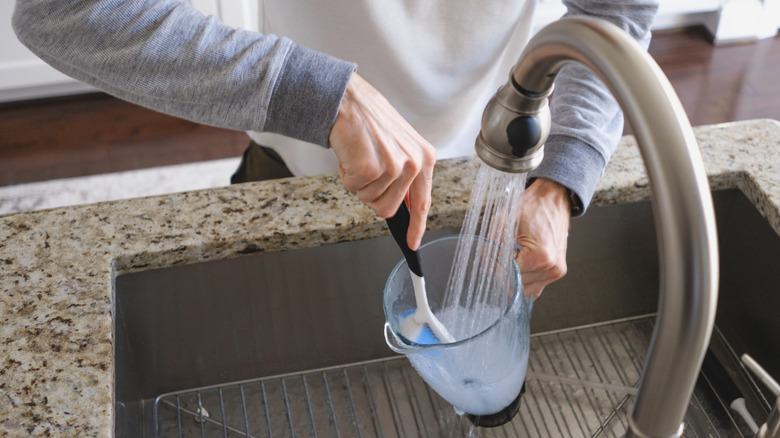
But, don't stop there. In a 2013 study, the National Sanitation Foundation (NSF) actually found that one of the germiest parts of your kitchen is your blender gasket (i.e. the rubber part). To help prevent unwanted bacteria growth like Salmonella, E. Coli, yeast, and mold, the NSF suggests taking apart each piece of the blender from jar to gasket to blade. You can clean them with a soft brush in hot soapy water. Once done, rinse each part and let them all air dry. (Letting the sudsy tornado do much of the work for you should reduce the amount of time spent scrubbing.)
Additionally, don't forget about the blender base (i.e. the electrical piece where the plug attaches). Liquids could dribble down to this area, so use a damp cloth or paper towel to remove any residue. If you're looking to eliminate stains, you could even take things a step further by scrubbing your glass or plastic blender jar with a combination of baking soda and vinegar for a noticeable shine.

