Red Velvet Whoopie Pies With Cream Cheese Filling Recipe
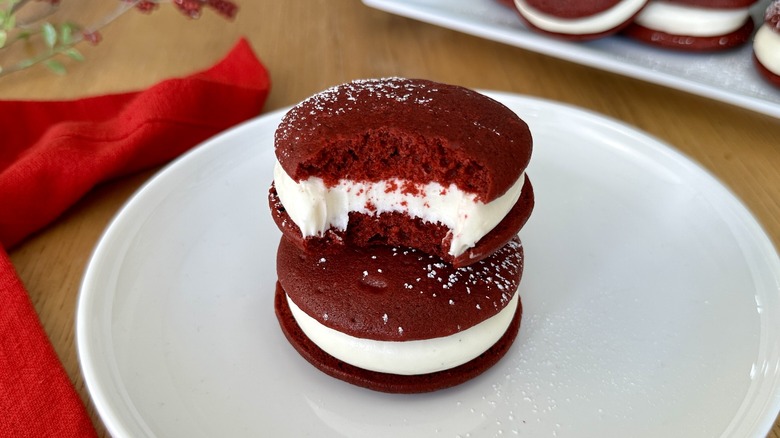
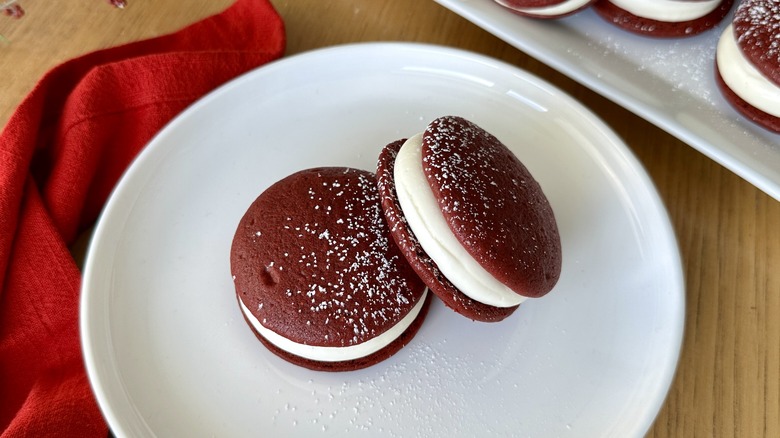
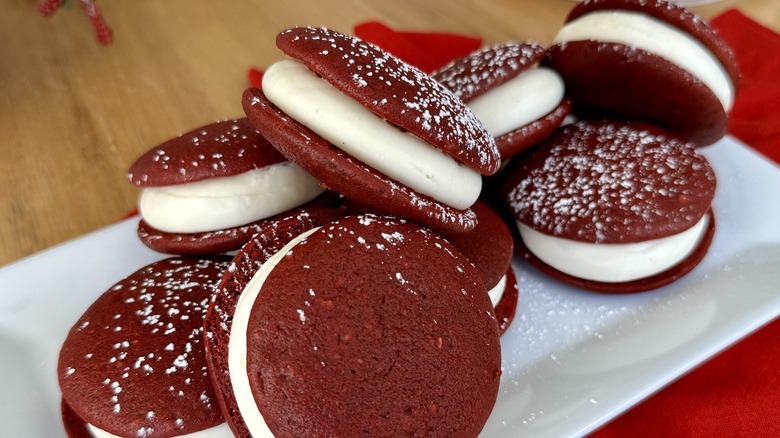
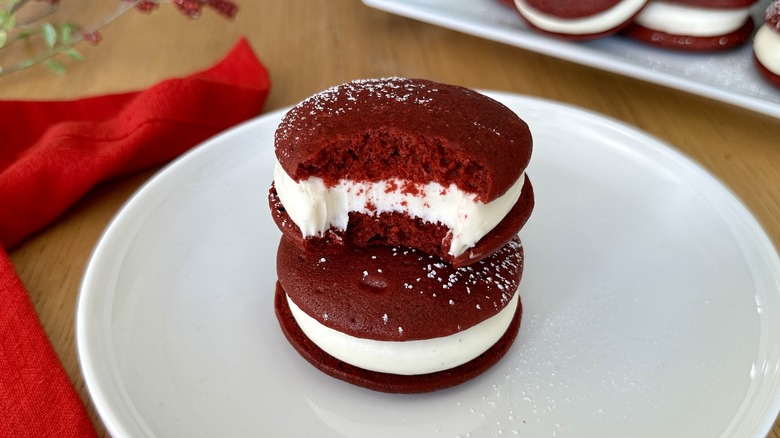
Arguably the best part of whoopie pies is that they're a way to transform your favorite cake into a handheld treat that you can take on the go. In this recipe from developer Katie Rosenhouse, two beloved desserts — red velvet cake and classic whoopie pies — combine for a delectable treat. "We used to make a ton of whoopie pies when I owned a bakery in Brooklyn," she says. "The beauty of whoopies is that they can be piped quickly onto sheet trays, yielding large batches with very little effort. They can also be made in different colors, flavors, and sizes to suit the occasion." The vibrant color of these whoopie pies makes them almost irresistible to try, and you won't be disappointed: Tender, cocoa-laced cake with a hint of vinegar is filled with a tangy, luscious cream cheese frosting. They're well-balanced, velvety, and mouthwateringly delicious.
While the exact origin of this iconic dessert is unclear, one rumor is that Amish women would bake leftover cake batter into small rounds to be packed into their husbands' lunches. Upon opening their treats at lunch, the men would shout, "whoopie!" (hence the name). However they were invented, whoopie pies remain an iconic treat to this day and are served at a wide range of occasions, including Christmas, Halloween, and Valentine's Day gatherings, as well as at weddings, bake sales, and picnics, and just as an everyday treat.
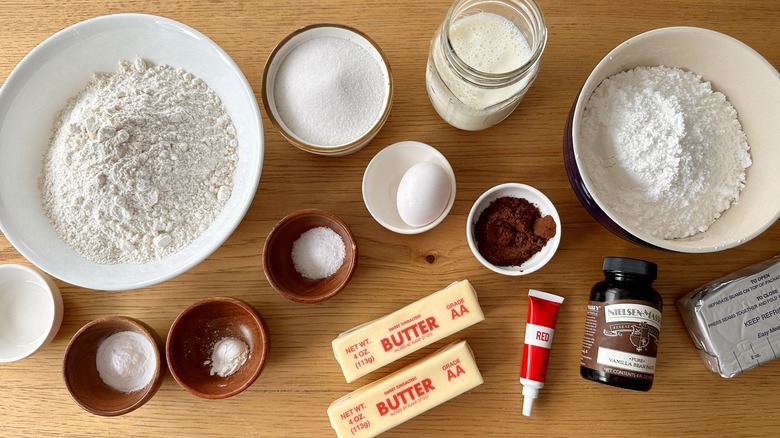
Gather the ingredients for red velvet whoopie pies with cream cheese filling
Pantry staples, along with red gel food coloring, make up the base of these colorful whoopie pies. To make them, unsalted butter and sugar are creamed, and you'll beat an egg in to help bind the batter. White vinegar adds acidity to balance the sweetness of the cake and gives a nod to classic red velvet cake. Using a gel food coloring is key for that vibrant red color — if you opt for liquid, you'll end up using an excessive amount and will thin the batter. All-purpose flour gives the whoopies their structure, with baking soda and powder adding lift. Unsweetened cocoa and salt enhance the overall flavor, and whole milk adds moisture to achieve the cake's pipable consistency.
The cream cheese filling is made simply by beating unsalted butter with cream cheese until smooth, and then you'll add confectioners' sugar, vanilla, and kosher salt. Vanilla extract or vanilla bean paste can be used interchangeably, with paste adding flecks of vanilla seeds throughout the frosting. In a pinch, you can also opt to use store-bought frosting, although we think that the extra few minutes needed for the homemade version are totally worth it.
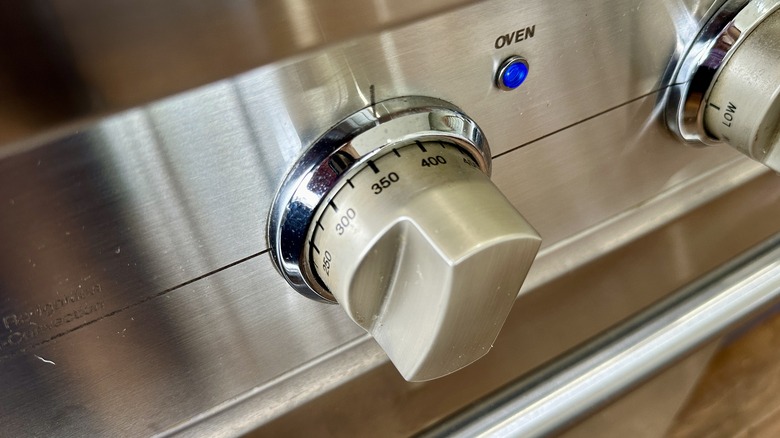
Step 1: Preheat the oven
Preheat the oven to 375 F.
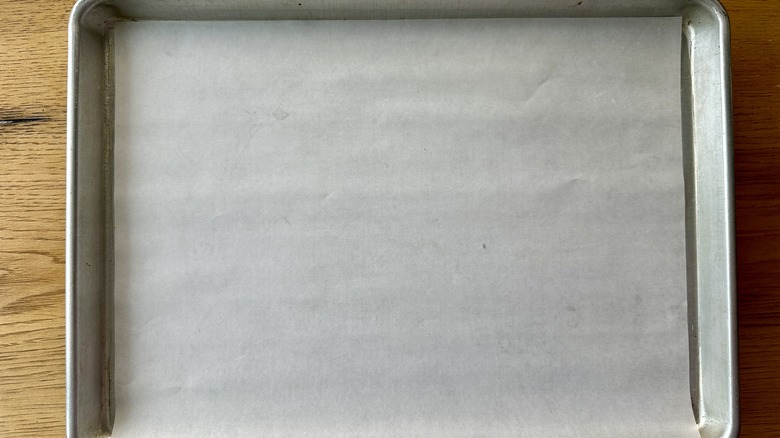
Step 2: Prepare baking sheets
Line three baking sheets with parchment paper; set aside.
Step 3: Prepare the whoopies
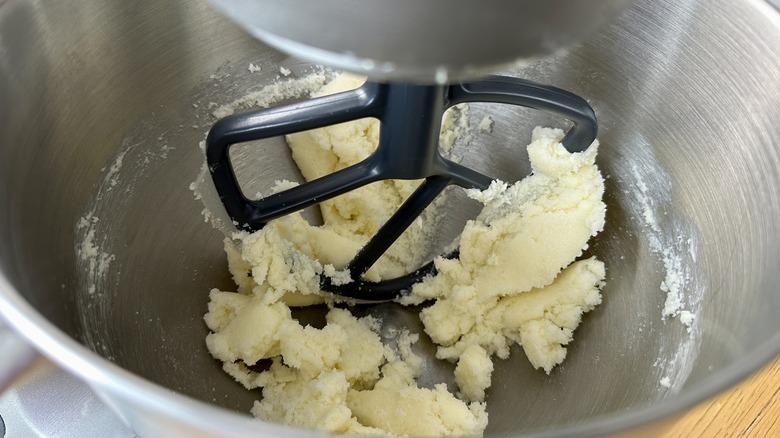
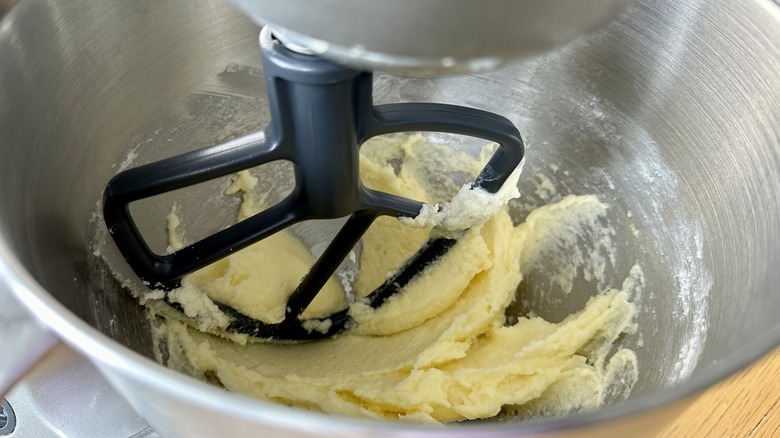
Prepare the whoopies: In the bowl of a stand mixer fitted with a paddle attachment, beat the butter and sugar until smooth.
Step 4: Add the egg
Add the egg and beat to combine.
Step 5: Color the batter
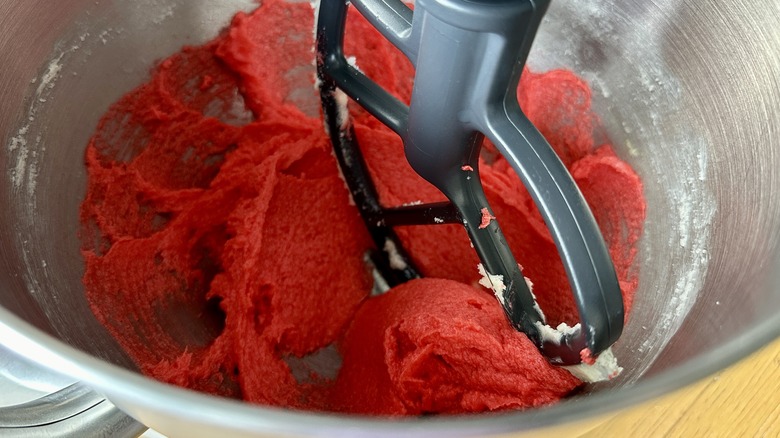
Add the vinegar and enough food coloring to reach your desired shade of red.
Step 6: Add the dry ingredients
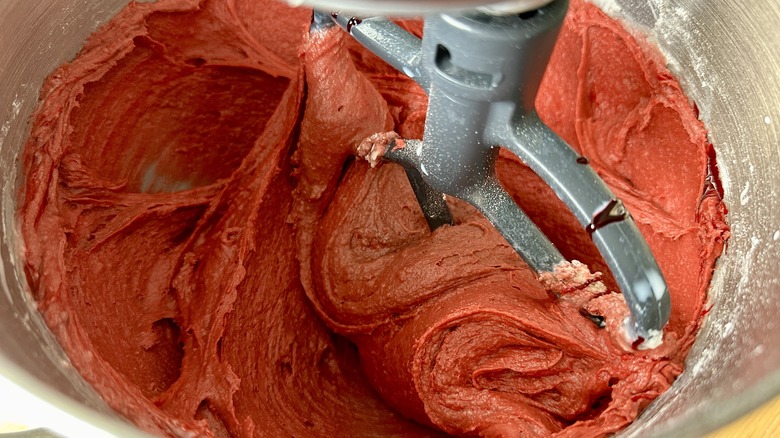
Add the flour, cocoa, baking soda, baking powder, salt, and whole milk. Beat until smooth, adjusting with additional coloring, if needed.
Step 7: Transfer the batter to a piping bag
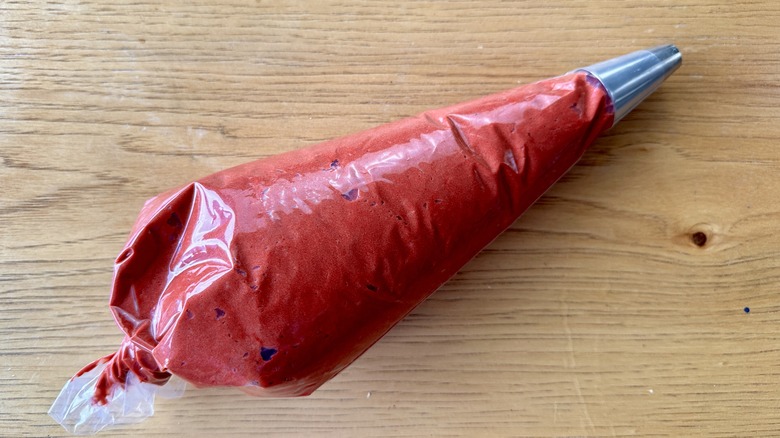
Transfer the batter into a piping bag fitted with a medium round tip.
Step 8: Pipe rounds
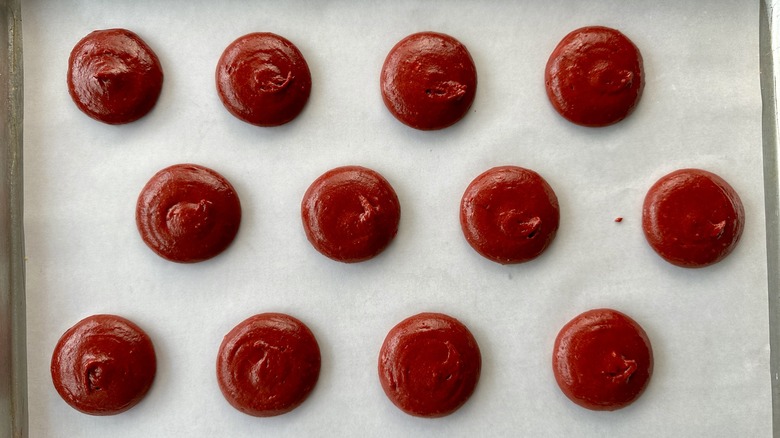
Pipe 2-inch circles onto the baking sheets, spacing them at least 2 inches apart. You should have about 40 circles total.
Step 9: Bake
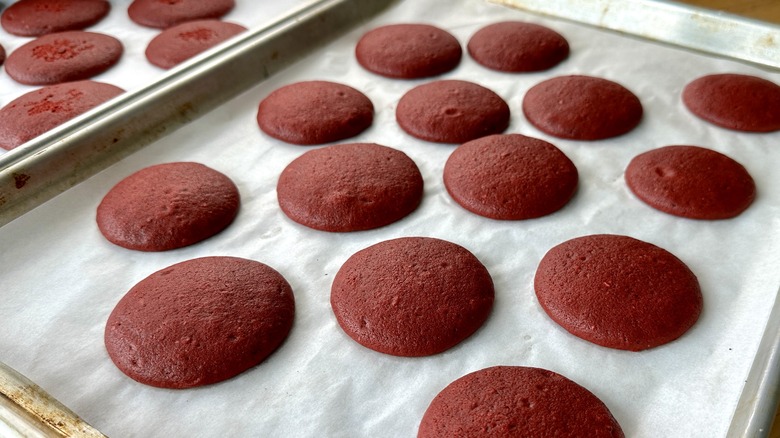
Bake the trays, one or two at a time, for 8 to 9 minutes, until the whoopies spring back to the touch. Set aside to cool completely.
Step 10: Prepare the filling
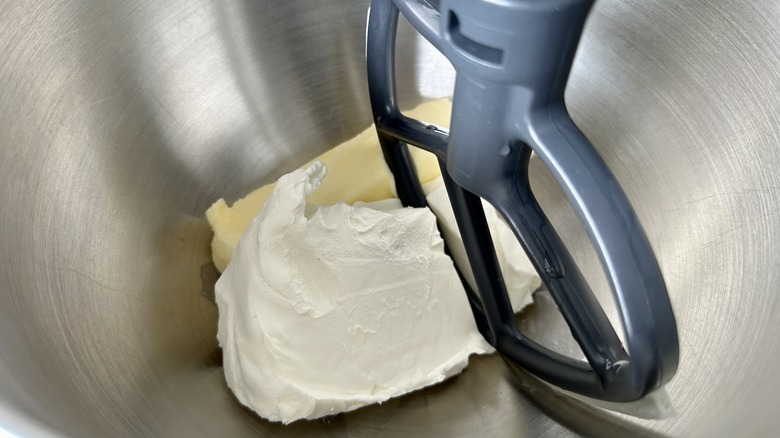
Prepare the filling: Beat the butter and cream cheese until smooth.
Step 11: Beat until fluffy
Add the confectioners' sugar, vanilla, and salt; beat until light and fluffy.
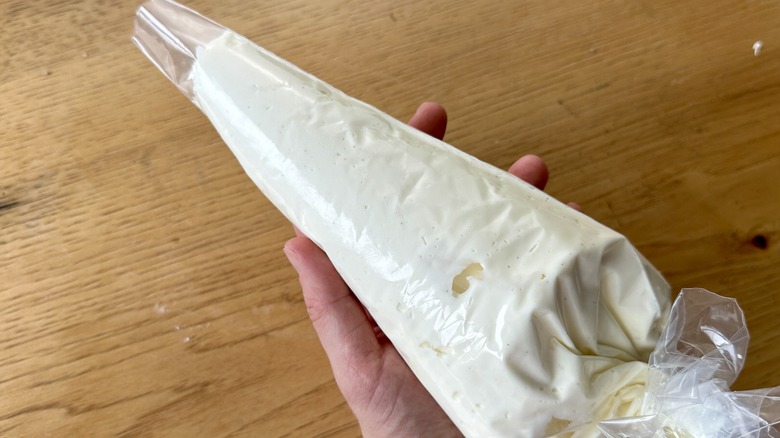
Step 12: Transfer to a piping bag
Transfer to a piping bag, cutting a medium to large hole off the tip.
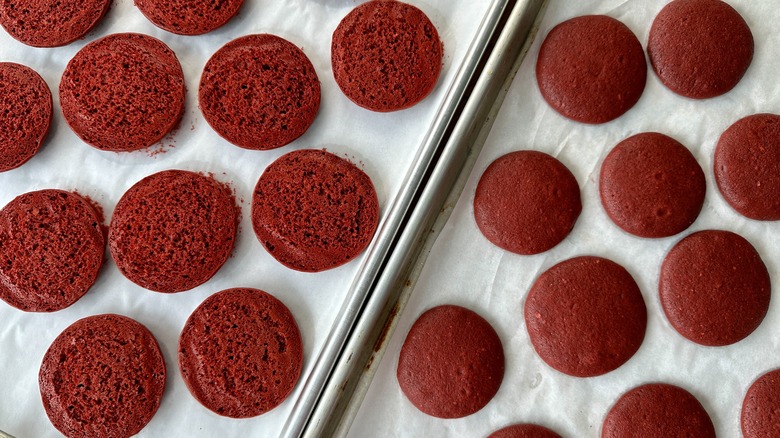
Step 13: Flip the whoopies
Flip half of the whoopie pies upside down for filling.
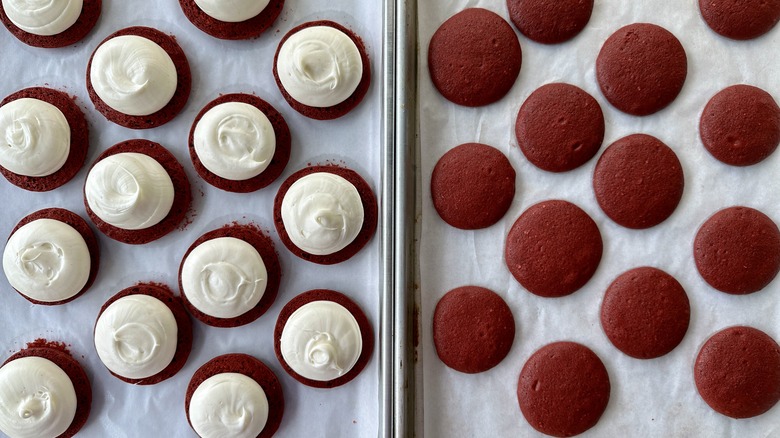
Step 14: Fill the whoopies
Pipe filling onto the flipped whoopies to coat.
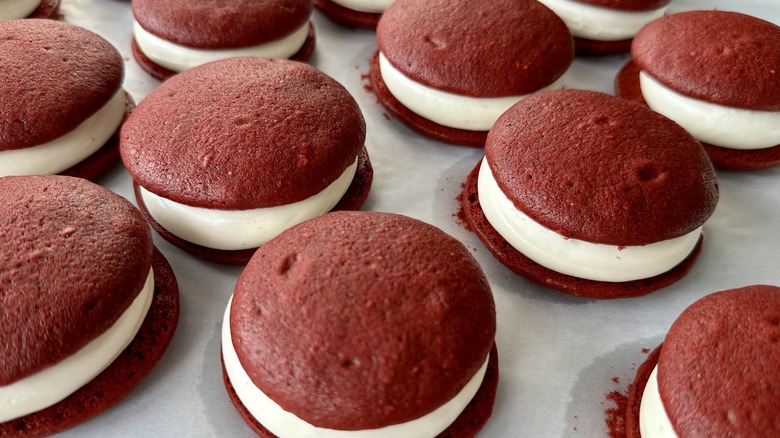
Step 15: Sandwich
Sandwich with the remaining whoopies.
Step 16: Serve
Dust with confectioners' sugar, if desired, and serve, or store in an airtight container in the refrigerator.
Red Velvet Whoopie Pies with Cream Cheese Filling Recipe
These whoopie pies feature a red velvet cake shell and a cream cheese frosting in their centers, and they make for a perfect celebratory dessert.
Ingredients
- For the whoopies
- ½ cup unsalted butter, at room temperature
- 1 cup granulated sugar
- 1 large egg
- 2 teaspoons white vinegar
- 2 teaspoons red gel food coloring, plus more as desired
- 3 cups all-purpose flour
- 2 tablespoons unsweetened cocoa powder
- 1 ½ teaspoons baking soda
- ½ teaspoon baking powder
- 1 teaspoon kosher salt
- 1 ¼ cups whole milk
- For the cream cheese filling
- ½ cup unsalted butter, at room temperature
- 1 (8-ounce) package cream cheese, softened
- 2 ½ cups confectioners' sugar
- ½ teaspoon vanilla extract or paste
- ½ teaspoon kosher salt
Optional Ingredients
- Confectioners' sugar, for dusting
Directions
- Preheat the oven to 375 F.
- Line three baking sheets with parchment paper; set aside.
- Prepare the whoopies: In the bowl of a stand mixer fitted with a paddle attachment, beat the butter and sugar until smooth.
- Add the egg and beat to combine.
- Add the vinegar and enough food coloring to reach your desired shade of red.
- Add the flour, cocoa, baking soda, baking powder, salt, and whole milk. Beat until smooth, adjusting with additional coloring, if needed.
- Transfer the batter into a piping bag fitted with a medium round tip.
- Pipe 2-inch circles onto the baking sheets, spacing them at least 2 inches apart. You should have about 40 circles total.
- Bake the trays, one or two at a time, for 8 to 9 minutes, until the whoopies spring back to the touch. Set aside to cool completely.
- Prepare the filling: Beat the butter and cream cheese until smooth.
- Add the confectioners' sugar, vanilla, and salt; beat until light and fluffy.
- Transfer to a piping bag, cutting a medium-large hole off the tip.
- Flip half of the whoopie pies upside down for filling.
- Pipe filling onto the flipped whoopies to coat.
- Sandwich with the remaining whoopies.
- Dust with confectioners' sugar, if desired, and serve, or store in an airtight container in the refrigerator.
Nutrition
| Calories per Serving | 301 |
| Total Fat | 14.1 g |
| Saturated Fat | 8.5 g |
| Trans Fat | 0.1 g |
| Cholesterol | 46.7 mg |
| Total Carbohydrates | 41.0 g |
| Dietary Fiber | 0.7 g |
| Total Sugars | 25.9 g |
| Sodium | 200.7 mg |
| Protein | 3.6 g |
What are some tips for making perfect whoopie pies?
Rosenhouse has a few tricks up her sleeve when it comes to making perfect whoopie pies. When it comes to making the batter and filling, she shared that softened butter and cream cheese are key. "You'll want to make sure that the batter and filling are both super smooth for perfectly round whoopies and the fluffiest filling," she says. "The best way to ensure a lump-free result is with softened butter and cream cheese that will cream easily into the mix."
Having your egg and milk at room temperature can also help keep the batter silky smooth. Spoon and level your flour to make sure that you're measuring accurately, and use a piping bag for the most consistent sizes and even filling (although you can also use a scoop or spoon in a pinch). Bake the pies just until they are set to the touch to keep them moist, and wait to fill them until they're completely cool to avoid accidentally melting your cream cheese frosting.
What are some fun facts about red velvet cake?
While you might think of red velvet cake as a modern-day dessert phenomenon, it actually dates back much further. Velvet cake, a soft chocolate cake, became popular during the Victorian era, offering a welcome change from more dense cakes. Bakers also discovered that an acidic combination of cocoa powder and buttermilk or vinegar added into cake batter could yield a chocolate cake with a pleasant, reddish hue. This became a popular cake of the time, as did devil's food cake. Eventually, these two cakes came together and resulted in a velvet cocoa cake recipe that was first published in 1911.
The Great Depression brought with it the use of beets as a way to color cake batter inexpensively, which the company Adams Extract capitalized on by selling red food coloring. This brought the red velvet cake we know today into homes across the country. While it's hard to pinpoint the exact origin of red velvet cake, its popularity skyrocketed after being featured in the movie "Steel Magnolias" in 1989. Since the early 2000s, the red velvet boom has only increased, with the flavor extending past desserts into the beauty and even liquor market — red velvet vodka, anyone? The color red is also known to symbolize joy in Black culture, and the cake has become synonymous with Juneteenth and other celebratory occasions.
