15 Mistakes To Avoid When Cooking Red Bell Peppers
Red bell peppers are a reliable source of vibrant color and subtle sweetness when added to any recipe. Thanks to their versatile flavor and texture, they can be cut and cooked in several different ways to meet the needs of your dish. However, there is still a lot that can go wrong when cooking with a red bell pepper — beginning with the growing process. While the fate of a red bell pepper might be out of your hands before it reaches the grocery store, there are ways to seek out the best ones to take home and cook to perfection. When cooking with red bell peppers, you do not want them to be too crunchy or too mushy. Multiple types of mistakes can cause both of these issues. Fortunately, there are easy ways to avoid them.
Petranka Atanasova, certified nutritionist and professional chef at Sunglow Kitchen, and Brian Theis, recipe developer, chef, and author of "The Infinite Feast: How to Host the Ones You Love," share tips on cooking with red bell peppers to help you the next time you want to add a pop of color to your dish. To best prepare for this culinary endeavor, see our list of mistakes you should avoid making while cooking with red bell peppers.
1. You picked out a bad red bell pepper
In the produce section of the grocery store, it's your job to sift through the shelves of fruits and vegetables to find the best selection for your needs. For most produce, it is important to use your senses to inspect something before you put it in your cart. Shopping for the perfect red bell peppers is no different.
The first sense to utilize is sight. Petranka Atanasova advises paying attention to the color of the pepper and the stem, saying it's best to look for a deep red color and smooth, glossy skin on the pepper, as well as a stem that looks green and fresh. This might be the first step you take since the vibrancy of the peppers will likely catch your eye. Next, you are going to want to both look and feel for any imperfections on the pepper. "Avoid any peppers with soft spots or wrinkles as this can indicate that they're not fresh," Atanasova adds, noting that peppers should instead feel firm and heavy for their size.
It is important to note how a red bell pepper looks and feels because it could reveal signs that it is either over- or under-ripe. In addition to these tips, Brian Theis notes that, while a wrinkly pepper isn't necessarily inedible, it will not be as crisp as one might prefer — making it less satisfying to eat raw. Meanwhile, unripe red bell peppers (which may have a greener hue) are to be avoided if you have a specific recipe in mind, because they will be more bitter than expected.
2. You did not offset the bitterness while cooking
Ideally, your red bell pepper will be sweet and not bitter. However, even with your best detective work while picking them out, you'll still sometimes get stuck with one that is more bitter than others. In these cases, it's left up to you to balance out any potential bitterness in a red bell pepper with other ingredients — otherwise, your dish might not live up to your expectations.
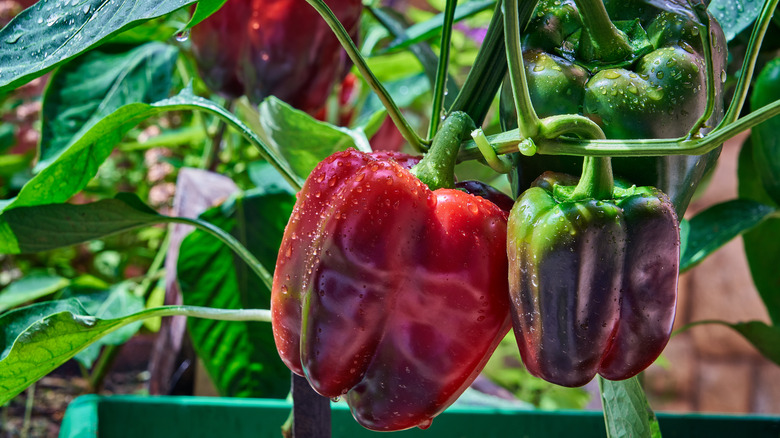
"It's possible you got a red bell that was too dry if it somehow became bitter — possibly a result of hasty farming or improper storage," Brian Theis explains. Indeed, a pepper's bitterness can root back to its days on the plant. As with growing anything, a lot of factors go into how the fruit turns out. Red bell peppers might turn out bitter if they are not watered properly or if they are harvested before they are fully ripe. Luckily, just because you got a bad pepper does not necessarily mean you can't use it. "Many ingredients can offset bitterness — salt, sugar, and acids such as lemon or tomato," Theis says.
3. You are overcooking your red bell peppers
Whether soggy or burnt, overcooked red bell peppers can ruin a dish. The goal is to cook them until they are tender but still maintain their integrity. But there are many factors that can go into cooking up crisp but juicy red bell peppers, including heat, cooking liquid, and timing. Unfortunately, overcooking red bell peppers is a common occurrence in the kitchen — in fact, Petranka Atanasova says it is one of the biggest mistakes she sees with this fruit (yes, even though we typically prepare peppers as vegetables, they are, botanically speaking, considered fruit).
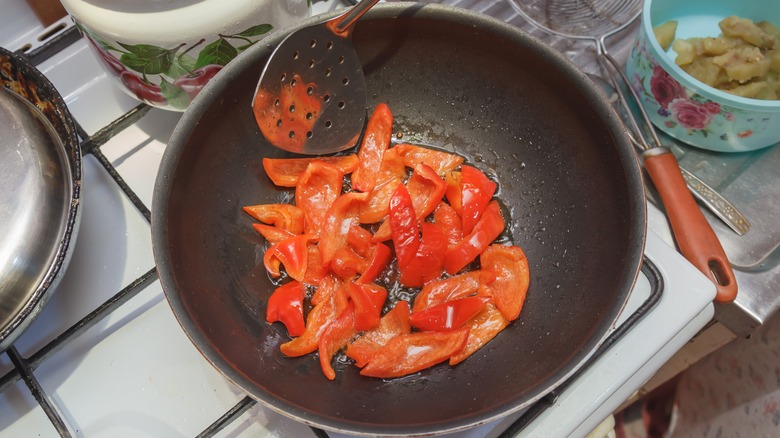
If cooking bell peppers on the stove, Atanasova tells us that they only need between 4-6 minutes; in the oven, no more than 30 minutes. She adds, "My favorite way to prepare them is with a little bit of oil over very high heat, cooking for just 5 minutes, or until they're charred and smoky." Atanasova goes on to explain, "This is also known as stir-frying, where the end result is crunchy and vibrant vegetables that retain their natural sweetness and flavor."
However, Atanasova notes that cooking them for too long "can lead to a mushy texture and loss of flavor." You also don't want to cook your red bell peppers so much that they burn. This will give your otherwise sweet pepper an unpleasant bitter taste.
4. You are steaming or boiling them
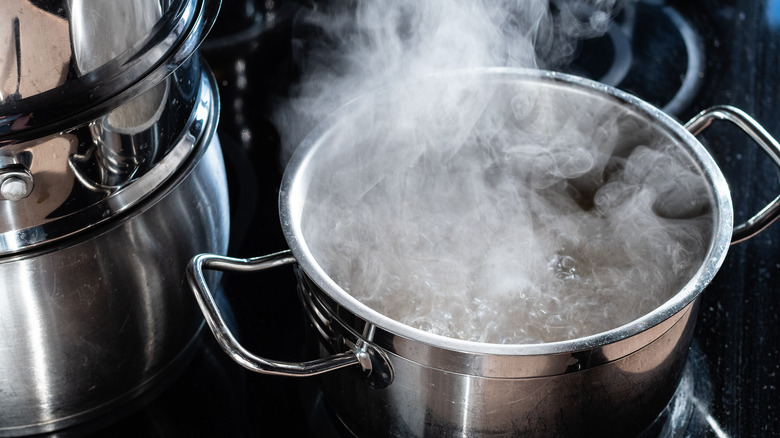
If you are trying to avoid overcooking red bell peppers, you will also want to avoid steaming or boiling them. According to Petranka Atanasova, these methods can lead to soggy red bell peppers. Indeed, as Brian Theis further explains, "Like so many fruits and vegetables, peppers are approximately 90% water, so sogginess can result from the water they release during cooking."
Of course, there are some scenarios where you might want to boil or steam your peppers if your goal is to soften them. For example, if you are pre-cooking them for stuffed peppers (more on this below). However, if you are looking for any kind of char or crunch, these methods will not deliver. Even if your recipe calls for you to boil or steam your peppers, make sure to keep a close eye on them as they cook. If your peppers cook for too long, they might start to lose their color. Boiling and steaming can also lower the nutrients and antioxidants of a red bell pepper. Avoid this issue by frying or roasting your peppers to make them tender instead.
5. You did not preheat your pan
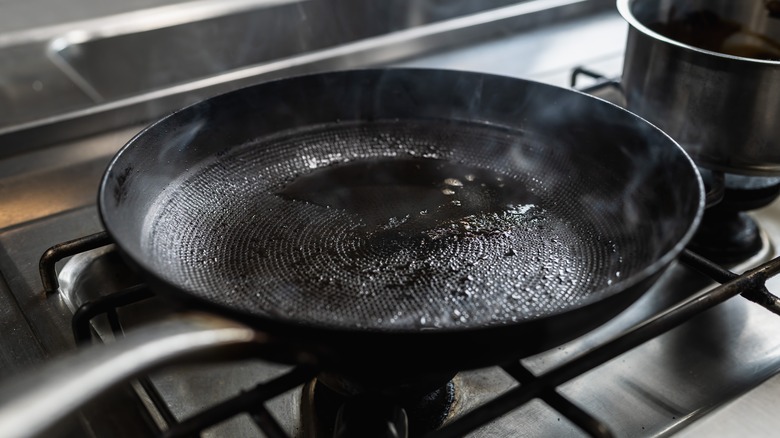
Before you put your red bell peppers on a frying pan to cook, you want to make sure your pan is hot enough. If you put your red bell peppers on a cold pan and heat them from there, it could potentially make them soggy.
Petranka Atanasova says, "It's super important to preheat your frying pan for at least a few minutes before frying any vegetables. For best results, preheat your pan dry without any oil." She adds, "To test, add a splash of water to the pan, the drops should ball up and 'dance' around the pan, rather than evaporate. That's how you know it's ready for adding oil." When you saute red bell peppers in a hot pan, the priority is going to be to brown them, rather than overcooking them to the point that they are too soft before they get the chance to brown on the outside.
6. You did not add a lid while frying your red bell peppers
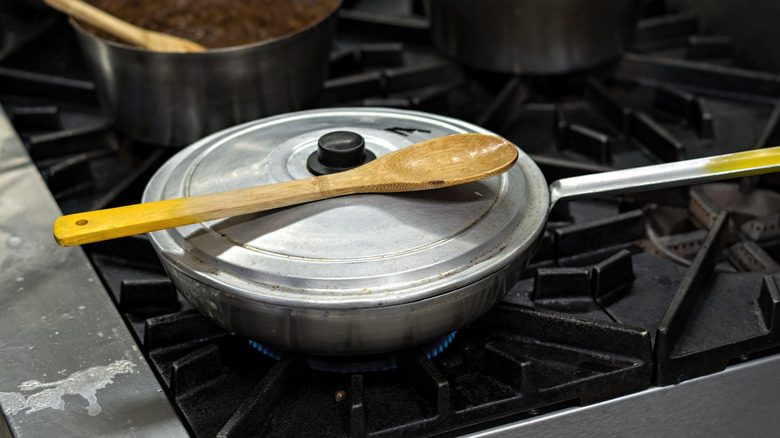
While you want to avoid soggy peppers, crunchy peppers aren't necessarily the goal either. Of course, crunchy red bell peppers could simply be caused by not cooking them long enough. However, there is a way to speed up the process: adding a lid. If you have been cooking your peppers for a while, and they are still not softening, try adding a lid to the frying pan. "This will help trap steam and cook them faster without drying them out," Petranka Atanasova says. Instead of escaping into the air, the steam will stay within the pan and rapidly heat the peppers.
This method is best when you are cooking in a rush, since using this trick for too long risks steaming them too much. So, make sure you keep an eye on your peppers to avoid them softening too much and becoming mushy. You also do not want to start the frying process with the lid on, because it will keep the peppers from browning.
7. You did not pre-cook them before stuffing
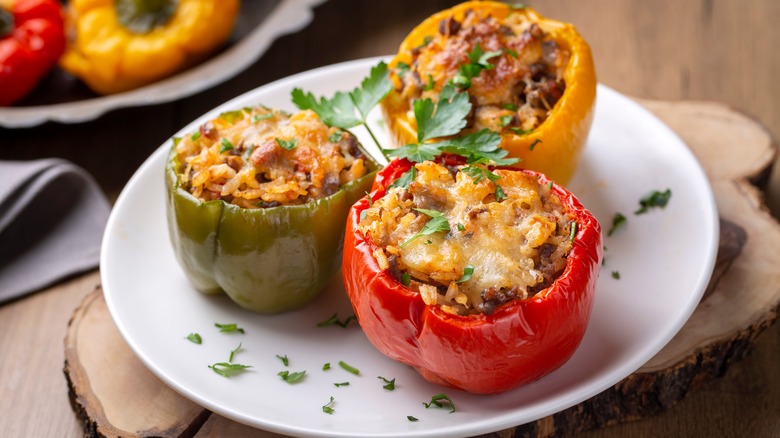
One of the most popular bell pepper dishes to make is stuffed peppers. This dish involves packing a bell pepper with a combination of meat, rice, and other toppings. However, stuffed peppers can take a long time to cook all the way through in the oven if you do not pre-cook — and therefore soften — your red bell peppers before stuffing. Pre-cooking red bell peppers can involve either blanching, boiling, baking, or microwaving. Whatever method you choose, it will help cut down the time it takes for them to cook once stuffed and in the oven.
"I cut off the top, remove seeds and ribs, and pre-cook in simmering water for 3 to 5 minutes depending on size," says Brian Theis. Once your peppers are pre-cooked, they'll be better prepared for you to carry on with stuffing and baking them.
8. You did not wrap your red bell peppers in foil to bake
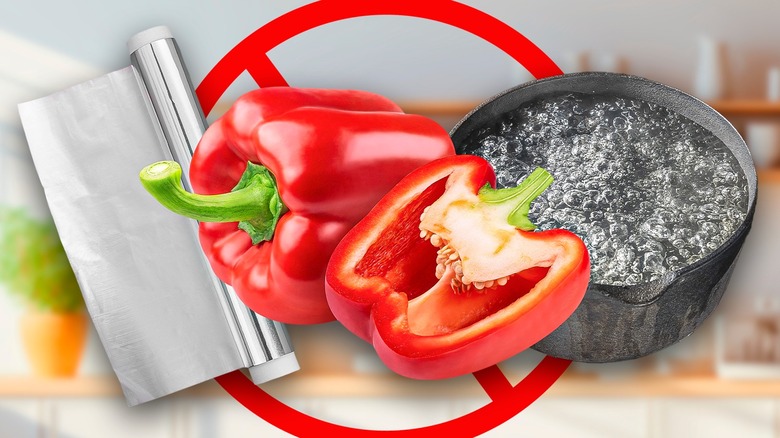
Steam is a very powerful tool in the kitchen that is not to be underestimated. By wrapping a red bell pepper in aluminum foil, all of its moisture stays inside of the securely wrapped package. The moisture from the red bell pepper leads to steam, which can help soften it quickly. Petranka Atanasova says this method of baking red bell peppers wrapped in foil can be used to make sure they get tender without drying out too much.
However, it is important to keep in mind that this trick will not produce the same charred result that comes from roasting a red bell pepper that isn't wrapped in aluminum foil. If you leave them uncovered, the red bell peppers will still soften; they will just be dryer and carry a different flavor. Baking them wrapped in foil, then, is best for recipes that call for red bell peppers that are softened and not charred.
9. You did not add oil before roasting them
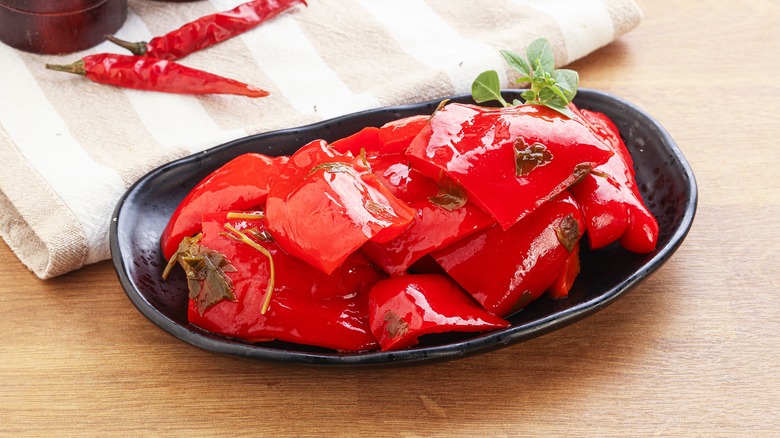
Cooking oil is a game changer when it comes to roasting red peppers. Whether your preference is olive oil, avocado oil, or something else, you can seriously upgrade the outcome of your roasted red peppers by adding it to them before they go in the oven. Indeed, this is an easy way to make sure your peppers bring robust flavor to a dish — or when eaten by themselves as a snack.
Before sticking them on a baking sheet and in the oven to roast, coat the red bell peppers in oil and season to your liking. By adding oil, you are opening up the door for many possibilities to flavor your peppers. Salt, black pepper, garlic powder, and herbs will stick to the oil as the peppers crisp up in the oven. While roasted red peppers do not necessarily need added seasonings to become flavorful, these seasonings will add an extra layer of flavor that will make you never want to turn back.
10. You did not peel your red bell peppers
While adding an extra step to the preparation process is not always ideal, some things — such as peeling peppers — are worth it to enhance the flavor of your meal. Peeled red bell peppers are going to give you sweeter results. Removing your pepper's skin will also smooth the texture by ensuring there will be no charred skin pieces in your food.
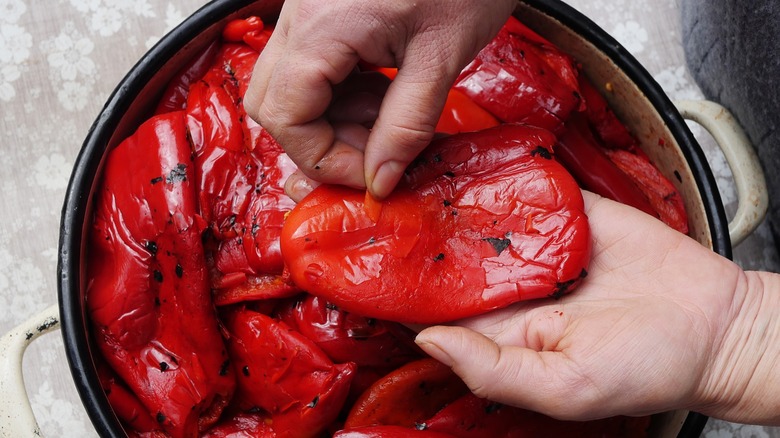
There are several ways to remove the skin of a red bell pepper, as it can be done while the pepper is either hot or cold. With a cold pepper, all you need to do is remove the skin with a vegetable peeler — just as you would with a carrot. If you choose to wait until after the pepper is cooked, simply run the roasted red bell pepper under cold water to remove the skin. Or, char it on a flame and put the pepper in a plastic or paper bag while hot; this will allow you to easily peel the skin after about 10 minutes.
11. You did not cut them correctly
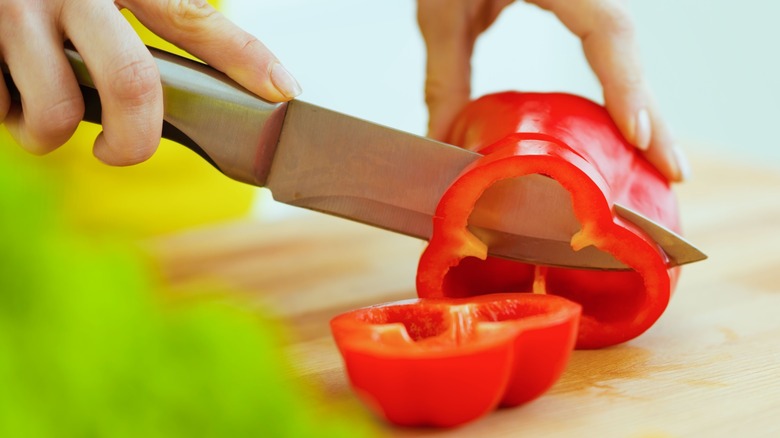
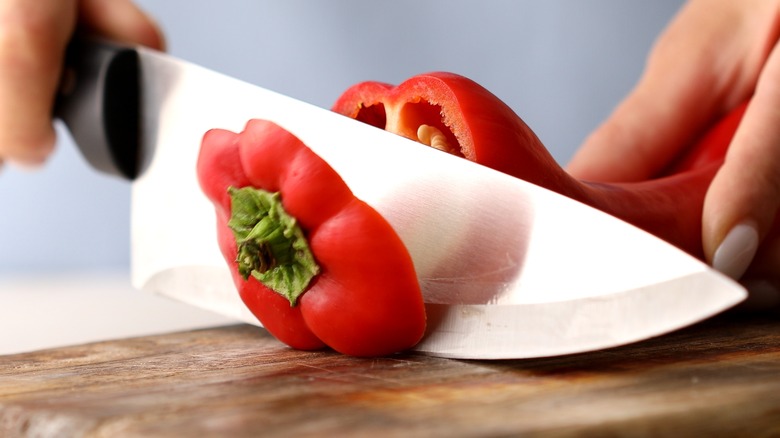
When it comes to cutting bell peppers, there is not necessarily a wrong way to do it, because certain recipes call for different ways to prepare them. For our purposes, then, you are free to chop, slice, and dice your red bell peppers as much as you want. However, there are ways you can minimize the waste when preparing your pepper.
"I trim the stem, invert the pepper, cut it along the contours of each lobe, carefully avoiding the seeds inside," Brian Theis shares of his cutting method. "This results in three or four (depending on the pepper) sections that I can either slice further lengthwise or dice." He adds, "Then you easily either compost or discard the stem and seeds all in one piece. This way, you get the most pepper to work with and the least waste." In addition to the stems and seeds, one of the most important steps to cutting any pepper is removing the pith. While it's safe to eat, you will want to toss it, since it has a bitter taste to it.
12. You didn't save the stems for vegetable stock
Generally speaking, it is always smart to save your food scraps to decrease waste in the kitchen. If you throw away your red bell pepper tops and stems, for example, you are missing out on an opportunity to reuse them to make vegetable stock. That said, although stems are fair game, avoid adding the seeds to your stock since they can make it bitter.
As an added bonus, making vegetable stock from scratch at home can be cheaper and healthier than buying a box of the stuff from the store. This process can also give you the opportunity to customize the flavor based on the ingredients used. Carrots, celery, garlic, onion, and herbs are commonly used when preparing vegetable stock. But if you are a fan of red peppers, adding these food scraps to the stock is an easy way to not only elevate the flavor of your stock, but to also incorporate that subtle bell pepper flavor into a soup or stew.
13. You only use red bell peppers in savory dishes
When you think of red bell pepper dishes, you might think of more savory applications like stuffed peppers, fajitas, and stir-fries. However, that doesn't mean it's not worth experimenting with, as you are missing out if you have not tried to combine red bell peppers with sweet ingredients.
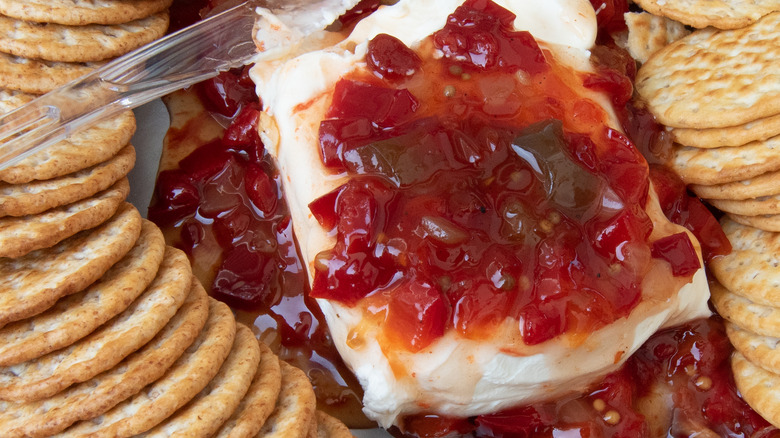
Indeed, a red bell pepper's sweet nature makes it a perfect candidate to incorporate into sweet snacks. One of the most common of these sweet concoctions is red pepper jelly, which you can serve over cream cheese and with crackers as a delicious appetizer. Another unique way to flavor red bell peppers is to serve them chopped up over plain yogurt and drizzled with honey. The sweetness of the red bell pepper is accentuated by the honey, which pairs well with the creamy yogurt. Or, if you prefer to soften your peppers first, you can roast them with honey and then serve with yogurt.
14. The red bell peppers were not stored correctly
If you see a red bell pepper that does not look quite right at the store, it might have been poorly stored before finding itself on the shelves of the produce section. Problematic conditions include extreme temperatures and too much moisture — and improper storage can lead to a bitter bell pepper. Petranka Atanasova says, "To prevent that, always select fully ripe bell peppers, characterized by a vibrant red color and glossy skin."
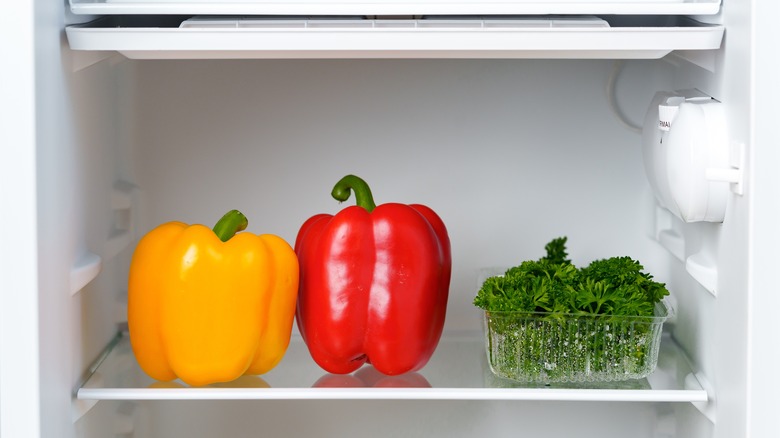
No matter how perfect of a pepper you pick out, once you take it home from the store, the responsibility has been passed on to you to keep it usable and appetizing. To lengthen your red bell pepper's lifespan, store it in a plastic bag in the crisper drawer of your refrigerator. This will expose it to less humidity than the rest of the refrigerator and keep it fresh longer. According to the USDA, it's best to use a properly stored whole bell pepper within five days, while cut peppers should be stored in an airtight container and used within a few days. While your peppers may remain fresh for longer, make sure to inspect them for mold or deterioration before using them.
15. You blanched your red bell peppers before freezing
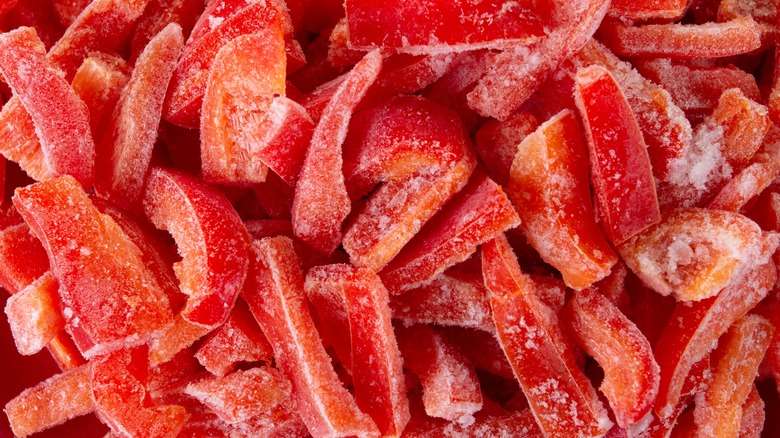
Usually, one of the first steps in preparing produce to freeze is the blanching process. This is when you partially cook something and then quickly cool it off by submerging it directly into cold water. In most cases, this is an important step in ensuring your produce keeps its color, taste, and texture — with the exception of red bell peppers. You can skip blanching entirely when freezing red bell peppers since they are known to freeze well and maintain their vibrant color and sweet taste.
Instead, all you have to do when freezing bell peppers is wash and cut them before spreading them out on a baking tray (we recommend using Brian Theis' cutting method to remove the stem, pith, and seeds). This tray will go in the freezer, where the pepper chunks or strips will freeze independently instead of clumping together. Once they have frozen on the baking sheet, put them in a freezer storage bag and squeeze out the air, before storing the bag back in the freezer.
