13 Guy Fieri Cooking Tips To Live By
There's a reason Guy Fieri has been called the Mayor of Flavortown, and it's because his cooking tips tend to lead to more flavorful food. If you've ever found yourself disappointed with a dish you've made, you know that it's often one little tip that could have turned it around. Having a few of Fieri's guidelines at your fingertips can help make you a better cook.
A lot of Fieri's cooking tips relate to meat, but not all, as he's offered up some tips over the years related to leftover veggies, pasta, and veggie burgers, too. Some require extra time and seasonings to accomplish. So, planning ahead and stocking your pantry and fridge with some key ingredients can make a big difference in the food that's coming out of your kitchen or off your grill. We've looked through several exclusive interviews and cooking demonstrations to uncover 13 of the top cooking tips he's offered up over the years.
Don't press down on burgers while cooking them
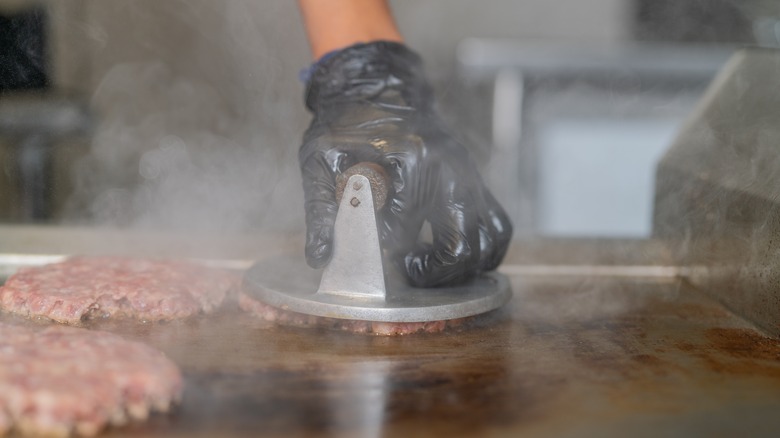
Guy Fieri is full of cooking tips. One that he stands by is not pressing down on your burgers during the cooking process.
In an exclusive interview with Tasting Table, Fieri explained when to and when not to smash a burger. "If you're going to smash it, as soon as it hits the griddle, smash it. Otherwise, quit messing with it." So, you shouldn't be pressing down on the meat during the cooking process itself — even to check to see how done it is. Fieri told us, "As soon as you see a little bit of the juice float to the top of the burger, flip it. Do the same thing on the other side. Call it a day. We're not pressing on it."
Fieri explained that leaving your burgers alone and avoiding smashing them while cooking is all about making your burgers more flavorful. He explained, "Every time you touch that burger and you hear 'chh,' that's Elvis leaving the building. That's flavor leaving the plate. Because all you're doing is pressing on it and losing the moisture, losing the juice." So, if you've been pressing all the flavor out of your burgers, it's time to learn to leave them alone and let them marinate in their own juices. Your mouth will thank you for it.
Bake your chicken wings long enough
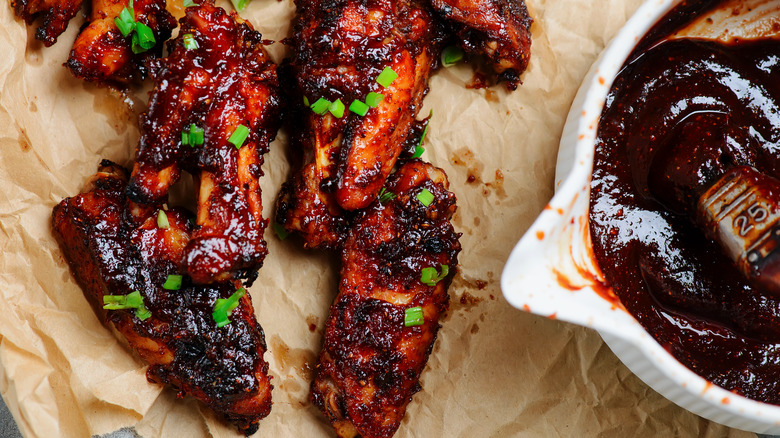
If your wings aren't as flavorful as you think they should be, it's likely because you didn't have the patience to cook them long enough. Guy Fieri has some special tips for wings that guarantee plenty of flavor.
In our exclusive interview with Fieri, we asked how cooks could best prepare wings at home. He explained that all the fat under the skin of wings is what adds so much flavor to them. He said, "When that gets rendered down, it moisturizes the meat as it cooks, and then it also doesn't make it so the skin's so gummy." So, the key to good wings is to cook them long enough so that all that fat has time to render.
The oven shouldn't stay at the same temperature the whole time either. Explaining the process to us, he said. "Season it, put it on parchment paper or on a sheet tray. Bake it off at 350 [degrees Fahrenheit]. Bake it until the wing is ... Well, if it's going to be your only cook, then bake it at 375 and really put a nice little crust to it, pull it out, then hit it with whatever sauce you want." It's that last blast of heat and leaving it in long enough for it to form a crust that lets you know you've cooked it long enough for the fat to render and leave you with juicy and deliciously-flavored wings.
Always reverse sear your steaks
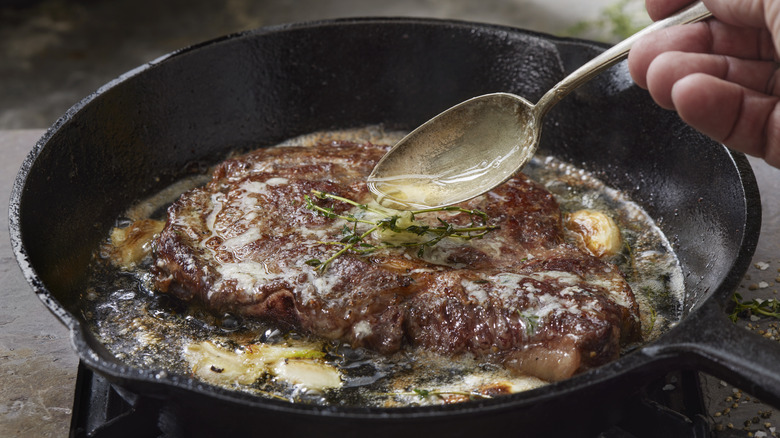
There are several ways to make steaks, but the steak-cooking method that Guy Fieri stands by is the reverse sear. However, you'll want to note that this method works best for steaks that are more than an inch thick.
A reverse sear is exactly the opposite of the way you've probably been cooking your steaks. Rather than start your steak on the stovetop and finish it in the oven, you'll start your steak in the oven and finish it on the stovetop. With the process going in reverse of the standard, it's called a "reverse sear."
To make steak using this method, you'll start your steak out in the oven, baking it low and slow like you would a roast. For a rare steak, you should roast it for 20 to 25 minutes at 120 degrees Fahrenheit. For medium, increase the temperature to 140 degrees Fahrenheit and the cooking time to 25 to 30 minutes for medium-rare or 30 to 35 minutes for medium. For medium-well-done steaks, crank the temperature up to 160 degrees Fahrenheit and let them roast for 35 to 40 minutes. Once it's at the doneness level you want, that's when you take it out of the oven and give it a nice crust in a searing-hot cast iron skillet on the stovetop.
Add your leftover raw broccoli stalks to slaw
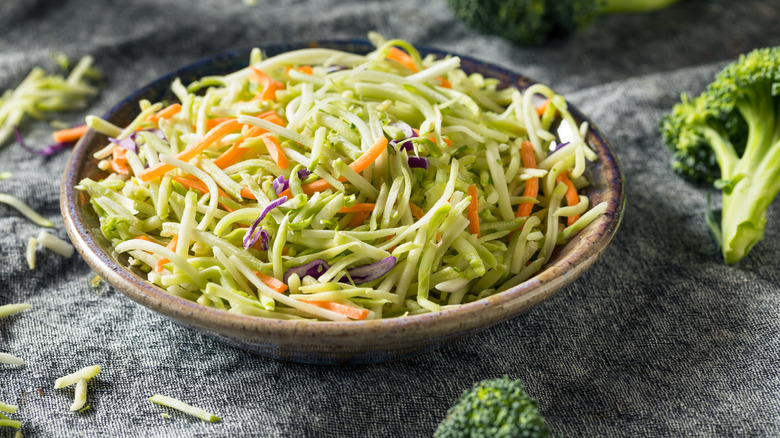
Another pro-tip from Guy Fieri is to save your broccoli stalks to make slaw. If you've been throwing away your uncooked broccoli stalks and just eating the florets or just want to improve your slaw game, this tip is for you.
If you've ever tried biting down on a raw broccoli stalk (especially a larger one), you know just how tough and unchewable the outer layer can be. So, you'll want to give them a better texture and flavor by peeling them first to remove the tough outer layer. You can use a knife or an ordinary vegetable peeler like the OXO Prep Y-Peeler to peel them. Then, grate them or julienne them to match the size and shape of the other vegetable ingredients in your slaw, like cabbage. OXO also makes a Julienne Y-Peeler that's great for this task.
When Fieri makes slaw with broccoli stalks, he also likes to add in other vegetables besides red and green cabbage, such as sliced fennel bulbs, chopped fennel fronds, grated carrots, and sliced sweet onions. Along with mayo, he adds Dijon mustard, apple cider vinegar, and honey. Plus, the slaw gets some chopped tarragon, salt and pepper, a pinch of cayenne, and a generous amount of slivered almonds.
Always keep chicken powder on hand
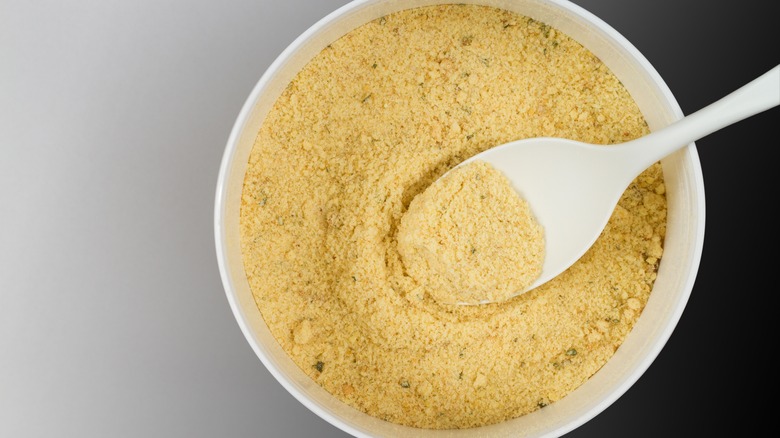
One of the secret ingredients Guy Fieri always makes sure to have in his pantry is chicken powder. When speaking with Food & Wine, he called it "the little magic flavor enhancer."
Chicken powder is essentially the powdered version of chicken stock. If you get your chicken stock in powdered form, like Wyler's Instant Bouillon Chicken Flavor Powder, you don't have to worry about it going bad like bouillon cubes or liquid chicken stock because it tends to last a while as long as you keep moisture out of it.
A little sprinkling of chicken powder boosts flavor in everything from rice to green beans, or anywhere you'd normally use chicken stock. However, it has other applications, too, that you might not have considered. Fieri told Food & Wine, "Where you would typically add chicken stock but you don't wanna add the extra liquid ... [adding] a little sprinkle into a chicken dish that you're making [will give you] that little flavor, a little sodium kiss." We've even seen it used as a seasoning for fried chicken.
Pickle brine and buttermilk are the secrets to great fried chicken
If you love making homemade fried chicken, there are a few tips Guy Fieri has for making fried chicken even better in both flavor and texture. While lots of home cooks make buttermilk fried chicken, Fieri goes a step further when making his marinade.
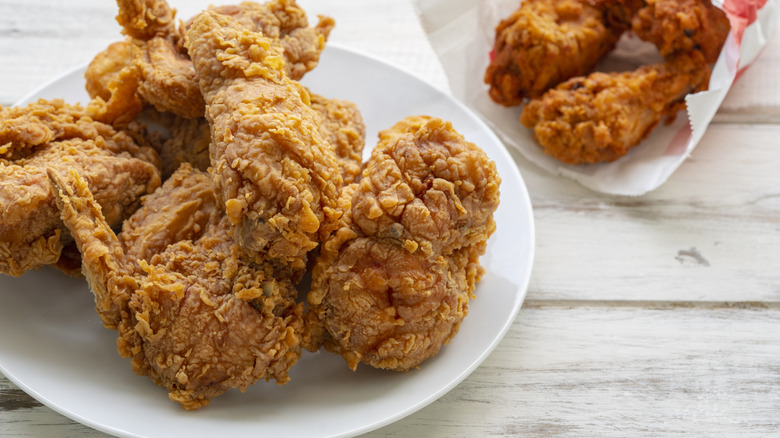
Fieri offered up his advice for making superior fried chicken on Instagram, where he suggested using a marinade that includes buttermilk and pickle brine. Other flavorings Fieri uses include a dill salt he makes from salt, pepper, and dill. Plus, he adds garlic powder, onion powder, and hot sauce to the marinade mix. Once the marinade is ready, the marinating process only takes two to four hours.
Buttermilk and pickle brine do more than just add flavor to your fried chicken. They also work on your chicken on the molecular level. Both the acid in the buttermilk and the salt in the pickle brine help to break down the tough proteins in the chicken. It doesn't hurt that they're both flavorful, too. Combined, they make the chicken extra soft, juicy, and flavorful.
There's a superior way to melt the cheese on your hamburgers
For Guy Fieri, making the perfect hamburger is about more than just the meat; the melt of the cheese matters, too. And Fieri has developed an excellent method for getting the perfect level of cheese melt on your cheeseburger. He suggests using American cheese because it melts differently and more easily than other options like cheddar cheese.
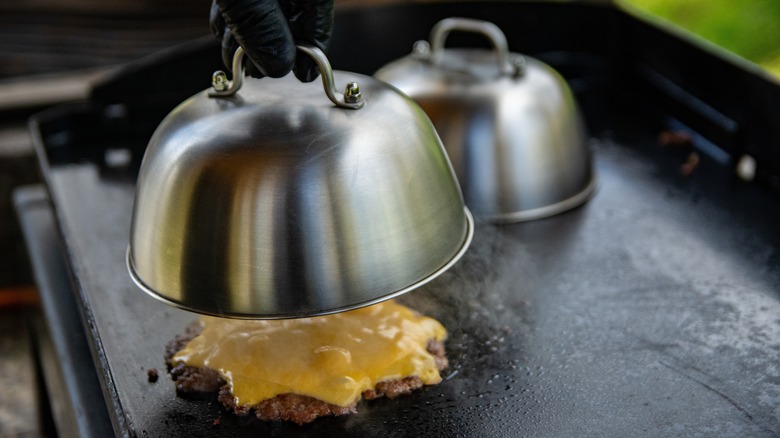
Adding the cheese happens while your hamburger is still on the grill or in the pan and before it goes on the bread. Fieri told Business Insider to "[p]ut some sort of dome or metal bowl over the top and squirt a little water underneath. That steam will melt your cheese before you overcook your burger." If you don't have a metal bowl, you could use a pie tin. Although, if you make cheeseburgers on the grill often, you might want to invest in a grill accessory made specifically with this purpose in mind, such as the EWFEN Cheese Melting Dome. With the steam circulating throughout the dome, it's going to get nice and melty faster and more evenly than it would if you just added the cheese without a makeshift steam oven over the top.
Spices and moisture are the secret to great veggie burgers
One of the biggest tragedies of Guy Fieri's life occurred when his sister Morgan died at age 38 from cancer. During her final year, her brother was determined to create the ultimate veggie burger for her since she was a vegetarian. The burger he created contains 21 ingredients and is superior to anything you can get premade.
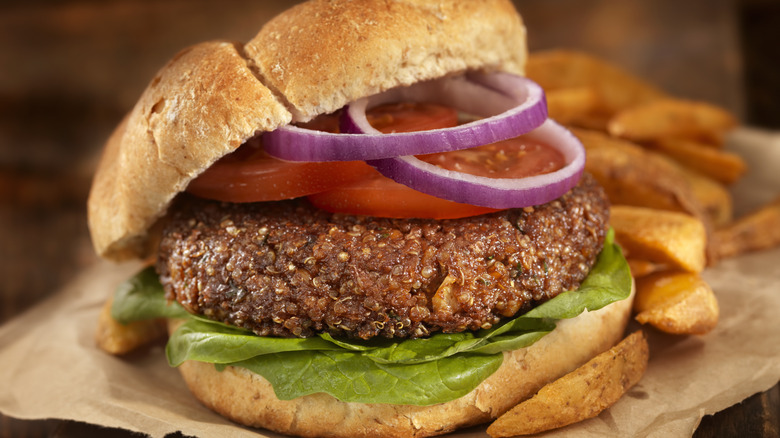
First of all, his veggie burgers have lots of moisture. If you've ever tried making homemade veggie burgers only to have them crumble while cooking, you'll understand why moisture is key. The veggie burger Fieri makes contains six types of sauteed veggies, three types of beans, rolled oats, seasoned breadcrumbs, and an egg. Although the beans are drained, all the moisture in the sauteed veggies and the egg helps to prevent the finished product from becoming too dry.
There's also lots of flavor in his veggie burgers. Many of the sauteed veggies he uses, like red onion, black olives, bell pepper, jalepeños, and garlic, are highly flavorful. To add to the flavor, eight of the 21 ingredients he uses are spices (paprika, chili powder, oregano, parsley, chili flakes, cumin, celery salt, and sage). Not to mention the fact that the breadcrumbs are already seasoned. If you go with something like these Progresso Italian Style Breadcrumbs, you'll end up taking it in a more Italian direction. So, don't skimp on moist and flavorful ingredients if you want a superior veggie burger.
The best barbecue chicken starts with a spicy brine
Guy Fieri knows his way around cooking meat on a grill, which is why you'll want to use his barbecue chicken seasoning tip next time you make some. Barbecue chicken already has a great flavor and texture that comes from the chicken's skin, bones, and fat. However, a spicy brine gives it even more of a flavor boost before you ever add barbecue sauce to it.
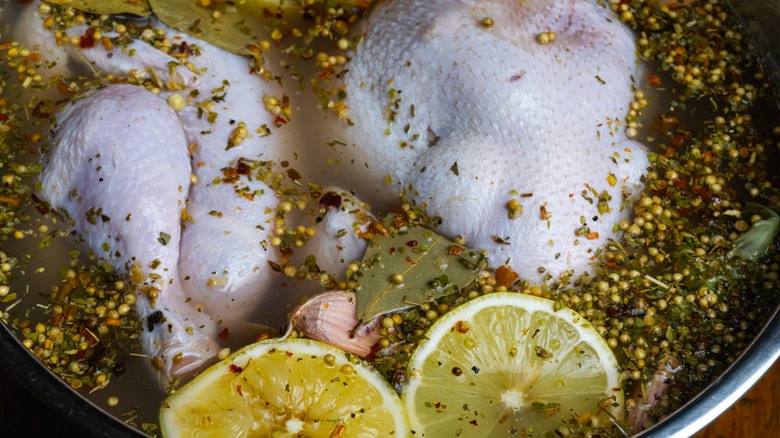
In an interview with US Magazine, Fieri provided a little insight into the spicy brine he likes to use when he makes barbecue chicken. "You take the chicken, and you give it a nice brine. Equal parts of salt and sugar, a little bay leaf, and some peppercorns and chili flakes. Maybe some thyme and some garlic, and you brine that chicken." For best results, for every 1 cup of water you use to cover your chicken, you'll need about 1 tablespoon of salt.
Even if you didn't plan ahead, you can still get the benefits of brining even if you only have 30 minutes to soak it because the salt will have had time to start breaking down some of the proteins in the meat. If you have enough time, you can brine it as long as four hours for pre-cut, bone-in pieces of chicken or as long as overnight for a whole chicken.
Barbecue chicken is best cooked low and slow
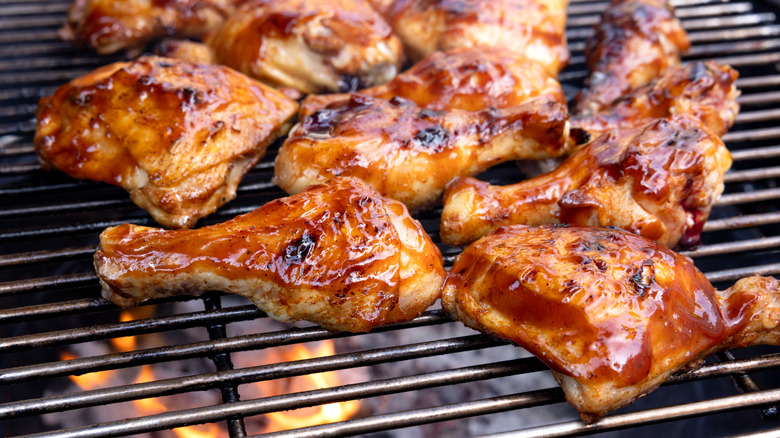
Every meat has its secret, and Guy Fieri's secret to making great barbecue chicken is cooking it low and slow. It might take longer, but you're going to love how it turns out.
Fieri told Parade that, after brining and dry rubbing the chicken, it's essential to "[t]ake the time and go low and slow." He said it's important not to "get the coals too hot. Heat it up and slowly cook it to really break it down. That's when you get this super tender falling-apart meat. No one likes rubbery chicken. Manage the heat, let the meat cook, and you'll get fantastic results."
So, just how low and just how slow should you go? Well, if you're grilling it at a temperature of 200 to 300 degrees Fahrenheit, you can expect it to take one and a half to two hours for a whole chicken to get completely done. Exactly how long it takes depends on the temperature and the size of your chicken pieces. So, you'll want to check the internal temperature with a good meat thermometer like the Javelin PRO Meat Thermometer to ensure the internal temperature is 165 degrees Fahrenheit. But the time it takes is worth it for tender, juicy meat that falls off the bone. At lower temperatures, all the connective tissues in the meat have more time to dissolve and turn to gelatin, which makes the meat even more moist.
Deglazing your pan adds extra flavor to a dish
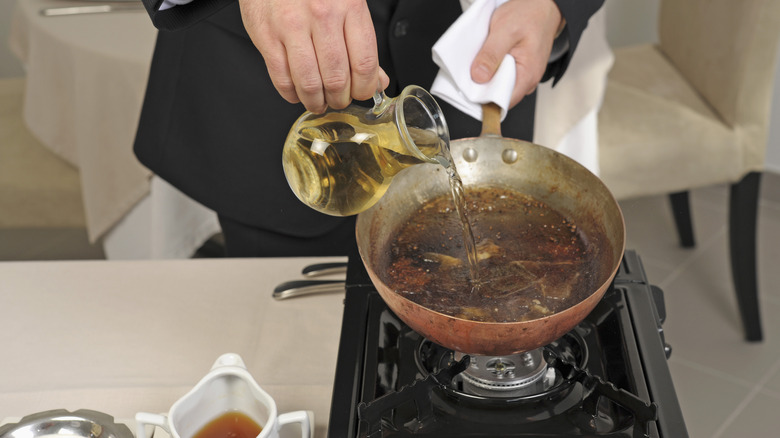
One of the tips Guy Fieri gives for getting more flavor than usual from ingredients that you cook in a pan is to deglaze the pan. It adds an extra step to your cooking process but yields amazing results.
Fieri explained the deglazing process when he was with Matthew McConaughey, demonstrating budget cooking ideas for the Just Keep Livin Foundation (via YouTube). Fieri called deglazing "one of the greatest techniques you can learn." You can deglaze with water or other liquids like chicken stock. Essentially, you'll want to deglaze a pan when you're cooking meat or other ingredients, and you have little pieces stuck to the bottom. Fieri says that "that chicken stock is going to help bring all that smell [and] that it's going to bring all that flavor off the bottom of the pan."
Not only does it provide more flavor, but he said that, once you're done, "it's almost going to have its own little sauce. If you cook it the right way, it's got its natural moisture." So, by deglazing, your dish gets its own sauce, more flavor, and more moisture. This tip not only works for foods you cook on the top of the stove in a skillet, but you can also deglaze foods you've cooked in the oven, like a pot roast.
Brining is essential for moist pork chops
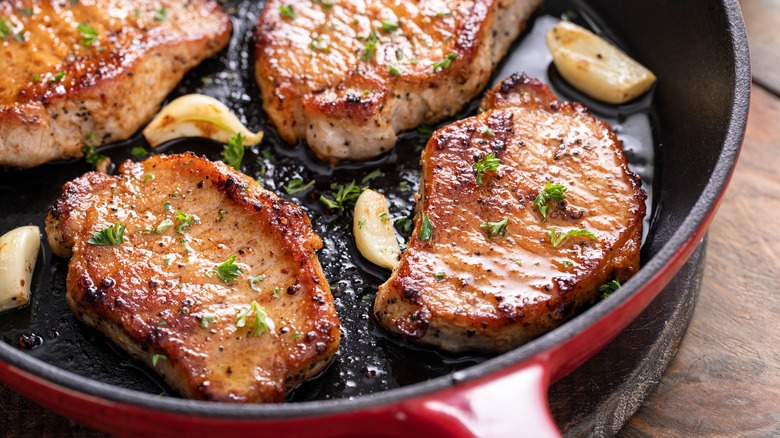
If you thought brining was just for poultry, you've been missing out. Guy Fieri is a big fan of brining pork chops to give them more moisture.
For his brine, he adds 1 tablespoon each of kosher salt and sugar, 1 teaspoon of peppercorn or fresh cracked pepper, several smashed garlic cloves, and onions. You can also substitute agave syrup for the sugar. He adds water and lets it simmer in a pot until the sugar and salt dissolve and the spices and aromatics season the water more. However, he waits for it to cool before he soaks the pork chops in the brine for about an hour in the refrigerator. If you're in a hurry, you can add ice to cool it down faster.
Once the brine is ready, it's time to soak the meat. If Fieri is making really thick pork chops, he cuts a little pocket inside the chop so that flavor permeates both inside and out. If you're pressed for time, you can soak them in the brine for just 20 minutes, but an hour is ideal. After soaking, they're ready to cook in the skillet with a little oil.
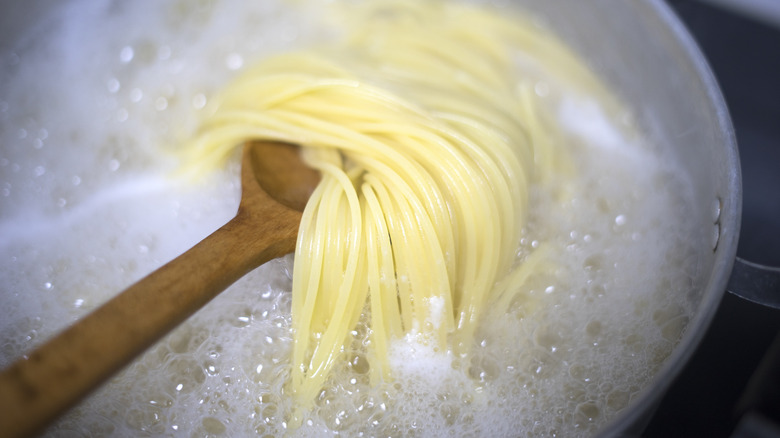
Start cooking pasta in boiling water
The final cooking tip we have from Guy Fieri is how to cook pasta. If you've been putting your pasta in cold water instead of boiling, you might want to try Fieri's way instead because it yields more consistent results.
Fieri said on Food Network Kitchen (via Facebook), "You start potatoes in cold water and bring them to a simmer. But why do we start pasta with boiling water and drop it in? Well, the potato, we're cooking from the inside out. You know, we're cooking this big potato. On this pasta, we're literally cooking from the outside in, and we're going to get right to the inside of the pasta, which just has a little bit of bite to it, which we call al dente."
Some chefs disagree with the whys behind cooking pasta from boiling vs. cooking it starting with cold water. However, one definite problem with starting pasta from cold is not noticing the exact time that the water starts to boil and overcooking it rather than cooking it al dente. So, if al dente is your goal, dropping your pasta into boiling water and setting a timer is your best bet.
