What You Should Consider For Your Weekly Keto Meal Prep
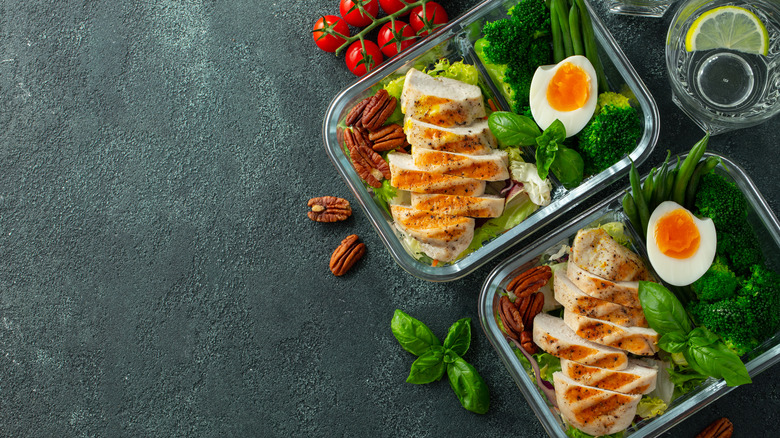
If you're following a keto diet with all your macros calculated, meal prepping is an invaluable tool to keep you on track. A few dedicated hours on a Sunday can set you up for success all week long and eliminate those moments of scrambling to find something compliant while your tummy is grumbling.
But, even if you know your way around the kitchen and have some solid culinary skills up your sleeve, meal-prepping may seem like a daunting task. Mix in the picture-perfect images on social media of preposterously organized fridge interiors and you're likely to stop before you even start.
The truth is, there is no wrong or right way to meal prep, and it's actually a skill you will hone over time. There are, however, a few guidelines to slip into your back pocket to make your weekly keto meal prep a seamless feat. Whether you're a veteran, rookie, or just curious about joining the trend, the following tips will make you a prepping pro in no time.
Planning makes perfect
Meal prepping without a plan can be downright disastrous. Everything needs to be outlined ahead of time if you want to succeed, including what you want to make, when you're going to make it, how you're going to store it, and even your shopping trip.
First things first: Choose the right assortment of keto meals. Take into consideration factors such as quantity and what keeps well, because some foods store better than others. For example, ceviche in the middle of August may be an enticing low-carb dish, but a huge batch of bean-less chili makes more sense. Generally, fish doesn't keep past a few days, per the USDA, and stews and soups tend to taste better the longer they sit. And unfortunately, a popular keto-friendly fruit, the avocado, just isn't cut out to be prepped ahead of the week. Also, keep in mind the ingredients you'll be using. Does that chili call for a tablespoon of cilantro? Pick some other recipes that also use the herb so the rest of the bunch doesn't wilt in your crisper.
Peruse Instagram accounts and your favorite keto blogs so you can start a collection of dishes that sound appealing. Once prep day comes along you'll have an arsenal of low-carb recipes to choose from.
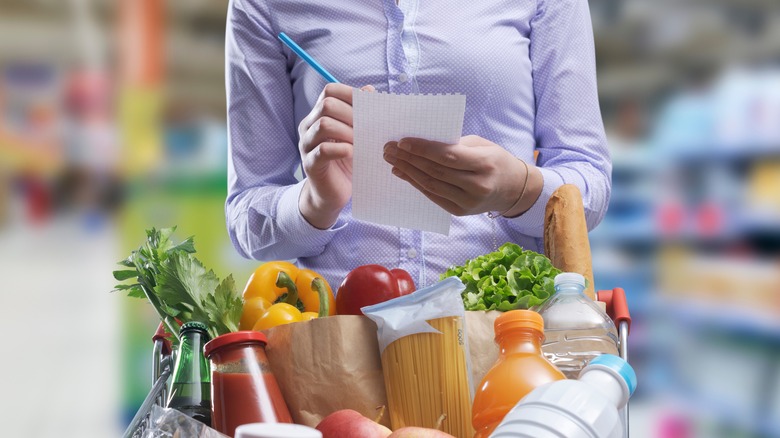
Once your recipes are chosen, make your shopping list. Keep it organized by sections and layout of the store. Keto means you'll be spending most of your time shopping for fresh meats such as poultry, ground beef, and breakfast sausage. Don't forget your keto-friendly veggies like mushrooms, garlic, green cabbage, and green onions (via healthline). Take inventory at home before you go and cross-reference with your list. You're going to be spending a couple of hours in the kitchen so making your grocery trip an in-and-out task is advantageous (via eatright).
Efficiency is key
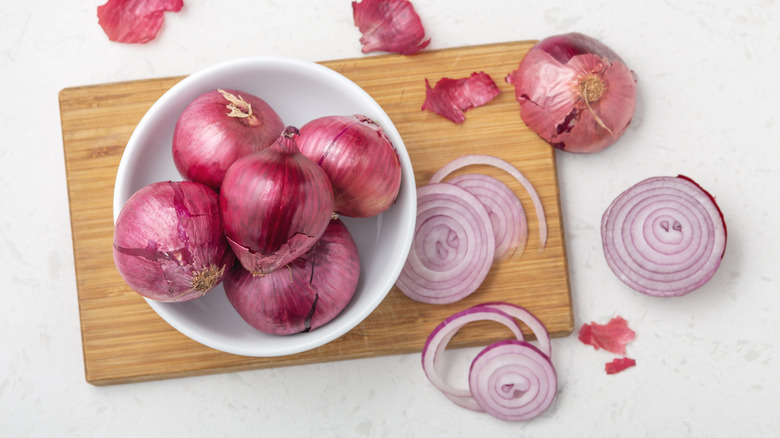
To maximize efficiency on prep day, it's helpful to borrow a few tricks from culinary professionals. In commercial kitchens, prep cooks spend hours on task batching. If you have three onions that need dicing for those three recipes, instead of peeling, halving, and dicing one at a time ... peel all three, then halve all three, then dice all three. May sound simple, but grouping the work like that keeps you mentally focused and working faster, points out Wander Amylessly. This method allows you to measure out what you need from your group of pre-prepped onions for each recipe. For an even quicker hack, toss those onions in a food processor and pulse away.
Another kitchen trick is "mise en place," which is French for "putting in place." Before you light a burner or fire up the oven, have everything laid out and ready to go. Have the mirepoix for that keto chili chopped, all the spices pulled from the cabinet and measured out, and the can of crushed tomatoes opened. This way you'll avoid scorching those onions while you're rummaging through your cabinet for the paprika (via WebstaurantStore).
Another tip to save time is plain old multi-tasking, per Nature Nate's. Practice makes perfect when it comes to cooking and you'll eventually get to the point where you have all four burners going, two dishes in the oven, chicken marinating in the fridge, and zucchini noodles to prep on your cutting board. This is something to keep in mind when you choose your recipes as well. Three dishes that all bake at different temperatures is not the best choice.
Make sure to have supplies on hand
The basic supplies already residing in your kitchen will probably fit the bill, but there are a few must-haves. The absolute basic of the basics is a sharp chef's knife — the sharper a knife is, the safer it is. When the blade is dull you'll put more pressure and force on your slices (per Knives Engraved). According to the Institute of Culinary Education chef, Chris Scott, it's worth investing in one quality 8-inch knife instead of an entire set you'll rarely use (via Well+Good). A large, non-slip cutting board is also a must. Bon Appétit offers a trick you can use to keep your board still — wet a paper towel and place it underneath. What's even more dangerous than a dull knife? A cutting board sliding all over the place.
A set of large mixing bowls is also a necessity. Those onions you task batched? They'll need a home on the counter as you measure out for each recipe. Along that same line, counter space is a must. Before you start cooking, clear your counters. You'll need room for the ingredients, the prepped ingredients, all their bowls, and space to place containers as you portion out the finished dish.
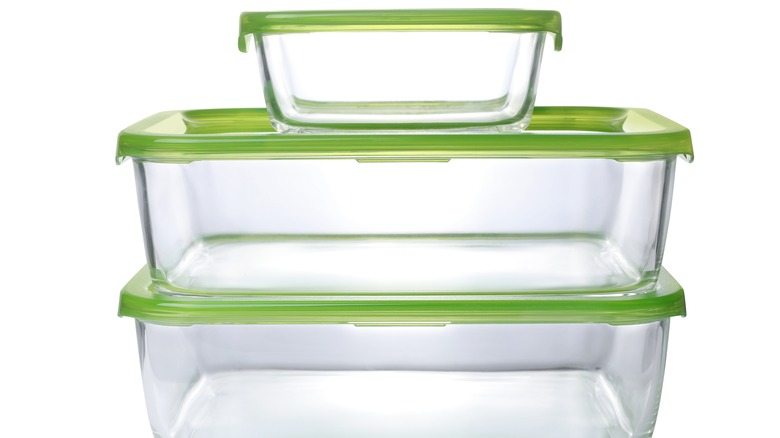
High-quality containers to store your hard work are also essential. Glass containers in a variety of sizes not only help you on your way to a picturesque Instagram account, but they are also easy to stack, won't stain, and can go straight ito the microwave as long as they're marked "microwave safe" (via Taste of Home). If you're following specific keto macro ratios, portioning out the meals into individual servings will keep you on track (as opposed to storing everything family-style). Stay extra organized and get some painter's tape and a Sharpie to label the dish and add the date it was made to ensure food safety (via allrecipes).


