What The Poke Test Indicates When Proofing Homemade Bread Dough
There is a wonderful art to crafting artisan bread at home. Folding or kneading the dough by hand, watching it rise in the oven, and smelling the perfume rise in the air after hours of work and patience. Unfortunately though, these joys aren't available to every home baker, and there are plenty of mistakes that can occur along the way.
One common mistake is that a loaf of bread turns out too flat. As The Bread Guide points out, there are several reasons for this to occur. According to Science of Cooking, bread's structure comes from two main elements: gluten and yeast. Gluten is the protein found in flour that meshes together to form an internal webbing when stimulated during the kneading or folding process. Yeast, on the other hand, feeds on the sugars present in the dough to produce carbon dioxide and other gasses through fermentation. Together, the gas produced by the yeast cells fills the webbing of gluten, and essentially turns the dough into a self-inflating balloon. When either one of these elements fails, the bread's structure fails, and at some point in the bake will collapse.
When checking the gluten development in bread, The Bread Guide recommends using the windowpane test. This is done by simply stretching a small piece of dough to see if you can see light through it without breaking. This will tell you about your gluten, but there's another test to check if your yeast has fermented enough.
How to conduct a poke test
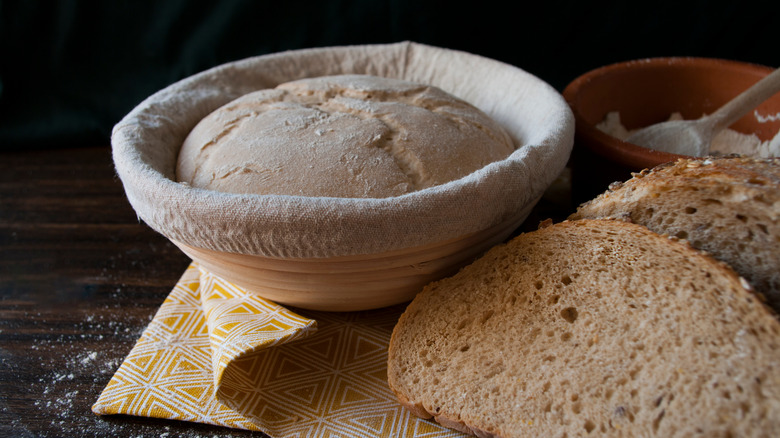
The best time to check if your dough has finished fermenting enough is during the proofing period. Real Simple points out that this is the dough's last period of rest before it pops in the oven. Breads are often left to rest in containers called proofing baskets, which helps improve their final shape while they rise as well. As the dough fills with gas, the pressure of the dough pushes against the basket, and matches its rounded shape (via The Kitchn). This can help add some structure to the dough, but timing is key as well.
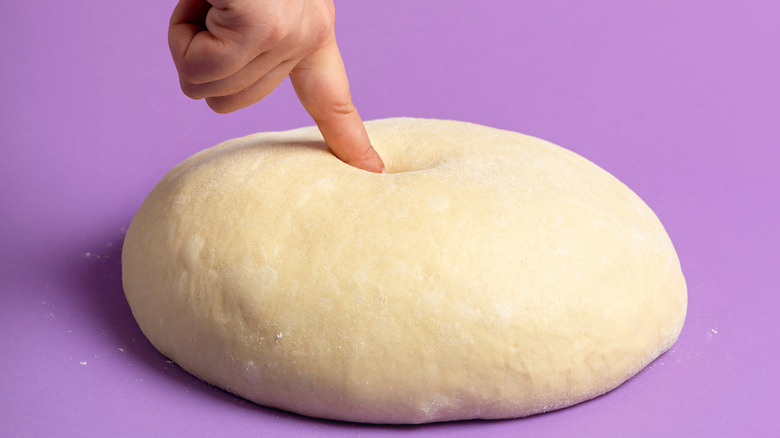
To nail down the timing of your proofing period, you'll need to use the "poke test." Bon Appétit says to simply wait until you believe your dough is ready, then poke it gently with a floured or oiled finger (so it doesn't stick), and observe. If your dough is ready, it should spring back slowly, and with only a slight resistance while leaving a slight indentation.
According to Cook's Illustrated, if it springs back quickly, or not at all, then you've got a problem. While yeast is still producing gas, it puts more pressure in the bubbles. Meaning, a quick spring back after poking tells you the dough is still producing gas, and needs more time to rest. While if it only produces an indent without springing back, that means production has stopped completely, and your overproofed dough is likely to collapse in the oven.

