12 Tips You Need When Cooking With A Cast Iron Skillet
Cooking with cast iron is a great way to add flavor to your food and improve the overall cooking experience. These hardy pans are made of a single piece of iron that is poured into a mold while the metal is still liquid, hence the name. The pebbled surface provides a texture that oil can bind to during the seasoning process, eventually becoming a nonstick coating. The single piece of cast metal is impervious to warping and has no rivets or joined pieces that can become loose or caked with food. Cast irons may take awhile to get hot, but once they do, few pans can compete in terms of temperature retention.
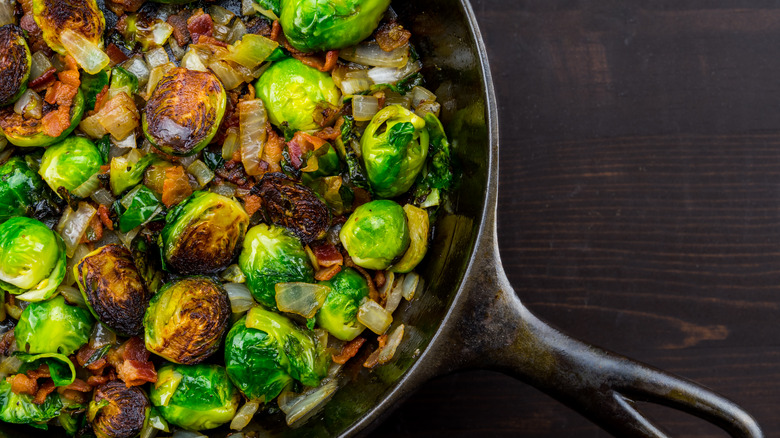
A well-seasoned cast iron skillet can be the workhorse of any kitchen and can be used for everything from fluffy cornbread to crispy fried chicken to chocolate chip cookies. If you've decided to introduce a cast iron skillet to your culinary repertoire, here are a few of our best tips for achieving the best possible results.
Preheat the pan
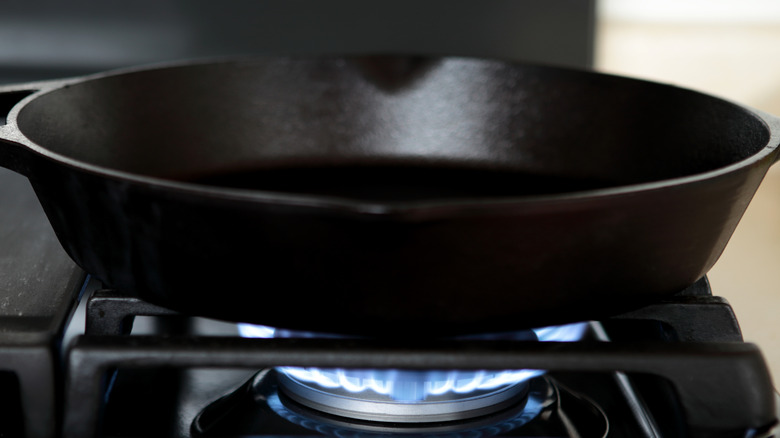
One of the most common questions when cooking with these types of pans is whether or not you need to preheat cast iron. The short answer is yes. Preheating will help to prevent your food from sticking to the pan and will also help to improve the overall flavor of the dish. The thick gauge of the cast iron takes some time to heat thoroughly and will retain its heat for a long time.
Before you start cooking, make sure to preheat your cast iron pan over medium-high heat. Any higher and you risk shocking the metal and burning the food. Any lower, and you'll be waiting around forever. That being said, when cooking more delicate items like eggs, it is a good idea to turn the heat down to low or medium-low once the pan has properly preheated. Never put a hot pan under cold water — instead, let it cool down slowly before cleaning.
Don't forget to rotate it
Preheating is an essential part of cooking with cast iron pans, but there is one other key step to ensure the best results in your cooking. Any pan, even cast iron, is subject to uneven heating due to hotspots caused by irregular gas flames or electric cooktops. Though these pans do distribute the heat well (which can help avoid these hot spots), rotating your cast iron pan is the best way to heat completely and evenly.
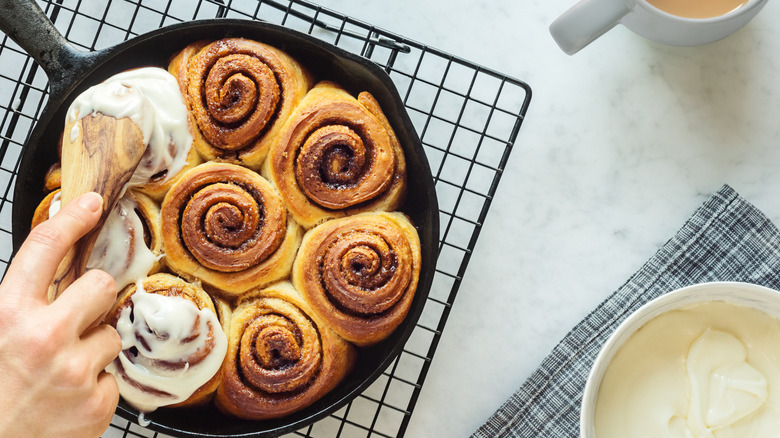
Even with rotating, most cast iron pans take at least 10 minutes to reach a perfect, even level of heat. If you don't have the time or attention to watch your pan for this long, stick it in a hot oven and pull it out when you're ready to cook. This technique works especially well for baked goods (like cornbread), where you are looking to achieve a delicious and crackly brown crust.
Use plenty of oil
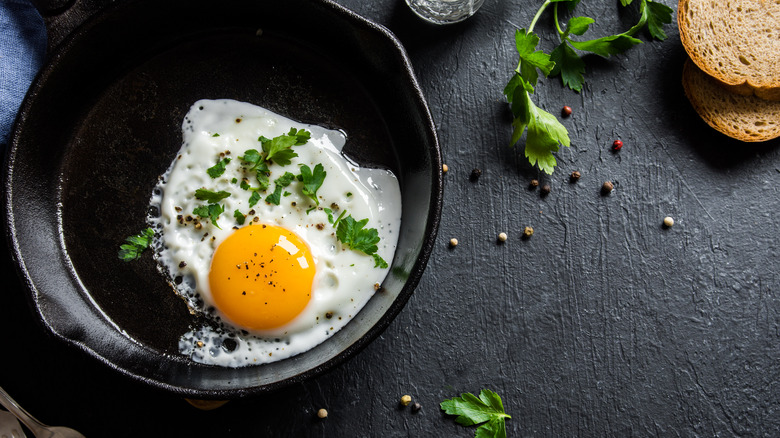
More and more, people are ditching their old, scratched, non-stick pans — and for a good reason. The chemicals that make the non-stick coating can leach into your food once scratched. Luckily, cast iron pans can be used for most of the same types of cooking thanks to the coating created by polymerized oil during the seasoning process. Cast iron skillets produce perfect fried eggs that are crispy on the edges with a nice, runny yolk. There is a small secret to achieving this small feat of culinary magic, however.
The best way to prevent eggs from sticking to a cast iron skillet is to use an appropriate amount of oil. Yes, there is a coating of seasoning on the pan, but ingredients that are known to stick (like eggs) still need a little bit of fat to grease the wheels, so to speak. Choose an oil that works well on high heat, such as avocado or corn.
Butter helps with desserts
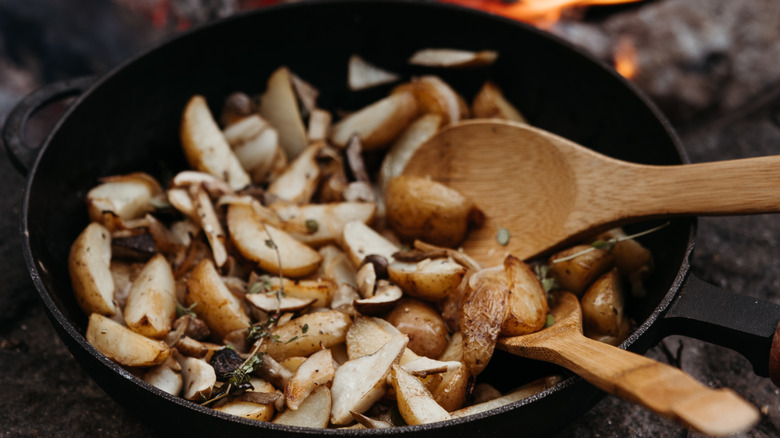
Some truly delectable desserts can be made in a cast iron skillet. Because of the pan's ability to work well under extremely high heat, the cooking options are virtually limitless. Cast iron pans can go onto the stove top or in the oven, but they can also be used on the grill or even directly over an open fire when camping or cooking outdoors.
While a well-seasoned pan offers a nonstick coating, baked goods with a high sugar level will require a little more lubrication. Butter is the secret ingredient you need for success when grilling dessert in cast iron. The butter provides a barrier against sticking, and the fat can also provide a conduit between the pan and the food. This transfer of heat will lead to a gloriously crunchy crust on the exterior of your dessert. In our experience, just three tablespoons are all you need for the average nine-inch pan.
A little flour can go a long way
We covered using ample fat in the cast iron pan before cooking sticky foods or baking, but what if that isn't enough? Professional and home bakers alike know of a secret yet simple tip for ensuring baked goods won't stick to cast iron. Once the pan has been properly greased, either with oil or butter, an even and solid blanketing of flour all but guarantees any baked item to pop right out after baking. Simply sprinkle flour over the pan and swirl it around overtop the sink. Turn it over and tap to get rid of excess.
Rather than flour, you can employ this same trick with cocoa powder for chocolate cakes and desserts. Regular, all-purpose flour will leave a white coating on the outside of chocolate treats, which, while not inedible, won't do you any favors in the flavor or visual appeal departments.
Cook over an open fire
There are many great uses for cast iron pans, but one of the best is definitely going to be cooking over an open fire. Whether you are camping or just utilizing a backyard fire pit, cooking over an open fire stimulates a primal instinct in us and satisfies something deep within. Perhaps it's the smoky flavor that is imbued into any food cooked on a fire, or maybe it's the ultra-high temperatures that can create a satisfying char. Either way, this type of cooking absolutely requires a cast iron pot or pan.
Only cast iron is durable enough to withstand fully stoked fire, so you will want to leave the stainless steel skillet at home. One note of caution about cooking over fire: This type of preparation is much less predictable than gas or electric stoves, so a constant sharp eye on the cooking process will be the best tool for this project.
Make pies with super-brown crusts
In cooking, there are often multiple ways to achieve greatness on the same recipe. That's never more true than with pies, which have more tips and tricks for success than there are types of this dessert. Pie and pie crust can be tricky to pull off for even the most experienced bakers, so any help is greatly appreciated.
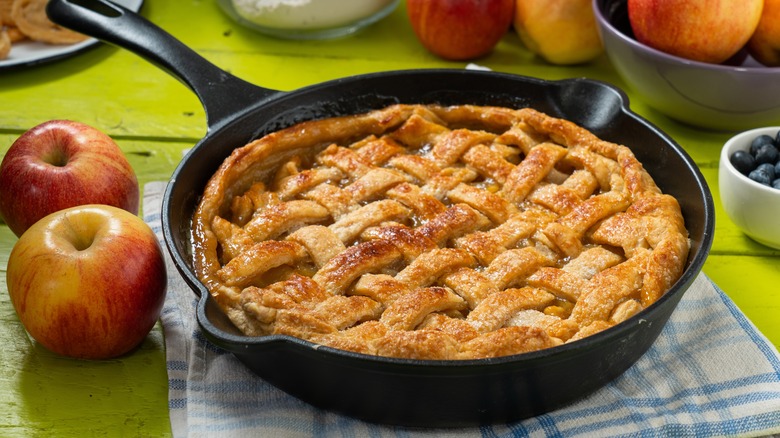
When it comes to baking pies, some recipes call for metal pie tins and ceramic pie dishes. Some creations, like our Dutch apple piece recipe, call for a springform pan or even a tart pan. While all these options are great and will result in amazing pies, a cast iron skillet may be one of the best vessels for pie. Cast iron pans retain a lot of heat, and if you preheat the pan in the oven, you can ensure an even spread of that temperature across the pan. The end result will be a pie with deeply browned crust all over the bottom. This strategy is a surefire way to avoid the classic pie pitfall of a soggy bottom crust that fails to bake before becoming saturated with the liquid filling.
Get the perfect steak crust
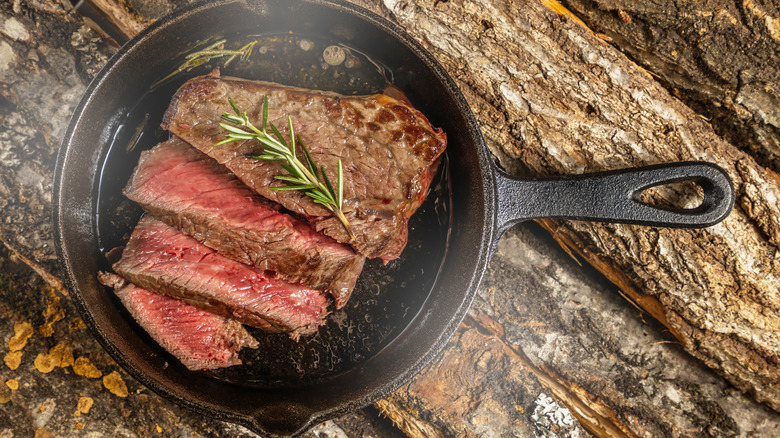
One of the best uses for cast iron is searing meat. Achieving that perfect finish on a piece of steak or chicken requires a high, even temperature and a skilled hand. The thick gauge of cast iron ensures that the pan reaches the high temperature needed to create a good char — and that it holds this heat for as long as you need. The Maillard reaction begins around 300 F, which is nothing compared to the temperature levels a good cast iron is capable of. As LiveScience reports, the surface temperature of a steak needs to be about 350 F for the catalyzation to kick in, so you can see how cast iron is the perfect tool for the job.
Celebrity chef Guy Fieri's steak-searing tip takes it one step further. Before singeing his steak in a super-hot skillet, Fieri bakes it in the oven at low heat until his desired internal temperature is reached. This method (sometimes called reverse-searing) takes the pressure out of nailing the internal temperature while simultaneously ensuring the exterior doesn't burn. Once the internal temperature is reached, the final step is to place the steak in a smoking hot cast iron coated with oil and cook until a gorgeous, golden-brown crust forms.
Avoid acidic sauces
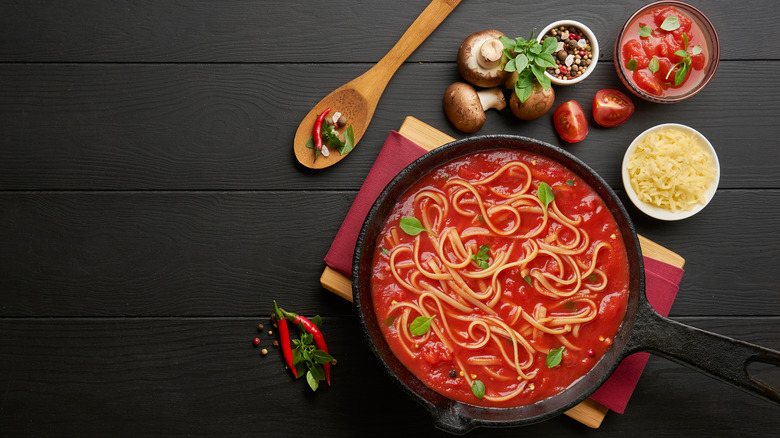
It's a common rule of thumb with cast iron not to use them for acidic sauces. The acidity in certain foods (like tomato sauce) can actually eat away at the metal and leach it into your food. While it is generally a good idea to stick to stainless steel when cooking recipes with high acid levels, there are a few exceptions. The seasoning on cast iron can protect the metal from the corrosive nature of the acid, at least temporarily.
For quick sauces and dishes that don't require a long simmer time, don't worry about potentially ruining your cast iron pan — provided that it's seasoned properly, of course. If the pan is new, wait until the seasoning has been built up before trying one of these recipes. A good rule of thumb is to cap the amount of time an acidic sauce is in the pan at 30 minutes. Any more and a noticeably metallic taste will appear, which means your coating is beginning to strip.
Double-fry your fried chicken
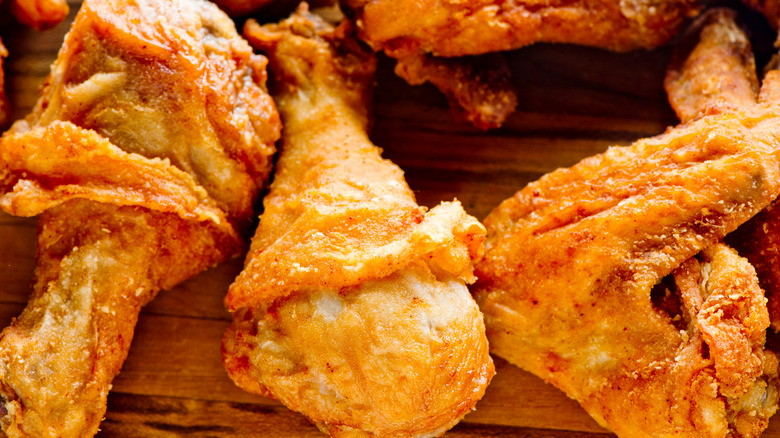
Fried chicken is a tricky (and messy) recipe that is sometimes easier to buy at a restaurant. For the tenacious few that choose to make it at home, there are a few different options when it comes to frying. Some recipes call for creating a pot fryer by filling a high-sided pot or wok with oil and using that to deep-fry the chicken. Other recipes do it the old-fashioned way: using a cast iron skillet and shallow frying the pieces. Shallow frying requires hot oil that sizzles as soon as your food hits the pan. It's especially easy to do with cast iron, which holds heat well.
Unsurprisingly, chef Marcus Samuelsson's go-to for fried chicken is a cast iron, though the celebrity pro has another trick up his sleeve. Samuelsson uses peanut oil to fry his chicken and prefers to do a double-fry. First, he fries the chicken at a high heat, then lets it rest for ten minutes before it goes back into the oil at a lower heat for another three minutes. This ensures the most crispy possible skin on the chicken. Your cast iron can do all of this, especially if you have a pan with deep sides.
Clean the pan properly
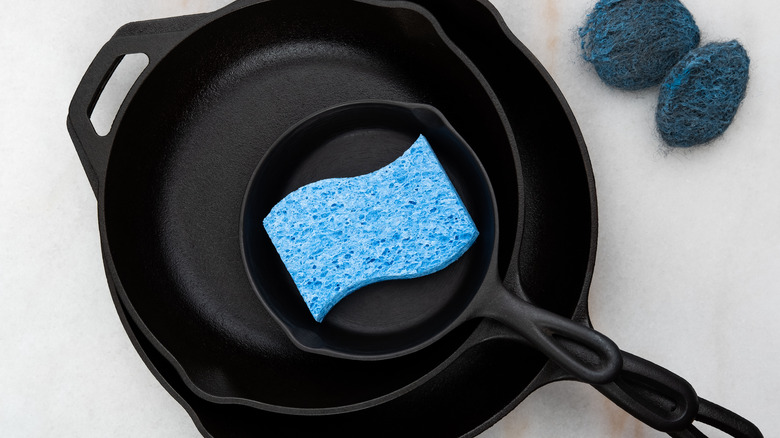
Cast iron pans are known for their durability, but they can be damaged if they are cleaned with harsh chemicals or abrasive scrubbers. To clean your pan, wipe it out with a damp cloth or sponge and then dry it thoroughly. Often, just a dry paper towel will do. Don't worry about some residual oil left in the pan — this will contribute to the seasoning and keep the pan from rusting. Baked-on food residue can be removed with steel wool (the kind without soap!) and rinsed with water before drying thoroughly. If the thought of using steel on your coating rubs you the wrong way, you can also generate gentle abrasion with kosher salt, which will remove stuck food without damaging the coating.
Panicking because a little soap got on your pan? Not to worry. Though oil coating the pan will help keep the pan from rusting, the polymerized oil coating, which is what we call the seasoning, can't be removed with a little dish soap and won't ruin your pan. In general, you shouldn't need soap to clean the pan, and never put your pan in the dishwasher.
Dry it well
Though we've already gone on about the importance of cleaning the pan correctly to avoid ruining the gorgeous layer of seasoning, there is one more step to the cleaning process. This one may be even more crucial than the actual scrubbing. Ensuring that the pan is completely dry is absolutely vital to preserving the integrity of the pan and its exterior coating. While the pan can often be cleaned by wiping out the excess oil with a paper towel, sometimes a little water is needed. Any water touching the pan must be thoroughly dried with a towel.
Molly Yeh of the Food Network's "Girl Meets Farm" has a helpful tip for getting fully dried cast iron. Simply place the pan back on the burner over medium heat and let it "cook" until all the water has evaporated. This will ensure that even microdroplets of water are removed and guarantees that your pan will not rust.
Keep it seasoned
The benefits of cooking with cast iron are numerous, but often that's not enough to quell the fears of many home cooks who have heard rumors of the demanding nature of these cooking tools. This "fussiness" mostly comes down to seasoning, the mysterious process required of all cast iron pan owners. The reality is that seasoning, cooking, and cleaning cast iron is not all that complicated or difficult. Initial seasoning is done by simply rubbing the pan with a neutral oil (several different kinds can work) and then heating it to a super-high temperature. The best oils to use with your cast iron pan are those with high smoking points. The oil undergoes a process known as polymerization, where oil molecules bond with the surface of the metal, creating a permanent coating.
Once this coating has formed, it is pretty difficult to remove, and every time you cook in the pan, the seasoning will get a little bit better. At this point, simply rinsing the pan with water and rubbing it with a light oil coating should be all you need to do to maintain the seasoning. If something does happen, a quick re-seasoning of your skillet is all you have to do to get it back to its prime.
