Is It Worth Freeze-Drying Your Easter Candy?
Growing up, there were two main philosophies about holiday candy. Some kids gorged themselves as soon as they got it, while others let it linger, stretching out their hoard for months.
If you were in the latter camp, you'll know that Easter candy starts tasting pretty stale by August. Even if you were the kid who'd down an entire basketful of chocolate bunnies by Easter dinner, chowing down on sugary sweets doesn't have the same appeal as an adult.
So, if you find yourself with leftover bags of Easter candy, consider freeze-drying it. Freeze drying works by dehydrating food through a process known as sublimation. It's a popular method of food preservation for many foods, particularly those that don't preserve well with traditional freezing, like dairy products.
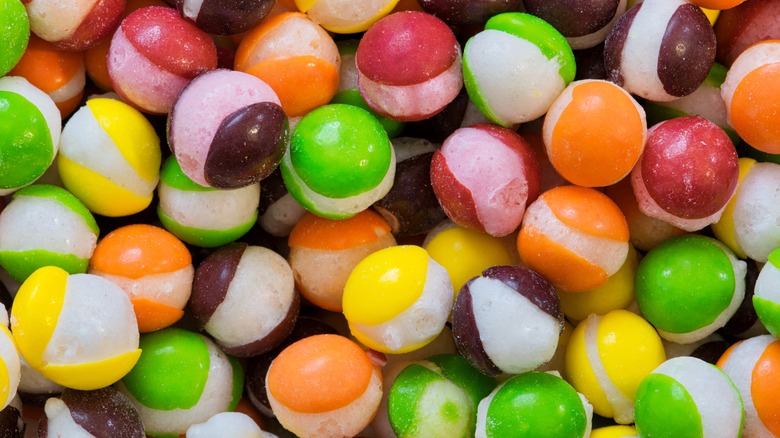
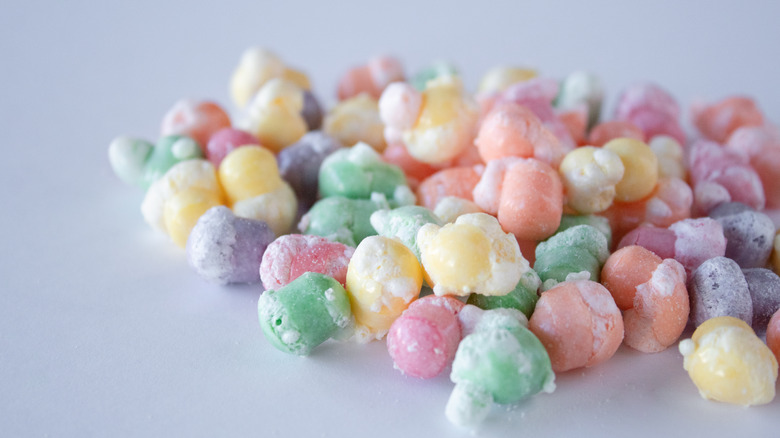
But freeze-drying isn't just for preservation. The process changes the texture, too. It's worth a try just to taste fun new takes on old classics from crunchy gummy worms to Skittles that pop like popcorn.
Why should you freeze-dry candy?
Recently, freeze-drying candy has become something of a trend. It's not exactly new — the same process was used to produce astronaut ice cream back in the 1970s. But freeze-dried sweets are no longer confined to science museum gift shops. Companies like The Freeze-Dried Candy Store now sell a diverse array of treats like Milky Way bars, Starbursts, and crunchy, puffed-up gummy worms. So it's not just a novelty anymore — in addition to giving chewy candies a light, crunchy texture, freeze-dried sweets tend to taste better. That's because of the way that the process removes moisture while retaining flavor.
Just about anything can be freeze-dried, but some candies work better than others. Skittles are a particularly popular choice because of the way that they burst open like popcorn. Freeze-drying transforms saltwater taffy into a light, crispy treat. Marshmallows also freeze-dry well — so freeze-drying is a fun way to experiment with leftover marshmallow Peeps.
How to freeze dry at home
Professional freeze dryers aren't cheap; a small-scale setup costs a few thousand dollars. Fortunately, you can DIY your own freeze dryer. While the modern-day process was first invented by Jacques-Arsene d'Arsonval in 1906, low-tech versions have existed for centuries. After all, if the ancient Inca could use frosty nights in the Andes to freeze dry potatoes, you can do it in your freezer at home.
That said, freeze-drying food is possible in a standard home freezer but has a few downsides. The process itself is simple: just lay pieces of food out on a baking sheet and freeze it, uncovered. You'll have to wait weeks for the final result, though. After two to three weeks, test to see if the food is done. You'll know it's properly freeze-dried if the color stays the same once it's thawed.
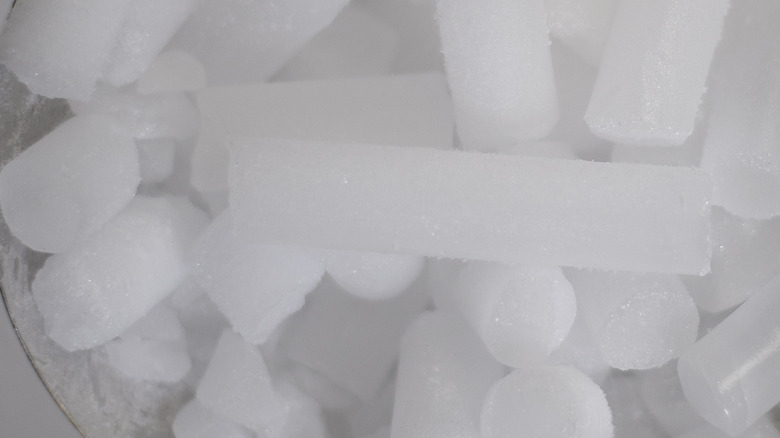
For quicker results, use dry ice. The dry ice method is a little more labor-intensive and requires special supplies: dry ice, freezer bags, and a styrofoam cooler. It only takes around 24 hours, though.
In a well-ventilated area, put the food you wish to freeze dry in a freezer bag. Keep the bag unsealed so moisture can escape, but don't let it come in direct contact with the dry ice. Place the bagged food in the cooler, then top it with dry ice. Cover the cooler, but leave space for the dry ice to escape. You'll know it's done when all of the dry ice has evaporated.


