14 Tips You Need For The Ultimate Scalloped Potatoes
Potatoes. Is there anything they can't do? For such a simple thing you pull out of the ground, there's limitless potential. Hold a potato in your hand, and it doesn't look all that different from a dirty rock. Bite into a raw potato, and you'd probably swear it off forever because it's just starchy and bland. And yet, heat the potato up, add in a few choice ingredients, and bland turns to magic right before your eyes (and tongue).
Potatoes have the power to steal the show of your dinner, even though they are a side dish. From a mashed potato to a baked potato loaded with butter, bacon, and even chili, potatoes are a blank canvas, ready for your creativity. And if you're looking to whip up a delicious side dish, there is no shortage of options, but why not consider scalloped potatoes? These potatoes are inexpensive to put together in that there are only a handful of ingredients needed. But that is also where some of the issues arise.
Due to the limited ingredients, any small mistake falls under the magnifying glass and is instantly detectable. In order to help, here are several tips and tricks to make sure you get the very best out of your next batch of delicious scalloped potatoes.
1. Know your potatoes
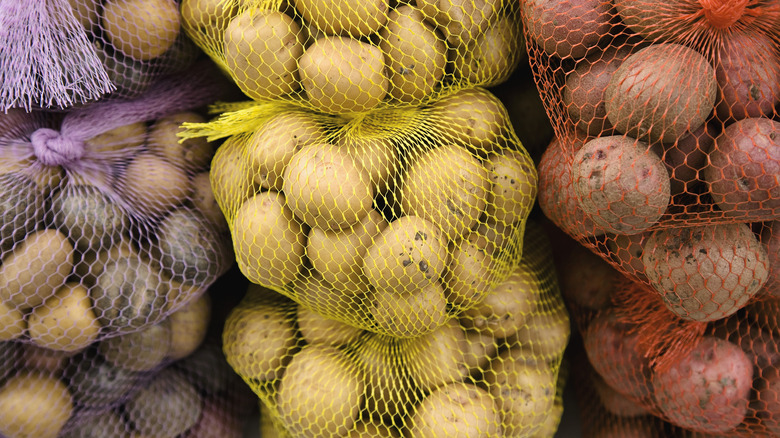
Ask different chefs and they will give you different answers as to which potato is the best for scalloped potatoes. Due to this, instead of just going with one chef over the other, it is better to understand the various potato styles out there so you can make the best selection for what you like.
Russet, Yukon, and gold potatoes are packed with starch. In fact, they have more starch than most other potatoes you'll find at the local supermarket. A starchy potato will cook up to be more tender, which means they are less likely to maintain its shape and consistency. On the other hand, red potatoes, because they are less starchy, will be able to absorb more moisture. This means red potatoes will absorb more of the milk you use (as well as some of the flavor the milk has taken on from the used spices). In turn, red potatoes will have a crispier bite to them.
In the end, it is up to you to decide which potato is best for the style of scalloped potatoes you like. Want something tender and soft? Go with russet, gold, or Yukon potatoes. Like a bit of crispiness? Opt for red.
2. Don't pre-prep your potatoes
If you are prepping for a large holiday meal, you probably will want to get some of the prep work done the night before. We've all been there. One task you might have considered doing the night before is slicing the potatoes, so they're ready for the oven the following day. In theory, that's a good way to organize your time. In practice, you'll need to push something else into your to-do list.
Why? Because, much like those half-eaten apples you left out as a kid, potatoes will begin to oxidate and take on a gray, almost purplish color. It won't affect the taste, but let's be honest. If someone sets a plate of gray-purple potatoes in front of you, chances are you're going to give it the ol' side eye.
You can set the potatoes in a bowl of water overnight if you absolutely have to pre-slice the potatoes, but that only works with the less starchy red-skinned option. The starchier potatoes will begin to break apart when stored in water for that long. So, instead of dealing with all that and all the discoloration issues that come with pre-slicing your potatoes, you'll be better off just doing it right before you're ready to pop it into the oven. Thankfully, with a few slicing tools at your side, it really won't take long to prep your spuds.
3. Thinner potato slices are best
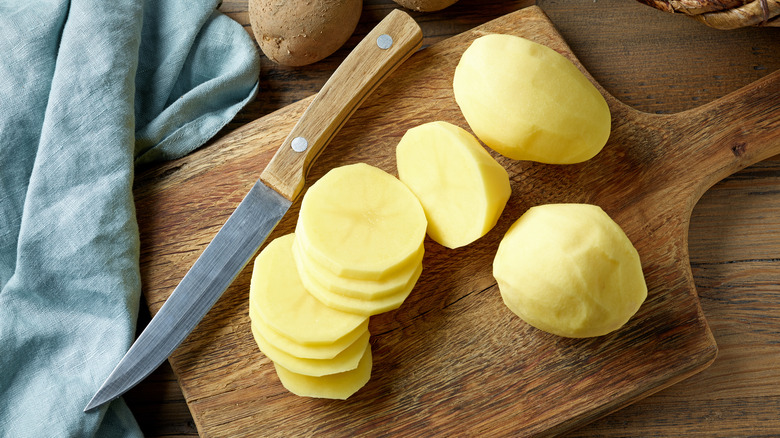
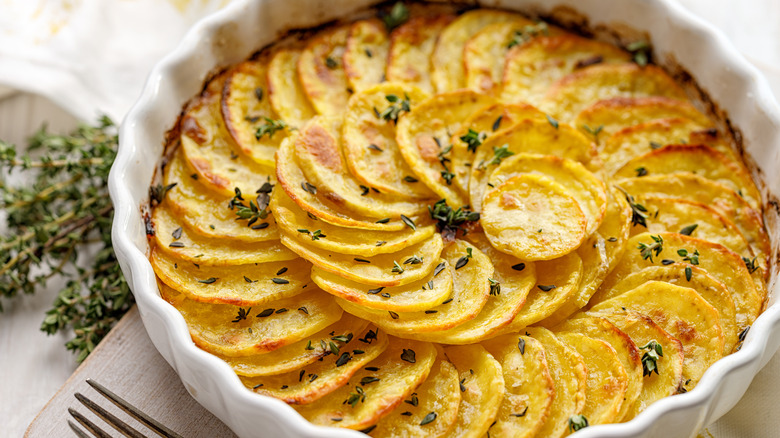
Thickness is important to scalloped potatoes. Or, more accurately, the lack of thickness in the potato slices. You want to make them as thin as possible. The entire point is not to chomp down on a massive chunk of solid potato. Instead, you want slender, almost chip-like slices, with each coated with seasoning and the delicious goodness of fatty milk (and maybe cheese).
You also need to make sure the potatoes have a consistent thickness. If not, some potato slices will end up cooking quicker than others, leaving you with a casserole dish of half-overcooked, half-undercooked potatoes.
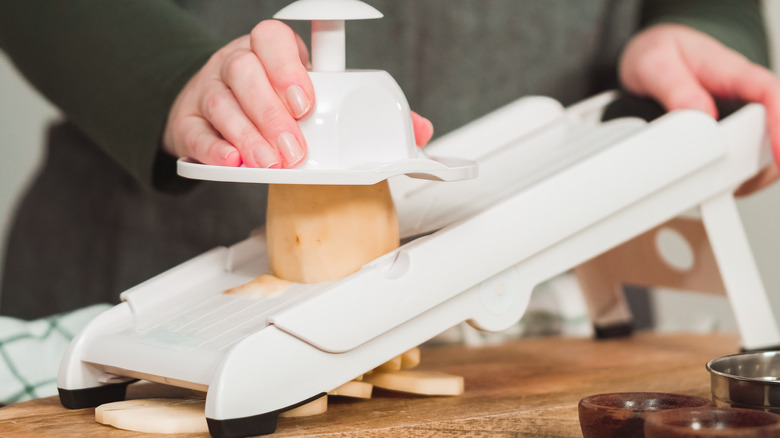
The best way to keep your potatoes thin and even is to invest in a kitchen mandoline. This is a great tool to have on hand, and you can use it with your vegetables at other times of the year (it is amazing how much time it is able to save you while prepping for a meal).
4. Season each layer of potatoes
Have you ever bitten into a hearty serving of scalloped potatoes only to discover it is, disappointingly, light on flavor? You can see all the herbs and spices on the top layer, but why can't you taste it? Probably because that's the only place the seasoning is actually located.
Because scalloped potatoes are layered, if the seasoning is applied last, it won't reach any of the bottom layers. And even if the seasoning is combined with the milk prior to pouring over the potatoes, not all the slices will pull in the flavor. Instead, to avoid those bland mouthfuls of potato, you need to instead season every layer. The added seasoning will become sandwiched in between the potato slices, ensuring every bite will be bursting with flavor. It might take a few extra minutes during preparation, but we promise it's a few extra minutes well spent.
5. Use fresh herbs
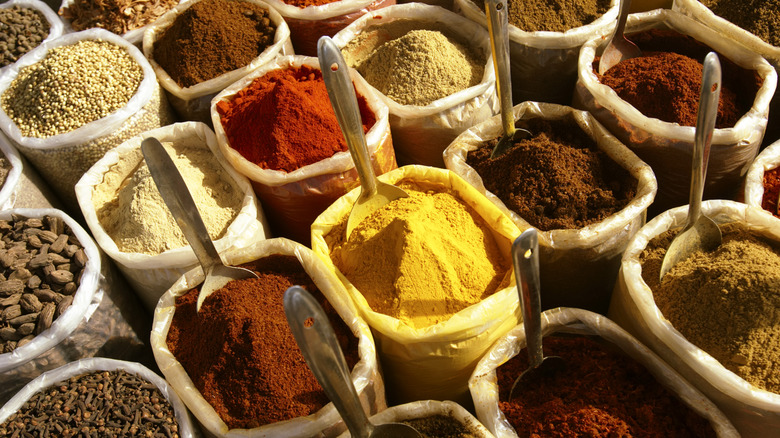
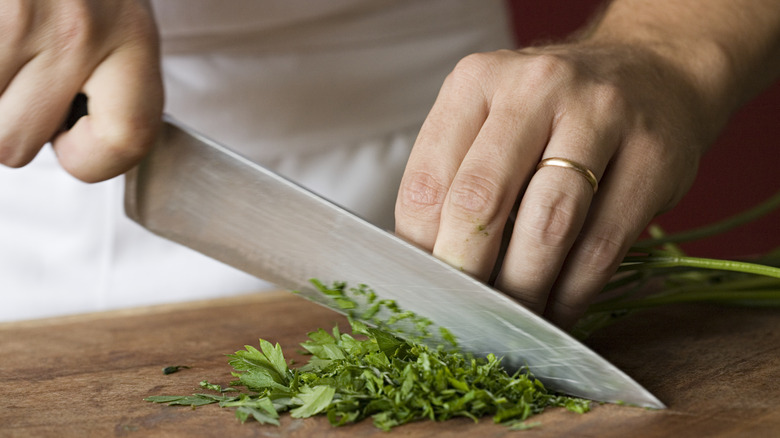
Dry herbs have a way of losing their luster in this kind of a dish. You need the herbs to stand out from all the cheese and starch of the potatoes. The best way to do this is with fresh herbs.
And let's be real here, just for a second. It's okay, you can tell us. We'll lean in so you can whisper it, in case you don't want anyone else to hear. How old are those dry spices you're using? Do you remember when you bought them? Or have they been sitting around in the spice cupboard for months? Years even?
Sure, dried herbs can "technically" last without going bad for over a year. But if your dried herbs are over a year old, they might not be bad, but they aren't delivering the kind of flavor you expect. And that once green oregano is not supposed to look brown. So do yourself a flavorful favor, and if your spices cross that year threshold, replace it. We like to replace our seasonings before the holidays just to make sure we can pack as much flavor into every spoonful as possible.
6. Turn down the heat
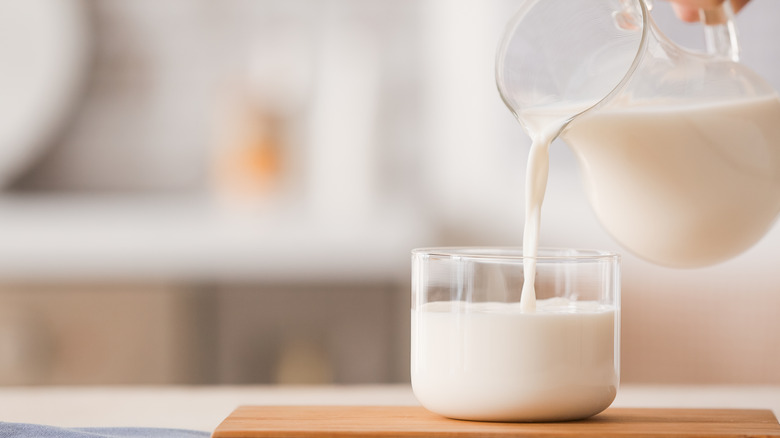
Scalloped potatoes require milk. That's part of what makes them scalloped potatoes to begin with. And it's not just a small amount. You're pouring milk over the entire dish, allowing the potatoes to absorb the liquid. The only problem with this is if you set the temp too high, you'll end up curdling the milk, which totally kills the texture of scalloped potatoes. Potatoes are robust and can take higher temperatures, so there's an inclination to crank up that heat and help speed up the baking process. But milk is not able to handle that heat. Ever left that gallon jug of milk in the trunk, only to remember a few days later? Taking a whiff of that stuff is one of the most terrifying things you'll ever do. Even sniffing milk the day after the "use by” date is a bit nerve-racking. So why run the risk of curdling the milk of your otherwise deliciously baked scalloped potatoes?
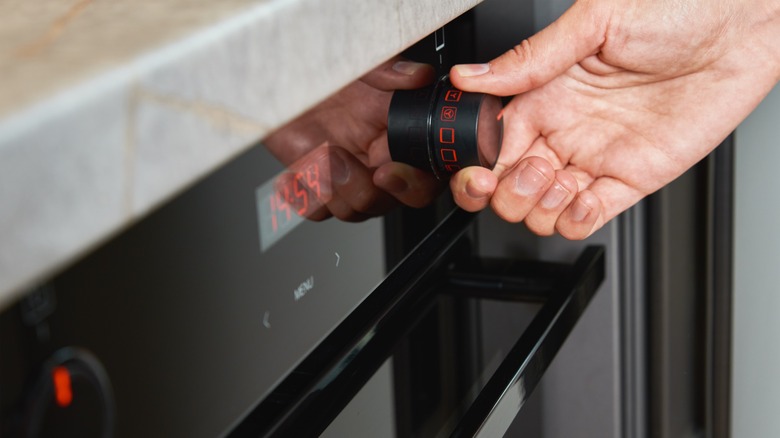
Instead, don't go higher than 325 degrees Fahrenheit. Otherwise, you're testing fate.
7. Add aluminum foil
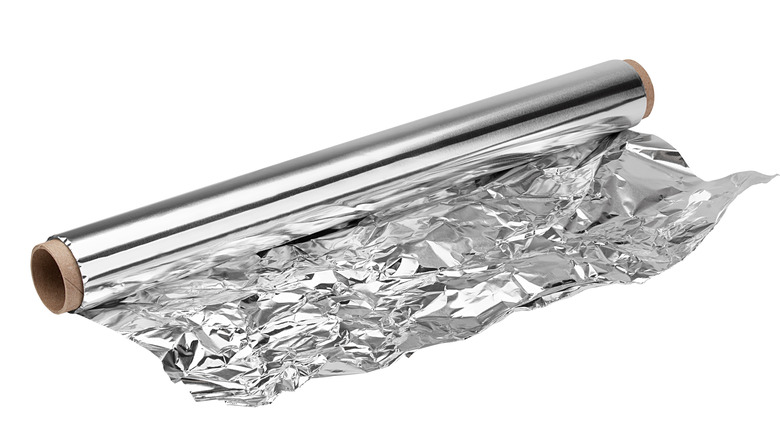
Your potatoes are going to bake and steam at the same time (thanks to the milk used in the dish). Adding tin foil over the top helps keep that steam inside the dish, which improves how the scalloped potatoes cook (and helps you avoid a cold bottom and burned top).
This is a little trick that has helped our potatoes. The best way to take advantage of this practice is to apply the tin foil over the top of the potatoes once they are ready to cook. Slide the pan into the middle of the oven and set your kitchen timer for 10 minutes shy of the expected cooking time.
Once the timer goes off, remove the tin foil. This is also a good time to add in any special toppings (more on this later). The potatoes should be ready at this point. Just a few more minutes on the stove, and you'll have some of the best-tasting scalloped potatoes you've ever prepared.
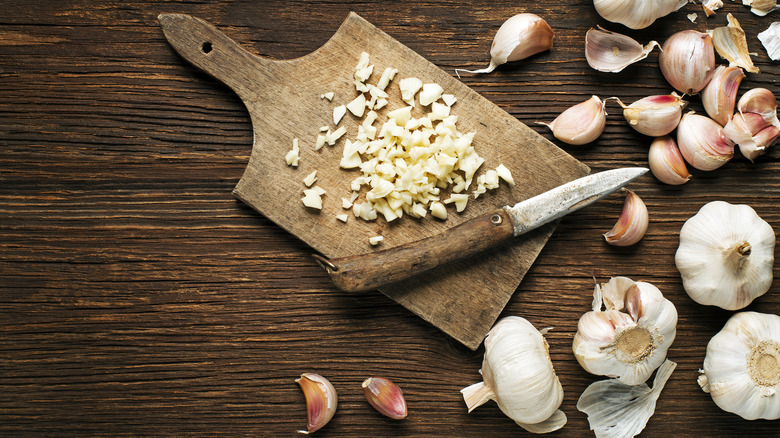
8. Cook garlic first
Garlic is such an amazing addition to potato dishes. If we're being perfectly honest, it's just about impossible to mix too much garlic in with potatoes. At least, that's the case if you know how and when to add the potatoes. Adding them too soon and you might release too much acidity into the dish, which can affect the overall flavor of the final product.
That is why, if you're putting garlic into your scalloped potato recipe, you will want to pre-cook the garlic. By cooking garlic before adding it to the potato dish, you will cause the garlic to release its acidity ahead of time. This way, when you add the garlic to the potatoes, you will have already removed much of that acidity. That's not only good for the flavor of your dish, but it's also helpful if you have acid reflux or your stomach just doesn't like the acidity of certain foods.
You don't need to pre-cook the garlic for long — just a few minutes will do. Additionally, pre-cooking the garlic and removing the acidity will help avoid curdling the milk. Acidity in the garlic is a major culprit to curdled milk, so if you have been running into the dreaded curdled milk problem, this will help solve it.
9. Remove when potatoes are tender
For scalloped potatoes, thin is best. This helps provide great texture and loads of flavor in every bite. It also means it's far too easy to burn the potatoes. We always recommend testing the actual temperature of your oven with an internal thermometer. Over time that internal oven temp is not going to match up exactly with what the gauge on the appliance says. It might be just a degree or two off, but other times it can be a good five degrees or more, which will impact how long it takes to cook your potatoes.
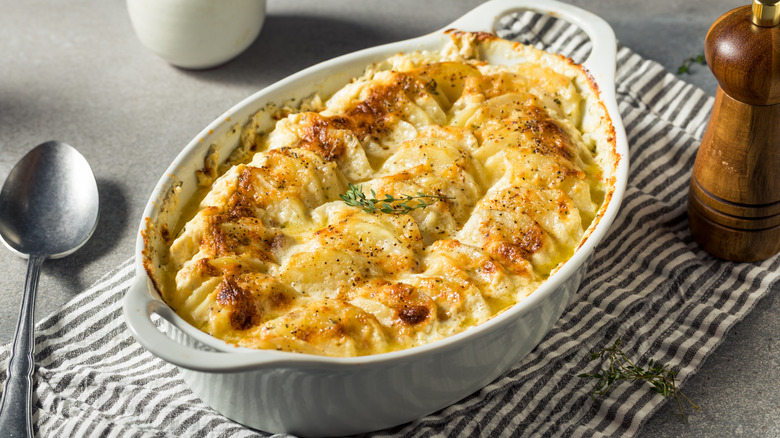
Even if you know the exact temperature of your oven, it is a good idea to understand visual clues as to when you should pull the scalloped potatoes out of the oven. Ideally, you don't want to wait for the potatoes to take on a fully browned top layer. If you do, you run the risk of the potatoes burning. Have you ever baked a batch of cookies and removed them when they looked done, only to discover that once they firmed up, they were actually burned and hard? The same thing can happen with your potatoes.
Instead, it's best to avoid this problem by using your fork. If the potatoes are tender when prodding them with your fork, it's time to remove them.
10. Let the scallops set
Some foods are best when consumed right out of the oven. Other foods are better when you let them set for a few minutes prior to dishing them out. With scalloped potatoes, you want to let it sit out of the oven for a few minutes before digging in.
Giving your scalloped potatoes time to breathe and cool will allow the potatoes to firm up just a little bit, plus any liquids that might have bubbled up to the top will settle as well. Besides, you've been baking the potatoes for close to an hour, and it needs time to cool off before you can realistically consume it anyway.
So, if you have to craft some kind of cooking schedule for a busy day in the kitchen, just keep in mind that you can let this sit out in the open, so you can bake the scalloped potatoes a little bit beforehand. Plus, the potatoes heat up easily if they start to cool off too much for your liking. Just pop it back into a warm oven for a few minutes, and you're good to go.
11. Skip fat-free milk
Many of us are looking for ways to cut out unnecessary calories from what we eat. Even if we're not necessarily on any kind of strict diet, it's nice to slice out a few hundred calories here or there. Kind of like dropping loose change into the Salvation Army red bucket during the holidays, it might not do all that much, but it makes us feel better about ourselves.
But here's the thing. You might be tempted to swap out whole milk, or even cream, for fat-free and skim milk. We're here to tell you not to do that. The fat in the milk will help improve the texture of your dish, and it works as a moisturizer, as it tenderizes and binds some of the ingredients together. You don't get that when using skim milk. It's also why so many recipes use heavy cream instead of milk. It's all about the fat content.
And, if we're being honest, when you consider the number of servings your scalloped potatoes bring to the table, the caloric difference between skim milk and heavy cream isn't all that substantial. It's better to look for ways to cut calories from other foods you're preparing. Because in the world of baking, you really want to leave your liquids as-is.
12. Know your milk levels
Whenever you're working with liquids, it is always incredibly important to know what sort of levels the recipe calls for. This is true for scalloped potatoes. Add too much milk in, and it takes forever to bake off all the milk, and you'll probably still end up with something soupy. Fail to put enough milk into the pan, and you'll likely burn the potatoes, or if you're lucky, the dish will just end up dry.
So, how much milk should you include in your scalloped potato dish? Generally, you want to pour just enough milk, so it barely covers the potato slices. This is also why it is so important to consider the size of your pan and not just what the recipe tells you. If your pan has different dimensions than the recipe's, your milk level might be off. Instead, just use the eyeball test with this. Once you've reached the top of the potato slices with your milk, you're ready to bake.
13. You can add cheese
Traditional scalloped potato recipes do not include cheese (once cheese is added, it's technically an au gratin potato dish). But who's to say you can't be fast and loose with your potato recipe? Isn't that part of the fun of being your own chef?
Of course, while this is the traditional definition of scalloped potatoes, you may find scalloped potato recipes that include cheese. We just want to make sure you know what the difference is so you don't pull your hair out trying to find a cheesy scalloped potato recipe only to come up empty.
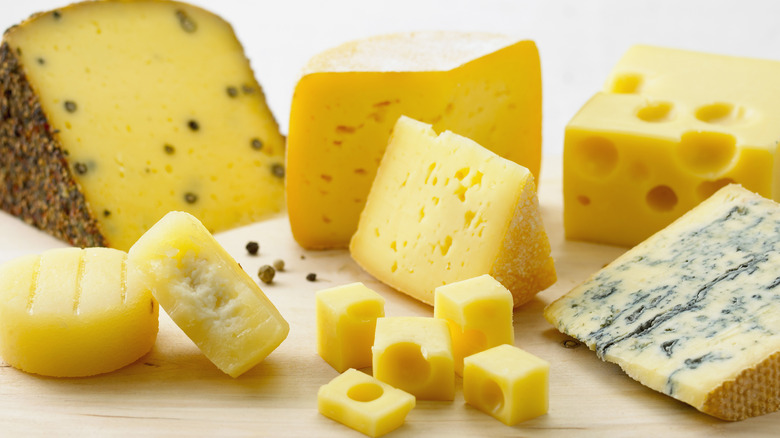
One of the potato's greatest attributes is you can pretty much use just about any kind of flavor or ingredient, and it will work. It really is the blank canvas of the food world. So feel free to tinker and experiment. Whether you're going to mix in some cheddar or sprinkle blue cheese over the top, you already know what kind of cheese you like, so feel free to use that love of cheese to elevate your scalloped potatoes recipe to the next level.
14. Add potato chips
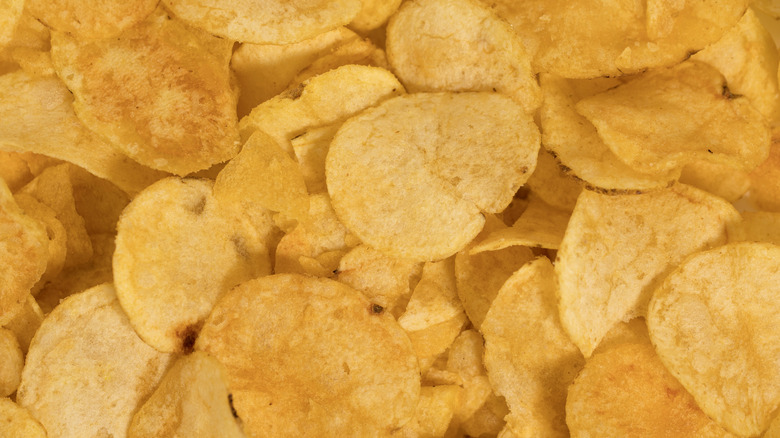
Looking to pump up the crispy texture on top of your scalloped potato dish? Why not top it off with something crunchy to begin with? There are a number of options you can take advantage of if you crave that little bit of extra crunch with your potatoes. One of our personal favorites is to use potato chips.
You already have the potato part down, so it's not going to alienate the taste or add something different. Kettle chips are great because they are already extra crispy and crunchy, but you can use your basic bag of Lays if that's something you like. Or, you can go to the other side of the spectrum and introduce some interesting flavors. Ever wonder what salt and vinegar Cape Cod chips might taste like as the finishing ingredient to some scalloped potatoes? Why not find out? It's a simple way you can take the same old-same old scalloped potato recipe and breathe new life into it.
Don't add the potato chips in at the beginning. The chips will only absorb the milk and give your scalloped potatoes a limp, mushy top (not exactly what we're going for here). Instead, add the chips over the top of the potatoes when you have just a few minutes left on the baking timer. That will give the chips just enough time to warm and crisp up.
