10 Tips You Need To Make The Tastiest Haluski
In countries like Ukraine, Hungary, Poland and Slovakia, the word haluski or halushki can refer to a variety of foods made with flour, from noodles to dumplings. Slovak haluski (or halušky) are small boiled lumps of potato dough similar to Italian gnocchi or German spätzle. These are often topped with tangy, creamy bryndza cheese in a dish called bryndzové halušky, which is considered the national dish of Slovakia. Ukrainian haluski are also chewy dumplings.
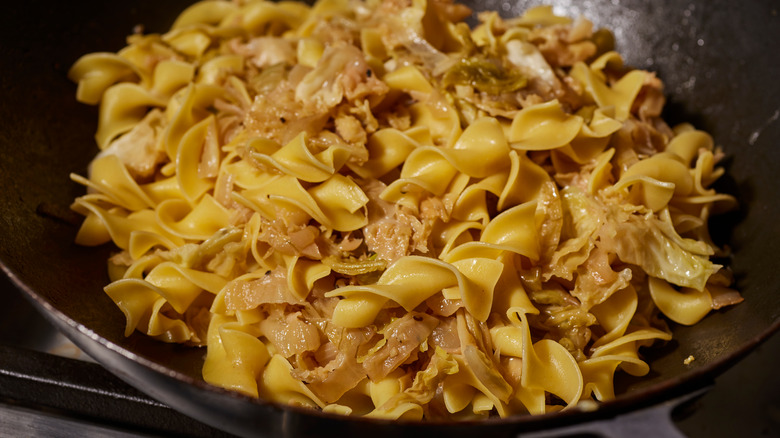
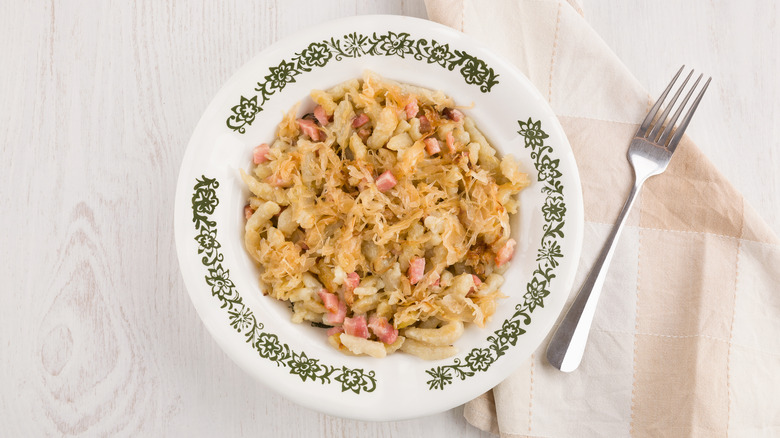
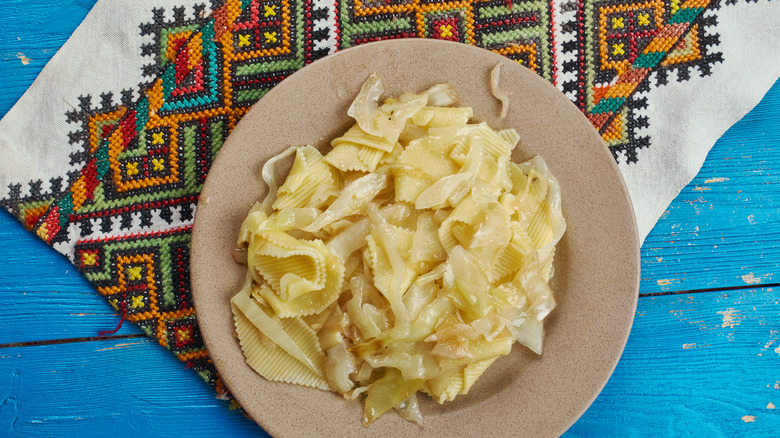
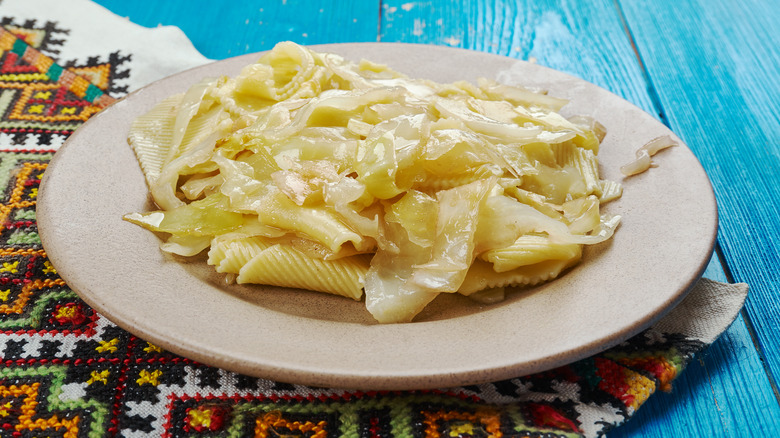
Poland's variation is quite different: Polish haluski refers to a specific preparation of flat egg noodles, which are tossed with cabbage and onion fried in butter. Crispy bits of bacon may optionally be included, although, without the bacon, haluski is especially popular in Catholic households during Lent as a meatless dish. This version of haluski is perhaps the best-known in North America, especially associated with Pittsburgh and other cities with a history of Polish immigration.
With just four ingredients (not counting salt and pepper), Polish immigrants to the U.S. found their haluski relatively simple to recreate far from home. Polish haluski is a hearty, filling comfort food, quick and easy to make and enjoy year-round. Even for a recipe with as few steps and ingredients as this one, there are tips you can follow to take haluski to the next level. Whether you're making a favorite dish you've made many times, or trying something new, here's how you can make the tastiest Polish haluski.
Choose the right ingredients
Haluski doesn't require a lot of ingredients, making it relatively quick and easy to gather everything you need. This also means that you have the opportunity to get the best-quality ingredients to improve the flavor of the final result. Salt and pepper are the only seasonings, and you'll also need butter, egg noodles, yellow or white onion, and green cabbage. White varieties of cabbage like Napa cabbage will still work in haluski, but do not break down as well as green cabbage during cooking, so softer green cabbage is preferred.
The exact amounts of these ingredients vary depending on the recipe and your personal taste. An estimate for four servings of haluski is one whole onion, half a head of cabbage, eight ounces of noodles, and at least four tablespoons of butter. Be sure to use a Dutch oven or pan that is large enough to hold all the ingredients.
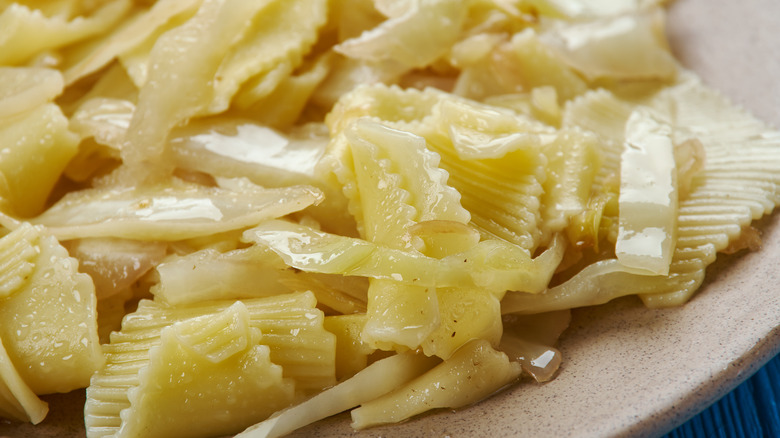
There are a variety of noodles (kluski is the generic term for pasta) used in Polish cuisine, and the ones used for haluski are traditionally flat and about half an inch wide. Their flattened, curly shape helps them pick up more of the buttery sauce and vegetables. You can make the noodles yourself, or simply buy a bag of them from the grocery store. If you can't find Polish egg noodles, try a long, wide Italian pasta, such as mafaldine, which have a similarly twisted ribbon-like shape, or pappardelle, which are flatter.
Prep your vegetables
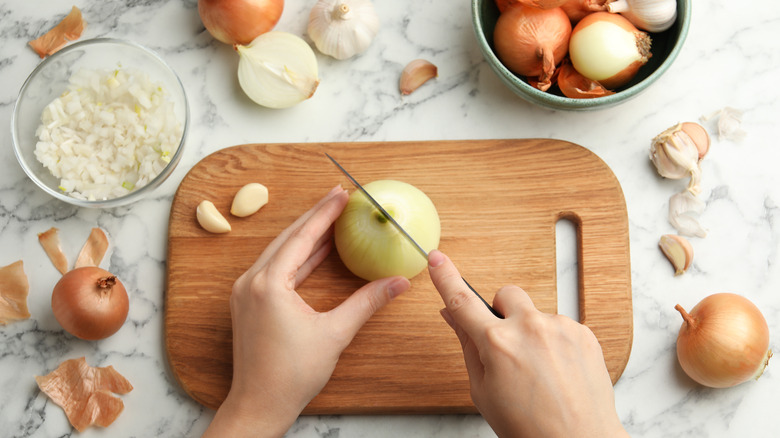
Did you know that the way you cut an onion affects the flavor of the final dish? How you should prep your vegetables depends on how you're going to be using them in the recipe. When you slice an onion vertically, you get pieces that hold their shape and release less water during cooking. Slicing horizontally produces onion pieces that cook to a softer texture and release more water. This is because you are cutting through more of the plant's cell walls, causing the structure to break down more when the onion is cooked.
For haluski, you want the onions to become very soft and melt into the rest of the sauce, so a horizontal cut is best. You can dice the onions, or slice them into rounds, and then quarter these to produce small strips that will wrap around the noodles.
The cabbage should also be cut into strips, about the same width as the noodles, so that they will easily wrap around the curly ribbons after they soften. If you are using any of the thicker, tougher leaves from the inner core of the cabbage, be sure to cut them extra small so that they cook down at the same time as the thinner outer leaves.
Add the butter
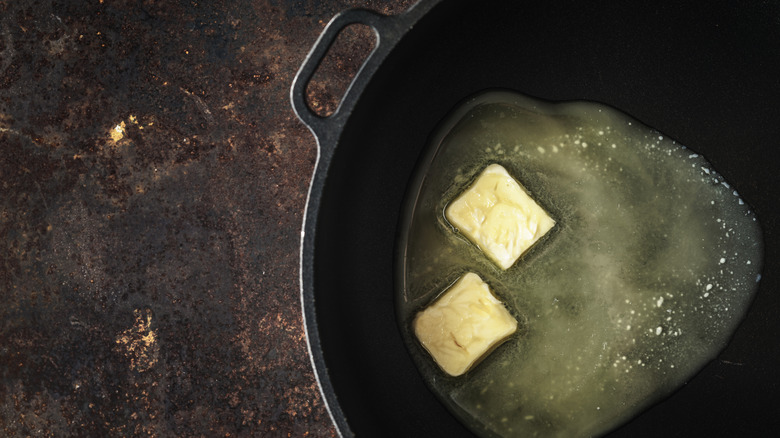
Making the perfect buttered noodles starts with choosing a good butter. More expensive, higher-quality butter tends to be higher in milk fat and lower in water than cheaper alternatives. This results in a richer, less-soggy sauce that coats noodles and vegetables more evenly. Unsalted butter is best for this dish so that you can adjust the seasoning to your liking.
Some recipes add all the butter to haluski at the beginning, but the best way to ensure the butter thoroughly combines with the other ingredients is to add it in two stages: use half the butter, in the beginning, to cook down the onions and cabbage. Add the other half of the butter to the pan later, with the cooked noodles, and mix well. Some recipes say to use just four tablespoons (half a stick) of butter for eight ounces of noodles, while another recipe might say to use 16 tablespoons (two sticks) for the same amount of noodles.
By adding butter in two stages, you are also giving yourself the opportunity to adjust the amount of butter to your taste. If you are making haluski with bacon or pancetta, the grease from the bacon replaces the butter in the first stage. Cook the bacon until crispy, remove from the pan, and fry the onions and cabbage in the grease. Mix in butter along with the noodles and the reserved crumbled bacon.
Brown the onions
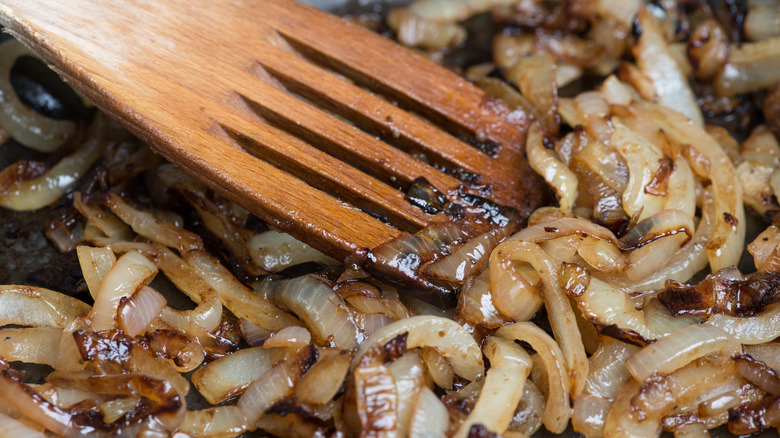
Browning the onions for haluski brings out their maximum flavor potential. This is because of the Maillard reaction, a chemical process that occurs when sugar and amino acid (found in proteins) combine with heat to produce new, deeper flavors and aromas. Some haluski recipes say to cook the onions and cabbage together, but if you cook the onion by itself first for a few minutes, until it becomes translucent and starts to lightly brown, you'll be giving the onion extra time to release their natural sweetness.
It can take up to two hours of cooking to fully caramelize onions, but they don't need to be this dark and fully caramelized to be delicious in haluski. The darker your onions get, the richer and stronger their flavor will be. Stir the onions continually over low heat until they reach your desired color, being careful not to burn them, for at least 10 minutes.
A small pinch of baking soda helps caramelized onions cook faster by increasing the pH, which speeds up the Maillard reaction. You don't need more than a quarter teaspoon of baking soda per pound of onion.
Finish on the stove or in the oven
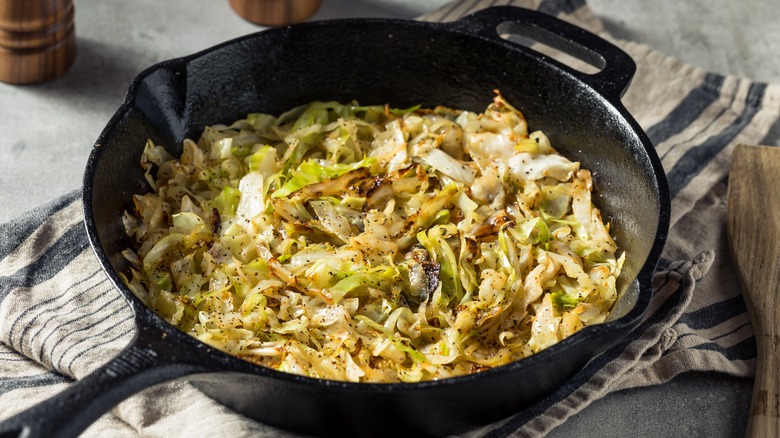
When the onions have browned to your liking, add the cabbage and cover for 5 to 7 minutes. This will lock in the water released from the vegetables as steam, causing the cabbage to soften more quickly. When the cabbage is limp and translucent, you can uncover, stir, and cook uncovered while stirring for an additional 15–20 minutes, until you start to see spots of browning on the cabbage pieces.
In addition to the stove-top method of cooking haluski, you can also make it in the oven. For this method, you will need to butter a large pan, add the onion, cabbage, and butter, and bake uncovered at 350 degrees Fahrenheit for 30 minutes until the top layer of vegetables begins to turn brown. The noodles can be boiled while the vegetables are baking and added to the pan after it comes out of the oven, or, if you boil the noodles first, you can simply bake them together with the vegetables.
Regardless of when you add the noodles, after baking, mix well and add salt, pepper, and more butter to taste. Note that the oven method may produce a different end result than the stovetop method: The onions will not become fully caramelized when baked in the oven, but you will get some toasted flavor and texture from the top layer of baked vegetables and noodles.
The slow-cooker method
Another method you can use for cooking your haluski is to do so in the slow cooker. This method requires minimal cleanup since the noodles are cooked together in the same pot as the vegetables. You can combine all the ingredients, except the noodles, in the slow cooker on high heat for four to five hours. Add the noodles, uncooked, only for the last hour of cooking; if added any earlier, they will become too soft.
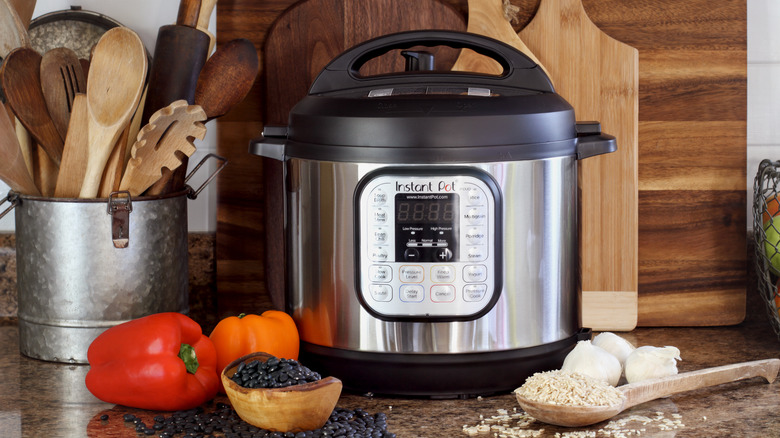
Haluski can also be made in a pressure cooker or Instant Pot. For this method, the noodles have to be cooked separately and added just before serving. Otherwise, they will become too mushy and disintegrate. First, boil the noodles, drain them, and save them for later. Brown the onion and cabbage by cooking for a few minutes with butter (as well as bacon, if you're using it) in the InstantPot on the sauté function. Lock the lid and pressure-cook the sautéed ingredients on high for three minutes. After allowing the pressure to release naturally, mix in your noodles and season the haluski with salt and pepper to taste.
Cooking haluski noodles
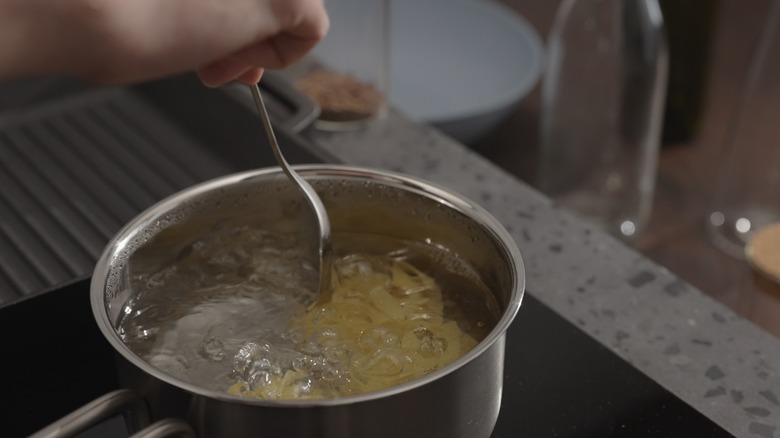
Noodles may be cooked ahead and baked in the oven with the cabbage and onion, but in many recipes, they are added later to the same pan in which the vegetables have been cooked. For this method, you'll want to start boiling the water for the noodles while the vegetables are cooking. Be sure to salt the water and bring it to a full boil before adding the noodles. Boil the noodles in as little water as you can — just enough to cover them — to make the water extra-starch to help serve as a binding agent when you are combining with the other ingredients. Stir occasionally to keep the noodles from sticking to the bottom of the pot.
The noodles for haluski should cook in about five minutes, but check the package instructions for the most accurate cooking time. Note that the cooking time is shorter for fresh-made noodles than dried ones. When draining the noodles, don't rinse them, just let them drip some, but not all of their water back into the cooking pot; you want to save pasta water for later to help create a creamier texture for the sauce.
Combine the ingredients
When your vegetables and noodles are both fully-cooked and the noodles have been drained, it's time to combine the ingredients. Add the noodles into the same pan you baked or stir-fried the vegetables and mix well yet gently with tongs. If you divided the butter, you would add the reserved half of the butter at this point. The starch in the extra-starchy pasta water will help to emulsify the water and butter with the juices from the cabbage and onion, creating a sauce that coats the ingredients more evenly. Season the haluski with salt and pepper to taste as you toss the ingredients together.
If you're making the vegetarian version, your haluski is now ready to serve. If you are making the bacon version of haluski, now would be the time to add your reserved, crumbled, or chopped bacon bits back into the pan, so that they remain crispy for serving. You can also add other toppings to your haluski, such as sour cream, chopped chives, or grated cheese.
Serve your haluski
Haluski is hearty and filling enough to be a meal all by itself. Because the ingredients are cooked and mixed in the same dish, it's a one (or two) pot meal. Not much cleanup is required, and it's easy to make a small portion of haluski for just one or two people. But, if you're making a larger, more elaborate meal, the mild, buttery richness of the noodles gives you tons of options for pairing haluski with other dishes, whether you are serving it as an appetizer, entree, or side dish.
During Lent, when Catholics abstain from meat, Polish haluski is a popular choice for a vegetarian entree alongside other delicacies like pierogi and stuffed cabbage leaves. When made at other times of year, haluski may traditionally be accompanied by rich meat-based dishes, such as grilled kielbasa (Polish sausage), corned beef, or a ground beef Stroganoff recipe. You can add a protein of your choice, whether served alongside or mixed in with the noodles, not only meat but fish, chicken, or even grilled tofu.
Store your haluski
If stored in an airtight container, haluski will last for up to three to five days in the refrigerator. The dish can also be stored frozen for up to three months. Haluski can be reheated on the stovetop or in the oven at 325 degrees Fahrenheit. Add a small amount of water when reheating to help keep the haluski from drying out. Also note that if there's enough butter in your haluski, it will solidify in the fridge. When reheating a solid mass of chilled pasta like this over the stove, stir gently and carefully so that the noodles loosen up as the butter warms and melts. This will prevent you from breaking the noodles.
When you reheat pasta, it may come out softer and mushier than when it was freshly cooked. One way to avoid this if you are planning in advance to freeze the haluski is to undercook the pasta slightly before combining with the other ingredients in a baking dish. Once tightly wrapped and frozen, this dish can be uncovered and reheated in the oven until the noodles are fully cooked. This will finish the cooking process so that the noodles turn out perfectly and don't absorb too much water in the final result.
Customize the recipe
Part of the fun in making haluski is how easy it is to customize. We have described the vegetarian version of haluski and a version made with bacon, but you can also easily veganize the dish by using a non-dairy butter and egg-free noodles. You can add garlic, other vegetables, and fresh herbs for more flavor, as in a savory, meatless haluski recipe with mushrooms and peas. Just ensure that vegetable ingredients are sliced and cooked to the same degree as the cabbage and onion.
For additional depth of Maillard reaction flavor, you can try browning the butter first. An extra-savory cheesy haluski can be made by adding grated Parmesan or crumbled goat cheese to the noodles just before serving. If you want to bulk up a non-vegetarian haluski into a one-pot dinner, sliced kielbasa sausage is another potential addition, and you can pan-fry the slices first for improved flavor, just like the other ingredients. You could also add pieces of other protein directly to the noodles. Once you've learned the best way to prepare and combine each of the core ingredients in haluski, your options for adding and adjusting the dish are limitless.
