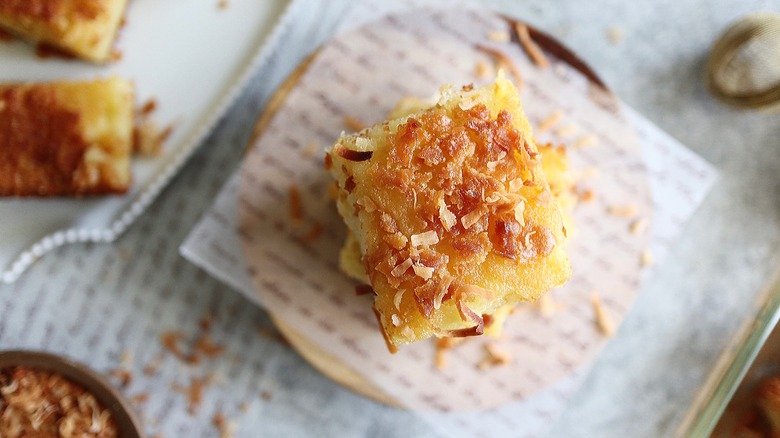
Hawaiian Butter Mochi Recipe
Butter mochi isn't the same thing as the mochi you may be familiar with from trendy Japanese ice cream treats. Instead, as recipe developer Cecilia Ryu explains, this Hawaiian dessert is "basically a combination of Japanese mochi and coconut custard." Apart from the coconut milk and shredded coconut used for flavoring, the main ingredient is mochiko, a type of glutinous flour made from rice. While this rice may be glutinous, it's also gluten-free and so is this recipe.
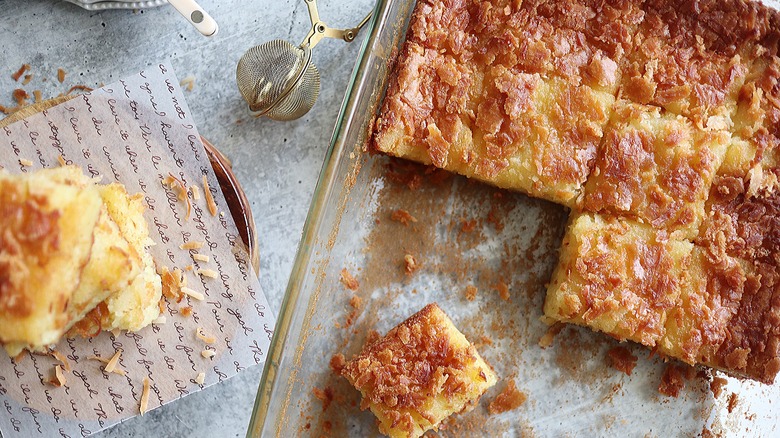
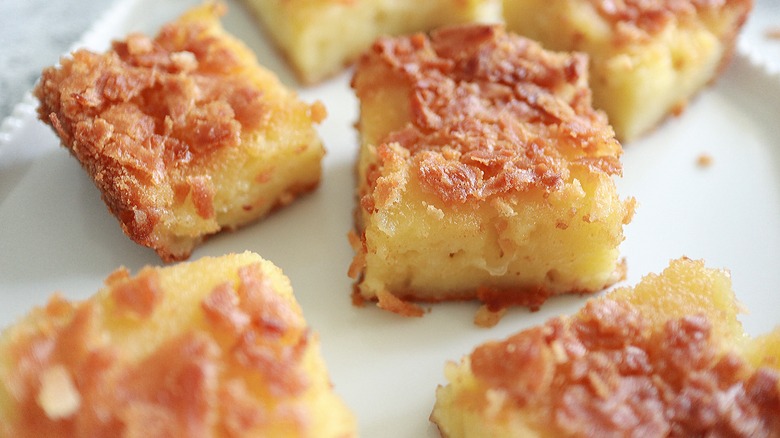
Ryu feels that her butter mochi recipe "has the right amount of chewiness and is perfectly dense," adding that the final layer of coconut makes for "a nice crunchy top." Unlike many baked goods, butter mochi isn't something that needs to be eaten fresh out of the oven. Instead, Ryu tells us that it's actually better the next day once it firms up a bit. What's more, she feels that letting butter mochi sit overnight allows the flavors to deepen, as well. Ideal for those who like to bake ahead, this Hawaiian butter mochi will be the most popular dessert on the table.
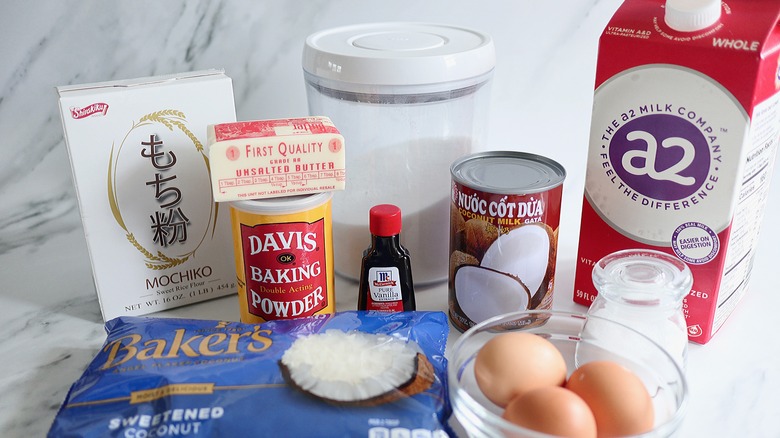
Assemble the ingredients for the Hawaiian butter mochi
You may already have a number of the necessary ingredients for the butter mochi: milk (Ryu uses whole milk), sugar, butter, eggs, baking powder, salt, and vanilla extract. You're also going to need some mochiko, of course, as well as a can of coconut milk (again, Ryu favors the full-fat kind) and some sweetened shredded coconut.
Make the mochi batter
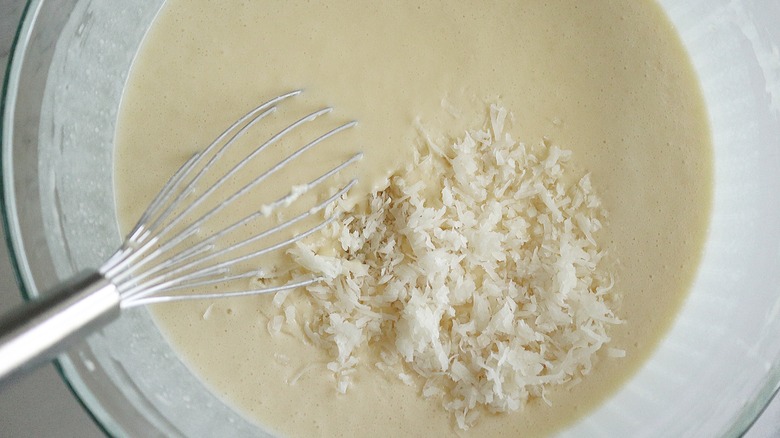
Before you get started with the baking, move one oven rack to the center, then set the dial to 350 F to preheat. Now combine the dry ingredients for the mochi (mochiko, sugar, baking powder, and salt) in one bowl and the wet ones (milk, coconut milk, butter, eggs, and vanilla) in another. Beat the two mixtures together until the batter is smooth, then stir in ½ cup of the shredded coconut.
Bake the mochi
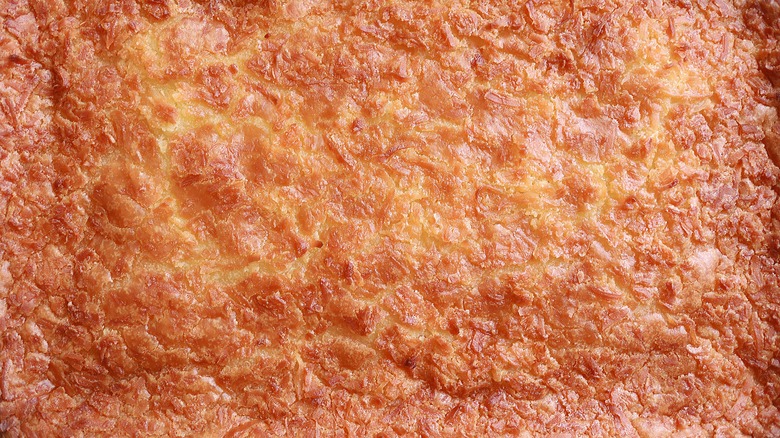
Grease a 13x9-inch pan and pour in the mochi batter. Sprinkle the remaining coconut over the top, then put the pan on the center oven rack. Bake the mochi for an hour, but rotate the pan halfway through. Ryu actually recommends that you check on the mochi after 50 minutes. "If the top is getting too brown," she advises, "you can cover the top with foil and continue baking."
Once the mochi is done, it will appear golden brown and feel somewhat firm. At this point, it can come out of the oven.
Cool and cut the mochi
Let the mochi cool on a wire rack. Once it has cooled completely, you can cut it, but don't try doing this too early. "Because mochi is very sticky," Ryu explains, "it will be very difficult to slice it into perfect squares when warm." She also recommends separating the pieces once you've cut them. If you really want to make sure the mochi squares don't stick to each other or to anything else, you can even wrap each one in parchment paper, plastic, or foil.
Ryu says the mochi will keep at room temperature for up to 3 days if stored in an airtight container, but adds that it can also be frozen. Before you freeze it, you should separate each piece and wrap them separately — Ryu says Ziploc-type bags will work well for this.
Hawaiian Butter Mochi Recipe
This Hawaiian butter mochi is sweet, dense, and bursting with coconut flavor.
Ingredients
- 1 pound mochiko
- 1 ¾ cup granulated sugar
- 1 tablespoon baking powder
- 1 teaspoon kosher salt
- 1 ½ cup whole milk
- 1 (13 ½-ounce) can full-fat coconut milk
- ½ cup (1 stick) unsalted butter, melted
- 4 large eggs at room temperature
- 2 teaspoons vanilla extract
- 1 cup sweetened shredded coconut
Directions
- Preheat the oven to 350 F and place a rack in the center. Grease a 13x9-inch baking dish and set aside.
- Combine the mochiko, sugar, baking powder, and salt.
- In a separate bowl, mix the milk with the coconut milk, butter, eggs, and vanilla.
- Add the wet ingredients to the dry ingredients and beat the batter until it's smooth.
- Stir ½ cup of coconut into the mochi batter, then pour it into the prepared baking dish.
- Sprinkle the remaining coconut evenly over the top.
- Bake the mochi for 1 hour, rotating the pan halfway through.
- Remove the mochi from the oven when it is set and golden brown in color. Cool on a wire rack.
- Cut the mochi into squares when completely cooled. Keep the mochi squares separated to keep them from sticking together.
- Serve right away, and store leftover slices at room temperature for up to 3 days.
Nutrition
| Calories per Serving | 281 |
| Total Fat | 17.0 g |
| Saturated Fat | 12.4 g |
| Trans Fat | 0.3 g |
| Cholesterol | 73.2 mg |
| Total Carbohydrates | 30.6 g |
| Dietary Fiber | 0.3 g |
| Total Sugars | 29.3 g |
| Sodium | 253.7 mg |
| Protein | 3.4 g |
