12 Tips You Need For Roasting Brussels Sprouts
Brussels sprouts are one of those vegetables that might have seemed like a punishment to some of us as kids, but as time goes on and taste palates change, that slightly bitter crisp that the Gemmifera cultivar branch of the cabbage family is known for becomes more of a feature than a bug. Though they may still not be for everyone, brussels sprouts have always had some strong defenders in their corner, making them an offbeat but savory and surprisingly versatile addition to almost any meal.
If you've had brussels that didn't quite work for you, you're certainly not alone, but it might have been something to do with the preparation rather than the vegetable itself. Cooking brussels isn't a totally intuitive process, and they can be a bit finicky to nail down. It could very well be time to give them a second chance, and when it comes to bringing out the flavor locked inside those little leaves, you can't go wrong with roasting. Once you've figured out roasted brussels, chances are you'll never want to go back to a life without them. Fortunately, we've got some tips and tricks to help you along your journey.
Opt for fresh brussels
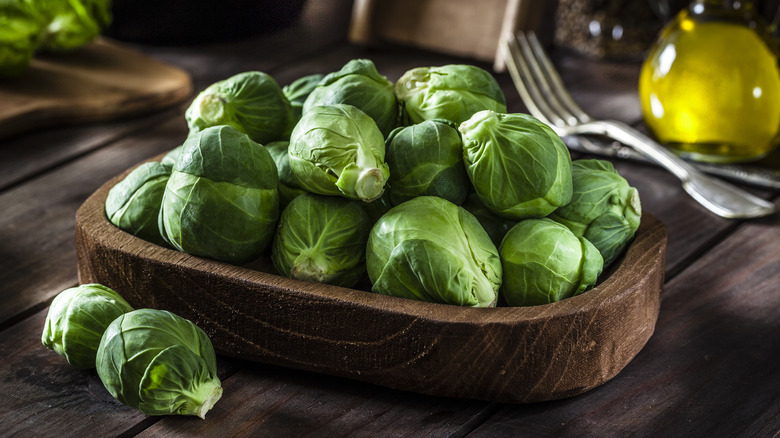
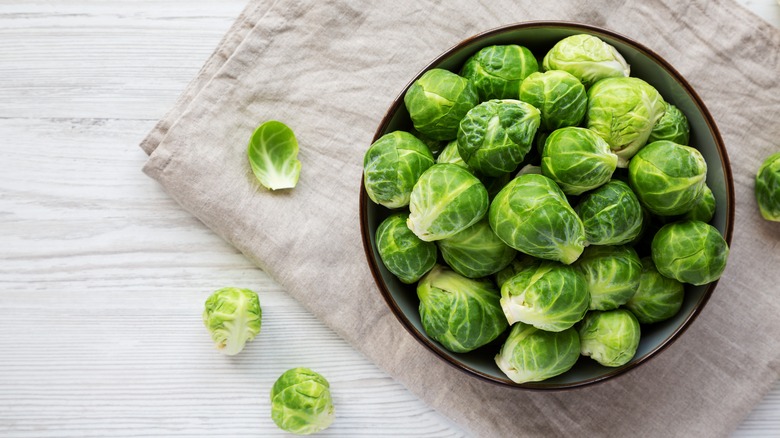
The first place to begin in your quality control mission is to make sure you choose fresh brussels to start with. Frozen vegetables have many uses, but they're something you want to avoid when roasting in general. That's doubly true when trying to dodge the potential for mushy or soggy brussels, which isn't helped by the level of moisture invited into the equation by freezing and thawing. While you may be able to bypass some of this effect by cooking at high heat, it's easier in the long run just to go fresh whenever possible.
Fresh brussels have a very cool look and a satisfying snap that makes them a delight to pick right from the stalk, but even when choosing from the market, finding the brussels that look most consistently sized and fresh is a fun part of the process. Similarly, you'll want to check the ends to ensure they aren't particularly brown or withered. Picking the firmest veggies with the tight green leaves may sound obvious, but it's an easy thing to forget while checking items off of a grocery list at the store. In the end, you'll be happy you took the extra time.
Preheat the pan
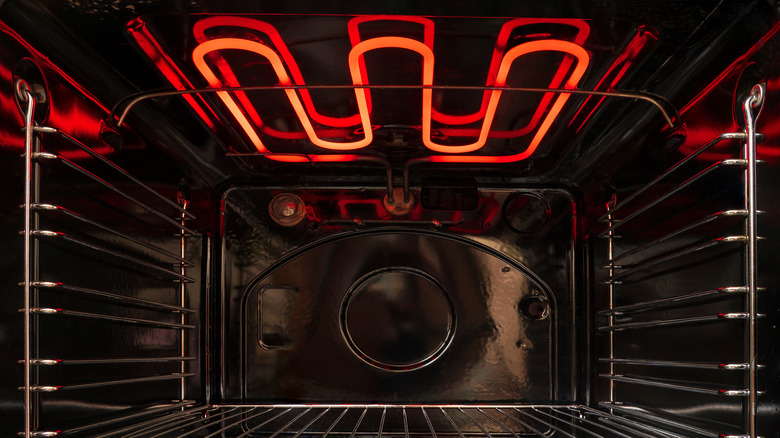
The importance of preheating your oven is something we can't stress enough — whatever you're cooking, be it meats, veggies, or baked goods, it's going to benefit from this one extra step. While many of us have been tempted at least once in our lives to skip preheating due to the "extra" time it takes, foregoing the step entirely makes foods cook slower and less evenly. Not only does it actually save time, but it could also save your whole dish from losing its texture or burning. While meals made in haste have their place in our busy lives, there is no good reason to skip this step.
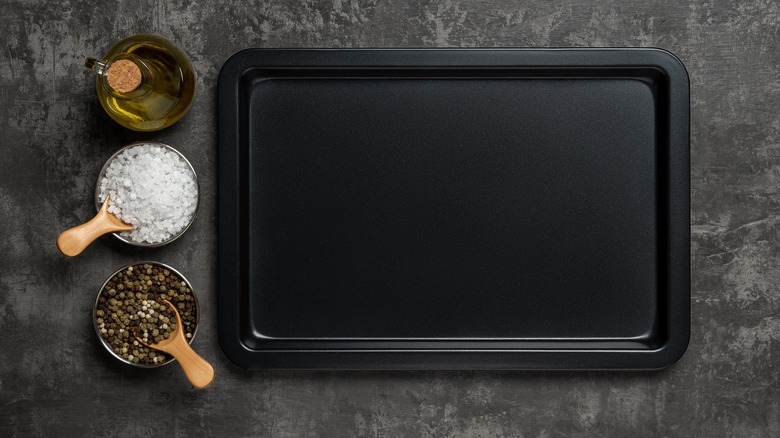
When cooking brussels, however, there's an added layer to the process. One of the biggest complaints of brussels is that they can achieve a slimy texture when prepared improperly, which is exactly what we want to avoid. Part of what makes roasted brussels sprouts so tasty is the crispiness that can be gained by preheating the pan at 425 degrees Fahrenheit. Ensuring that the cooking tray is already hot when the brussels come into contact with it is just one little step that can drastically increase the taste profile and texture of the dish.
Stay consistent with size and placement
Roasting vegetables can be a major time saver as, for the most part, you're allowing your oven to do most of the heavy lifting. Yet, as with most tools, it's better if you know how to assist it rather than expecting it to do the work all on its lonesome. One major way to give your oven a hand with roasting vegetables of all kinds is to consider placing and portion size, but that goes double for brussels. Cutting them in half right down the middle is just one part of making sure that each piece is given the time it needs to cook.
By slicing each sprout in half, you ensure that more space is being covered by the oil that will help it reach the heights of excellence. While most brussels will likely be similar, you can always quarter larger pieces to keep things consistent if not. When transferring to the pan, ensure the pieces are evenly spaced, and avoid piling them on top of each other to ensure an even roast. The unique method required for roasting brussels means that it may be best to prepare other vegetables on a separate tray, but carrots and broccoli cook at similar times and can be combined with a little planning.
Use high heat and short timing
The density of brussels sprouts is one thing that makes them unique in both texture and nutritional value. While the health benefits of brussels are numerous, from its high fiber to significant doses of Vitamin K, C, and fiber, there is a benefit to their thick texture as well — so long as you know how to work with it rather than against it. One possible way to achieve the ideal roasted brussels is by cooking them at a high heat for a shorter time, which you can accomplish by popping them into the oven at 475 degrees Fahrenheit for 15-20 minutes.
However, if you prefer a longer roast, there is the option of reducing the heat to 425 degrees Fahrenheit, cooking for half an hour, then increasing the temperature to 450 for an additional ten minutes. While this won't be ideal for anyone in a rush, it allows tossing the brussels with spices before the final ten minutes, allowing the flavor to bake into the brussels without burning or turning charred rather than caramelized. The difference between these two methods will generally boil down to the chef's preference, but in either scenario, keeping the heat high is a major step in making sure your roasted brussels have the ideal consistency.
Save the spicing for after they're done roasting
Even if you end up seasoning your brussels mid-roast as stated above, the overall message here remains the same — avoid adding seasoning at the beginning of the roast, and if you're using the "high heat, short time" method, wait until the brussels have cooled to add the spices. While sometimes adding seasoning at the beginning of the cooking process is a good thing, allowing time for the spices to merge perfectly with the dish, that isn't necessarily true when roasting some vegetables. Particularly with brussels, which requires a lot of heat to cook properly, you run the risk of burning your spices and ruining the meal.
Like brussels themselves, most spices are easy to handle correctly but can be quite finicky when used improperly, so it's important to treat this step with care. With many foods, you can bypass this by adding cooking time to the process to allow the seasoning to settle without burning, but not so with brussels due to the temperature at which they are cooked. Placing your brussels in a bowl post-roast and tossing them will allow you to evenly coat them with seasoning without running the risk of charring, and it will ultimately give you much greater control over the flavor profile.
Cut side facing down
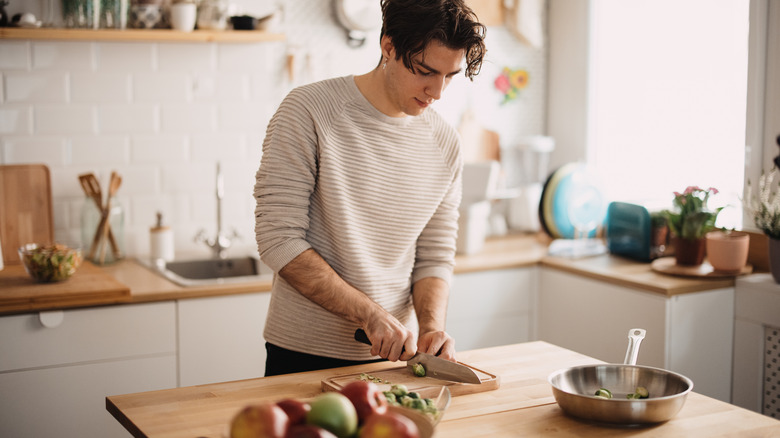
Next, it's crucial not to forget the importance of trimming the brussels, which is a major part of preparing them properly. Identifying exactly where to cut down on the ends without decimating the structural integrity of the sprout is the kind of thing that could take a little bit of trial and error, but once you've got it down, you're well on your way to success. While roasting brings out a sweetness in sprouts that can counterbalance the more earthy flavor tones, that process begins with getting rid of those less savory edges.
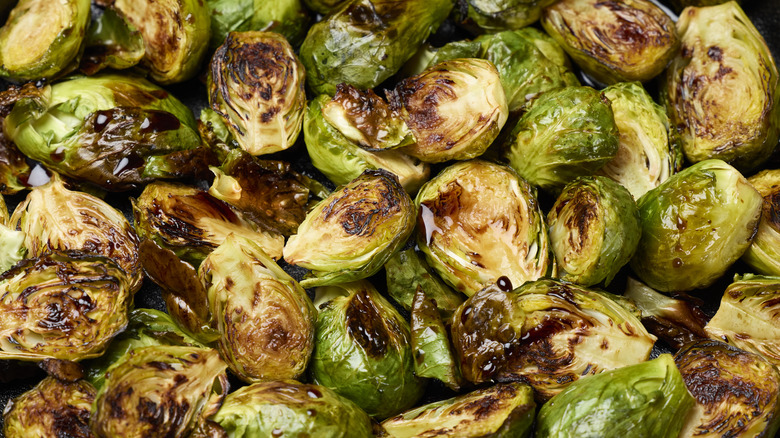
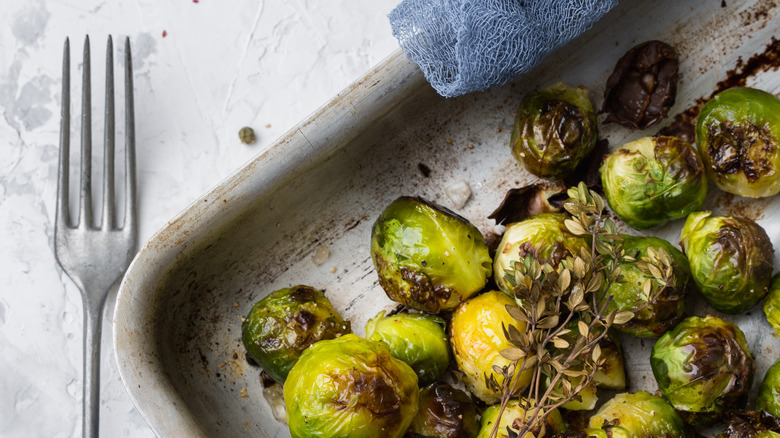
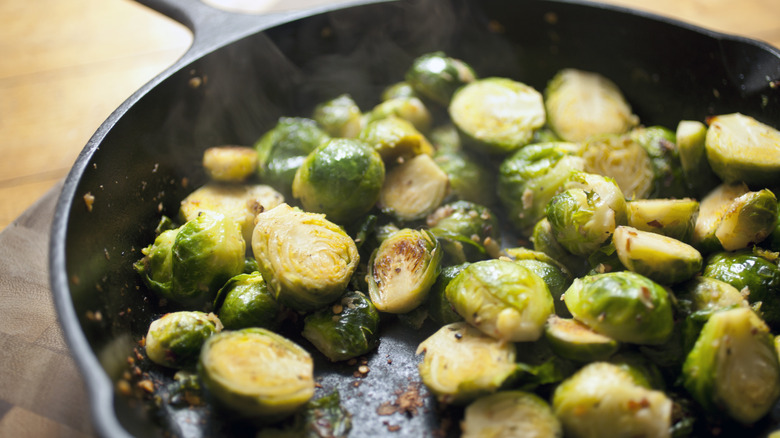
Clipping a little extra (but not too much) from the stems can curb a bit of the bitterness of the vegetable, and that can make a world of difference when it comes to taste. Once the brussels sprouts are cut into similarly-sized pieces, it's also important to place them face down on the pan. This will help the crisping process, allowing the leafier side to brown while the dense center will be able to soften. Cooked in this way, the middle will take on a sort of creamy texture while the leaves will be all the more flavorful due to their exposure to heat and air circulation.
Keep the outer leaves
At this point, the "trimming" part of preparing brussels might be starting to feel a little time-consuming, but never fear. Once you get the muscle memory down, you'll never forget it, and it's all to a good end when it comes to perfecting your brussels roasting skills. When you're taking our advice from the prior entry and cutting the stem down, and slicing the sprouts in half, you're bound to lose a few outer brussels sprouts leaves along the way. Your first instinct might be to toss these out, but it's better to keep them and simply scatter them over the pan once you're finished.
This seemingly minor step can really elevate the taste of the finished sprouts as it allows for the detached leaves to crisp even more than those attached to the sprout, giving just that much more crunch to the side. While old methods of cooking brussels, such as boiling them, notoriously unlocked an unpleasant, lingering odor, roasting makes brussels smell much more appetizing. Not only is putting the leaves to good use a good way to avoid excess waste, adding these flavorful extra brussels "chips" to the equation makes them smell and taste all the better.
The importance of oil when roasting brussels
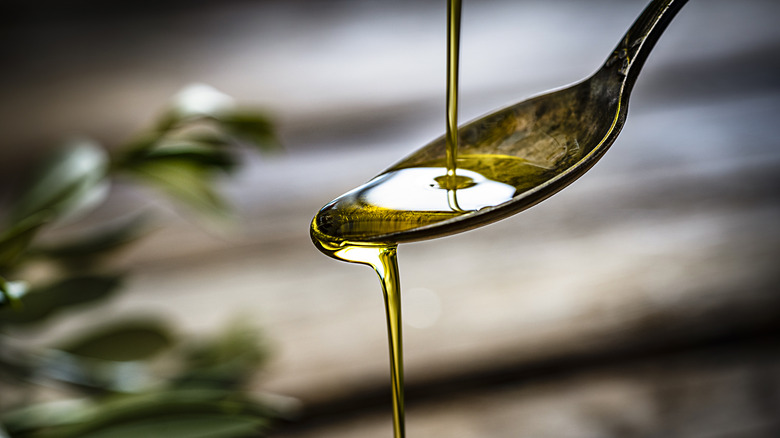
Most roasted vegetables benefit from the use of oil, and brussels are no different. Choosing the proper oil is up to the chef, with olive and grapeseed oil working particularly well and other options like vegetable, canola, avocado, and others providing solid backups in a pinch. While it's possible to use too much oil, more often than not, the bigger danger for brussels is going too light. According to some chefs, using two tablespoons per pound of veggies may seem like you're going overboard, but it's the ideal amount for covering a sprout's many nooks and crannies.
When it comes to brussels, caramelization is key, meaning that you don't want to pull the tray from the oven until you've seen significant browning across the tops of the sprouts. Every choice you make when roasting this vegetable is setting it up for a crispy top and a caramelized center, and adding the right amount of oil is a vital step in that process. Finding the happy medium when it comes to how much oil to us is always worth the extra effort.
Embrace experimentation with seasoning (but here are some classics)
So, you've pulled the roasted brussels out of the stove and waiting for them to cool. But now it's time to figure out how to season them. While the cooking oil paired with just some simple salt and pepper can make for a tasty treat in and of itself, there's no excuse not to stretch the limits a bit when it comes to brussels. After all, a little experimentation with the finished product might be especially relevant for a vegetable that has seen such a major comeback simply due to updated cooking methods.
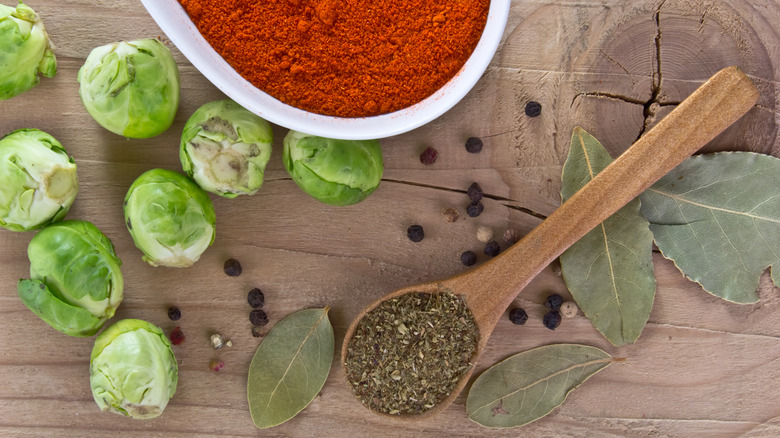
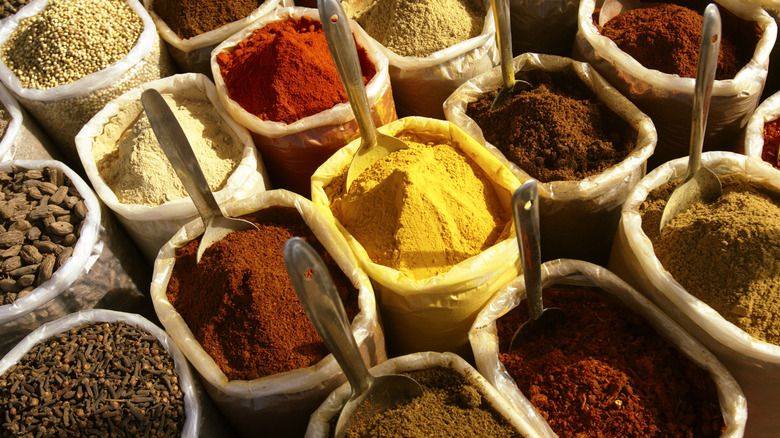
There are seemingly endless suggestions online for seasoning brussels sprouts, and our advice is to pick any one that sounds good and give it a whirl so that you can find the best one that works for you. However, people have been coming up with brussels recipes for some time, and there are some fairly universal choices. Keeping it simple with David Chang's Spicy Brussels, Balsamic Roasted Brussels, or simply tossing with garlic and parmesan makes spicing fast and easy without cutting corners on taste. Other complimentary additions include nutritional yeast, fresh herbs like cilantro or basil, or ground spices like cumin and paprika.
Opt for a sheet pan
Don't get us wrong; there are plenty of great uses for glassware, but in this case, we suggest you leave the Pyrex dish in the cupboard and go with another tried and true classic; the metal sheet pan. Not only will this assist with the earlier suggestion to preheat the pan itself before adding the brussels (which is not recommended with glass), the fast-heating action of metal is going to be the ideal choice when it comes to bringing the brussels up to temperature fast. Though glass retains heat for longer than metal, it is much slower to heat, making it ideal for casseroles or baked goods.
Meanwhile, a sheet pan will allow the sprouts to reach their crispy potential by presenting less of a barrier between the flame and the brussels. This might seem like a minor thing, but choosing the correct pan is always a bigger deal than you might think when it comes to using the oven. Brussels need a lot of heat to cook all the way through, making fast-reacting metal the ideal choice. Similarly, metal cools faster, which is a nice bonus feature if you're waiting until the sprouts are cooked to spice them.
Consider adding a starch
So much of the benefit of roasting brussels is all about increasing the crispiness to accentuate the bitterness in a pleasing way, and if you thought we were out of suggestions on that front, think again because we've got one more. If you've read through all of our tips for savory brussels and you get the feeling that we could pursue crunchiness just a bit further, you're right. When you've tried everything and you're still looking for some added texture, you could add a little starch to these bad boys to take things to the next level.
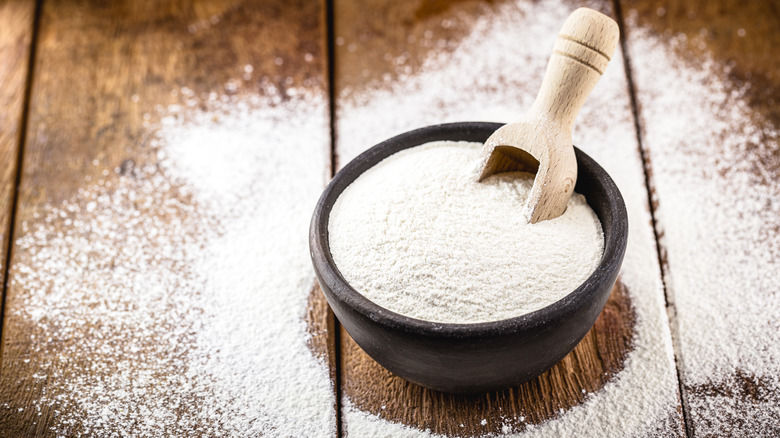
Starch is the secret weapon of so many recipes that it may come as no surprise that it can really jazz up the sprouts, as well. As for what kind of starch to use in your recipe, it's a matter of preference, as anything from cornstarch or arrowroot to regular old flour will do wonders for your sprouts. Additionally, adding starch is a great way to embrace new, interesting ways of preparing your roasted brussels, as you could then try new sauces and seasoning methods to create dishes like General Tso's Brussels or Honey Soy Brussels. Truly, the sky is the limit.
If all else fails, consider using an air fryer, deep fryer, or a skillet
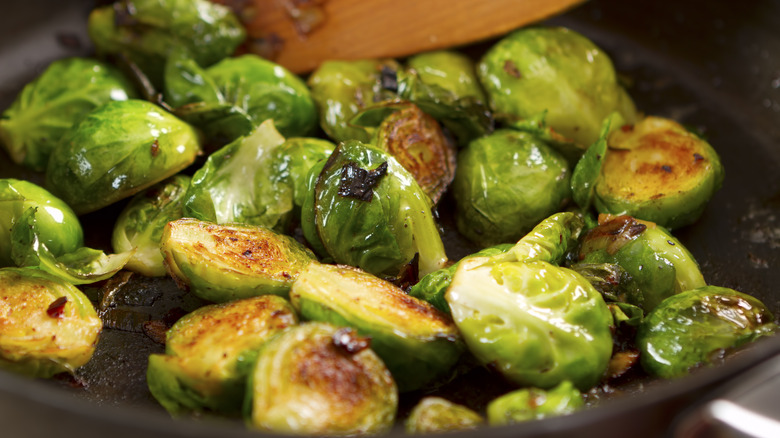
If you've filtered through all these tips and have still found brussels to be lacking, there are yet still a few options for preparation that might turn you around. For instance, while you may have noted that we remain huge fans of oven roasting, frying brussels in a cast iron skillet is an admirable contender for "best way to cook brussels" in our book. As crispy as roasting will get your brussels, sauteed brussels in a skillet can have a similar effect, although it takes more interaction and attention to detail on the part of the chef to ensure no under or overcooking occurs.
You might also consider putting the deep fryer to use for crispy brussels sprouts. While this will cut down on cooking time, it does entail a greater need for adding blanching to your process to achieve the desired effect, which is more of an optional step if you're roasting. If you've opted to forego deep frying in favor of the healthier air fryer, that can yield high-quality results. If you choose this method, however, you will also want to be sure to soak the brussels in cold water beforehand and remember to shake the fryer throughout the cooking process to ensure even air circulation.
