12 Tips You Need To Make The Best Ice Cream Sandwiches
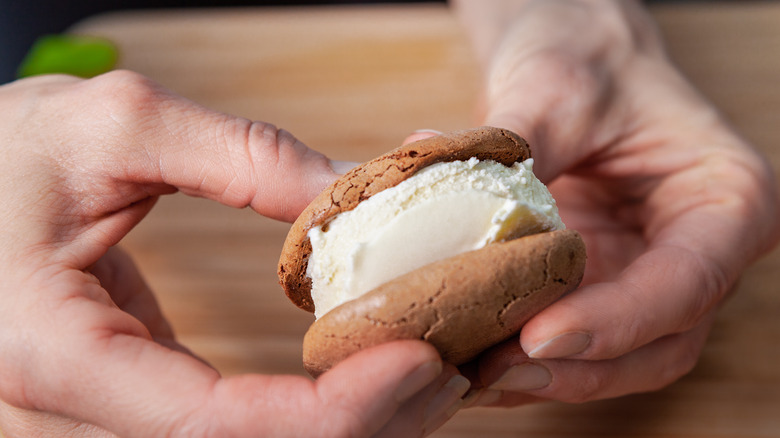
We're not going to say that every dessert is better homemade. After all, it's only the most skilled among us who can pull off treats like macarons, baklava, and chocolate soufflé. But some treats really do taste better when you make them with your own two hands. Take ice cream sandwiches, for example. The store-bought variety is good, but no matter which brand you buy, they all taste a bit artificial. That's especially true when it comes to Walmart's melt-proof ice cream sandwiches. We don't know about you, but we prefer our ice cream sandwiches to melt, thank you very much.
So, if you've had it with artificial ingredients and fake-tasting frozen novelties, it's time to learn the secrets to making the best ice cream sandwiches at home. From cookie-baking hacks to ice cream softening techniques, we cover all the tips and tricks you need to know. Even if you've never made ice cream sandwiches before, these tips will transform you into a master in no time.
1. Make sure the cookies are soft
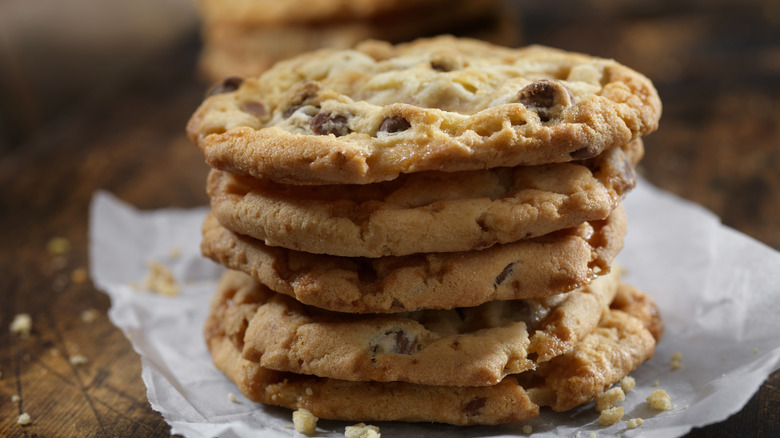
While you're probably most drawn to ice cream sandwiches for the flavor, there's no denying the importance of texture. When taking a bite out of one of these delectable desserts, you want your teeth to sink into the cookie with ease, not struggle to break through the crispy surface. Store-bought cookies can fit the bill. However, it's tough to measure chewiness based on a visual assessment alone. For that reason, we recommend only using bakery cookies you've eaten in the past. Store-bought cookie dough is another viable option, but you've got to keep a close eye on the oven to ensure you hit the chewy window perfectly.
If you prefer to go the homemade route, pay close attention to the moisture content of your dough. The right amount of moisture is essential when you're aiming for chewy cookie perfection. A lot of variables impact moisture levels, but you can control it by increasing the amount of fructose in your dough. The extra sugar from the fructose attracts and holds onto water molecules, ensuring that your cookies stay nice and moist. Agave is an excellent source of fructose and has a neutral flavor, making it the perfect addition to your usual recipe. To take advantage of this tip, replace 20% of the sugar with agave. To prevent cookies from spreading, add an extra tablespoon of flour per ¼ cup of agave
2. Let cookies cool before assembling
Fresh-from-the-oven cookies have an undeniable appeal (especially when paired with a tall glass of ice-cold milk). But when it comes to making the best ice cream sandwiches, you want your cookies closer to room temperature. At the risk of stating the obvious, hot cookies plus cold ice cream equals a soupy mess.
That said, you don't want the cookies to cool completely. A bit of extra heat allows the cookies to smoosh into the ice cream, creating a bond that will hold the ice cream sandwich components together when it's time to dig in. We recommend letting cookies cool on a baking sheet for about five minutes, then transferring them to a cooling rack for a few more minutes. You can start adding ice cream when the cookies are still slightly warm. Don't have a cooling rack? No problem! You can use an ironing board to cool your cookies. Just make sure to remove the fabric cover and wipe down the metal before depositing your precious treats.
3. Soften the ice cream for a few minutes
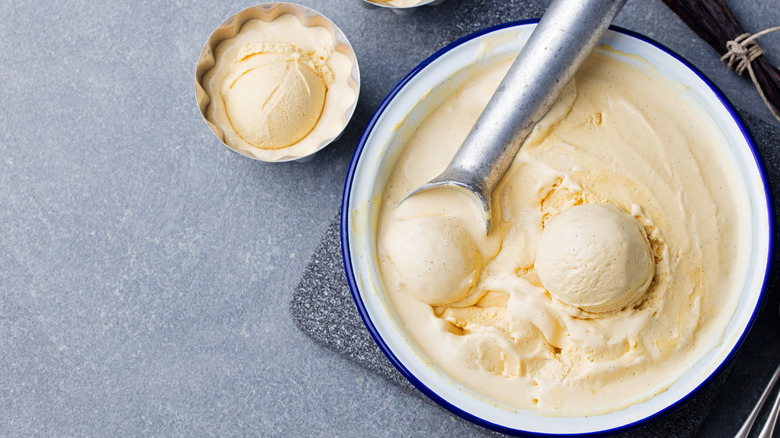
The trick to making perfect ice cream sandwiches is compromise. Just as the cookies need to be warm (but not too warm), so too does the ice cream have to be soft (but not too soft). Not only is scooping rock-hard ice cream tough on your biceps, but it's also nearly impossible to coerce it onto a cookie. So, save yourself time, energy, and elbow grease by allowing ice cream to soften before assembling your masterpiece.
There are a couple of ways to soften ice cream. The first is to transfer the ice cream container from the freezer to the refrigerator for 20 minutes before you start working. This method ensures that the ice cream will soften evenly. If 20 minutes sounds like an eternity, speed up the process by using the sharp knife method. Take advantage of this hack by running the blade of a sharp knife under hot water for about a minute. Using the heated blade, make one-inch incisions on the surface of the ice cream. It sounds strange, but scoring the surface exposes more ice cream to room-temperature air. This speeds up the softening process, reducing your wait time to just a few minutes.
4. Try homemade ice cream
When you're baking cookies for your ice cream sandwiches, the idea of whipping up a batch of homemade ice cream might not seem very appealing. If that's your state of mind, then there's no shame in using store-bought ice cream to sandwich your cookies together. Smitten and Gifford's are two of our favorite ice cream brands, but feel free to experiment until you find one that suits your tastes.
However, if you feel up to making homemade ice cream, your sandwiches will thank you (so will anyone lucky enough to take a bit out of your tasty treats). Making your own ice cream presents a couple of advantages. For starters, you'll have carte blanche when it comes to customizing flavors. Peanut butter and jelly, s'mores, and coffee fudge are just some of the crazy combinations to try. Another advantage of homemade ice cream is that it doesn't soften as quickly as its store-bought counterparts. That means your ice cream sandwiches will take longer to melt, allowing you to savor each and every bite.
5. Portion ice cream with precision
Proper cookie temperature and perfectly-softened ice cream are important, but if you're serious about making the best ice cream sandwiches, then you've got to portion the ice cream correctly. Add too much, and you'll struggle to fit your mouth around the double-decker sandwich. Add too little, and you'll miss out on the euphoria that comes with the perfect ice cream-to-cookie ratio. Thankfully, there are several ways to ensure you've got the right amount of ice cream on each sandwich.
The first way is to slice a pint of ice cream laterally using a serrated knife. Once you've made your way through the whole container, remove the packaging and place the ice cream disc on top of a cookie. Another no-nonsense method involves scooping the ice cream into a ½ cup measuring cup. Use a spoon to flatten the ice cream, then deposit it onto a cookie. The final option is the most complicated, but it produces solid results. For this one, allow ice cream to soften on the counter for about 30 minutes. Once it's soft, scoop it into a wax paper-lined baking pan, making sure it's about two inches thick throughout. Pop the tray back into the freezer for an hour or two. Remove from the freezer once hardened, then use a circular cookie cutter to make perfectly round patties.
6. Choose cookies of the same size
Using equally-sized cookies isn't just about aesthetics (although uniform ice cream sandwiches do look amazing). Rather, it goes back to the importance of proper cookie texture. The basic premise here is that cookies of different sizes have different baking times. Smaller cookies will cook in a jiff, whereas larger ones will require several extra minutes in the oven. When you've got a mish-mash of sizes, you'll have a tough time controlling the softness of each cookie.
You might be able to pull it off if you stand guard at the oven door, but it's more likely that the small cookies will come out slightly burnt and the large cookies will come out gooey in the center. Neither is ideal from the perspective of ice cream sandwich integrity, so try your best to evenly portion cookies. You can do so by using the same measuring device for each cookie. For example, try using a measuring cup, a large spoon, or a kitchen scale.
Another reason to select cookies of the same size is that they make for easier-to-eat sandwiches. When the top and bottom cookies vary in size, you'll either end up with ice cream oozing out of the sides, or you'll experience cookie overhang. It's not a technical term, but we define it as the sensation of biting into just a cookie, rather than a cookie with ice cream.
7. Experiment with flavor combinations
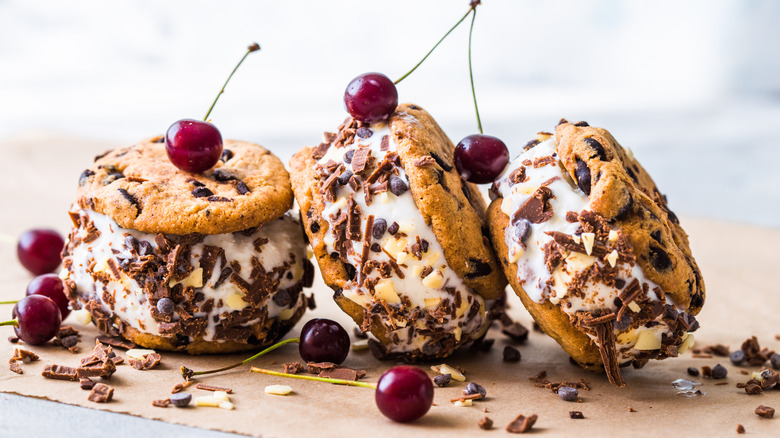
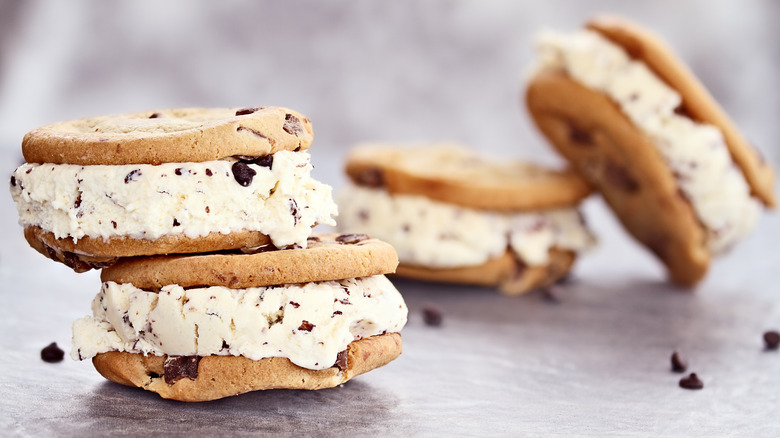
No shade to chocolate chip cookie and vanilla ice cream sandwiches, but if you're not experimenting with other flavor combinations, then you really haven't lived. The beauty of this tip is that it allows for endless possibilities. Not only can you switch up your normal cookie recipe, but you can also shop around for some unique ice cream flavors. We encourage you to let yourself be guided by your creativity, but if you're experiencing a bit of baker's block, here are some of our top picks.
On the cookie side of things, you can't go wrong with classics like sugar cookies, double fudge cookies, or peanut butter cookies. Sugar cookies pair beautifully with cookies and cream ice cream, whereas peanut butter cookies play well with either peanut butter cup ice cream or dark chocolate. As far as double fudge cookies are concerned, opt for mint chocolate chip or peppermint. Still not out there enough for you? Try black sesame ice cream sandwiches. They bring black sesame ice cream together with double chocolate cookies for a grown-up take on this summertime favorite.
8. Work quickly
Most time-saving kitchen tips stick to things like prepping ingredients ahead of time and batching meals for the week ahead. There's nothing wrong with this kind of advice, but we do find that there's a lack of productivity advice when it comes to baking. That's a shame because working quickly and efficiently is essential when making ice cream sandwiches. Efficiency is important because you want all of the ice cream sandwich ingredients to be at their ideal softness at the same time. Basically, you want the cookies to be slightly warm and the ice cream to be slightly softened when you're assembling the sandwiches.
It may sound easy, but getting the timing right requires laser-like focus and a foolproof system. One of our efficiency tips is to move the ice cream to the refrigerator after you put the cookies in the oven. If all goes well, it will be at the perfect consistency by the time the cookies bake and cool. Another tip is to assemble your measuring ingredients and preparation area as the cookies are cooling. That way, everything will be ready come assembly time. Finally, we recommend working quickly and placing the sandwiches in the freezer as you work to ensure that the ice cream stays firm enough.
9. Use plenty of condiments
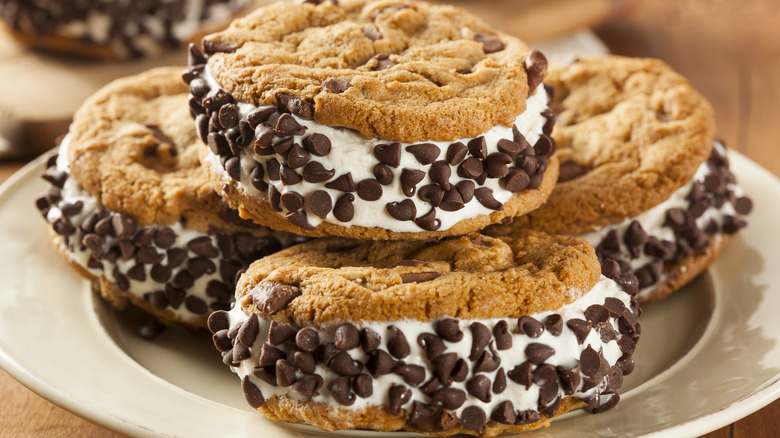
Just like ice cream sundaes get better with toppings, so do ice cream sandwiches. Toppings are an exciting addition to ice cream sandwiches for a number of reasons. The first is that they provide all kinds of visual appeal. Once you've seen the edges of an ice cream sandwich decked out in mini chocolate chips or chopped walnuts, plain sandwiches will look naked. Some other toppings to consider are sprinkles, cookie crumbs, and shredded coconut.
Looks aside, condiments provide flavor. Depending on what you select, toppings add chocolatey smoothness or provide nutty depth. They also provide a satisfying crunch that's a welcome change from the softness of the cookies and the ice cream. The best way to add condiments to ice cream sandwiches is by laying them on a baking sheet. Then, roll the edges of the sandwiches until the outside edge is completely covered. Secure any loose pieces by pushing them into the ice cream with your fingers.
10. Freeze before serving
As tempting as it is to dig into a freshly-assembled ice cream sandwich, we beg you to wait. We know it's tough to resist the temptation, but trust us when we say that freezing your creations before eating them will make your experience that much better. There are a couple of good reasons to freeze your sandwiches before serving. For one, the ice cream will melt during the preparation process. Unless you're cool with your hands getting covered with sticky ice cream soup, you'll want to avoid chowing down immediately.
The second reason is that freezing allows the ice cream and the cookies to fuse together a bit, making them easier to eat when the time comes. You can freeze the sandwiches on a plate or on a wax-paper-lined baking sheet if you've got room. About an hour or two is all the time the sandwiches need to reach their ideal consistency. If you're making sandwiches ahead of time, it's a good idea to push them to the back of the freezer. That way, they'll stay frozen and avoid freezer burn. We recommend this freezer trick for regular ice cream as well.
11. Make small batches
Meal prepping and batch cooking are all the rage, but ice cream sandwiches are one food item you don't want to make in bulk. As mentioned in a previous tip, assembling ice cream sandwiches is a delicate balancing act. If you're not careful, it's easy to end up with puddles of cream and random cookie pieces everywhere. Working in smaller batches (no more than a few sandwiches at a time) will help you keep the mess under control.
That may not seem like a lot of ice cream sandwiches (especially if you're baking for a crowd), but the beauty of this dessert is that it freezes incredibly well. That means you can make multiple batches over the course of several days, without any fear of the quality slipping. Simply assemble a couple of sandwiches, wrap them in kitchen paper, then freeze. Keep going until you run out of dough or ice cream.
12. Store sandwiches in parchment paper
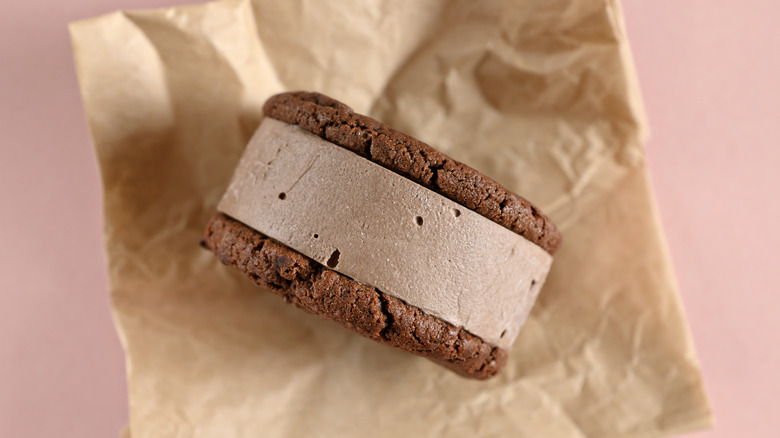
Most of us are going to eat our homemade ice cream sandwiches as soon as humanly possible. Still, some people out there will prep them ahead of time. These iron-willed souls need a reliable way to store their creations before serving. That's where parchment paper comes in (wax paper also works well). Taking this extra step will prevent your sandwiches from making a mess in your freezer. It also extends their shelf life by blocking out odors from other food items and protecting them from freezer burn.
To secure a sandwich for the freezer, place it in the middle of a sheet of parchment paper. Bring the corners to the top of the cookie, then fold the sides towards the middle until the entire cookie is covered. From there, you can either store the cookies folded side down in a freezer-proof container or wrap them in kitchen twine.
Static Media owns and operates Tasting Table and Mashed.
