11 Rules To Remember When Cooking Steak Tips
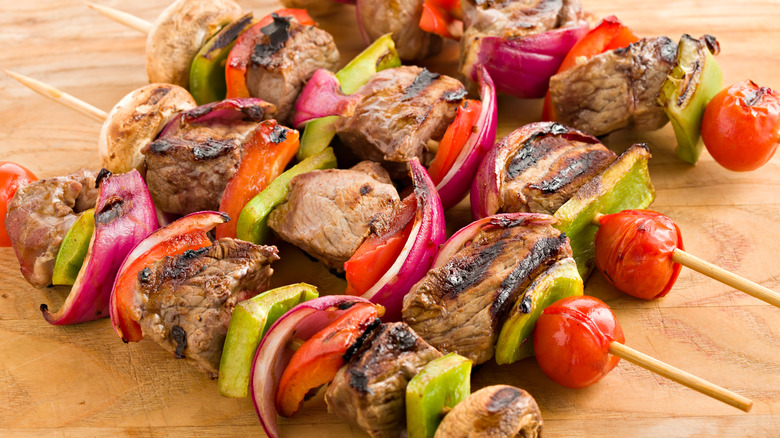
Steak tips — that term conjures up succulent, crispy, and caramelized beef chunks grilled over an open flame in the middle of summer, maybe sandwiched between red and green pepper bites, after being marinaded in something tangy and sweet. At least, to a New Englander, it does. And if the leaves are starting to fall, ushering in cooler weather, then steak tips conjure up the warmth and comfort only a bowl of New England-style beef steak tips can bring.
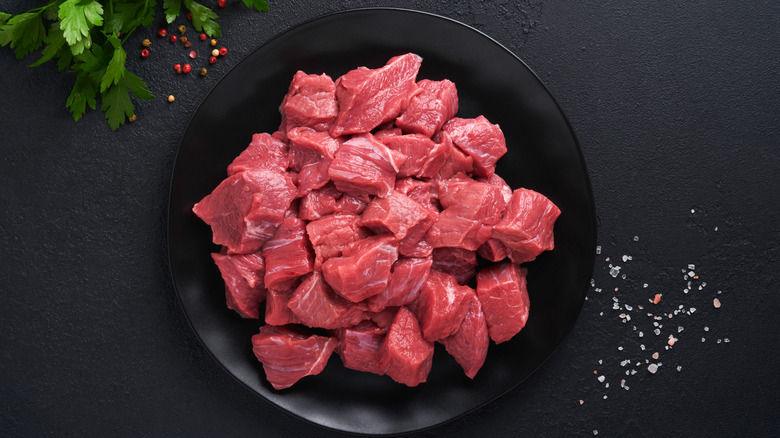
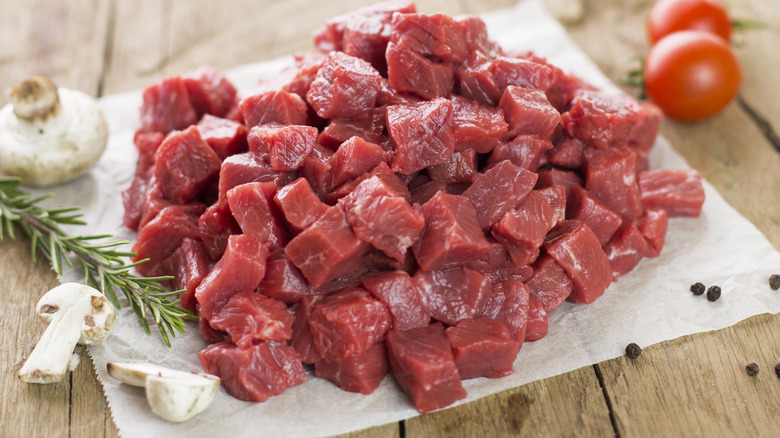
You've seen them at the grocery store, hanging out in the meat section: packaged pieces of beef labeled as beef tips, steak tips, sirloin tips, or even stew meat. Usually coming from the sirloin, steak tips are really just trimmings from larger cuts of meat, such as tenderloin, flank, or tri-tip, cut into bite-size or slightly-larger-than bite-size chunks.
Steak tips are typically lean, though, and require a little prep work so your end result is hearty and tender, causing melt-in-your-mouth goodness. Whether grilled, pan-seared, slow-roasted, cooked via sous vide, or tossed into a slow cooker, steak tips can be a quick, weeknight meal or a more elaborate dish to serve guests. Since tips are frequently butchered from different cuts of meat, we offer you some rules to remember when cooking steak tips to help you get the most from these robust bites of beef.
1. For best results, order steak tips from a local butcher
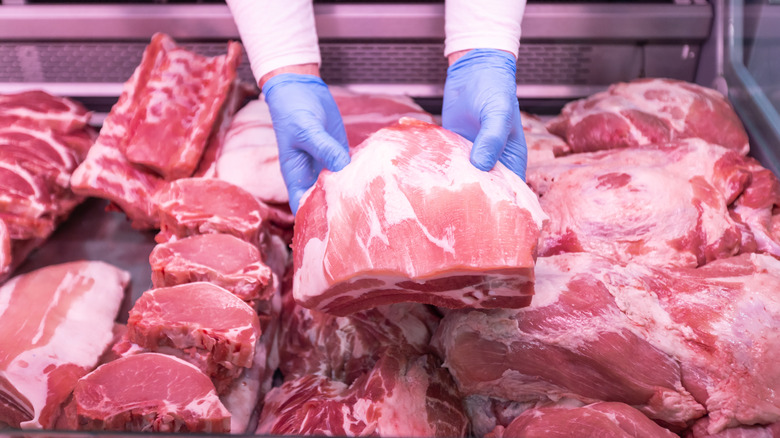
When cooking steak tips, don't skimp on the star of the show. Higher quality beef creates higher quality meals. Local ranch-raised cattle is going to taste better than the meat you buy in the grocery store. Sure, the grocery store can be more convenient (and we've got some tips for finding quality meat at the supermarket), but nothing beats buying fresh from a local farmer. When you buy from your neighborhood butcher, you can also request the type of cut you want your tips to come from.
Even if you don't order at the butcher counter, check out the refrigerated cases for packages already made and labeled as steak, beef, or sirloin tips. Many butchers already have these ready to go since many folks typically request larger cuts of beef. And if the label doesn't indicate which cut of beef the tips come from, just ask. Authentic New England-style steak tips are cut from sirloin, but it doesn't matter where you're standing on the globe — sirloin is a tasty, tender choice of cut that when cooked correctly creates a mouth-watering result.
2. Let steak tips come to room temperature before pan-searing
As part of your prep work, let your steak tips come to room temperature before pan-searing. Tempering your meat can help craft a better sear while also helping the meat cook more evenly. This way, you get a nice crust, and you don't have overdone and raw spots within the same piece of meat or throughout your pile of beef bites. Cold muscle meat also tends to seize when it hits a hot pan, toughening up the muscle fibers, which could result in a chewier bite. Your tips will benefit from getting the chill out before adding intense heat.
However, this frequently given tip ranks right up there with the gas or charcoal grill debate. There are many advocates on both sides. Suggestions for letting raw steak come to room temperature range from it being unnecessary to letting it sit out for up to one hour. It can depend on the preparation and cooking method being used. However, the U.S. Department of Agriculture warns against leaving raw meat out for longer than two hours — and only one hour if the environmental temperature is above 90 degrees Fahrenheit.
3. Pat steak tips dry before seasoning
Whether or not you let your steak tips come to room temperature, pat them dry with a paper towel to remove the excess moisture from the surface. This small prep step helps create a quick, effective, and saliva-inducing sear on the outside of the tips since dry meat browns better. Too much surface moisture on your tips could turn them to rubber or mush when they're introduced to high heat. And though you could technically skip this step with liquid marinades, it's a don't-miss step for pan-searing.
When to salt or spice up your steak tips is another hot-button topic. From salting hours beforehand (see our dry brining tip for more details about that) to only seasoning after you have taken the tips off the heat, there are a range of reasons for flavoring your meat at certain times during the cooking process. Regardless of when you want to add salt or other enhancements to your tips, begin with dry steak tips; the seasonings stand a better chance of sticking to and penetrating the meat.
4. Dry brine steak tips for at least one hour before cooking
Brining traditionally means submerging food in a mixture of salt and water for the purpose of preserving or pickling. You can certainly immerse your steak tips in a saltwater bath, but dry brining — salting dry meat before cooking, is easy and effective, and also garners juicy tips that are easy to chew. The salt draws moisture in and enriches the meat while naturally breaking down the muscle fibers. The outside of the meat dries, setting up the meat for a crispy, caramelized sear. It's a popular method among home cooks for prepping and tenderizing affordable, cheaper cuts of steak.
This method might take some forethought, but it's a good option if you don't have fridge space for a large pot of salty water. Likewise, it's a good choice if you're not using a liquid marinade. How to dry brine can elicit a range of responses — from what type of salt to use to how long to brine, and whether or not to rinse the salt off before cooking. Chefs and serious cooks have their favorite methods, so you might get varying recommendations.
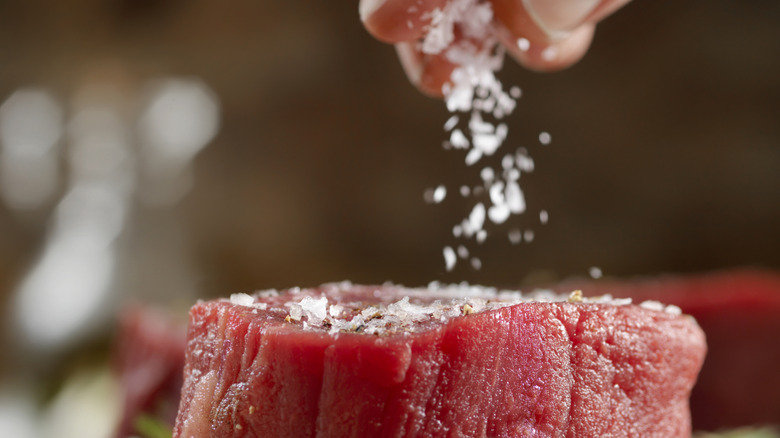
Choose a quality, large, flaky salt, such as kosher or coarsely ground Himalayan. Liberally salt your meat after patting it dry. Though you want to be generous with your salt, award-winning chef Hugh Acheson recommends 50 grams of salt to one kilogram of meat. Lay the salted tips on a drying rack and place them in your fridge for at least an hour.
5. Marinate steak tips for more tender, savory meat
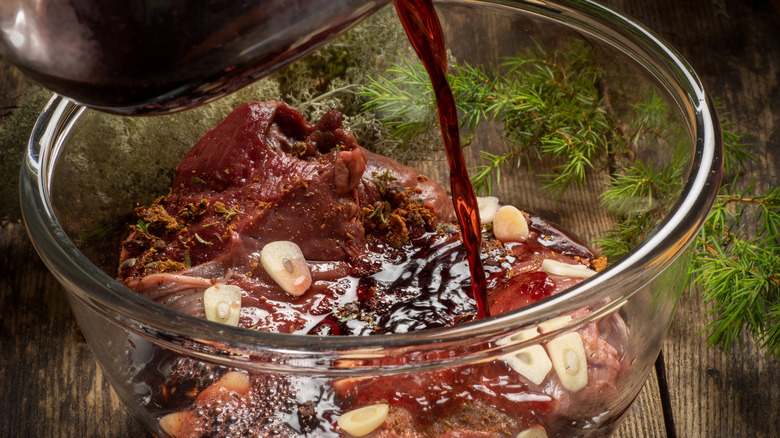
A tried-and-true method to remember when cooking steak tips is marinating. Rest your steak tips in a slightly acidic marinade, such as balsamic vinegar, lemon, tomatoes, or red wine, to tenderize and add savor to your meat. The acid helps break down the tough muscle fibers, leading to a softer chew. But if you let your meat marinate for too long, the acid could actually turn your beefy bites into mushy pieces. Aim for one to two hours for marinating steak tips.
Of course, you can grab any old marinade off the shelf at the grocery store, but chances are you have the ingredients you need to make a quick and tasty marinade at home. Marinades are made up of acid, fat, salt, and additional flavoring (if desired). Use a 3-to-1 ratio of fats to acid when putting your marinade together. You can tweak this ratio depending on the strength of your acid. Too much acidity and your tips will have the tang of cured meat. If you're unsure where to start, check out our maple bourbon steak tips recipe for sweet, savory, and succulent pan-seared tips.
6. Sear steak tips before oven or slow cooking
Be it braising, roasting, or slow cooking, searing meat enhances the richness of the cut, adding depth and layers of flavor to your final dish. Searing leads to that crispy exterior that makes meat look and taste so delicious. Once your steak tips are at room temperature and they've been dried and seasoned, pan sear them in fat (we recommend tallow or bacon fat) to develop that outer crust before finishing them in the oven or slow cooker.
Preferably, pan-sear your steak tips in a cast iron skillet for the best results. Stainless steel is a good option, but cast iron is the go-to pan for many meat lovers because of the highly sought-after caramelized crust it creates. The cast iron pan is handy, too, because you can pan-sear the tips and then just place the whole thing in the oven to finish roasting. This works effectively with a Dutch oven as well. Alternatively, you can sear your tips in the broiler.
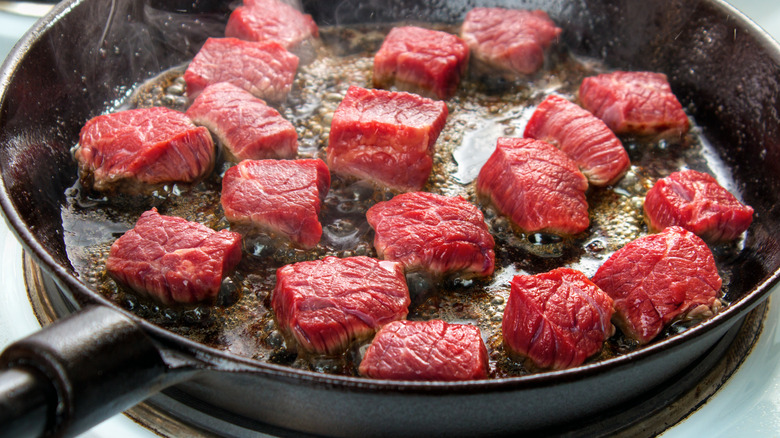
Sear your steak tips over medium to high heat for about one to two minutes per side, depending on the thickness of the pieces. Don't overcrowd the pan, otherwise your steak tips might steam themselves instead. You should hear a distinct sizzle when each piece hits the pan. According to chef and restauranteur Gordon Ramsay, it's best not to flip your tips until you see color on the seared side.
7. Prep the skewers before grilling kebabs
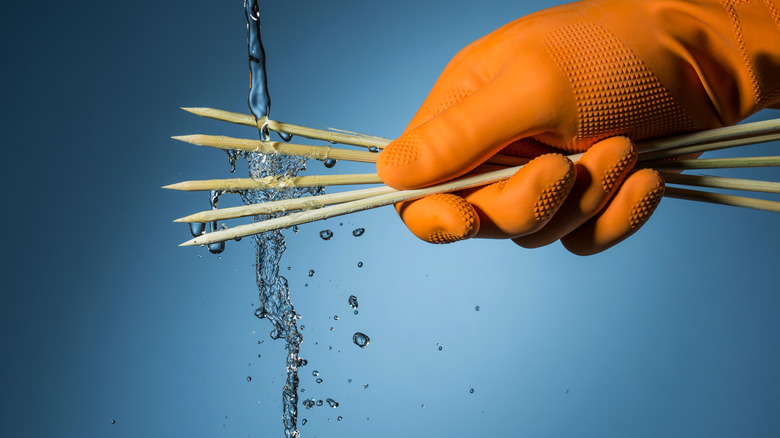
No one wants a sudden flame-up on the grill from dry wood skewers, a situation that could incinerate your steak, resulting in small squares of burnt kebabs. Soak wood skewers in water for at least 30 minutes before using them to cook your steak tips. This will reduce the risk of the skewers burning when the fire licks around the sticks to sear your steak tips. If you use metal skewers, apply a light coating of oil or fat, such as tallow, lard, or olive oil, to the metal before sliding the beef chunks onto the skewer to help prevent the meat from sticking.
Just like pan-searing, don't crowd your meat on the skewer. Keep some space between your steak tips so each piece can get an even sear and cook to desired doneness. While it's aesthetically pleasing to see beef, chicken, and veggies all on one skewer, it's better to cook each type of food on its own stick for the sake of your sanity while cooking. Beef, chicken, pork, and veggies — even if you use the same marinade or seasonings — require different cooking temperatures and time. Party tip: keep extra skewers on hand to arrange the cooked food as mixed kebabs for presentation purposes.
8. Keep an eye on the internal temperature to reach desired doneness
The doneness of steak is a personal preference that can spark heated debates and launch wars. What's perfectly cooked to one person is overdone or underdone for another. From the cow still mooing to a dry leathery slab, beef doneness indicates the internal temperature of the meat. There are six degrees of steak doneness (seven if you include raw): raw, bleu, rare, medium rare, medium, medium well, and well done.
It's important to note that the USDA views these terms in conjunction with internal temperatures in a different way than most chefs, professional cooks, and restaurant-goers. For instance, some sources state that an internal temperature of 135 to 145 degrees Fahrenheit is medium: firm, juicy, pink steak. The USDA claims this is considered rare.
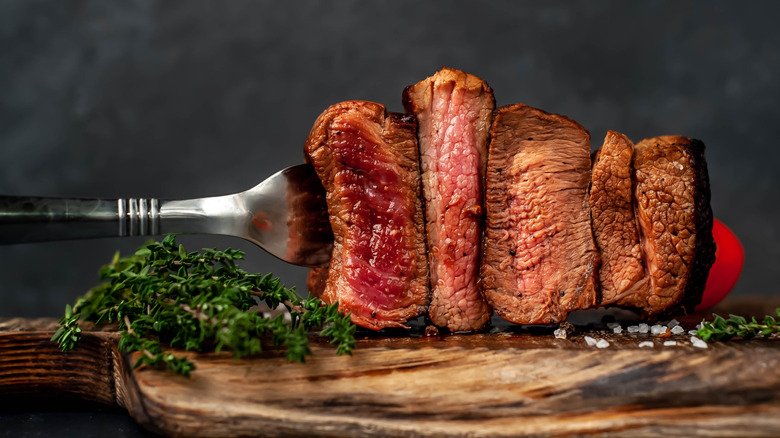
Ideally, you want to aim for medium rare steak tips, since they tend to come from sirloin, which is a leaner cut. Leaner cuts can become tough if cooked for too long. Strive for an internal temperature of 130 to 135 degrees Fahrenheit. Your tips should be crispy or caramelized on the outside and soft, juicy, and light red on the inside.
9. Add the bulk of seasoning after cooking
Seasoning food is a culinary art, but you don't need an art or culinary degree to learn how to season your meat when cooking steak tips. Typically, salt is part of your prep work, and herbs and spices are for the finishing touch, meant as a garnish. Often referred to as aromatics, an edible garnish complements the meat rather than dominating the profile of the dish.
Though some ingredients — including salt, pepper, hearty herbs, and strong spices — work well for both cooking and finishing, delicate herbs and spices benefit more from a quick hit of heat rather than being cooked. Aromatics provide immediate pleasure to the taste buds via sight and smell. In some sense, they're the star of the show since the food's aroma reaches your nose before you even take a bite. Nothing gets your hunger signals moving and the saliva pumping faster than a delicious-looking piece of meat that smells divine.
Dress your steak tips with your chosen sauce, glaze, herbs, spices, or finishing salt after the meat is done cooking but before you remove it from the pan. Fragile herbs and freshly ground spices elicit intoxicating aromas and subtle flavors that could disappear or turn bitter if too much heat is applied. Likewise, lighter sauces are best when served alongside steak tips — whether for pouring or dipping.
10. Let steak tips rest after cooking
It's tempting to dig right in when savory, gooey, or crispy steak tips are ready for eating, especially if they've been soaking up a scrumptious marinade, sitting in a delectable sauce, or are covered in a sweet, tangy glaze. But let your meat rest for a spell before diving into your meal. Meat continues to cook after it's pulled from the heat, rising another 5 degrees in the 10 to 15 minutes your meat rests. Plus, if you add aromatics right before removing the meat from the heat, the extra time can help marry the additional pairings.
While your steak tips are hanging out untouched, the meat has a chance to reabsorb any moisture that has risen to the surface so it can hang onto its flavor. As the protein fibers draw the moisture back in, the meat becomes softer and more tender. Resting also gives your steak tips a chance to sit among the accompanying ingredients as they finish cooking, which helps bring your whole dish together.
11. Cut steak tips against the grain
Most of the time when we think of steak tips, we think of fun-sized, one-bite, pop-right-in-your-mouth beefy chunks. But sometimes steak tips are kind of large, and you need a knife and fork to get them the right, bite-friendly size. If your steak tips can't be eaten in one hungry bite, then how you cut them could make a difference to your teeth and patience.
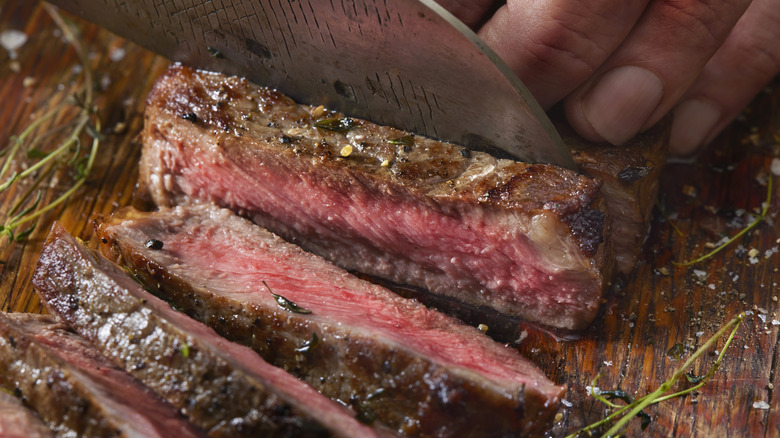
To effortlessly cut sirloin steak, look for the long muscle fibers. They may be tough to see but they look like long, thin strands. Cut your steak tips perpendicular to these parallel muscle fibers. This method is referred to as "cutting against the grain." The term "grain" is one way to refer to the thready muscle. When you cut those threads, they become smaller, making your beef tips easier to chew. And if your steak tips are really large, cut them thin as well.
