How Your Freezer Helps Shuck Clams Almost Instantly
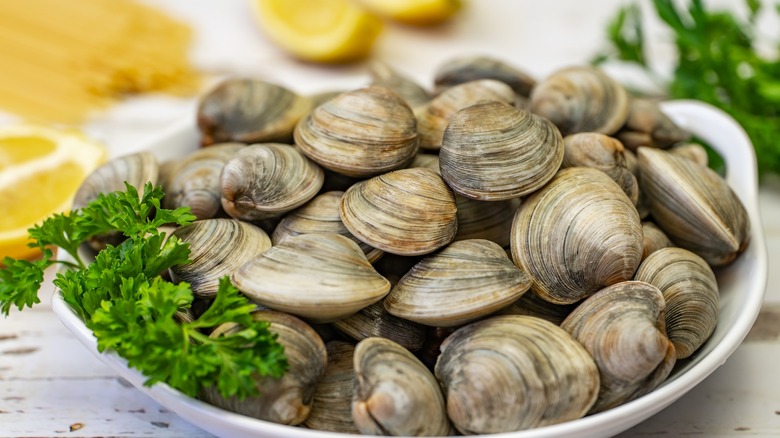
Clams are among the most cherished kinds of seafood thanks to their tender meat and sweet and briny flavor. You can also grill, steam, or boil them, then serve with pasta or simply eat them raw. Preparing them, however, can often be laborious and challenging, especially when it comes to the process of shucking. For the uninitiated, the traditional way of doing this requires skill, patience, and a certain level of dexterity.
You need to get your clam knife between the two tightly sealed shells without damaging the meat inside. Then start wiggling your way all around the shell to cut the muscles that hold the two shells together. It's a delicate process that often leads to frustration, especially for newcomers. Not to mention how easy it is to injure yourself in the process. Thankfully, there's a freezer hack that can make this whole process almost instantaneous with your clams popping open all on their own.
How to shuck clams using your freezer
To use this method, ensure the clams are clean and free from any grit or sand by first washing them under running cold water while scrubbing the shells. Throw away any that have cracked shells and those that refuse to close when you tap them on the counter since this means they are dead. Then soak in heavily salted water for 20 to 30 minutes, drain, then repeat the soak two more times.
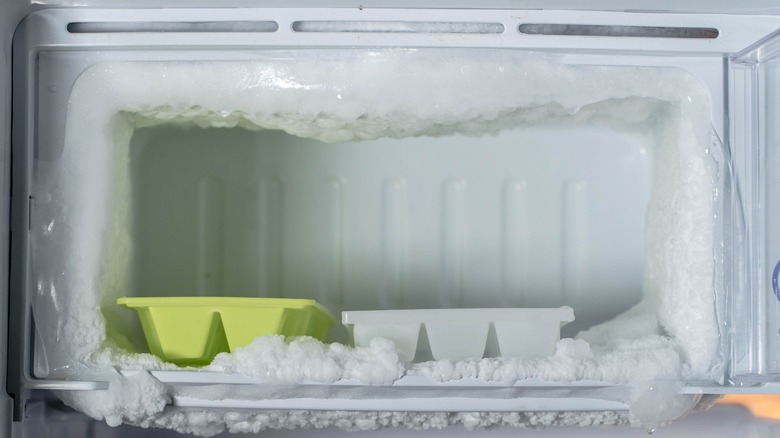
Now arrange the clean clams in a single layer on a baking tray and place them inside your freezer for a few hours or until they are fully frozen. Once frozen, take them out and put them in the refrigerator to thaw. You'll notice that as they thaw, the shells begin to pop open. Once open, you can easily remove the meat without the struggle or mess that traditional shucking often entails. Remember to do this over a large bowl so as to capture the juice in the process. And with that, your clams are ready for cooking and can be tossed in your favorite seafood dishes.