10 Mistakes You're Making When Roasting Garlic
Garlic is delicious in just about everything. It's readily available to purchase by the bulb, as already peeled cloves, minced in olive oil, or in a tube as a paste. No matter how you slice, chop, mince, or paste it, garlic makes most savory recipes, from garlic bread to plain white rice, better. It's a staple no kitchen should be without.
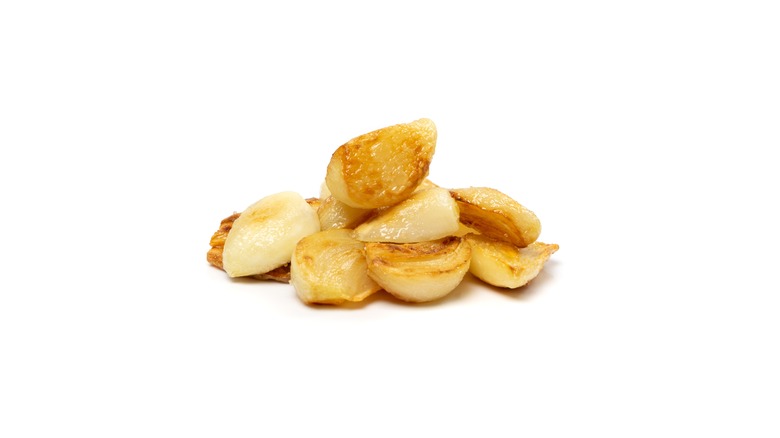
As much as we love garlic, there's nothing quite like roasted garlic. Those creamy, golden brown cloves squeezed directly onto a slice of toasted bread are the things foodie dreams are made of. Roasting transforms garlic's sharp, pungent flavor into a rich, mellow, spreadable goodness that is perfect for amping up the flavor in everything from your favorite mashed potatoes to a drool-worthy roasted garlic and butternut squash risotto.
Roasting garlic is simple, a task both novice and expert cooks alike can master. As with most cooking techniques, however, there are tips and tricks you need to know to make sure you get it right and missteps to avoid. Roasted garlic is great. Burnt or undercooked garlic, not so much. Avoiding these 10 common mistakes most people make when roasting garlic helps you skip a burnt garlic flavor fiasco and ensure your garlic is perfectly roasted every time.
Using old garlic
Fresh is always best when it comes to all things cooking, and garlic is no exception. While it doesn't need to be refrigerated like a lot of produce, there are steps you can take to give your garlic a longer shelf life. Whole heads of garlic can last as long as six months in your pantry. Once the papery, white skin, which serves as a protective barrier, is removed, the unpeeled cloves begin to deteriorate, lasting only three weeks.
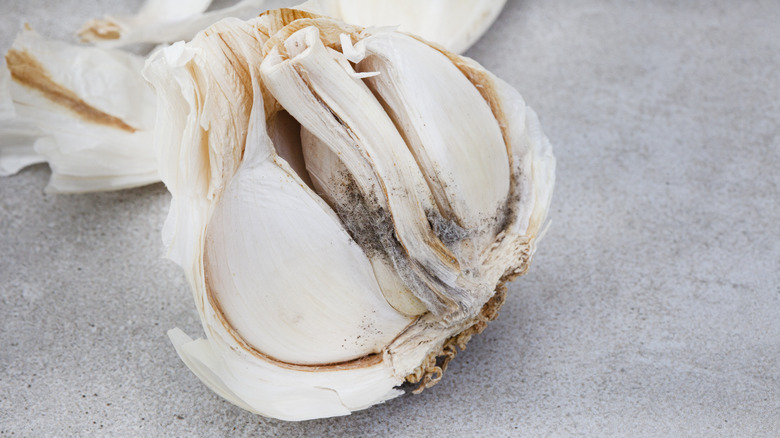
Roasting old garlic will not give you the best, most flavorful results. Your roasted garlic will likely be bitter and dry instead of mild and slightly creamy, so check to make sure your garlic isn't past its prime. Garlic should be firm when gently squeezed. Old garlic typically loses its firmness and is soft to the touch. If the skin on your garlic bulb has started to brown, it's likely too old for use. Garlic that has begun to sprout or with yellowish or withered cloves are also terrible candidates for roasting.
Old garlic is unlikely to make you sick, but it will alter the taste of whatever dish you add it to. Even after roasting, the cloves will likely be hard and bitter, the exact opposite of what we want in garlic that's been roasted.
Choosing the wrong type of garlic
Garlic is not a one-size-fits-all food. There are a multitude of garlic varieties available for purchase, even though most grocery stores only carry one or two options. Each variety has the trademark garlic bite, but they vary in shape, size, and level of flavor. Like apples, some garlic varieties are better suited for different uses, so choosing a variety that will give you the best results when roasted is essential.
There are two categories of garlic — hardneck, and softneck. Hardneck garlic typically has a woody, hard stalk that produces garlic scapes. These types of garlic are closer to wild garlic, with bigger bulbs and larger cloves. Softneck garlic is what you'll find in most grocery stores. This garlic has a milder flavor and smaller bulbs with many cloves. There are varieties of both hard and softneck garlic that are good choices for roasting.
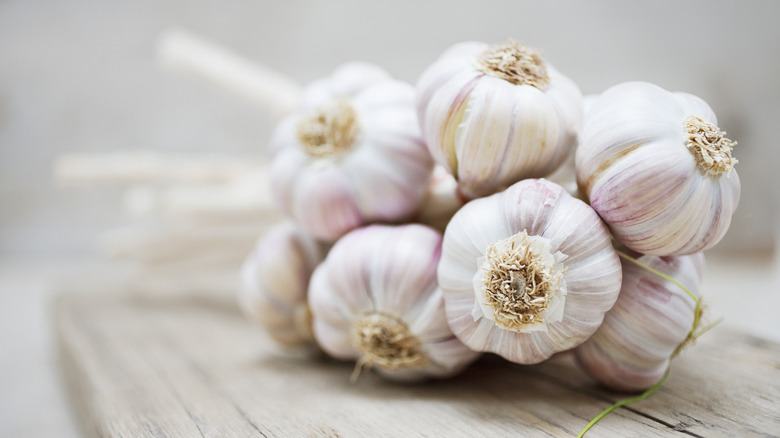
Artichoke garlic is a popular all-purpose, softneck garlic. Its name comes from the way its cloves overlap, making it resemble an artichoke. This is the garlic you'll see most in grocery stores. It's incredibly versatile and a good option for roasting. If you're lucky enough to find Standard Purple Stripe garlic, grab it and roast it immediately! Standard Purple Stripe garlic, a hardneck garlic, is appropriately named as its skin is adorned with purplish stripes. When roasted, its cloves become soft and sweet. This variety would work well in our Roasted Garlic Pumpkin Hummus.
Only roasting in the oven
Using the oven might be the standard operating procedure for roasting garlic, but there are other ways to create that soft, squeezable garlic we love. To roast garlic in the microwave, slice off the top of the bulb, exposing the flesh of the individual cloves. Place the garlic in a microwave-safe bowl. Add a few tablespoons of water, just enough to cover the bottom, and season the exposed cloves with salt and pepper. Drizzle the garlic with oil, cover the bowl with a microwave-safe lid, and microwave it at 50% power until the cloves are soft when poked with a fork or squeezed gently. This method is closer to steaming than roasting, as the steam produced by the water in the bowl softens the garlic. You won't get the golden brown caramelization the oven provides, but you can create soft, squeezable cloves that will add delightful garlic flavor to most recipes in minutes.
If you're firing up the grill, cut and season the garlic as usual and place it in the center of a large piece of foil. Chef David Guas recommends shaping the foil like a bowl before adding one-quarter cup of water, sealing it tightly, and grilling it for about an hour. Grab a pair of tongs to open the foil once the garlic's done to prevent the hot steam from burning you as it escapes.
Not using a garlic baker
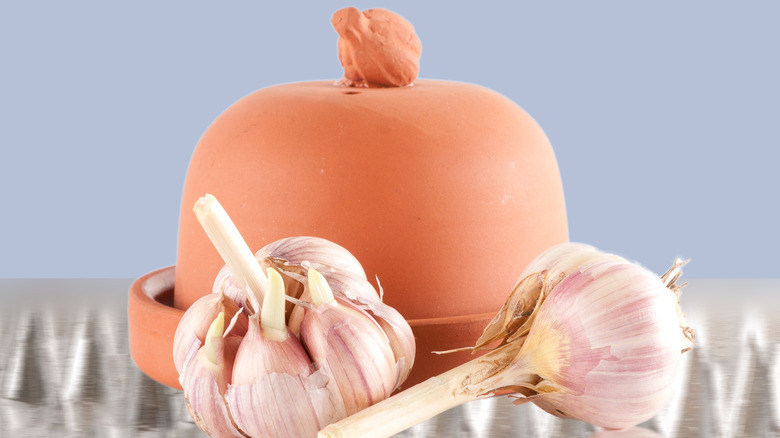
Choosing the right tools for the job is an important step no matter what you're cooking, and roasting garlic is no exception. While a piece of aluminum foil works just fine for roasting garlic, a garlic baker, also known as a garlic roaster, is a nifty gadget that might come in handy if you're roasting garlic frequently or want to roast several cloves at once.
A garlic baker is a small ceramic pot, usually made of terra cotta. This porous clay promotes slow, even heating that will allow plenty of time for the roasted garlic flavor to develop more fully. Some garlic bakers have a tiny hole in the lid to allow steam to vent as the garlic roasts. This, combined with clay's natural ability to retain moisture, will prevent your garlic from drying out as it cooks.
Most garlic roasters are built to hold several bulbs of garlic, which gives you the added convenience of being able to batch-cook. You can store roasted garlic in the fridge for up to two weeks or freeze it for up to three months, so you always have some on hand. Electric garlic bakers allow you to roast garlic in much less time without turning on your oven. If you don't have a garlic baker, you can roast garlic in a muffin tin, filling each opening with a prepared bulb. Top with another pan and roast until golden brown and soft.
Only roasting whole garlic bulbs
Roasting whole bulbs of garlic might be the norm, but it is possible to achieve roasted garlic deliciousness by roasting the gloves individually. This is a speedier way to get soft, spreadable garlic cloves in about half the time it takes to roast whole bulbs in the oven.
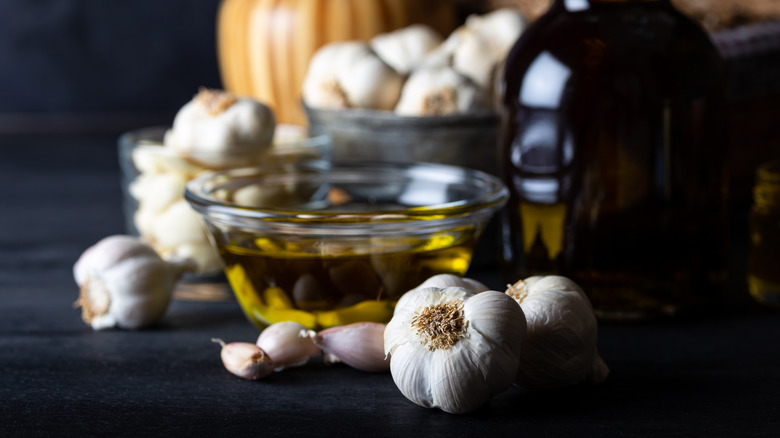
To roast individual garlic cloves on the stovetop, peel the cloves entirely. It's essential to remove all of the papery skin from each clove. Place the cloves in a small saucepan with about half a cup of olive oil. The cloves don't need to be fully submerged, but the oil should come about halfway up the sides of each clove. Bring the oil to a gentle simmer and cook the garlic until the cloves are soft. Remove them from the oil, allowing the excess oil to drain before using.
You can roast garlic cloves in the oven by prepping them as you would for roasting on the stovetop. Place them in an oven-safe baking dish with the olive oil and roast them at 400 F for about 30 minutes until the cloves begin to brown. Both of these methods are faster than roasting garlic in the oven, and they give you a bonus — the olive oil the garlic is roasted in is now infused with a wonderful garlicky flavor.
Skipping the cross-cut
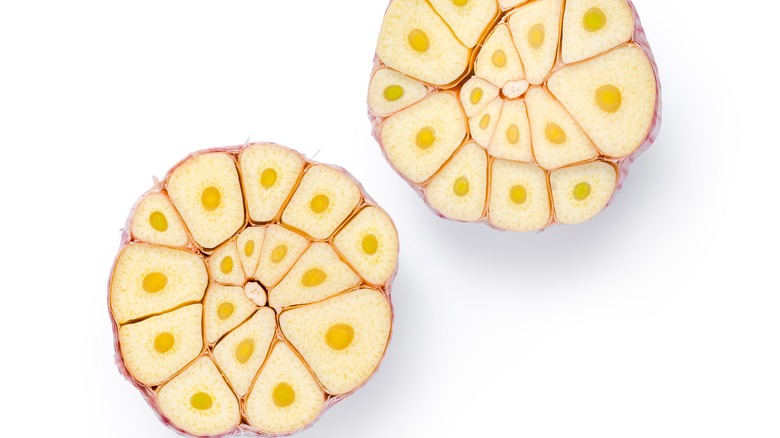
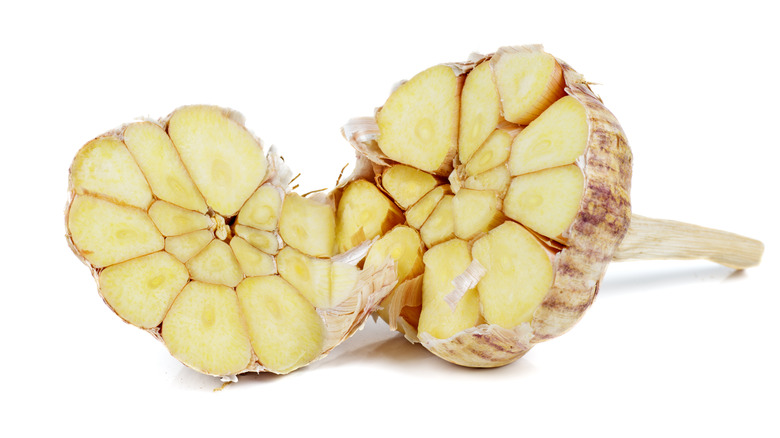
Preparation is critical to success in cooking, even when roasting garlic. Once you've chosen your garlic, the first step to roasting it is to slice off the top half-inch or so of each bulb. The goal is to cut the papery skin off the tops of the cloves so you can see the flesh inside. When the flesh is exposed, it allows any seasonings you add, like salt and pepper, to come into direct contact with the cloves. Chef Catherine Brooks recommends adding paprika or chili powder for added flavor.
Skipping the cross-cut when roasting garlic can negatively affect how it roasts. When the top portion of the bulb is removed, it ensures that all of the cloves cook evenly so each clove caramelizes, browns, and softens as they roast. If left intact, the bulbs would steam inside their skin instead of undergoing the Maillard reaction, which causes food to brown when heated.
Cutting the top off a garlic bulb before roasting gives you easy access to the softened cloves once they're cooked. Once the bulb cools enough to safely handle it, you can squeeze the bottom of the bulb to release the golden cloves from the husk effortlessly.
Not using enough olive oil
Olive oil is a key ingredient in all kinds of recipes. It's used as a lubricant to keep food from sticking to pots and pans, as an emulsifier in vinaigrettes, and as a method of transferring heat to fried foods. It's also an integral ingredient in roasting garlic. For perfectly roasted garlic, you cannot underestimate the importance of adding the correct amount of olive oil.
The olive oil you drizzle over the cut bulb of garlic before wrapping it in foil to roast seeps down inside the skin, coating each individual clove. Using too little olive oil can lead to less-than-ideal results.
The oil moisturizes the garlic and prevents it from drying out as it cooks. It also helps distribute the heat evenly and facilitates the caramelization process, giving roasted garlic the creamy texture and rich taste we love. In addition, the lack of moisture from the oil will make it difficult for the cloves to soften as they cook, and you'll likely end up with firm garlic with a sharp taste.
Part of what gives roasted garlic its trademark flavor is the caramelization that comes from roasting it. A lack of oil will interfere with the caramelization process and may prevent it altogether. Add at least one tablespoon of olive oil to each bulb of garlic you roast.
Not wrapping the bulb in foil
Can you roast garlic without wrapping the bulb in foil first? Yes, but it's much better if you do. For the absolute best results, grab a sheet of foil. Think of aluminum foil as your baking dish when you're roasting garlic. It should be large enough to cover the garlic completely easily. You should fold the edges of the foil together around the garlic to create a tight seal, but don't wrap the garlic too tightly. Be sure to leave a little space at the top of your foil packet for the steam that will build during the cooking process to move around the bulb.
The foil mimics the closed environment of a garlic baker. It helps distribute the heat evenly and, at the same time, protects the bulb from the intense heat in the oven, keeping it from burning. The foil also keeps the steam inside the packet to help soften the cloves.
Easy cleanup is another benefit of wrapping garlic in foil before roasting it. When the garlic is cool enough to handle, you can unwrap the top and squeeze the bottom of the foil packet to easily remove the succulent roasted cloves from their skin without getting the pungent garlic on your hands. Once the cloves are removed, you can toss the foil and its remaining contents into the trash.
Getting the temperature wrong
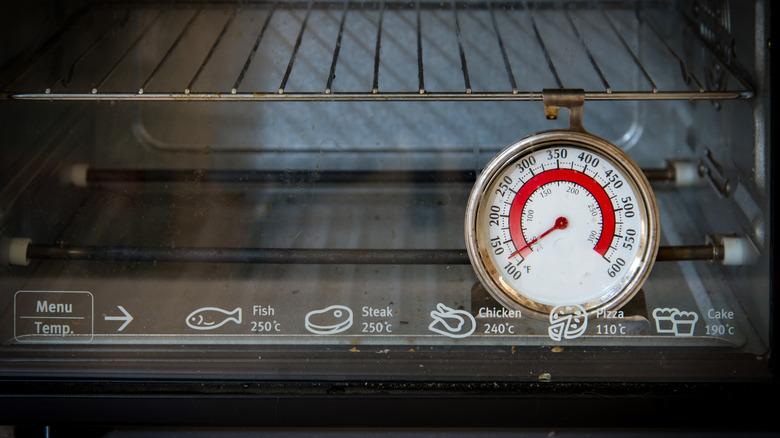
All of your careful prep work in selecting the best type of garlic to roast, cutting off the top ½-inch or so, and drizzling the garlic bulb with just the right amount of olive oil won't matter one bit if you get the roasting temperature wrong. The goal is to roast the garlic at a temperature high enough to jumpstart the Maillard reaction, which causes the garlic to brown without overdoing it and end up with a burnt bulb of garlic.
Most recipes for roasting garlic recommend an oven temperature of 400 F, and while that temperature will work, consider reducing the oven temperature slightly to 375 F. Garlic is a delicate and easy-to-burn food. If you've ever added minced or sliced garlic to a hot saute pan and ended up with bitter, brown bits in a matter of seconds, you've experienced firsthand how sensitive garlic is to heat. Cooking garlic at 400 F might result in an unevenly cooked garlic bulb with overcooked outer cloves and undercooked centers.
Cooking the garlic at too low a temperature can also have negative results. In order for the garlic to cook properly, soften, and brown, the garlic must reach a minimum temperature of 300 F.
Over or undercooking it
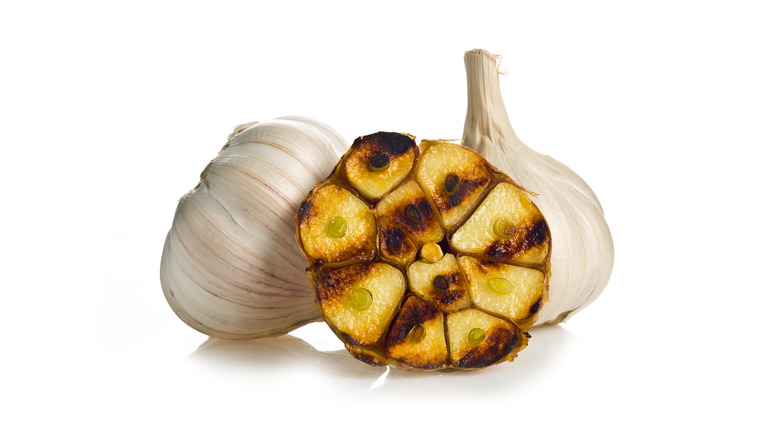
Overcooked garlic is no fun. If it's cooked at too high a temperature for too long, you'll end up with hard, dry cloves instead of the buttery-soft morsels we roast garlic to create. Undercooked garlic is equally disappointing. Without enough heat, the garlic won't soften, and the sharp flavor of raw garlic won't transform into the rich, slightly sweet taste we love. It will also lack the golden brown color that properly roasted garlic has.
The key to getting it right is to monitor the garlic as it cooks. Most garlic roasts take about 45 minutes to an hour, but that time can vary depending on the size of your garlic bulb. The easiest way to make sure your garlic is perfectly roasted is to pierce the center of the clove with a knife or fork. When the garlic is done, the fork or knife will slide easily through the center of the bulb. There should be no resistance at all. You can also confirm the doneness of your roasted garlic by gently squeezing the bulb through the foil. When it's fully cooked, the garlic should give easily when squeezed. Carefully press the center clove to make sure it's done, as well.
Avoid unwrapping the foil too soon as the garlic cooks. Breaking the seal of the foil packet will release the steam, potentially increasing your cooking time. Wait until the garlic is soft before opening the foil to check the center for doneness.
