How To Clean Squid Without Making An Inky Mess
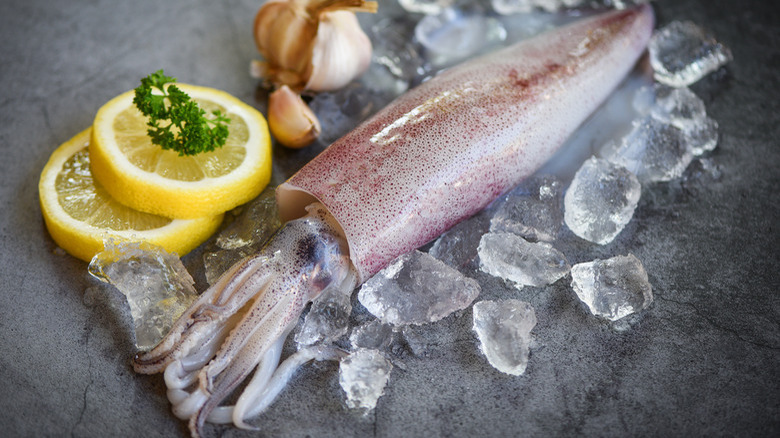
Back when I was a young line cook, calamari started inching its way onto trendy restaurant menus. At the time, there was, and still is to some degree, an ideology that buying your product in its wholest form lent authenticity to a dish. Fresh calamari wasn't available, but frozen was. You could buy it semi-cleaned or you could buy it whole. The whole squid won out because of that presumed authenticity, along with the idea we got free ink from the squid to use in other dishes.
Cleaning squid is messy work, and we had to learn to work with it quickly and cleanly because there was no time or space for errant juice or ink to cover neighboring work areas. There was also an expectation that a cook's chef coat would be pristinely white at all times. After ruining a couple of coats, I got good at cleaning squid. I had little other choice.
As ocean temperatures rise, marine populations are moving from their traditional habitats, and experts predict you'll be seeing more warm water fish and seafood on restaurant menus, squid included. Expect to see squid stuffed with ingredients like rice, raisins, pine nuts, and the squid's tentacles, or grilled, braised, or stewed. As home cooking trends typically follow popular restaurant forms of cooking, you'll surely come across more home-cooked squid recipes shortly. That means cleaning squid in your kitchen, unfortunately. Here are the lessons I learned to keep my workstation clean and chef coat ink-free.
Prepare your work area
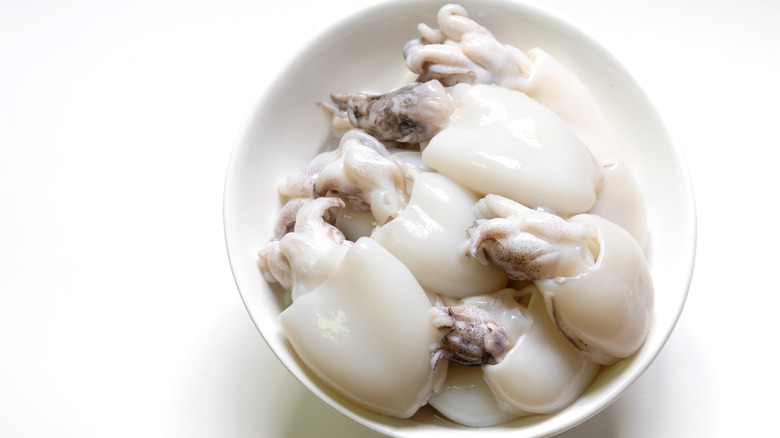
So you've decided to clean your own squid. If you've bought frozen squid, be sure to thaw it using one of the safe methods recommended by the United States Department of Agriculture (USDA). Of the available approved methods, thawing your squid in the refrigerator is best, With submerging it in cold water and changing it every 30 minutes as the next best choice. Because of the delicate textural nature of squid, thawing it in the microwave isn't a great idea.
With your fresh or previously frozen squid now ready to clean, it's time to prepare your work area. Cleaning squid is messy work, even if you don't burst the ink sack, and proper preparation mitigates the mess. First, cover any porous surfaces near where you'll clean the squid with plastic film wrap. Those surfaces include wooden or plastic cutting boards. If you accidentally puncture the ink sack, the ink will quickly absorb into anything even slightly absorbent, and the plastic provides a layer between that and the ink. Definitely wear an apron to protect your clothing, but preferably not that expensive leather one your family got you for your birthday. It will never be the same after.
Disposable gloves are a good idea for hand protection and sanitation. For hand tools, you'll want a chef's knife and a paring, petty, or fillet knife. You'll also want the aforementioned cutting board, but having a carving board with grooves to collect meat juices is even better.
Plan your attack
Chefs and professional cooks tackle many jobs faster than home cooks because they approach each job in an orderly fashion, designed for speed and thoroughness. Cleaning squid is a time-consuming process, so to minimize your time in the kitchen, organize yourself for success.
You'll want to put your whole squid in one container. Grab another large container for trash and a smaller one for innards if you're collecting the ink. Then you'll want three medium containers: one for the uncleaned tubes, one for the tentacles, and the other for the cleaned tubes. Finally, you'll need a non-porous bowl (preferably stainless steel because it's easy to clean) for the ink if you're saving that for other purposes.
We'll be moving into how to clean the squid shortly, but here's a final piece of advice for efficiency. When dealing with projects like this, professional cooks will perform the same steps on all the squid before moving to the next one. If your first move is to separate the tubes from the head, do that to all the squid before moving on to the next step. This approach saves you time in motion. Picking up the squid, twisting it, putting it down, picking up a knife to cut off the head, putting the knife back down to perform the next step, and so on. You'll achieve efficiency in your motion and make the job go faster by consolidating your steps in this way.
Remove the head
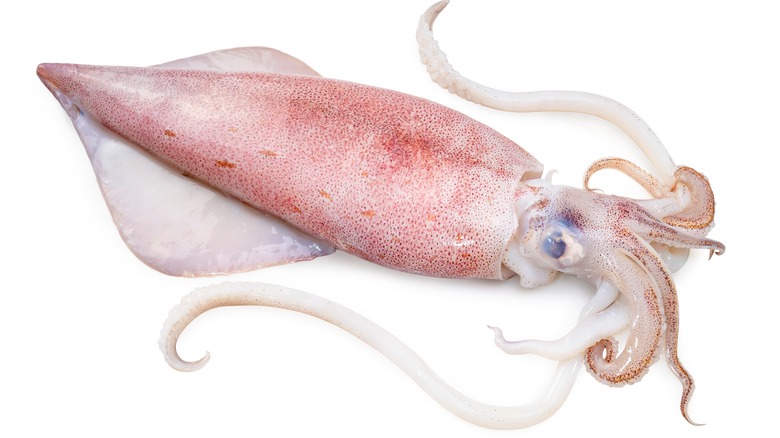
Squids are cephalopods, which translates to "head foot" in Greek. While a squid doesn't have feet, the general meaning is that the head is not at the top of their bodies. The head exists between the upper tubular part of the body and the tentacles. You'll see eyes in the center of the body, just above the tentacles, and that is the location of the squid's head and where we'll begin.
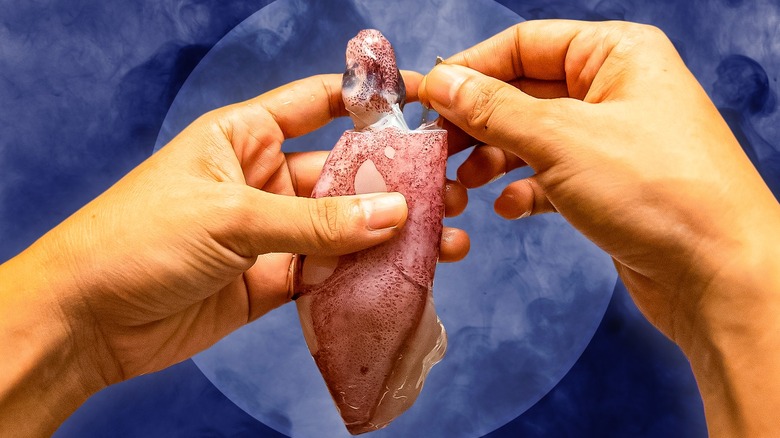
You've got your workspace covered and wearing gloves and an apron, right? Start by grasping the head in one hand and the tube in the other and holding the squid over your cutting board. Gently tighten each hand; try to avoid crushing any part of the squid, and then twist gently until the two parts separate.
Shift your grip to the top of the tube to hold it securely while gently pulling down on the head. If luck and physics are on your side, a fair amount of the gelatinous innards will slide out of the tube still attached to the head. Look for a small, dark spot in that gelatinous mass; that's the ink sack, and even if you don't intend on keeping the ink, be careful with it so you don't accidentally pop it. Now place the tube in one container and the head and tentacles in the other and repeat the separation process for the remaining squid.
Separate the head from the tentacles
The next step is to remove the heads. Grab your squid heads and your chef's knife for this next step. Look at the innards attached to the head to identify the ink sack to avoid cutting it.
Lay the squid head out flat and then cut the innards free of the head with a quick downward slicing motion. If you're saving the ink, place the innards in a separate bowl for processing the ink later. Otherwise, throw them in the trash container. Now, identify where the head joins the tentacles, which will be below the eyes and slightly above where the tentacles join the head. Ideally, when you make your cut, the tentacles should resemble a grass skirt with a small waistband attached. Be extremely careful not to cut too high, as puncturing or even nicking the eyes will release ink that lives behind them.
With the grass skirt identified and no danger of damaging the squid's eyes, use that same downward slicing motion to remove the head. Toss the head in the trash container and finish cleaning the tentacles.
Squids have a beak at the center of the tentacles that you'll need to remove. Grab the tentacles from the "waistband" between your thumb and forefinger. Gently squeeze at the center, and the beak should pop out. Sometimes, the beak is tenacious and may require a knife to remove. Discard the beak and toss the tentacles into a dedicated container.
Clean the tubes and save the ink sacks
No matter how much of the innards came out when you separated them from the head, the tubes still need some tidying up. First, you'll see a cartilaginous, plastic-looking "bone" that runs the length of the tube. Grab that between your thumb and forefinger to slide it out gently and discard it.
Next, peek inside the tube to see if a little black dot of an ink sack is still inside. If so, it will be near the head end of the tube, and you can gently remove it with the tip of a narrow-bladed knife and place it with the others. Gently place the ink sack with the other innards and continue on. You can usually scoop any remaining innards from the tube by inserting and running your index finger around the tube's interior wall. If you encounter any stubborn pieces, you can use your narrow-bladed knife to coax them out, ensuring you don't puncture the tube wall. The innards go in the trash container. Rinse the tubes' interiors under cold running water to flush any remaining innards and put the cleaned tubes in a separate container.
Skin the tubes
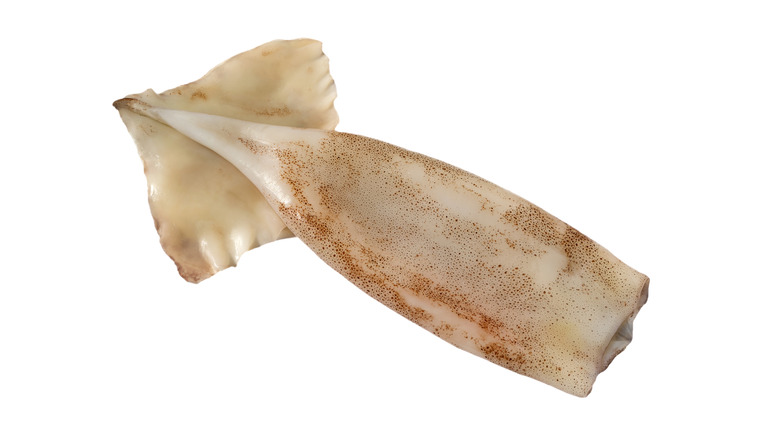
Squid has a purple-ish membrane across its exterior and some "fins" at the top of its tube. It's unrealistic to think you can remove the membrane from the tentacles, so you'll see a color difference between them and the tubes when they're on your plate. Nothing says you must remove the membrane from the tube, but some people find it tough and chewy.
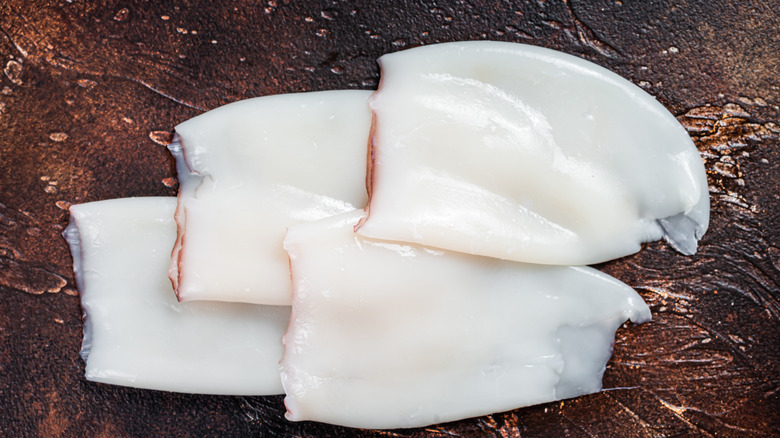
To remove the membrane, grasp an edge of it at the opening at the bottom of the tube between two fingers. Give the membrane a light tug upward toward the fins. If the stars align, you'll remove the membrane in one motion. If the stars don't, which is often the case, you can just grab the membrane where it tore and start tugging it again. The fins should come off with the membrane, but a gentle tug will remove them if they don't. Toss the membrane and fins in the trash and the skinned tubes into your tube bowl and repeat the process for the remaining pieces. If you're frying the squid and need rings, now is the time to cut the tube into half-inch segments.
What to do with the ink?
After all the careful consideration given to not bursting the ink sacks, that's exactly what we will do next. Put a tablespoon of water or wine into your ink-collecting bowl and locate the ink sacks in your collected innards. Submerge the sack in the liquid in your bowl and gently puncture it with the tip of your small knife. By submerging the sacks before sticking them, you minimize the chances of the ink spraying on things you don't want it to encounter.
That's a lot of work to get squid ink, right? So what do you do with it after all that? Many people use the ink for its color, but the flavor surpasses the rich blackness it imparts. The flavor is briny and reminiscent of oysters but deeper in umami than most shellfish. It's beautiful for coloring and flavoring risotti, especially ones that contain seafood. You can also add a few drops to fresh pasta dough for dishes like pasta al nero di seppia, which pairs the black pasta with wine, chile flakes, grassy herbs, and a bit of squid. Ink-infused pasta pairs perfectly with spicy nduja and clams. You could try fideos with calamari or Calamares En Su Tinta, which pairs squid ink with squid in spiced, herbaceous tomato sauce if you'd prefer Spanish flavors.
