11 Tips You Need When Poaching Pears
Of all fall fruits, pears don't always get the recognition they deserve, often overshadowed by seasonal favorites like apples and pumpkins. But pears have a lot to offer. They're beautifully shaped, juicy, and sweet and can make a delightful substitute for apples in many recipes.
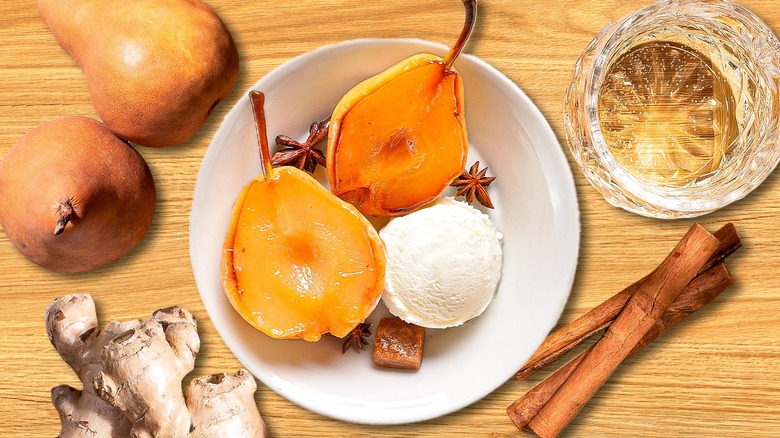
One of the simplest, most timeless, and most beautiful ways to enjoy pears is poached. You may be familiar with this cooking technique from eggs Benedict, which features poached eggs gently cooked in simmering water. But poaching can be used to cook fruit, too, and is an especially good way to cook pears, giving them a buttery smooth texture, translucent appearance, and a succulent taste. You can vary the flavor of poached pears by customizing the liquid in which they're cooked. For instance, you can poach pears in apple juice, bourbon, and vanilla for sweet, bright, smoky notes or simmer them in red wine, cinnamon, and orange zest for a spicy, tart taste. The flavor combinations are endless, and the results are elegant and refined.
Having worked many years in pastry kitchens at both high-end and casual restaurants, I've made my share of poached pears and witnessed first-hand their enduring appeal. If you're hoping to impress your family and friends with a tasty, showstopping dessert, consider poached pears. Hesitant to take them on? Follow these easy tips to make perfectly poached pears every time. Gorgeous, silky, buttery pears await you.
1. Choose the right variety of pear
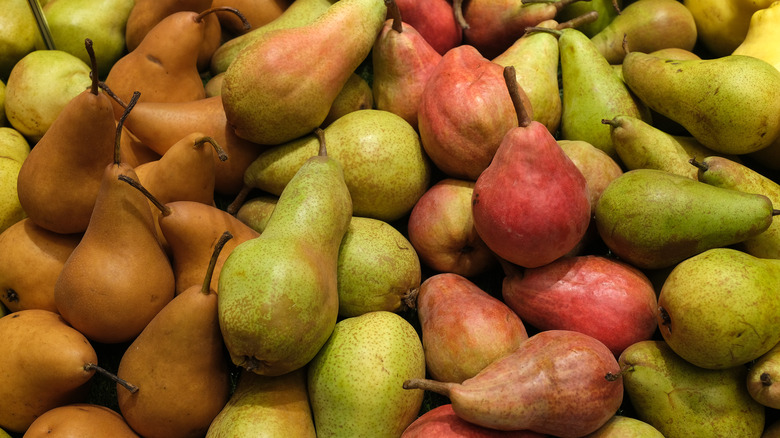
Like many fruits, pears come in a range of varieties, distinguished by taste, shape, color, and texture. Most pears are great to eat raw, but some varieties do double duty and are equally wonderful to enjoy after being cooked. For instance, notoriously juicy Bartlett pears are lovely to eat fresh but are also considered a top variety for preserves, canning, and chutneys, while Anjou, a great all-purpose pear, is ideal for grilling. Selecting a suitable variety of pear is important depending on how it will be prepared.
The best pears for poaching are ones that hold their shape when cooked. Bosc pears are great for poaching because their flesh is firm, they're elegant in shape, and their mild taste is a blank canvas for absorbing the flavor of the poaching liquid. It also doesn't hurt that they're readily available at most grocery stores. Other varieties that hold up well while cooking in the hot poaching liquid are small, sweet Seckel pears, bell-shaped Anjou pears, and large, round Asian pears.
One pear you should avoid poaching is the Bartlett pear. While delicious to eat fresh, Bartletts easily bruise and turn soft and mushy when cooked. Thus, they're not ideal for this method.
2. Avoid overripe, bruised, or underripe pears
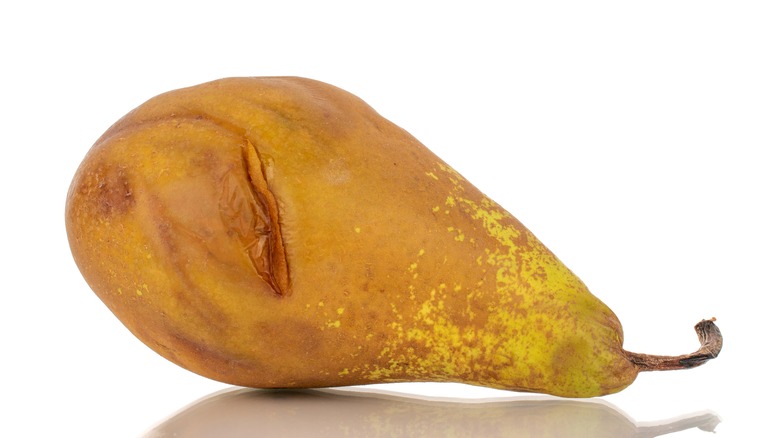
Once you determine the variety of pear you want to poach, choose pears at peak ripeness. Catching pears at their peak can be tricky, but there is an easy trick for determining if a pear is ripe enough for poaching. It involves gently pressing your finger into the narrow part of a pear. If the flesh yields slightly to gentle pressure but is still firm, it's ripe for poaching. By all means, avoid using overripe pears for poaching. Too-soft pears won't hold up to cooking in the poaching liquid. You may get away with poaching them for a shorter time, but that probably won't allow enough time for the pears to absorb all the delicious flavor in the liquid, and that's one of the delicious benefits of poaching.
If your pears are underripe, all is not lost; you just need to be patient. Hold firm, and give those underripe pears a few more days on the counter. If waiting isn't your best skill, you can place the pears in a brown paper bag to speed up the ripening process. And yes, in a pinch, you could cook those underripe pears longer in the poaching liquid until they turn soft, but for the tastiest results, it's best to wait for them to ripen fully.
Lastly, avoid pears with blemishes or bruising. Fleshy areas around bruises tend to be mushy. Also, having to remove blemish spots can be challenging and end up affecting the pear's appearance.
3. Peel the pears before poaching
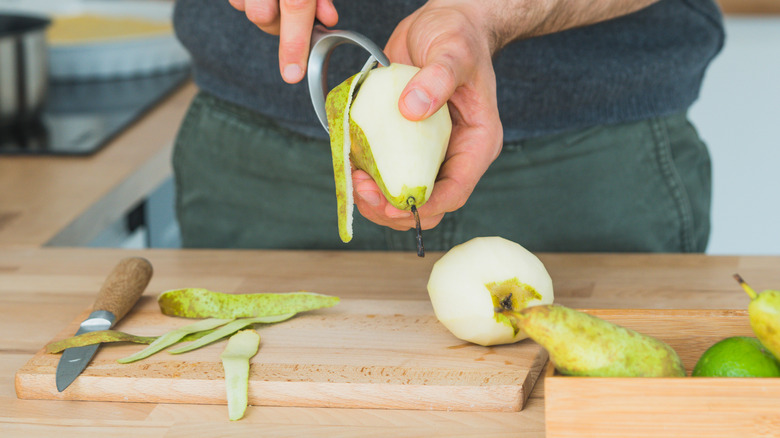
Before you poach your pears, it's important to peel them because the skin on the pear acts as a barrier that, if not removed, will prevent flavor from reaching the flesh. You'll want to peel your pears so all of the flavors in the poaching liquid can infuse into the pear's flesh while cooking. Another reason to remove the pear skin is tannins, complex chemical substances found in the skin that can impart a bitter flavor if left on.
To properly peel your pears, use a vegetable peeler or a paring knife to remove the skin in one smooth motion, following the pear's natural shape. If you plan to serve the peeled pears whole, leave the stems intact and stand them up on a flat surface (like a cutting board) to check that they can stand straight. If they topple over, use a knife to make the bottoms flat so the fruit can stand on its own. If not serving the pears whole, cut the peeled pears in half lengthwise and remove the inner core and seeds with a melon baller or small spoon.
Here's a pro tip that will be useful, especially if you're poaching many pears at once: Peel the pears right before you need them and place them in a bowl of cold water mixed with fresh lemon juice. The lemon-infused water will keep the pears from browning until you finish peeling all of them.
4. Replace some of the water in the poaching liquid with wine or juice
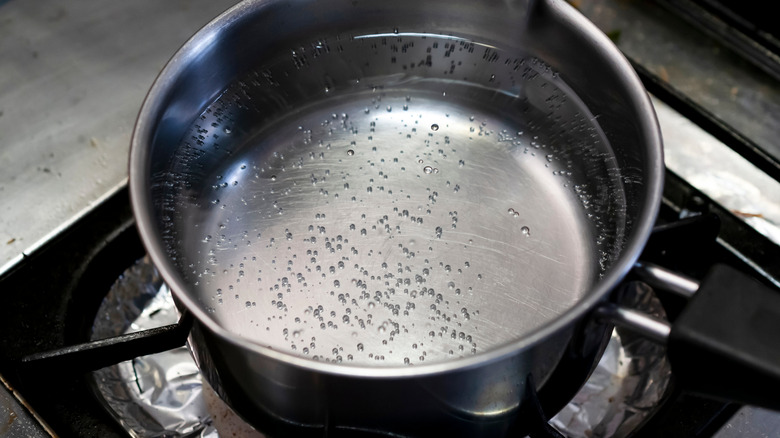
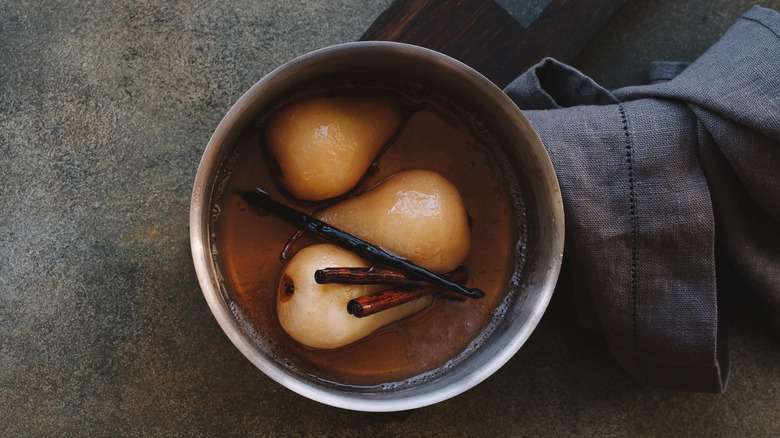
A basic fruit poaching liquid consists of water and a sweetener; in other words, simple syrup. To prepare your poaching liquid, place the sugar and water into the appropriately sized pot, depending on how many pears you are poaching. Then, turn the stovetop heat to high and stir the syrup occasionally until the sugar dissolves. Your basic poaching liquid is now ready.
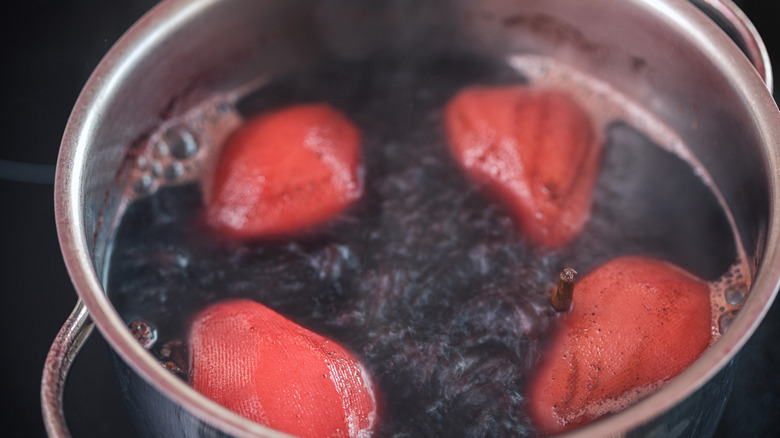
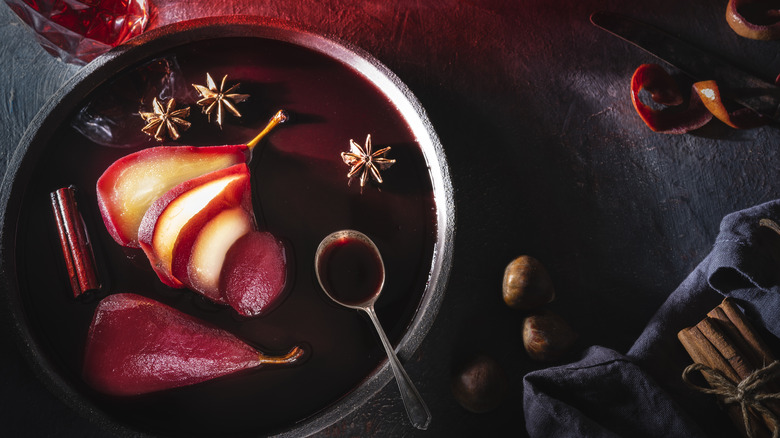
Poaching pears in a simple mixture of sugar and water is lovely. But if you want to elevate your poached pears and make them taste more than just sweet, replace some of the water with a more flavorful and aromatic liquid, like wine. There are so many wonderful wines to choose from that are great for poaching, imparting their complex flavor into the pears as they cook. Make sure to choose one that you like to drink because as the poaching liquid simmers, the flavor of the wine will become concentrated in the syrup. You can use either red or white wine, but red wine is popular for poaching as it colors the pears with a gorgeous purplish hue after cooking.
If you're avoiding alcohol, don't be dismayed. These days, there are many great-tasting dealcoholized wines readily available. You can also experiment with fruit juices, like apple, orange, and pomegranate. Or, you can try replacing some of the water with coffee or your favorite tea.
5. Add aromatics to the poaching liquid
After you've decided which liquid(s) to use in your poaching syrup, you can get even more creative by adding aromatics, like spices, fresh herbs, and citrus zest. The more aromatics you add to the poaching liquid, the more flavorful your pears will be.
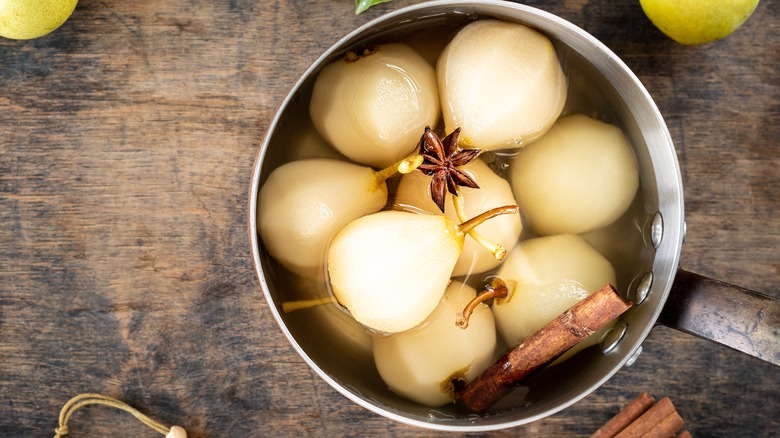
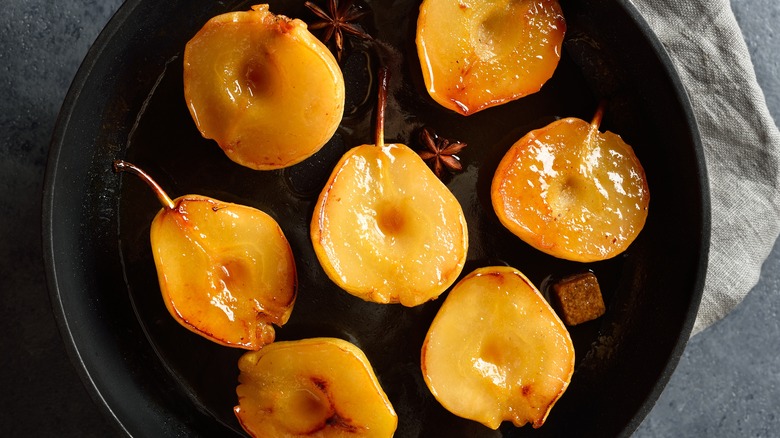
Since poached pears are a fall dessert, warm spices like cinnamon, star anise, clove, and cardamom are always popular. Fresh ginger and lemongrass also work well, adding a sweet and spiced scent to your pears — and your kitchen. Additionally, citrus zest from an orange or lemon brightens the flavor of the pears with clean, fragrant notes. Vanilla is another great choice for adding fragrant floral notes to the poaching liquid, and if you're fortunate to have a vanilla bean on hand, your pears will come out coated in gorgeous black specks. For a unique twist, try fresh herbs like thyme and tarragon. They pair beautifully with pear, adding delicate and unexpected savory notes.
Using a combination of aromatics in your poaching liquid allows you to add even more flavor to the pears and create a dessert that's uniquely yours. Highly season your poaching liquid so it infuses the pear with loads of flavor. When working with spices, freshly grind them and place them in cheesecloth or a muslin bag to hold them in the poaching liquid.
6. Make enough poaching liquid to submerge the pears
One of the biggest mistakes you can make when poaching pears is not cooking your pears in enough liquid. Your poaching liquid needs to cover the pears so they cook evenly. If there isn't enough liquid for the pears to cook in, you'll have to turn the fruit frequently to ensure they poach evenly on all sides. Not only is this a hassle, but it also increases the chance of bruising the pears each time you manipulate them.
Because the fruit will float no matter how much poaching liquid you place in your pot, your pears will never be completely submerged. To deal with this, you will need to ensure there is enough liquid to match the width of the fruit. For example, the average width of a Bosc pear at its thickest section is 3 to 4 inches, so you will need your poaching liquid to be at least that deep. If you plan on poaching lots of pears, be aware that they will stack on top of each other, so you will need to increase the amount of poaching liquid to cover the entire stack of pears.
7. Maintain a low simmer
The cooking process for poached pears begins by heating the poaching liquid over high heat. Bring the mixture to a boil and stir until the sugar is dissolved. Then, reduce the heat to low and bring the liquid to a simmer between 150 degrees Fahrenheit and 180 degrees Fahrenheit. If you don't have a thermometer, look for steam rising from the surface — and absolutely no boiling. A few tiny, gentle bubbles may occasionally rise to the surface, but nothing more than that. The low simmering liquid allows the pears to cook gently and slowly, turning them tender and moist.
It's wise to regularly monitor your poaching liquid while the pears cook to ensure the liquid never boils. Don't hesitate to adjust the heat level now and then if needed. A ripe pear will maintain its shape when the liquid is at a delicate simmer, but if you allow the poaching liquid to boil, the high temperature will agitate the fruit and break down the pear's delicate structure.
8. Don't overcook the pears
As the pears poach in the simmering liquid, rotate them occasionally to ensure every part of the pears' exteriors cooks in the poaching liquid evenly, and continue doing this until all pears are cooked through. How long that takes will depend on the pear variety and ripeness — and if the pears are poached whole, halved, or quartered. Cut pears can finish cooking in 10 to 15 minutes, but whole pears could require cooking for as long as 45 minutes. Likewise, expect slightly under-ripe pears to take longer to cook through than ripe pears.
The best way to test your poached pears for doneness is to insert a paring knife (a skewer works well, too) into the flesh; if it slides in easily with no resistance, your pears are ready. Poached pears should be soft yet maintain their shape when pierced with a knife — and they should never be mushy. Need a visual cue? Look for perfectly poached pears to appear slightly translucent when done.
9. Boil down the poaching liquid after the pears are cooked
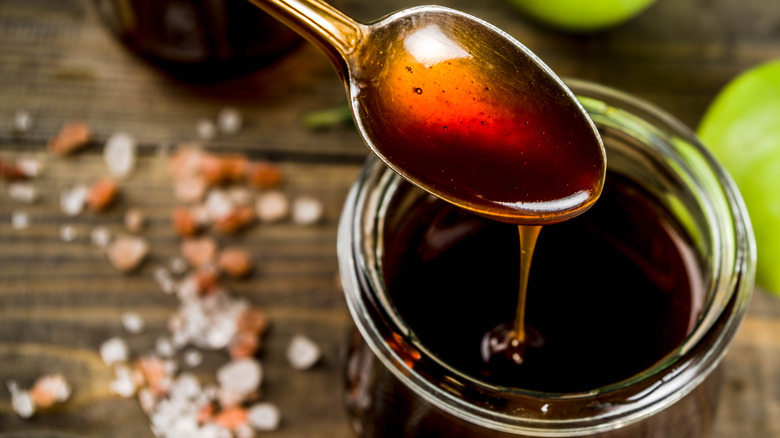
When your pears have finished cooking, use a slotted spoon to remove them from the poaching liquid and allow them to cool on a plate. The poaching liquid in the pot is now highly flavored not only with your chosen aromatics but also by the pears. Think of it as a super flavorful pot likker that definitely should not go to waste. Instead, boil it down to concentrate the flavors and make a syrup you can pour over the pears to serve. If you're a baker, save any leftover syrup and use it as a flavor-packed simple syrup for layer cakes. Or if coming up with creative cocktails is more your thing, use it as a syrup to make a fall-inspired Moscow mule.
If you don't plan on serving the poached pears immediately, you can hold off on boiling the liquid until serving time. Instead, remove the pot from heat and let your pears cool in the poaching liquid. This will give the pears more time to infuse with all the aromatics in your poaching liquid, making them taste even better.
10. Poach your pears the day before you serve them
If you know in advance what day you'll be serving your poached pears, plan to poach them the day before. Store the pears in their poaching liquid in the refrigerator and let the syrup continue to infuse through the poached fruit for an even greater depth of flavor.
Reheating the poached pears is simple. Remove the pears from the refrigerator a few hours before serving and re-warm them slowly in the liquid on the stovetop over low heat. Or, if you forget to pull them out of the fridge earlier in the day, remove the pears from the poaching liquid and place the liquid in a pot over medium heat. Once hot, turn off the heat, return the pears to the pot, and allow them to sit in the liquid until heated through. You can also reheat poached pears in the microwave, 30 seconds at a time, basting with the poaching liquid until the pears are warm.
11. Serve poached pears with accompaniments
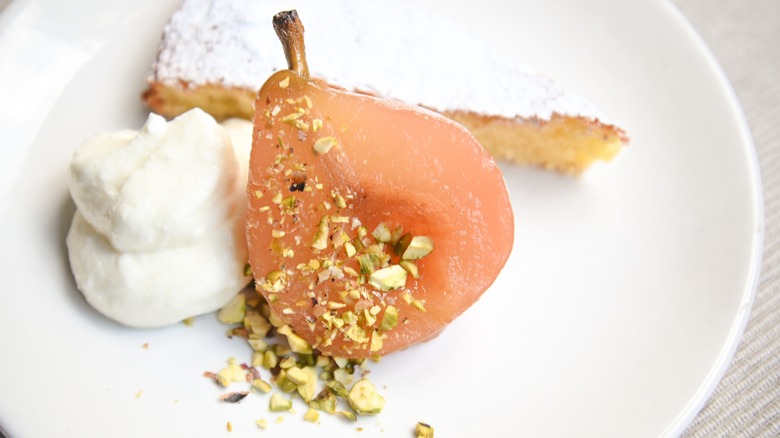
There are so many delicious ways to enjoy poached pears. While you can undoubtedly enjoy poached pears alone, serving them with accompaniments allows you to introduce different textures and temperatures for a composed dessert. If you take the time to boil the poaching liquid to a thickened syrup, you're off to a great start. Place a poached pear in a shallow bowl, spoon the warm syrup over it, and add a scoop of vanilla ice cream, crème fraîche, or mascarpone cheese for an elegant dessert to impress. You can even take a wedge of warm poached pear and drape it over spiced gingerbread cake with a dollop of whipped cream and a drizzle of caramel sauce for some decadence. Or, use poached pears as a component of other desserts, like pavlova, frangipane tart, and pear cake.
If you have leftover poached pears from the night before, enjoy them in the morning. Diced poached pears over yogurt with crunchy granola is a delicious, satisfying breakfast. Poached pears also make a great addition to savory dishes, including cheese and charcuterie boards. Further, a poached pear with blue cheese and walnuts on top of mixed greens makes for a tasty autumnal salad.
