13 Tips You Need When Cooking With Egg Whites
Versatile, packed with protein, and expert binding agents, egg whites are the kitchen all-rounder, lending themselves as key ingredients to a multitude of recipes. Their unobtrusive flavor means they can be added to savory stews, soups, and casseroles with ease, resulting in a thick and moreish texture. Their ability to form a stable foam is also particularly useful for adding lightness and volume to sweet treats, such as meringue and angel food cake. Such scope, however, is a product of egg whites' changeability. As they are prepared, egg whites go through some pretty drastic transformations, in both size and texture. Too much force or too little attention can lead to undesirable results that may undermine the rest of your recipe, such as a sinking soufflé or a mealy marshmallow.
The good news is that the means for obtaining and cooking perfectly formed egg whites are relatively straightforward. Since egg whites increase in volume on account of the way their protein molecules react with air bubbles, the most surefire way to ensure success is to make sure no other elements are introduced to the reaction. Simple methods, including using a gentle hand, will help secure perfect whites every time, whether you're looking for perky peaks or a fluffy breakfast bake.
1. Choose the right bowl
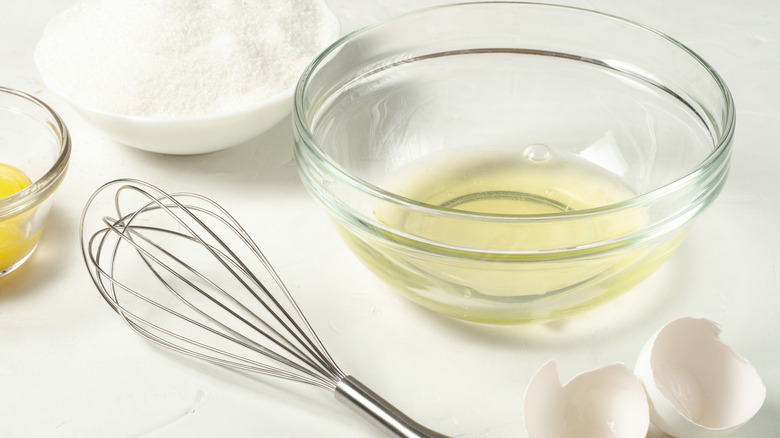
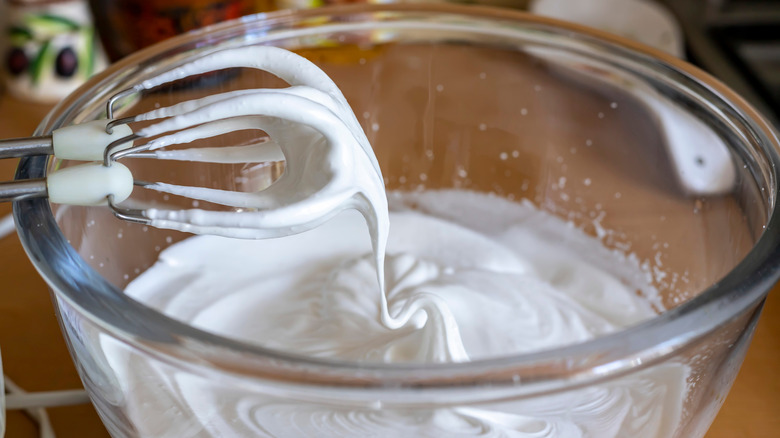
If you're looking to whip up a batch of perfectly aerated, fluffy egg whites for baking with, then choosing the right bowl is a fundamental element of the process that should not be overlooked. Since egg whites increase drastically in volume as they are beaten, you should make sure that your bowl is big enough to accommodate this growth and allow your whisk to touch as many of the whites as possible as you mix.
And it's not just the size of the bowl that's important for getting the maximum amount of air into your egg whites; the material will also have a significant impact. While a lightweight plastic mixing bowl may offer slightly more ease when baking, it is not the best choice when cooking with egg whites. Egg whites are sensitive to fat and oil, and it may be harder to whip them should they come into contact with traces of these. Since oily remnants from previous uses tend to cling to the surface of a plastic mixing bowl, you're much safer opting for a glass or ceramic one. Copper also lends itself particularly well to egg white preparation, making it a firm favorite among chefs, on account of the ions from the metal stabilizing the eggs.
2. Ensure utensils are completely clean
Just as grease residing in a plastic bowl can hinder the process of beating egg whites, any oil or fat residue that may linger on your glass bowl or whisk will limit the amount of rise you can achieve. This is because of the delicate network that is formed by the protein in egg whites. The proteins go through certain stages as they are stirred up, first expanding before joining together. These connected, expanded proteins come together to build a type of structure. Any pockets of air that form as a result of whisking become trapped by this structure of proteins, which becomes more rigid as whisking continues. With nowhere to go, these pockets of air are locked in place by the proteins, and the mixture turns foamy as a result. Unwanted fat residue hinders this reaction by filling up these pockets of air. Without this air, you will be virtually unable to form a foam, regardless of how hard you beat your whisk.
It's therefore worth dedicating a little extra time and attention to your prep by making sure that, before you begin beating, both your bowl and whisk are spotless and dry. Though it can be tempting to reuse bowls and kitchen utensils, a trace of butter on a pre-used whisk or a drop of oil in the bottom of your dish may jeopardize your peaks, so don't rush through your recipe, and be sure to clean as you go.
3. Pick the right whisk
Whipping up egg whites into peaks requires some arm power and continuous beating for around eight to 10 minutes, so it's perfectly reasonable to cut back on time, and arm ache, by opting for a stand mixer or an electric hand whisk. Any stand mixer with a metal whisk attachment should give you a fluffy finish to your egg whites, though some are more suited to the job than others, so choose one that best suits your cooking needs.
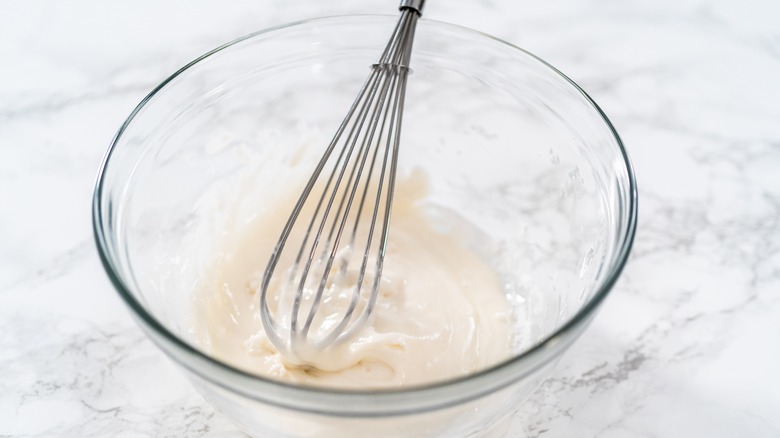
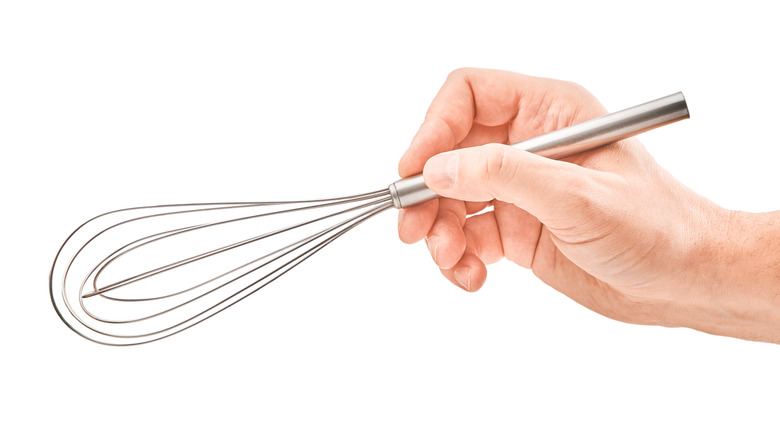
Perfectly formed peaks, however, do not require an electric mixer, and it's possible to achieve the same result with a hand-held whisk. Not all whisks have the same function, though, and just like with your bowl, the key to obtaining ideal whipped egg whites is to choose the correct utensil. The best whisk for beating egg whites, from foam to stiff peaks, is a balloon whisk. Since air is the key to obtaining volume, both the curved wires and tapered head make this whisk ideal for maximizing the air circulating your bowl and egg whites. When it comes to choosing a particular balloon whisk, opt for one with sturdy wires that are built into the handle, as these are far less likely to warp. A lightweight handle may also help to ease any muscle ache that often accompanies vigorous whipping.
4. Keep the yolks and whites separate
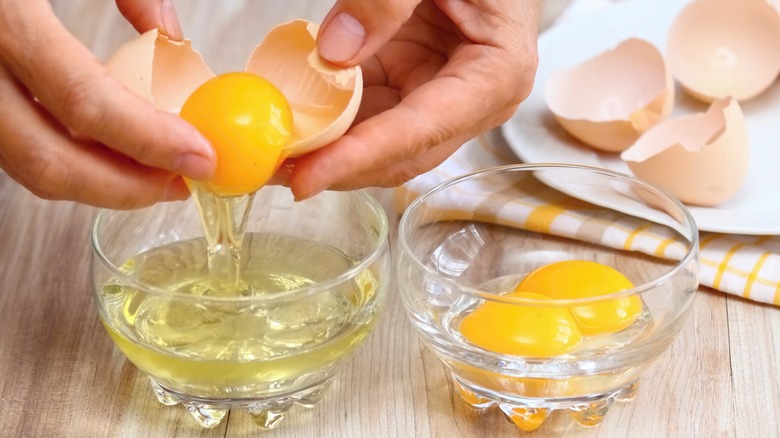
It may seem obvious, but it's more important than you might think to avoid letting any yolk seep into your egg whites. Indeed, aside from altering the taste, composition, and nutritional values of your dish, cross-contaminating your whites with egg yolk will hinder the processes you want your whites to go through during beating. The fat content of an egg is found in the yolk, and in the same way as oil and other fat residue, when this content is transferred, it prohibits the whites from rising properly.
It's best, then, to be slow and steady with your separation, ensuring no yolk falls into the whites. It may also help to use multiple bowls for this process, especially if you're fairly new to separating eggs. Cracking and separating a new egg directly into a bowl full of whites leaves very little room for error, and you will need to start over should any of the yolk fall in.
5. Start with cold eggs
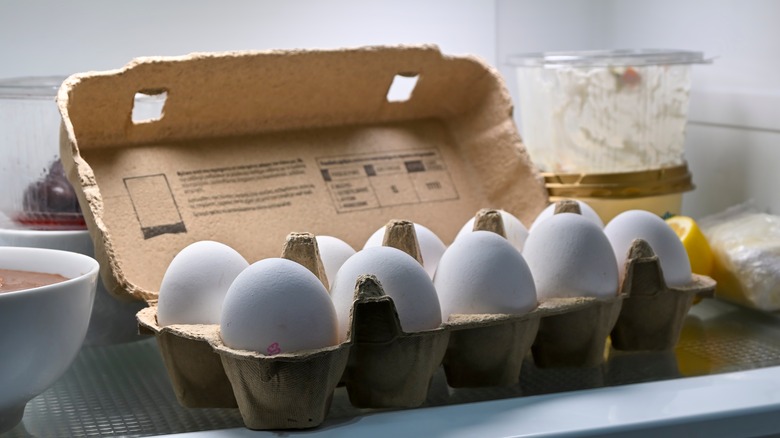
One of the simplest ways to make the process of separating yolks and whites easier is by using chilled eggs. At room temperature, eggs have a tendency to be more liquidy, which can pose a challenge during separation. The yolk is far more slippery and is likely to separate and spill into the egg white mix. To avoid this, simply store your eggs in the refrigerator, or pop them in at least 30 minutes before you want to use them. If you often store your eggs outside of the fridge, you'll almost certainly notice a positive difference when cooking with and separating chilled eggs.
If you're using your chilled egg whites for an omelet, baking them into breakfast bites, or adding them to a sandwich or salad as an additional source of low-fat protein, then you can begin cooking straight away. However, you will want to let them warm up again first if you are hoping to whip the whites up. The fluidity of warm whites is, in fact, beneficial for the process that the proteins go through. Thus, for optimum aeration, let your separated whites sit on the counter while you prepare the rest of your ingredients and equipment.
6. Adjust your prep time when using liquid egg whites
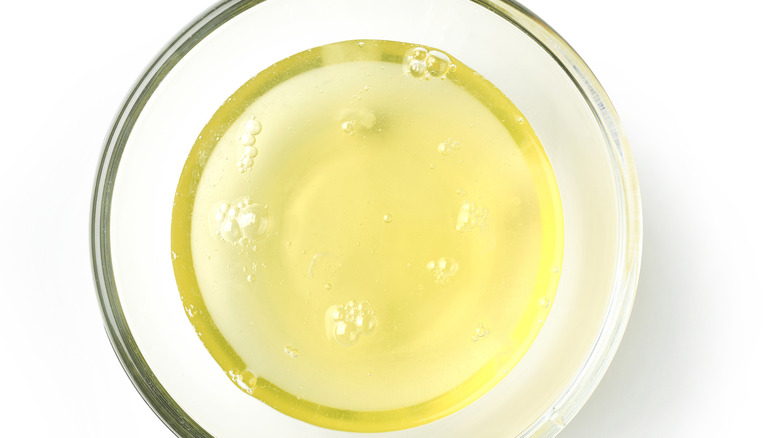
It's fairly common rhetoric that fresh is always better, but there are times when we simply need the convenience of something pre-prepared. Notwithstanding the washing up that it necessitates, separating fresh eggs can be quite a time-consuming and fiddly process, especially if you are using a large quantity of eggs. Packaged egg whites offer a convenient and mess-free alternative that provides the same taste and texture as those that have been freshly cracked.
Ideal for omelets or creating a glossy finish for bread and pastries, liquid egg whites will more often than not slash your preparation time, but you may have to work in some leeway if you are using pre-prepared egg whites for a soufflé or meringue. These will be heat-treated before they are packaged, which makes them thinner than fresh egg whites. As such, you will most likely need to spend a little more time whipping to achieve a similar result as you normally would. Ultimately, however, there should be no significant difference in the end result, aside from perhaps a slightly more tired wrist.
7. Be mindful of overbeating
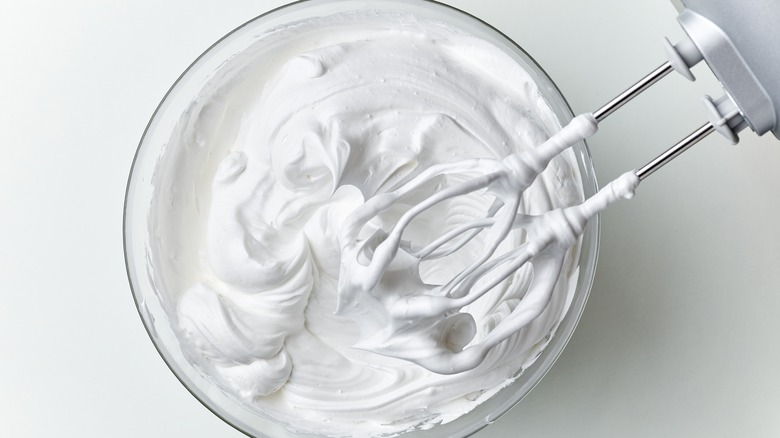
Part of egg whites' versatility comes from the range of textures they can produce. From a bubbly foam to rigid peaks, the consistency of the egg whites transforms completely as you beat them. The stage at which you should halt your whisk will depend on what you are using the egg whites for: An egg white omelet, for example, will only need a light stir, whereas eggs whipped for making meringue should be whisked until stiff peaks are formed, meaning that the mixture retains its shape both in the bowl and on the whisk. Once the latter stage has been reached, it's important to stop whisking immediately.
Overbeaten egg whites are easily identified but difficult to fix, quickly transforming from voluminous and smooth white peaks into a flat and gritty mixture that cannot be beaten back into its original shape. Though there are ways to salvage your dish after overbeating your egg whites, the best method to ensure a perfect texture is to exercise restraint. There is no need to continue to beat the eggs past the stage of forming stiff peaks, so check consistently and stop as soon as the mixture is erect.
8. Use whipped egg whites immediately
By nature, whipped egg whites are fragile and comprised predominantly of air. Thus, you should use egg whites that have been beaten into peaks asap. Leaving whipped egg whites to sit on the counter will cause them to deflate, and they may even begin to start weeping moisture. To avoid leaving the egg whites stagnant, prepare any other ingredients, such as the batter that the whites are to be incorporated into, first, and jump to your next step straight away.
Similarly, when using frothy egg whites in cocktails, you'll want to serve up and drink up fairly swiftly. While the majority of uses for egg whites involve some form of cooking, egg whites used to top cocktails are raw. As such, if left for too long, they can begin to flatten and develop a somewhat pungent smell that isn't too ideal for a cocktail night. So if you're looking for a drink that you can sip slowly, it's probably better to opt for aquafaba or omit the froth altogether. Remember that egg whites, once interfered with, can be a delicate and changeable thing, and it's best to move with efficiency.
9. Fold gently to keep whites fluffy
Beating egg whites can be a timely, somewhat intricate procedure, so you'll want to avoid undoing any hard work by aggressively stirring them into other ingredients. Doing so will cause the whites to deflate, and you'll be left with a fraction of the volume that you started with. For soufflé and meringue, this is particularly undesirable. To maintain the most amount of air in your egg whites as possible, fold them gently into other ingredients.
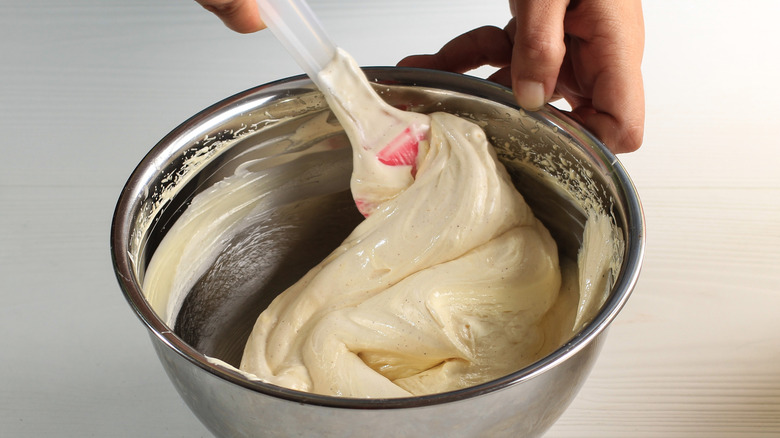
The best way to approach incorporating egg whites into a batter is to divide the mix into sections, add less than a third at a time, and fold them into the rest of your ingredients, starting in the center, moving to the sides of the bowl, and bringing the spatula up. Aim for more of a slicing or scooping motion and less stirring, as the latter motion will knock the air out of the whites. Using a clean silicone spatula and a light-handed approach, without any compression put on the batter, will help to ensure the careful preparation of your whites is not in vain.
10. Maintain a moderately low heat
The liquidy texture of egg whites can make them prone to rubberiness when cooked, particularly when prepared scrambled or as an omelet and cooked on the stove. A very low-fat content also makes egg whites susceptible to dryness when even slightly overcooked, so it's important to pay attention while cooking with them and not to be tempted to turn the heat up.
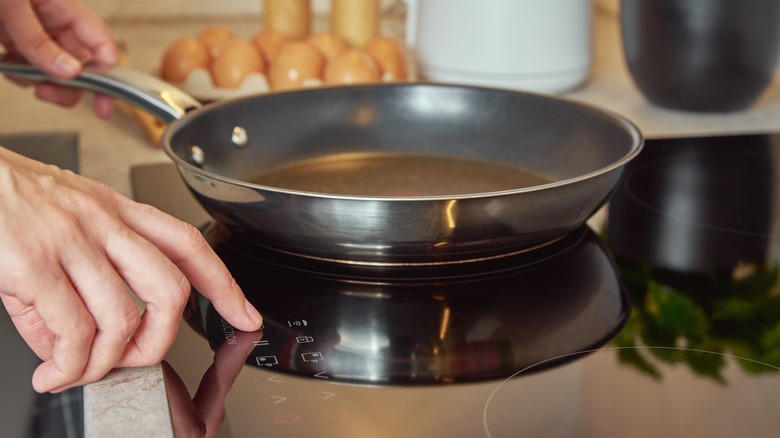
When frying egg whites in a pan, a low-to-medium consistent heat level helps cook the eggs evenly and prevents burning or drying them out, as well as ensuring that they do not stick to the bottom of the pan, even without the addition of oil or butter. You'll likely find that egg whites cook very quickly even without a high heat, with soft and fluffy scrambled egg whites taking no longer than three to four minutes from start to finish in a pan, or under two minutes in the microwave.
11. Add sugar slowly
Some of the most popular uses for whipped egg whites are in meringues and marshmallows, which benefit from egg whites' viscosity. The sugar in these sweet treats goes hand in hand with egg whites, providing a glossy shine to the mix and even helping form stiffer, more supported peaks. Nonetheless, just as with any other ingredient added to egg whites, too much at once can be detrimental to their structural integrity.
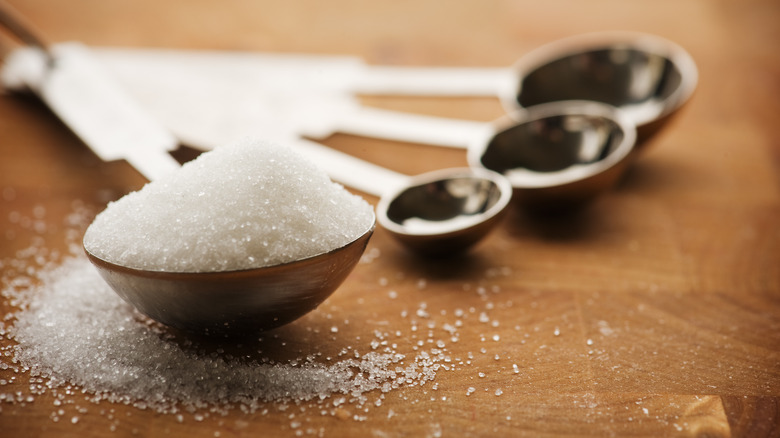
While egg whites can quite comfortably soak up their own weight in sugar, the impact of this mass, if added directly, will compress the foam and make the egg whites flat. Sugar needs to be added gradually to keep the whites light and airy. Continue to mix if your whites have not yet reached the form of stiff peaks, and softly incorporate the sugar into the whites with a flat utensil, being careful not to mix too hard. Utilizing different types of sugar may help to speed up the process, too. Confectioner's sugar, identifiable through its incredibly fine, powdery light texture, is favorable amongst chefs on account of its propensity to dissolve quickly, giving a perfectly smooth and delicious result.
12. Use a dry shake technique when adding to cocktails
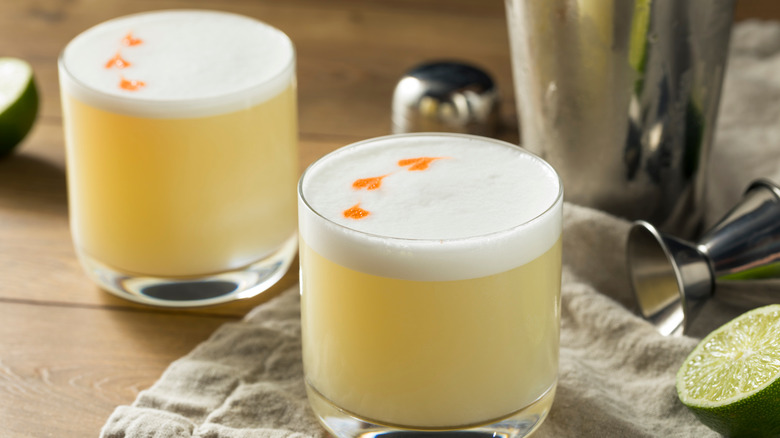
Egg whites are a popular addition to many cocktails, and it's easy to understand why. They add a rich, silky texture to cocktails, as well as subduing intense flavors, thus helping to curate a seriously smooth drink. Not only this, but frothy egg whites are the agents behind the foamy top that characterizes many classics, such as the whiskey sour, pisco sour, and clover club cocktail. The key to this perfect creamy topping is to first dry shake the cocktail, meaning shaking it without ice (the wet shake — meaning shaking the cocktail with ice — will come later). The warmer temperature and lack of dilution that comes with omitting ice helps the egg whites to froth up into a perfect airy foam.
For this method, it's best to use two separate mixing tins, also known as a Boston shaker, instead of a cobbler shaker, aerating the egg whites in one tin while building the rest of the cocktail in the other. Such a method not only ensures maximum aeration for the whites but also means that if any shell, yolk, or less-than-fresh egg finds itself in the shaker, the entire cocktail is not jeopardized. For an even silkier texture, the egg whites can also be frothed up separately with a stick blender or electric whisk and then simply scooped over the finished cocktail for a perfect finish, so it's even easier to upgrade your favorite aperitifs.
13. Freeze any leftover egg whites
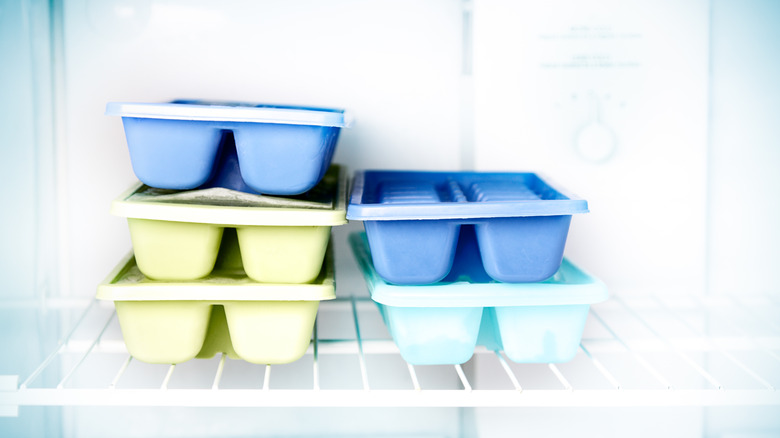
Beyond meringues, cocktails, and glazes, egg whites have a wide array of uses for a broad range of recipes, from crisping up roasted potatoes to thickening soups and casseroles. There are many reasons to preserve leftover egg whites should you have more than you need, but it's fair to say that these recipes are not always the kind you may make on a whim to avoid throwing away surplus ingredients. Egg whites, however, freeze well, even fitting rather perfectly into singular indentations of an ice cube tray for simpler measuring. If you don't have pre-portioned egg whites to pour directly into ice cube trays, remember that one egg white is approximately equal to two tablespoons of liquid egg white.
Keep in mind, however, that while the taste will remain the same, the consistency of the egg whites will be slightly different after freezing and thawing. It's best to use thawed egg whites in recipes where they are not center stage or a crucial part of your dishes' foundations, for this can be tricky enough with even the freshest of eggs.
