19 Tips You Need For Perfect Homemade Seitan
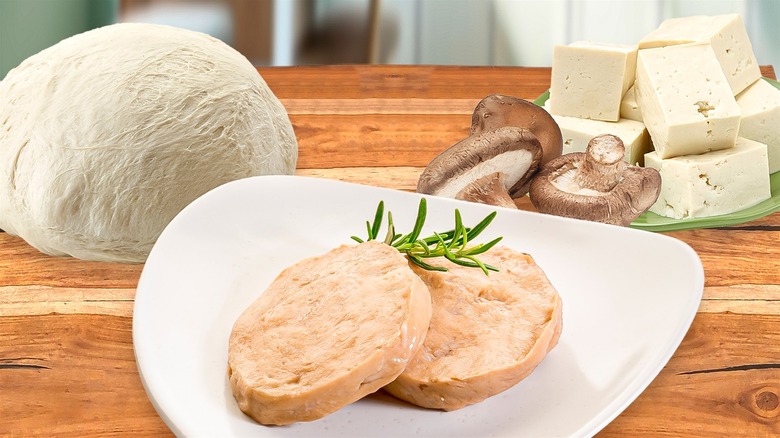
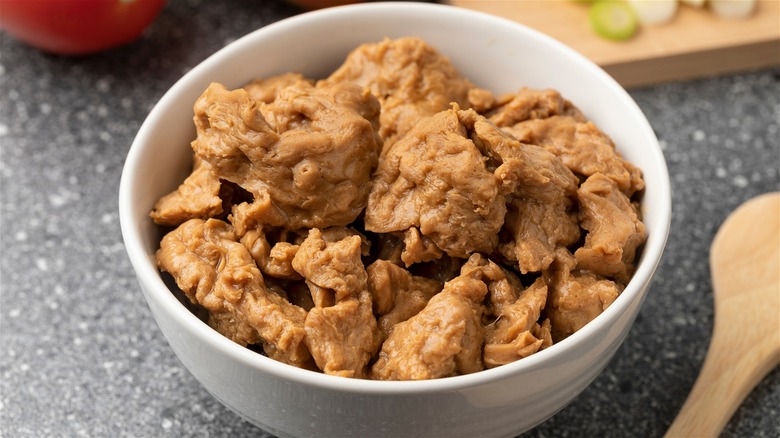
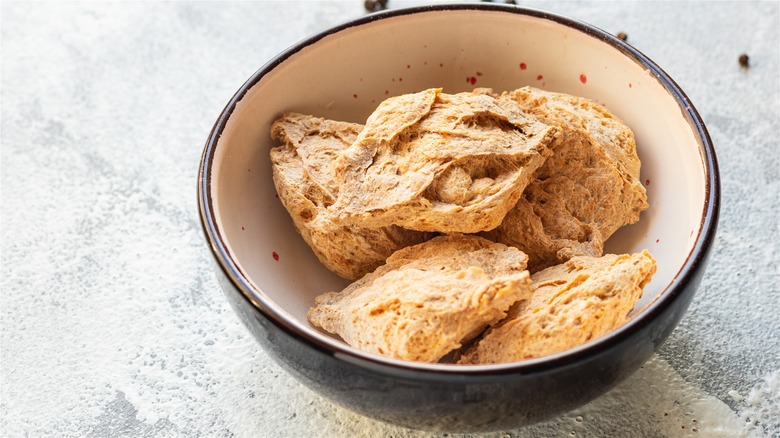
A committed meat eater might be puzzled at the sight of it, but seasoned vegans should be familiar with what seitan is, as it came on the scene long before Beyond Meat and other mainstream plant-based meat brands. In fact, it's been on the scene longer than any brand, ever — its Buddhist roots can be traced back centuries. But even if you think you already know everything about seitan, think again. Learning to incorporate more of this wheat-based vegan protein source into your diet is one thing, but making your own is a next-level challenge.
Surely, it takes more time, effort, and an immense desire to learn from your mistakes. And yet, just as baking your own bread, crafting vegan meat from scratch using pantry staples is immensely satisfying, each new attempt bringing you closer to perfection. Not only is it more affordable, it also allows you more control over texture and flavor, making you a more knowledgeable and skilled cook overall.
Understand the role of gluten
There's no way around it — whether it's made from wheat flour or vital wheat gluten, this versatile meat alternative is an inevitable hard pass for the gluten-free folk (though a versatile alternative to tofu for those with soy allergies). So, what is gluten, and what makes it such a great base for plant-based meat?
Found in wheat, barley, and rye, gluten is a plant-based protein that owes its meat-mimicking prowess to glutenin and gliadin. When mixed with water, these proteins form a complex matrix wherein glutenin contributes to elasticity, and gliadin is responsible for the dough's extensibility. Additionally, gluten's ability to retain moisture and stretch without breaking is pH-dependent, meaning you can tweak the seitan's composition by strategically using acidic and alkaline ingredients. As you manipulate the hydrated protein further by stretching, twisting, and compressing, it creates an eerily realistic fibrous meaty texture.
Choose the main ingredient wisely
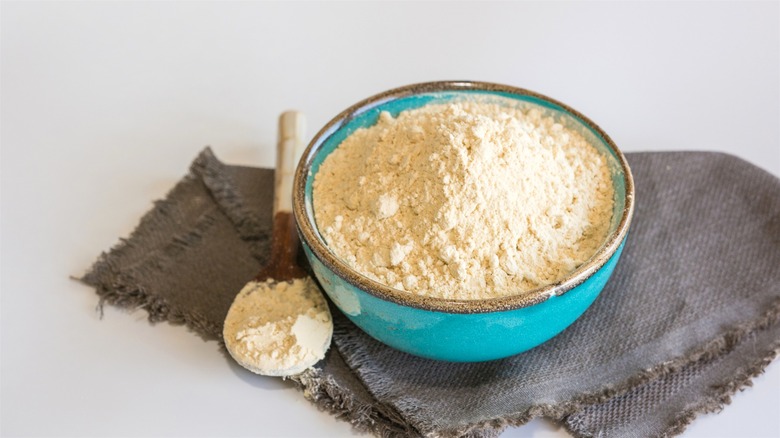
When you first embark on a journey of making your own seitan, you'll find yourself at a crossroads: the traditional route of washed flour versus the modern convenience of vital wheat gluten. The first is more affordable and accessible: As long as you pick a high-protein wheat flour with no additives (self-raising, pastry, and whole wheat are all a no-go), you'll produce seitan with supreme flavor and texture. However, this method demands more time, water, seasonings, and hands-on work.
On the flip side, vital wheat gluten streamlines the process, producing higher yields, saving time, and sparing your utility bills. Mix, knead, rest, and you're ready to cook. The trade-off? A potentially noticeable gluten flavor and a hit to your wallet, as it's not as cheap and ubiquitous as all-purpose or bread flour. Ultimately, the choice boils down to your priorities: cost-effectiveness and texture or time-saving convenience.
Don't be intimidated by washing flour
As tempting as it might be for a seitan novice to go straight for that bag of vital wheat gluten and skip all the elbow grease involved in the traditional method, it's still worth giving the latter a shot — especially if you're not short on time.
Known among habitual seitan makers under the "WTF" acronym (which stands for "wash the flour"), this approach involves just that: Forming a dough from flour and water, kneading to activate the gluten, giving it a rest to allow gluten bonds to form autonomously, then washing the dough to remove all the starch, leaving only the protein mass behind. If you want to try seitan the way it was intended, this method is for you. And let's be honest: massaging, stretching, and kneading the dough underwater to free the gluten is an experience you can brag about.
Tame the taste of gluten
Although gluten is seitan's primary ingredient, prized for its ability to form a convincing, meat-like texture, its natural, bread-like wheat flavor is undesirable in mock meats. Going for the washed flour method is a surefire way to avoid this problem. However, if you're working with pure gluten, you might need some help.
Fortunately, the ingredients you need to adjust the dough's flavor are pantry staples. Gluten is sensitive to acidic and alkaline ingredients, so adding a couple of tablespoons of apple cider vinegar or a whiff of baking soda (never both) to your respective wet and dry mixes should do the trick. Alternatively, you could add a bit of store-bought mustard, which is already acidic, or combine mustard seed with either baking soda or vinegar. The flavor of these unsung heroes will be undetectable in the finished product, but they'll neutralize the wheaty taste of gluten.
Knead it just enough
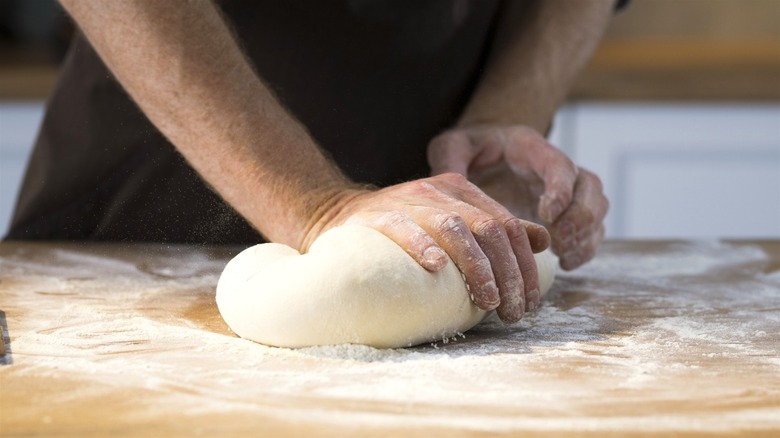
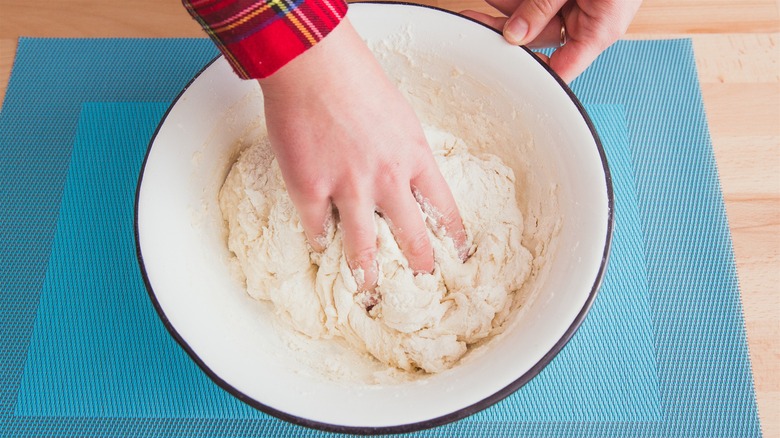
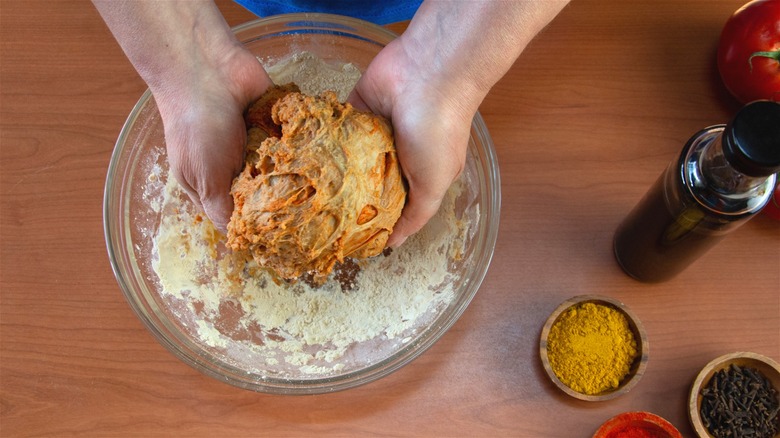
At its earliest stage, seitan is just a dough ball and should be treated as such. And since we're after gluten development, you'll need to help things along. When you knead, you stretch and align the gluten strands that will eventually mimic meat fibers, creating elasticity and strength. Most recipes suggest a fairly brief knead, under 5 minutes. The more you work the dough, the chewier your seitan will be, but excessive kneading can make it rubbery and unpalatably tough, so you'll need to strike a balance.
Alternatively, you could skip kneading altogether and let autolyse work its magic. As you allow the just-formed dough ball to rest and self-hydrate, the gluten will do the same, resulting in a tender seitan with almost the same amount of protein, reducing the work involved. However, not kneading might complicate washing out the starch, so pick your battles.
Give it a rest
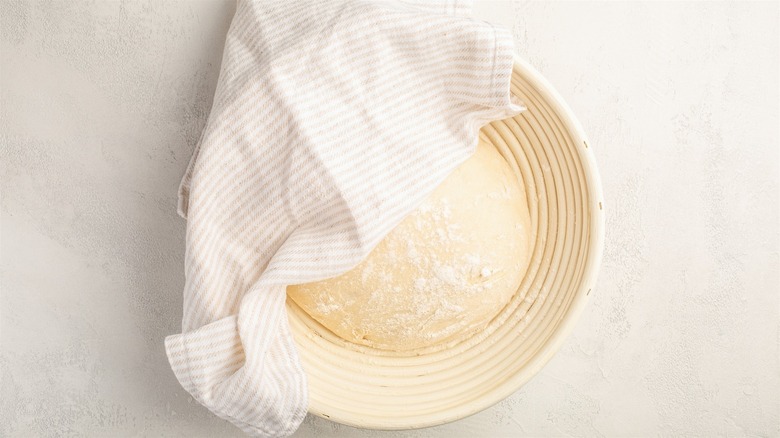
As important as it is to work your future seitan, its rest periods are just as essential for gluten development and, consequently, its texture. If working with flour, as soon as the dough forms a rough ball, rest it for 10 to60 minutes for the gluten to autolyze, then knead some more. Resting for 1 to 8 hours under a damp cloth or submerged in water strengthens the gluten network, so it's easier to extract starch later. If it falls apart during washing, a short rest can help it become more compliant.
Once you've washed it, let the gluten drain over a colander for 15 to 30 minutes. After seasoning, extra resting time relaxes the gluten and makes it stretchier, which is perfect if you plan to braid it. Post-cooking, chilling seitan for a few hours in the broth lets it firm up, improves its texture, and infuses it with more flavor.
Use pantry staples to manipulate gluten strength
Crafting perfect seitan is all about mastering the gluten network. Think of it as the scaffolding that gives the seitan its meaty mojo. If it's underdeveloped, you're left with a mushy, inconsistently flavored mess; if overworked, it becomes excessively tough and rubbery, resulting in a seitan that's chewy in all the wrong ways.
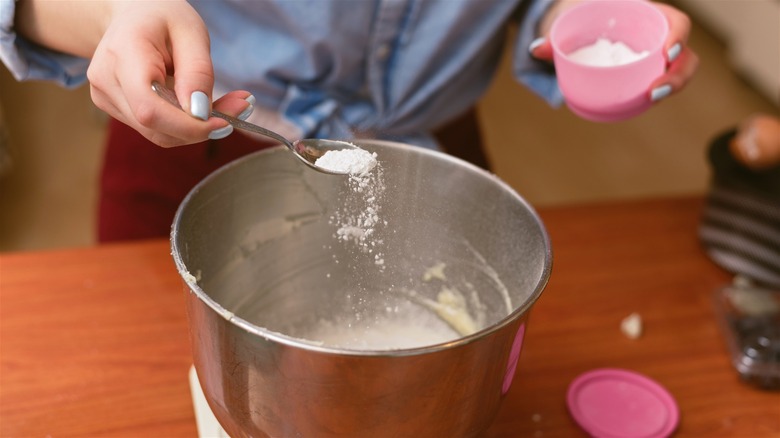
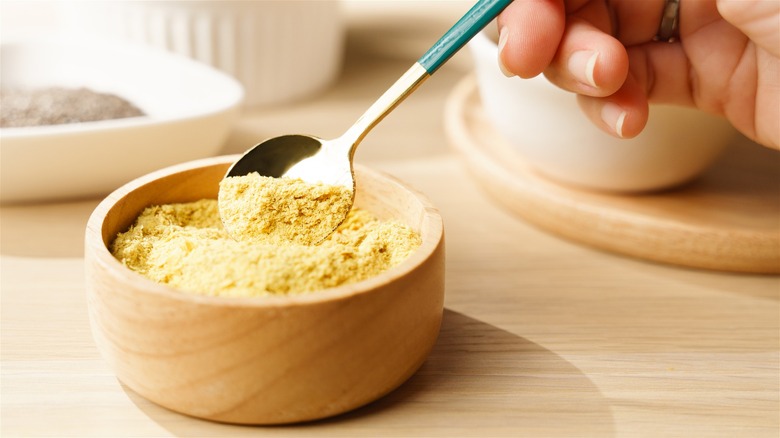
Salt is the secret weapon for the washed flour method: Soaking the dough ball in salted water tightens and stabilizes those gluten strands, making the dough manageable and resulting in higher yield post-washing. For tougher dough made out of pure gluten, nutritional yeast comes forward as a relaxer. Packed with glutathione, it gently breaks down the bonds salt was so keen on tightening, preventing the dough from becoming overly dense. It's this one-two punch of flavor and function that nutritional yeast delivers, ensuring your seitan is not just delicious but perfectly textured.
Watch the water ratio
Water is the second most important ingredient in seitan. It hydrates and strengthens the gluten, helps remove the starch in the washed flour method, and, mixed with liquid seasonings, infuses vital wheat gluten with flavor. The ratio of liquid to dry mix can vary depending on your ingredients and end goal. The more liquid used, the more tender the result. However, you don't want it to be too wet, or it won't hold its shape.
Generally, if working with flour, a good starting point is 1 cup of water per 3 cups of flour, but you can increase hydration to 55 to65%. A 1:1 ratio (in cups, not grams) is a good starting point if vital wheat gluten is your base of choice. In this case, you'll want to flavor the liquid mix, adding oil, soy sauce, tomato paste, or vinegar to season the gluten early on.
Perfect the texture
There is nothing more disappointing than a piece of seitan with an off-putting, rubbery, spongy, or dense texture. So, if you want your hard work to be rewarded with perfectly chewy, juicy, and fibrous vegan meat, you'll need to pay attention to how you handle it.
If you've done a good job developing the gluten during kneading, washing, and resting the dough, you're halfway there. Now what? While you could cook the gluten ball straight up, merely stretching it to fit a baking dish or forming tinfoil-wrapped logs, you'll want to work it some more for a realistic meaty texture. For shreddable, chicken-like seitan, stretch out the dough into a long cylinder, then turn it into a braid or tie it into multiple twists and knots. If your gluten is well-developed, this will be an easy task, and the resulting fibrous consistency is worth the extra effort.
Mix it with other proteins
While using vital wheat gluten as a seitan base is a shortcut to a strong gluten network, it can sometimes lead to a final product that's a bit too dense and chewy because it's almost pure gluten. Fortunately, you can use other plant-based proteins to create a more nuanced texture, counteract the wheat-like flavor, and add more depth.
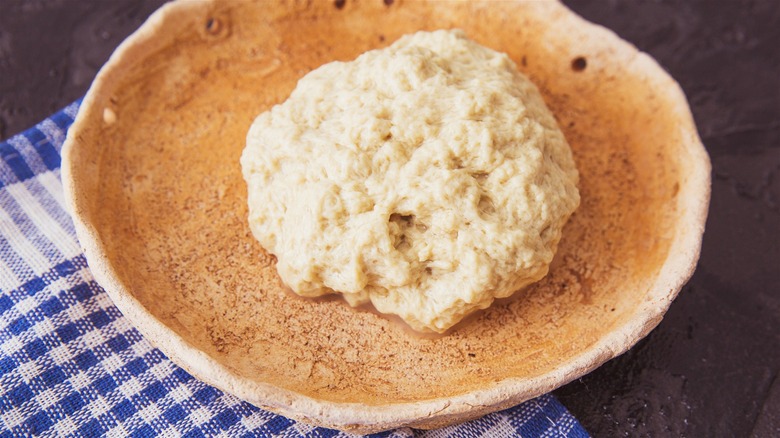
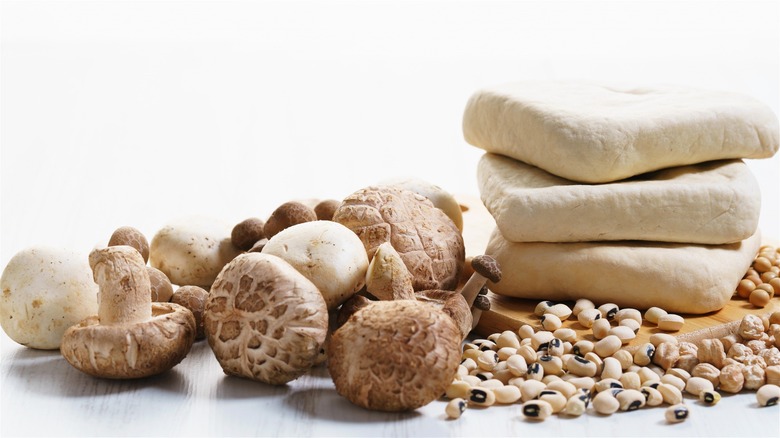
Chickpea flour, with its own set of proteins and a pleasant, slightly nutty taste, can soften the intense gluten structure. Cooked chickpeas, too, can introduce a tenderness that makes chickwheat — the chickpea-enriched seitan textured similarly to chicken meat — a crowd-pleaser. Additionally, lysine, found in chickpeas and other beans that can be used in seitan-making, completes the amino acid profile. Speaking of complete proteins, tofu is another viable addition to tender, deli-style vegan meats. Using mushrooms adds extra moisture and texture, resulting in umami-packed seitan.
Up the umami with add-ins
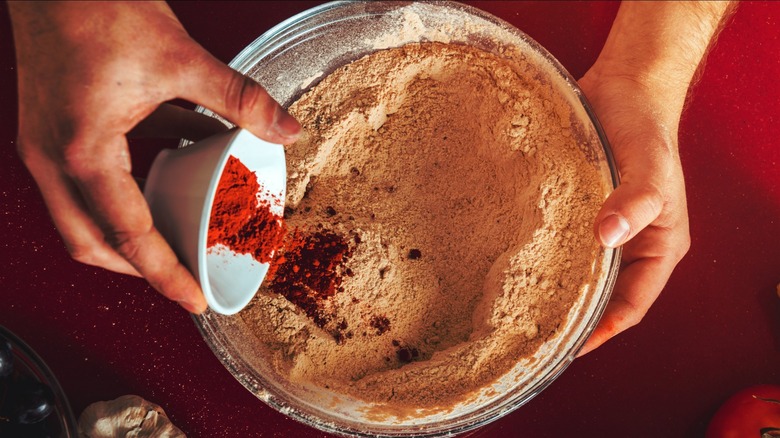
In its purest form, seitan is just hydrated gluten. However, any vegan worth their salt knows the secret spices and seasonings that can take any bland plant-based protein into an umami-packed meaty realm. Beefy seitan is often flavored with red miso paste, tamari, and tomato paste, while its chicken-like counterpart relies on nutritional yeast, white miso, and vegan chicken bullion. Smoked paprika and powdered alliums are often in the mix, too.
By the time you're ready to cook with washed flour, the gluten network is usually too strong to let the spices join the party, although you could still try massaging it in before shaping. You must simmer it in a seasoned broth and marinate it to infuse it with flavor. Vital wheat gluten makes it far easier to incorporate seasonings directly into the dough and skip the simmer in favor of more hands-off cooking methods.
Use food coloring
All seitan is capable of developing an appetizing golden-brown skin during cooking, but unless you're making poultry-style seitan such as chickwheat or vegan turkey slices, a little extra color won't hurt. Whether it's a slab of plant-based ham or vegan steak, adding red dye will make the whole affair more realistic. You won't need much — a few drops per batch will do — but you do need to make sure the dye is vegan-friendly, like McCormick's.
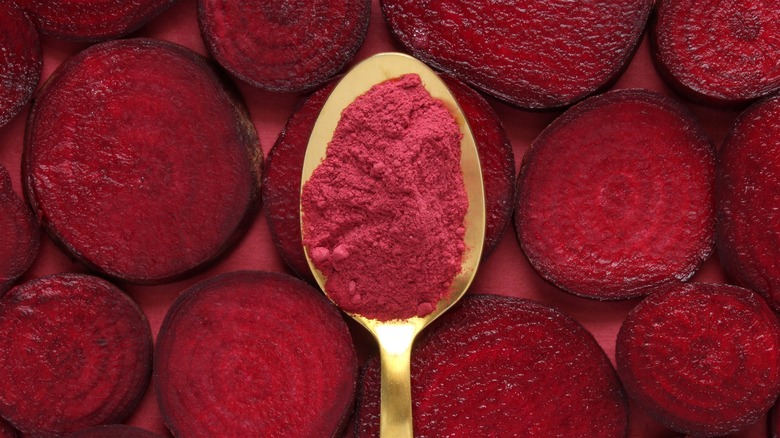
If you prefer all-natural ingredients, you can use some savory red food coloring substitutes, such as juiced or powdered beetroot and tomato paste. Red yeast rice powder is another viable option. However, keep in mind that only commercial red food coloring will produce consistent results. It will stick to the gluten even with the washed flour method, making it easier to divide it from starch visually.
Pick the right cooking method
Choosing a cooking method can make or break a seitan recipe, but it often boils down to personal preference and the specific texture you're aiming to achieve. Steaming, baking, simmering, and frying are all popular, but they're not without nuance.
Simmering seitan in a broth is traditional and infuses it with flavor. It's essential for washed flour seitan, as most of its flavor comes from the outside. However, if you can't maintain a consistent temperature, you risk waterlogging the seitan and turning it spongy and rubbery. Thus, steaming is a favorite for many, as it cooks the seitan thoroughly while maintaining moisture, leading to a tender yet firm product. Baking creates a firmer, denser seitan, similar to roasted meats, and a flavorful crust enhanced by marinades and spice rubs. Pan-frying should be brief, allowing the skin to form without letting it become tough and bread-like.
Experiment with fats
Another hack for developing a more succulent, meaty texture is using fat. Without it, seitan can be disappointingly tough and bland, lacking the rich, satisfying mouthfeel that makes meat so enjoyable for many.
One way to do so is to slather the washed flour dough strands with vegetable shortening before knotting or to add oil directly into vital wheat gluten's wet mix. Another is to lightly pan-fry seitan chunks before simmering, allowing them to hold their shape. You could also let the seitan rest in an oil-based marinade after first cooking. When incorporated into the dough, refined coconut oil does a great job of imitating animal fat in plant-based sausages and corned beef. If you want to take it to the next level, create a marbling fat emulsion from coconut oil and methylcellulose, which will help the oil stay locked in your burgers and bacon during frying.
Flavor the simmering broth well
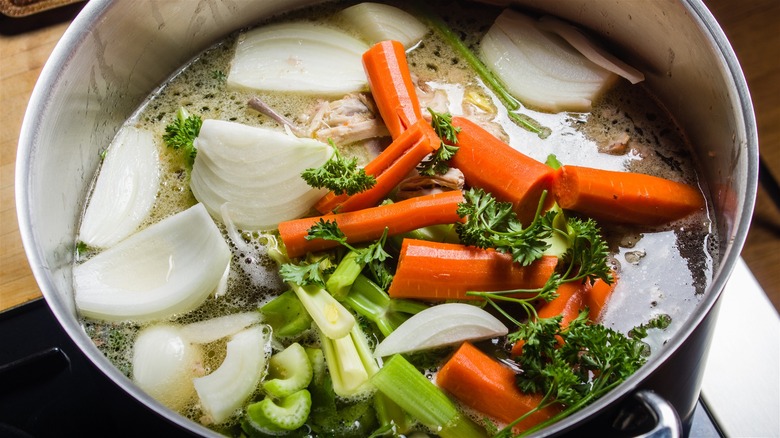
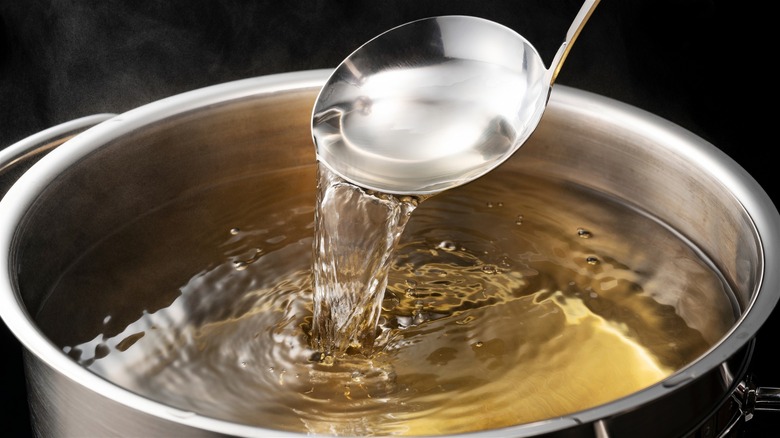
A rich, intensely seasoned broth is the key to delicious washed flour seitan. It's the easiest way to infuse the otherwise bland dough with flavor. You can always use store-bought vegan chicken or beef bouillon, but making your own gives you more control over the final taste of seitan and sodium levels.
An umami-packed vegetable stock made from carrots, celery, fennel, alliums, dried mushrooms, and herbs will do wonders. For a beefier broth, add soy sauce and red miso; nutritional yeast is best suited for chicken-style stock. You can use the broth to cook multiple batches and pour over steamed or simmered seitan before you give it an overnight rest so it imparts even more flavor. As a bonus, you could incorporate it into gravies and reuse it within a week in other recipes that call for stock.
Don't boil it
Perhaps the biggest rookie mistake in seitan-making concerns the speed and intensity of the simmer. The lack of knowledge or patience often leads to boiling it too hard, too fast, when, in fact, you shouldn't be boiling it at all. Those raging bubbles are what tear its surface, creating spongy holes inside and water-logging them. This is true for both vital wheat gluten and washed flour seitan, but with the latter, you also risk turning it into a dumpling if you don't wash the starch out well enough.
Instead, you want to bring the broth to a boil first, as the seitan rests nearby. Next, lower it to a simmer, and only then add seitan. It should be steaming hot but have a largely undisturbed surface. If you can't keep the temperature consistent on the stovetop, an overnight simmer in a slow cooker is your best bet.
Cover it up before cooking
If you want your seitan to hold a certain shape during steaming, not dry out during baking, or prevent the broth from penetrating it too much during simmering, you'll need to fashion it a little protective outfit first.
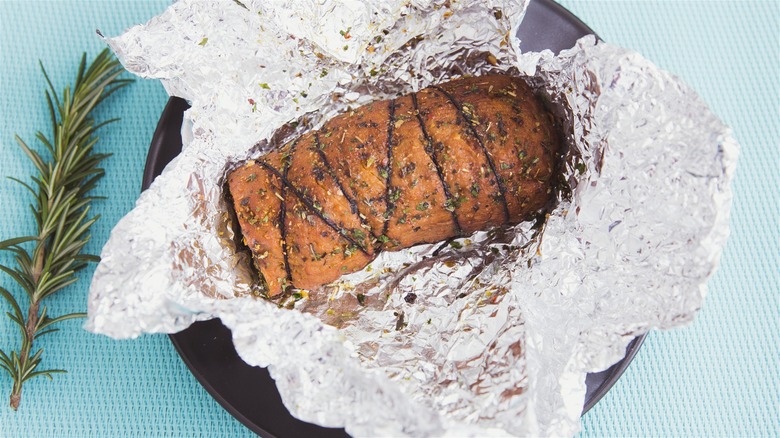
Cheesecloth and plastic wrap can be used for simmering seitan. Wrapped tightly around the doughy log and secured on both sides like a candy wrapper, they'll preserve its shape while protecting it from getting waterlogged. Tinfoil is the preferred armor for baking, although if you're not a fan of wrapping your food in it, you can line the inside of your protein package with greaseproof paper before securing two layers of foil around it (one if you're using heavy-duty foil). Steaming works well with all of the above. But remember, the tighter you wrap it, the denser it will turn out.
Store it properly
As high-maintenance as perfect homemade seitan can be during each stage of its preparation, storing it is a piece of cake. In fact, storing it overnight after the initial simmer is a prerequisite in most recipes — yet another rest enhances seitan's texture.
The unassuming vegan meat requires little besides an airtight container placed at the back of your fridge. Now, whether to store it submerged in broth or dry depends on your preference. Let it float in the broth, and it will keep getting more flavorful and juicy. Keep it wrapped in plastic, and it will become dense and brown more eagerly when cooked. Bring everything to room temperature before refrigerating, and it will keep for 5-7 days. If you want to extend the seitan's shelf life, divide it into smaller portions, wrap it securely in parchment and clingfilm, and freeze. Store for three months.
Keep the leftover starch water
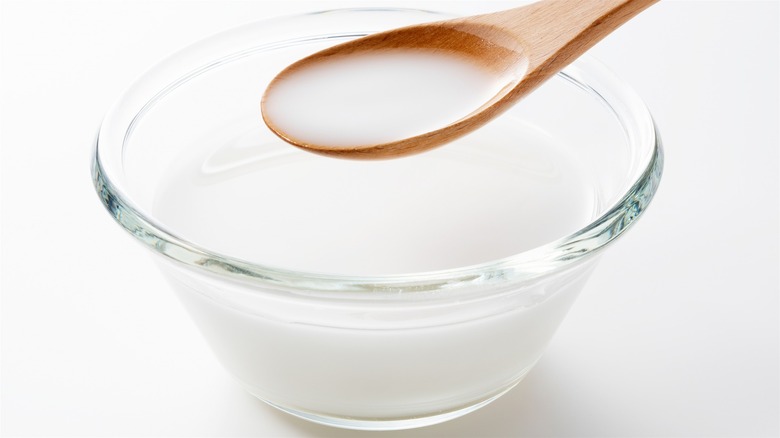
Making seitan by washing flour might be more time-consuming, but it has its perks. While your goal is to end up with as much pure gluten as possible, the opaque milky water that remains in the bowl after the first three washes is equally valuable — just not for seitan. So avoid the urge to send it down the drain and create more vegan delicacies with it instead.
Clear, wide-mouthed containers are best for storing starchy water because they allow you to drain the excess water and remove remaining hydrated starch (also known as spawn) more easily once it has settled at the bottom. Once they're separated, you can mix the spawn with plant-based milk and spices to make any number of vegan cheese varieties (which get extra tangy if you let the starch ferment first), meat-free spam and bacon, or starch noodles.
Static Media owns and operates Tasting Table and Mashed.
