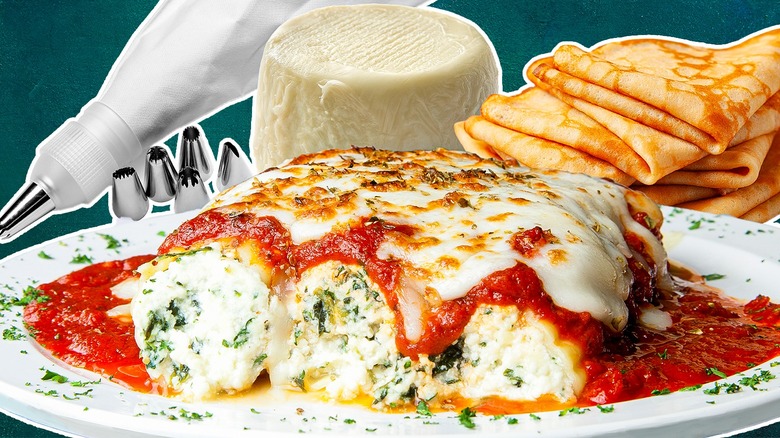
12 Expert Tips And Tricks For Making Delicious Manicotti
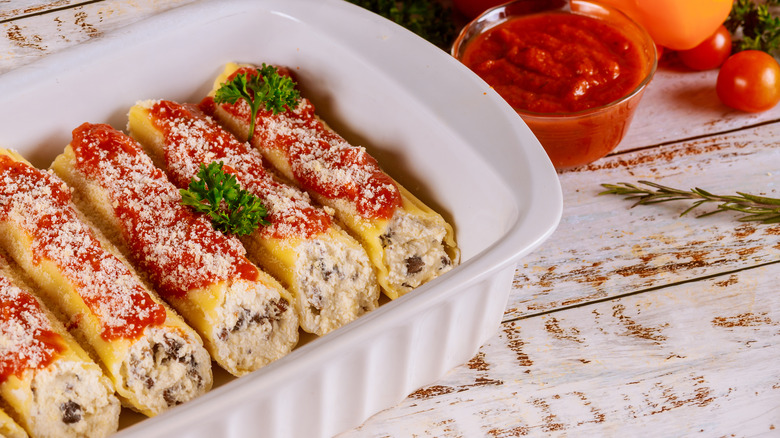
Baked pasta dishes like lasagna, stuffed shells, cheesy baked ziti, rigatoni, and even spaghetti are popular in Italy, especially on the holidays. They're just as popular in the U.S., enjoyed during Sunday dinners at home or as part of catering buffets at formal celebrations. Manicotti is a baked pasta dish that screams comfort food, with warm, moist pasta tubes stuffed with ricotta filling and drenched in tomato sauce and a browned, bubbly layer of melted cheese.
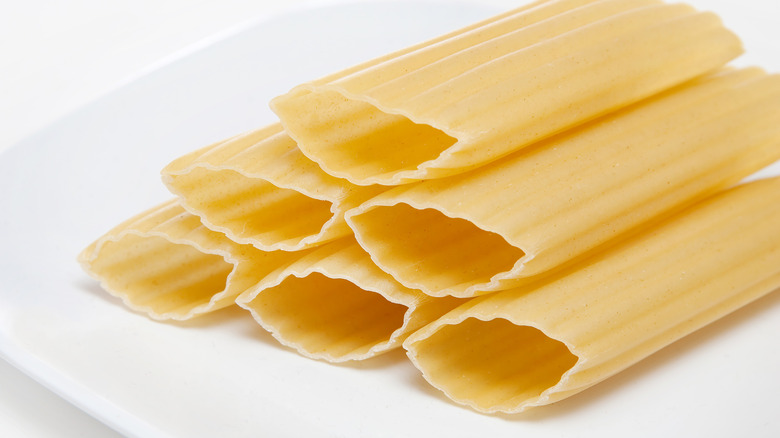
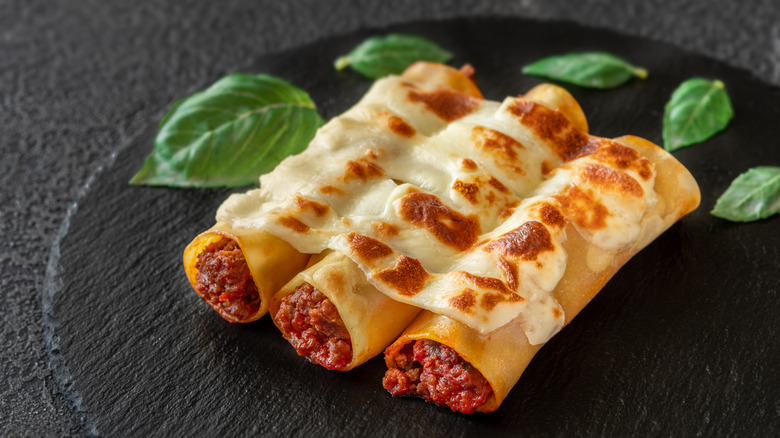
Just don't look for manicotti in Italy, because they're an Italian-American spin on cannelloni, which look very similar. The difference is that while cannelloni are made with smooth fresh pasta sheets (like the ones used to make lasagna) and then filled and rolled up, manicotti are generally made with ridged dried pasta tubes which are boiled and then filled. Otherwise, recipes for manicotti and cannelloni are pretty interchangeable, so you can find twice the filling and sauce ideas to get inspired.
Making baked pasta at home is worth the effort. If you want to up your manicotti game, these tips and tricks will help you make this dish more efficiently and, more importantly, with delicious results. I've drawn on my own experience for the tips presented here. I've cooked (and been served) baked pasta on both sides of the pond, growing up in an Italian-American family in the U.S., then living in Italy as an adult for almost a decade and a half — where I immersed myself in Italian culture and cuisine.
Undercook the pasta tubes
Classic manicotti recipes call for boiling the pasta tubes before filling them with a ricotta filling. If you've tried this, you may have had difficulty handling the soft cooked tubes, and they may have broken or stuck together. To make matters worse, soft manicotti tubes are wiggly and hard to fill, and you're likely to make a mess while trying to keep them open and spoon in filling at the same time.
To avoid these problems, it's crucial to undercook pasta when making baked manicotti. Opinions vary, with some people undercooking the tubes by a minute or two and others only cooking them for a minute or two total. We recommend five minutes as a good starting point, but check the box directions and shave off about half the cooking time. This will keep the tubes firm enough to fill easily. Don't worry about them ending up raw in the final dish. The pasta will cook more while it's baking in the sauce. A final tip: Add about ½ cup of extra sauce or water beyond what your recipe calls for to provide extra moisture for the pasta to absorb as it finishes cooking. That way your manicotti dish won't end up too dry.
Handle the tubes carefully
As we've seen, cooked, wet, and undressed pasta is notoriously sticky and delicate. Normally, pasta and its cooking water are poured into a colander to drain out the water, and this is usually the correct method. However, avoid pouring manicotti tubes into a colander once the cooking time is up because it can cause them to tear.
Another issue is that after sitting in a colander for a few minutes, cooked pasta will start to stick together. Since filling a whole batch of manicotti one by one takes time, there's an even higher chance the tubes will be stuck together by the time you work your way through all the pieces sitting in the colander. This is not a good scenario, because the tubes can break when you try to separate them. Presentation is key with this dish, so you'll want to keep the tubes whole. You can't fill broken manicotti tubes either, so keeping them intact is important for function as well as aesthetics.
Instead of using a colander, fish out the cooked pasta tubes with a slotted spoon or a spider strainer. Then, carefully place them in a single layer on a tea towel or parchment paper, making sure they don't touch one another. This will keep them intact and prevent them from sticking together until the time comes to fill them and place them in the baking dish.
Fill manicotti with a piping bag
If you've followed our tip to undercook the pasta tubes so they're firm enough to fill without collapsing, you've already taken a giant step in the right direction. However, that's only the first step. The standard way to fill manicotti tubes is to add the filling with a spoon. There's nothing technically wrong with this, especially for the more dexterous among us, and using the smallest spoon you have can make it easier. That said, this method tends to be messy, with filling leaking out or smearing.
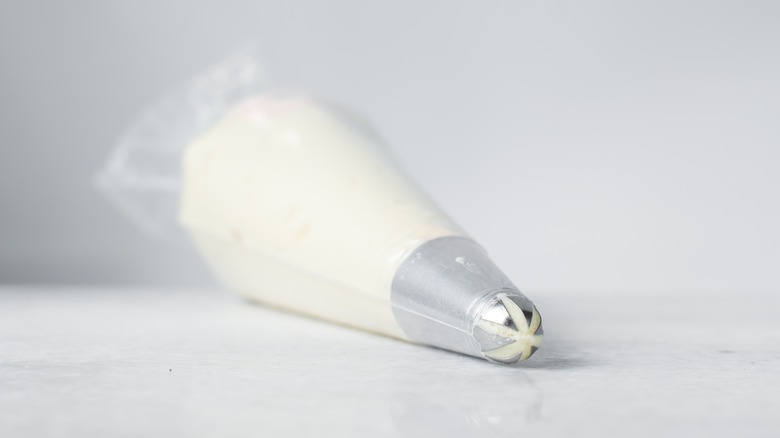
Believe it or not, one of the best uses for pastry bags is to stuff pasta. To avoid the mess and make your life easier, use a large store-bought piping bag (also known as a decorating bag) without the tip to fill the tubes. You can also make one yourself by cutting a small hole in a corner of a ziplock bag. If the filling isn't flowing out easily, make the hole a little bigger. Not only is this a neater way to fill those tubes, but it's faster too. Just keep in mind that the only time this wouldn't be a good solution is if you're making a manicotti filling that includes large pieces of chunky vegetable or meat that wouldn't flow through the opening in the bag.
Bake the pasta tubes uncooked
If you've ever made lasagna with oven-ready noodles, you'll already know that you can bake stuffed pasta without precooking the pasta at all. Even famed Italian chef Lidia Bastianich uses this shortcut for easy weeknight lasagna. Traditionalists may balk, but this certainly makes a complicated pasta dish like lasagna a little easier to prepare.
The same concept can be applied to manicotti. Follow the recipe as you normally would except for omitting any of the pasta cooking steps. Fill the dry tubes with filling and place them in the baking dish. An added bonus is that uncooked manicotti tubes are much easier to fill than cooked tubes (whether they're undercooked or not).
The manicotti will be sandwiched with the sauce lining the bottom of the dish and the sauce covering them on top, and the moisture in the sauce will be enough to cook the pasta as the whole dish bakes. Be sure to follow one additional step, though. Directions for oven-ready lasagna noodles tell you to add extra water or sauce to the dish so the dry noodles have something to soak up as they cook. You'll need to do the same for manicotti. Mix in an extra cup of water or sauce so the dish won't end up too dry.
Be creative with cheese
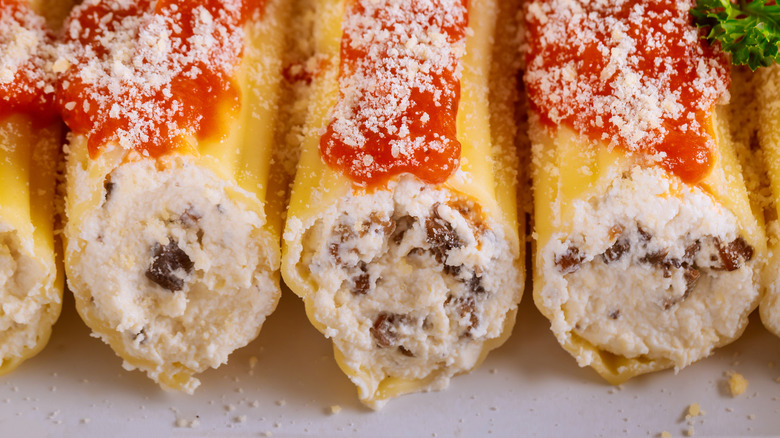
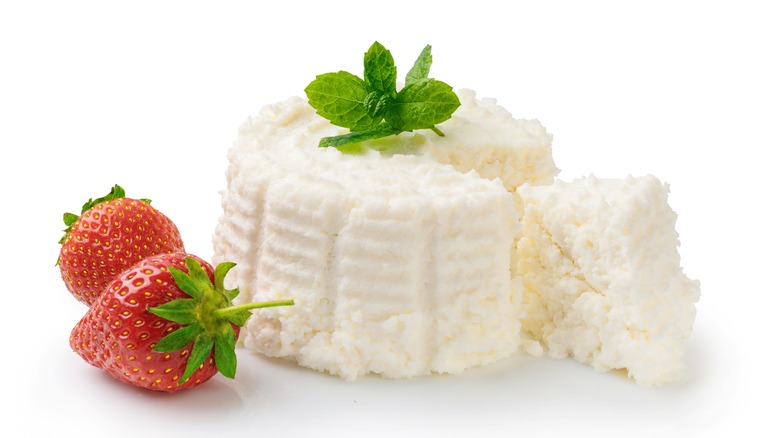
The filling for a classic manicotti recipe includes ricotta, egg, and Parmesan cheese. While many people love this traditional combination, approaching the cheese filling with creativity can reward you with other delightful ingredient pairings. A simple option is to spruce up the ricotta itself. Herbs and spices like parsley, basil, thyme, nutmeg, and black pepper are exceptional with ricotta. Of course, adding spinach to the ricotta is another classic combination that works well in this dish and adds a nice dose of nutrients, too.
If you want to experiment with other cheeses, try a three- or four-cheese manicotti filling with ricotta, Parmesan, and your choices of cheeses like pecorino, mozzarella, provolone, or fontina. The key is to choose high-quality products for the best taste.
If you don't mind moving away from classic Italian ingredients, even cheeses like cottage cheese or goat cheese can work well here. Try pairing goat cheese with spinach, artichokes, mushrooms, or sun-dried tomatoes. Similarly, plant-based diners can enjoy vegan tofu manicotti with a ricotta substitute made from tofu, oregano, salt, garlic powder, lemon juice, oil, and nutritional yeast — which many like for its cheesy flavor.
Rethink the filling
As far as alternative manicotti fillings go, anything that works as a ravioli filling would work equally well here. A great way to cook up a delicious dish and pack some extra nutrition into your meal is to get creative with vegetables. Some of these can be added to the ricotta filling, and all of them can stand alone for a veggie-only version. Butternut squash, sweet potatoes, beets, broccoli, mushrooms, pumpkin, asparagus, and roasted veggies are all excellent choices.
Meat fillings with Italian staples like ground beef or crumbled sausage are options for meat lovers. Turkey or chicken sausage could be substituted if that's your preference as well. Seafood choices include lobster, crab, and shrimp.
Depending on your filling, you may want to rethink the sauce as well. Tomato sauce is a popular choice, but alternate fillings like a simple butter and sage sauce, basil pesto, sun-dried tomato pesto, Alfredo sauce, lemon sauce, or chunky garden vegetable sauces can be more appropriate for certain fillings.
Consider the egg
One ingredient in the ricotta filling often used to stuff manicotti is a little controversial, and that is the egg. The bare-bones ingredients for a classic ricotta filling used in manicotti are the same as those used for ricotta-stuffed ravioli: Ricotta, Parmesan cheese, and eggs. Eggs are used to bind the filling together and add a richer flavor.
While some cooks always add eggs, other people disagree with this addition. Original recipes in Italy for ravioli filled with ricotta may or may not have eggs, so it can be argued that eggs may not be an original ingredient and that they taste and hold together just fine without them.
That said, manicotti isn't a true Italian dish since it doesn't exist in Italy, even though it's a popular Italian-American pasta. Looking at it from that perspective, we'll give the egg a pass. Unless you prefer to avoid eggs for dietary or other reasons, you can decide to use an egg in your ricotta filling to help it stay together better and add a little color and flavor.
Use fresh pasta sheets
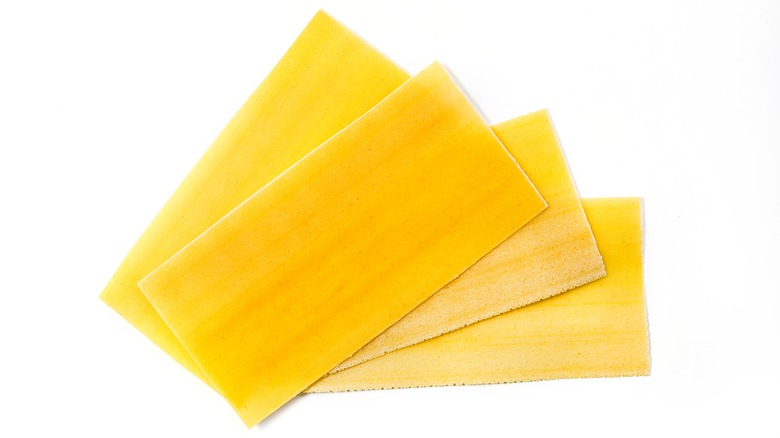
You need tube-shaped pasta to make manicotti, and many people reach for the dry manicotti tubes sold in the pasta aisle. There's nothing wrong with using these tubes, which can be boiled first or filled and baked while dry. However, there's another way to make manicotti, and that's by using fresh pasta sheets. These sheets can be found in Italian specialty stores and they're used for recipes like lasagna, manicotti, and other dishes that use fresh pasta.
Making manicotti with sheet pasta is different from making it with pasta tubes. First, there's no need to cook it first, since fresh pasta is moist, malleable, and cooks quickly. Second, the sheets will be filled while they are flat. Filling is placed on the sheet, which is then rolled up and placed in the baking pan with the seam down so it doesn't come apart. This is less fussy than trying to insert filling inside narrow tubes, especially when they're soft and floppy from being boiled too long.
If you enjoy making things from scratch, you can opt to make your own pasta sheets at home. Use the same dough recipe you would use for ravioli and other kinds of fresh pasta. Roll the dough flat with a pasta machine and make it the same width as the machine's roller to get even rectangular pieces.
Keep it moist
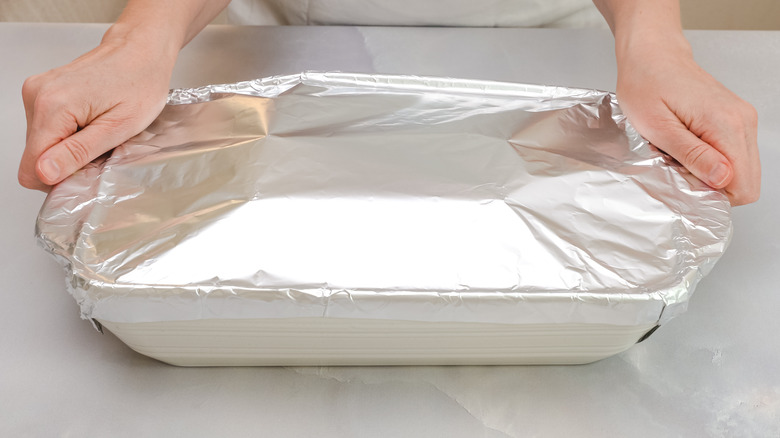
Your manicotti recipe will most likely advise you to cover the baking dish with aluminum foil before placing the dish in the oven. Individual recipes vary, but in general, the dish is baked covered for the first 30 minutes, and then baked without the foil for the last 15 minutes. Why? For the same reason you should always cover lasagna before baking, and it has to do with moisture.
Stuffed pasta dishes like lasagna, manicotti, and stuffed shells cook for a long time in the oven, and it's all too easy for them to dry out in the heat. No one wants to dig into a plate of unappetizing, dried-up manicotti, but the fix is easy. Covering the pan with foil traps the steam and moisture from the watery sauce inside the pan as the dish cooks. On that note, make sure you use enough sauce. The sauce should be laid down first on the bottom of the pan before the manicotti are placed inside it, and more sauce should be spooned on top of the manicotti before sprinkling on the top layer of cheese.
While we want the inside of our manicotti to be moist, we also want that top layer of browned and slightly crispy cheese. That's why the cover comes off for the last 15 minutes. Some recipes may even call for the broiler at the end to better target the top layer of cheese.
Substitute the shells
Off pasta but still want to make manicotti? No problem. While manicotti technically requires pasta tubes, if you're avoiding pasta or prefer to try something new, you can still enjoy this dish by using other ingredients to replace the pasta.
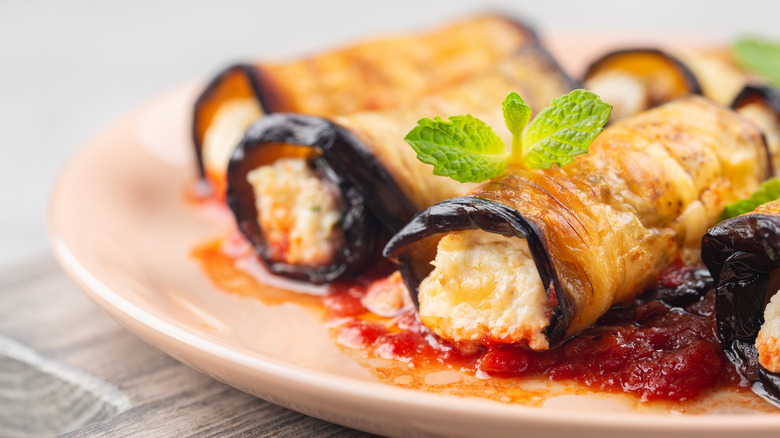
The first replacement is long pieces of thinly sliced vegetables. The vegetables should be sturdy enough to hold together but not so firm that they can't be rolled up. Zucchini and eggplant are perfect for this. Cut slices lengthwise to about ¼-inch thick. Place the filling near one end of a strip and roll it up. If you think the final rolls are too thick, you can cut the slices in half before filling and rolling them to make them shorter. While these won't be as wide as manicotti made with pasta, they'll still be delicious.
Rice paper sheets are best known for housing spring rolls, but you could use them to make manicotti, too. These thin, delicate sheets don't get cooked like pasta, but you will need to soak them in warm water first. Finally, while this does involve using pasta, in a pinch you can use regular lasagna noodles. Boil them first so they'll be soft enough to roll, and follow the same procedure for zucchini and eggplant outlined above.
Make crepe-style manicotti
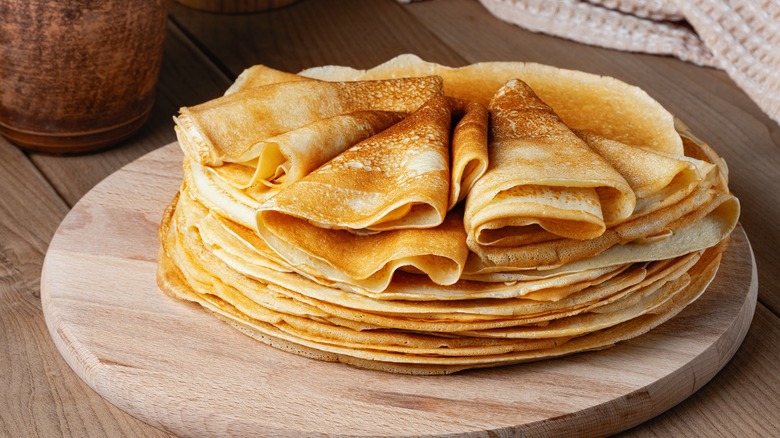
While this combination may seem strange if you're not familiar with it, crepe-style manicotti are very similar to an Italian dish called crespelle, which is a kind of stuffed crepe. Crespelle batter is made from flour, milk, eggs, and salt, and the thin crepes are cooked on both sides in a hot, nonstick pan. Crespelle can be savory and filled with vegetables, herbs, meat, and cheese, or sweet and filled with fruit and cream. While they can be folded or shaped into bundles, rolled crespelle are the ones that resemble manicotti.
Crepe-style manicotti have a similar appearance to the ones made with pasta, but the rolled exterior is thinner and more tender. You can make these at home in a regular nonstick skillet (in case you're wondering whether it's worth it to buy a special crepe pan). Blend the batter ingredients until smooth, and let it rest for 15 minutes or so before cooking. Cook and flip the crepes in the oiled pan until bubbly and done, and then fill them and roll them up just like you would when making manicotti with fresh pasta sheets. You can bake them for the same amount of time as manicotti made with pasta, so feel free to use regular manicotti recipes with fillings you love and substitute crepes for the pasta.
Make manicotti ahead
Stuffed pasta is a perfect dish to serve a crowd. It's filling, visually appealing, and you can easily make big batches of it ahead of time. If you're not prepping for a party, having a dish of manicotti ready and waiting in the freezer is convenient even for quick weeknight dinners.
There are two ways to make manicotti ahead. First, you can follow all the steps of the recipe except for the baking steps. Cover the baking pan with aluminum foil and refrigerate it for up to two to three days. Take the manicotti out of the refrigerator an hour before you're ready to bake it to let it warm up to room temperature, and then bake as directed in your recipe.
The second way is to freeze it, and this is a good option if you want to store it for more than three days. You can freeze manicotti for three to four months. Make sure your baking pan is freezer safe and use two layers of aluminum foil as a protective cover. Thaw the dish overnight in the refrigerator and let it rest at room temperature for 30-60 minutes before baking as directed. If you pop the dish in the oven straight from the freezer, it will still work, but you'll need to bake it for longer. For food safety, check it with an instant-read thermometer and make sure the internal temperature reaches 165 degrees Fahrenheit.
