Snow Cone Summer Cake Pops Recipe
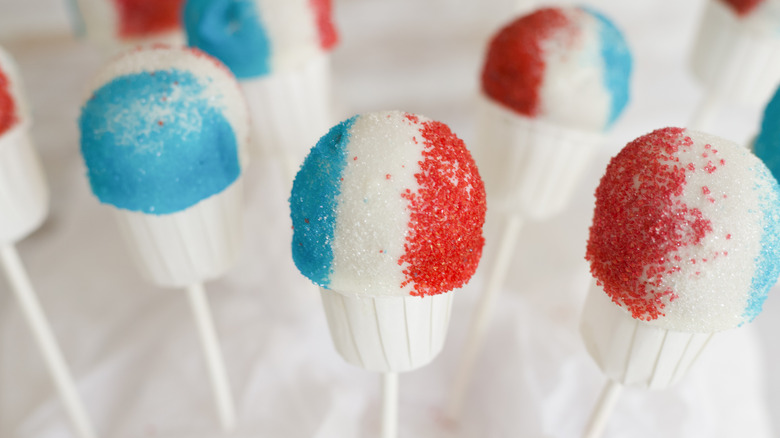
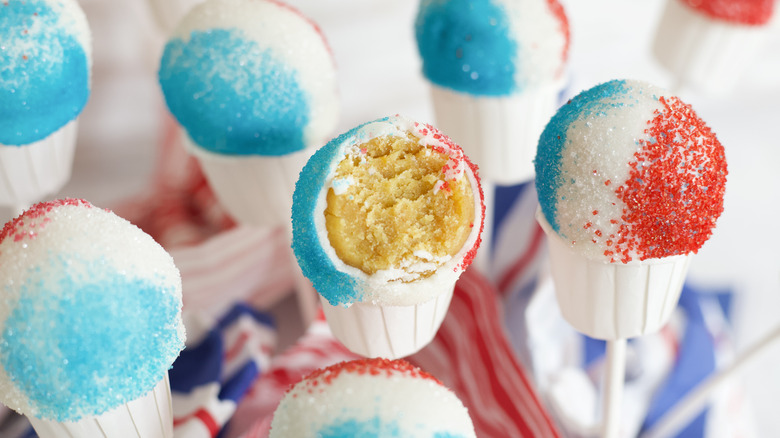
Snow cones are an iconic summer treat that cool off the hottest days with their drippy, icy goodness. These little snow cone cake pops are a perfectly un-messy version that will look adorable on your summer cookout spread — no melting included!
The boxed lemon cake mix used for the cake pop balls is reminiscent of the bright and sweet snow cone flavors. But, you can use any cake mix flavor you like. Vanilla and chocolate are classic options, and sprinkle-filled funfetti cake is a cute option, too.
Tiny paper cups at the bottom of the cake pops make the snow cone look complete without any fussy molding or cake pop forming. These treats look super impressive but aren't complicated to create. This style of cake pop is easier than most cake pops because any melted chocolate down the edges of the paper cup will look intentional! This makes the recipe a great cake pop experiment for beginners.
Gather the snow cone cake pop ingredients
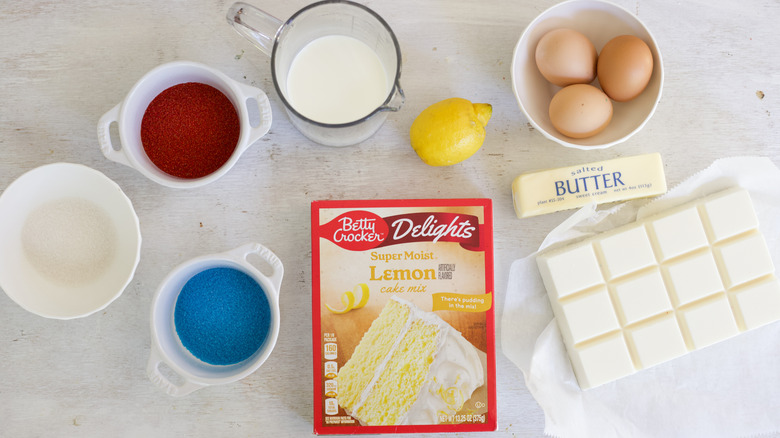
Making cake pops starts with a delicious cake. Using boxed cake mix is a great way to ensure maximum flavor in the cake pop. It also helps the cake pop have a smooth and even consistency. Ignore the directions on the box and add melted butter, milk, lemon zest, and eggs to the cake mix. Do not substitute other oils for the butter — this will make the texture of the cake pop dough difficult to work with and too greasy.
Once the cake has baked and been formed into balls, it's dipped in melted white almond bark. Almond bark has a super-smooth consistency and works extremely well in this recipe, but any type of chocolate melting wafers will work. Small paper cups (about 1 ounce) are used for the base of the cake pop. White, red, and blue sanding sugars are used to create the classic, tri-color snow cone look.
Step 1: Preheat the oven
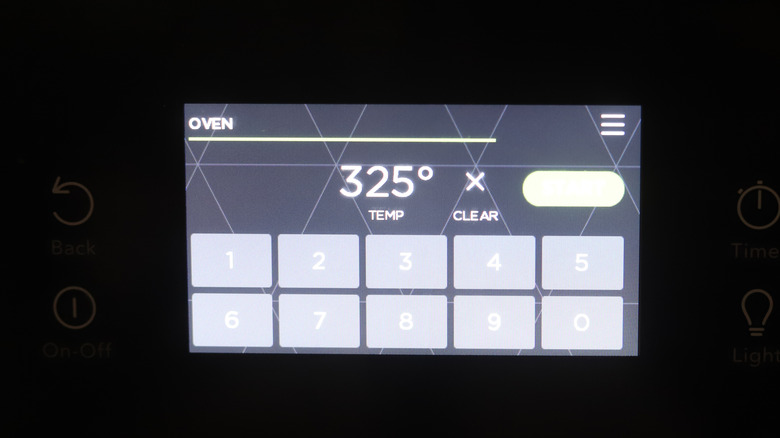
Preheat the oven to 325 F.
Step 2: Whisk together the butter and lemon zest
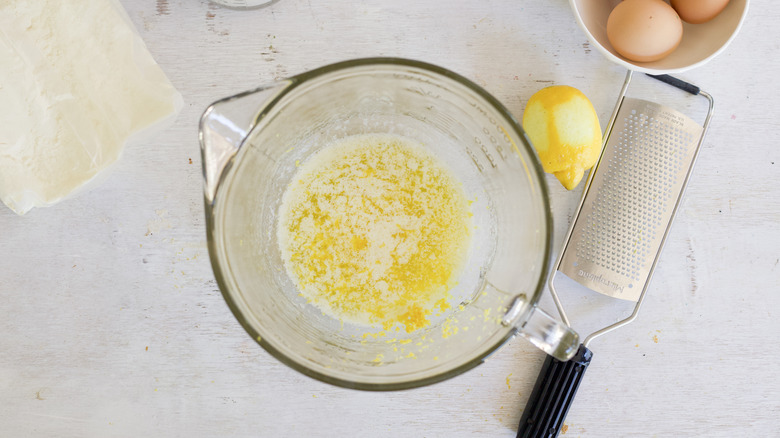
Add the melted butter and lemon zest to a large bowl and whisk.
Step 3: Mix the cake batter

Combine the box mix with the butter mixture, milk, eggs, and ½ cup water until well combined.
Step 4: Place the batter in a greased baking pan
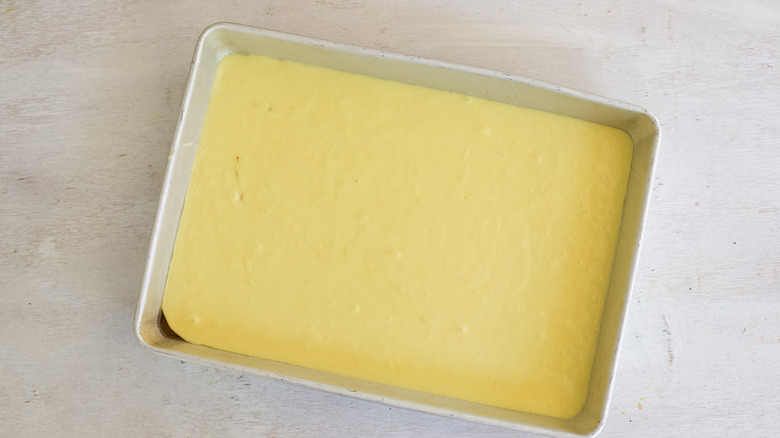
Pour the batter into a greased 9x13-inch cake pan.
Step 5: Bake the cake
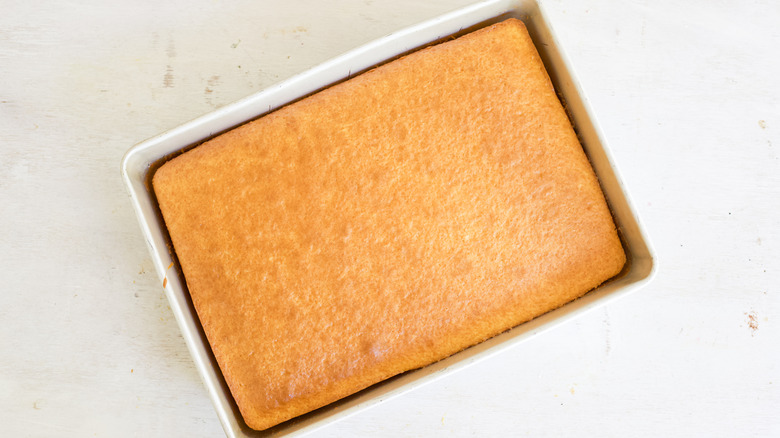
Bake in the preheated oven for 35 minutes, or until light golden brown.
Step 6: Trim the cake edges
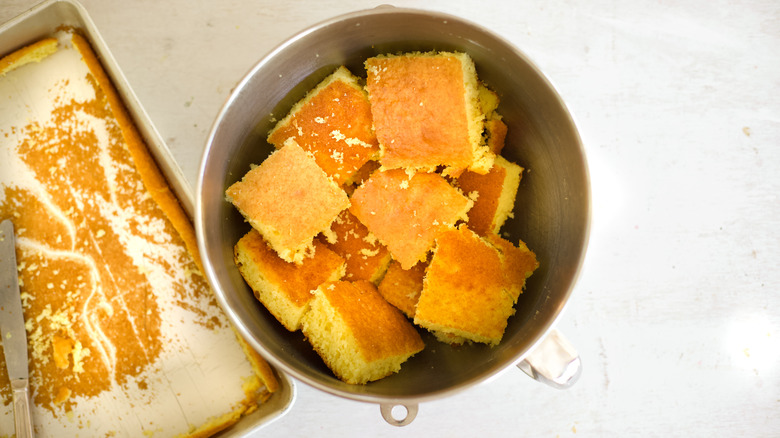
Remove the cake from the pan immediately and trim off the crisped edges.
Step 7: Mix while still warm
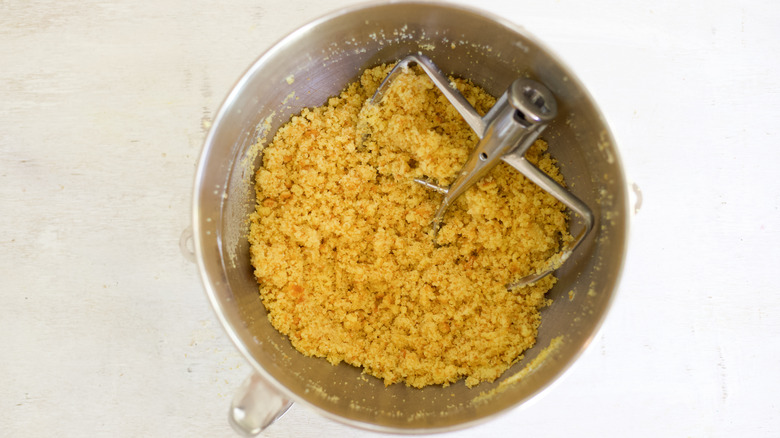
Place the cake into the bowl of a stand mixer and beat with the paddle attachment until fine crumbs form.
Step 8: Knead the cake dough
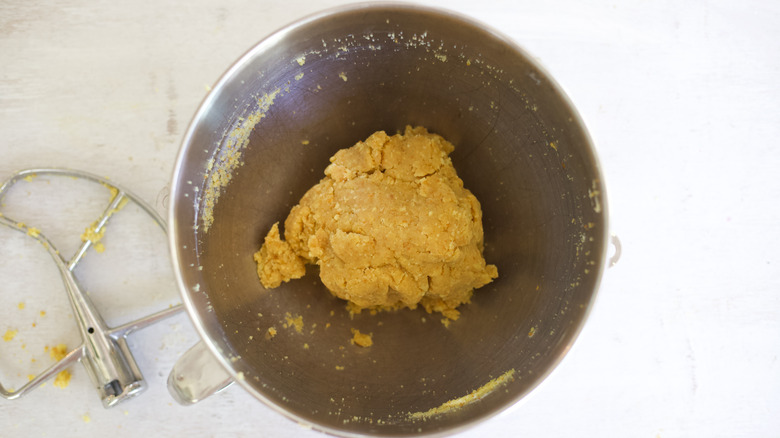
Using your hands, knead the cake dough until a ball forms.
Step 9: Scoop the dough into balls
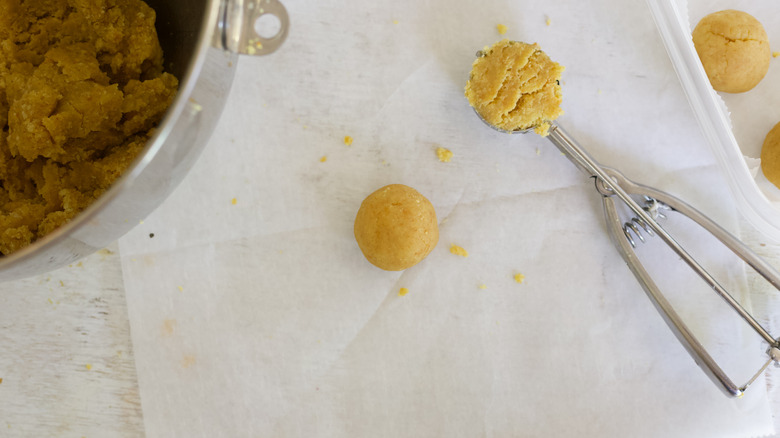
Using a cookie scoop, form the cake dough into 1-ounce balls.
Step 10: Knead the dough balls

Flatten and massage each ball until it is the consistency of Play-Doh, then roll back into a ball.
Step 11: Chill the dough balls
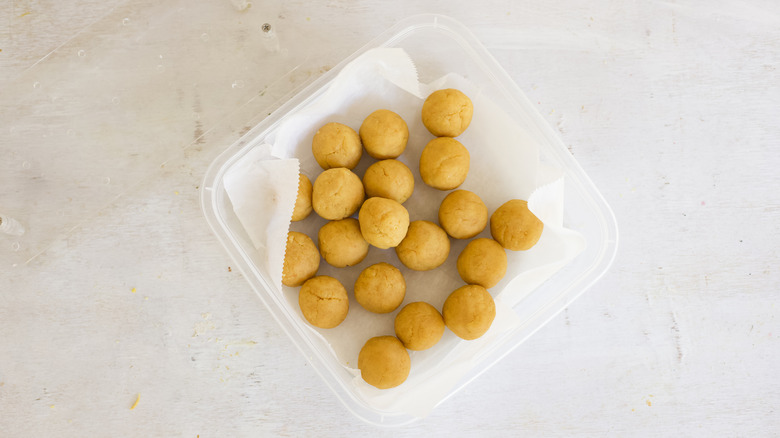
Chill the balls in the refrigerator for at least 1 hour and up to 3 days.
Step 12: Prep paper cups
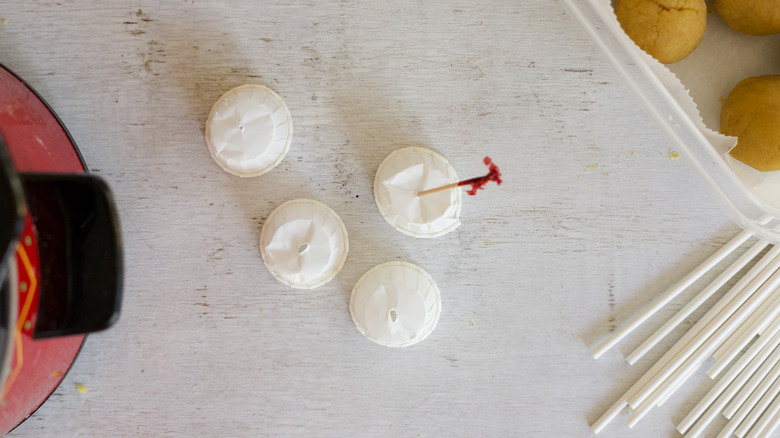
Poke small holes into the bottom of 18 small paper cups using a toothpick.
Step 13: Melt the almond bark
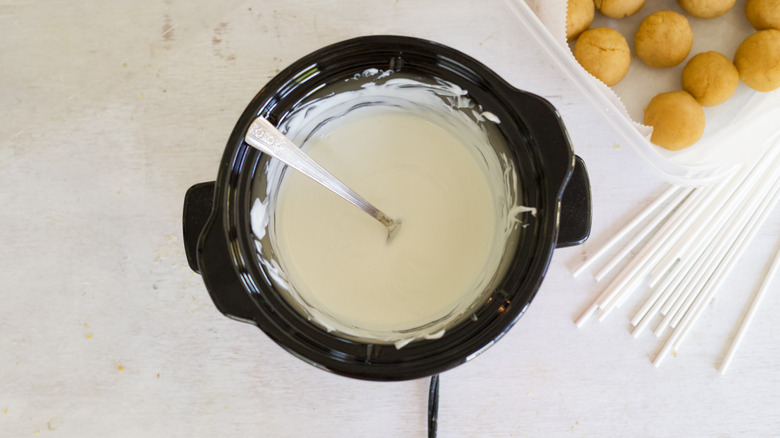
Heat the almond bark in a small crock pot until melted, or melt the almond bark in the microwave in 30-second increments.
Step 14: Add sticks to the cake pops
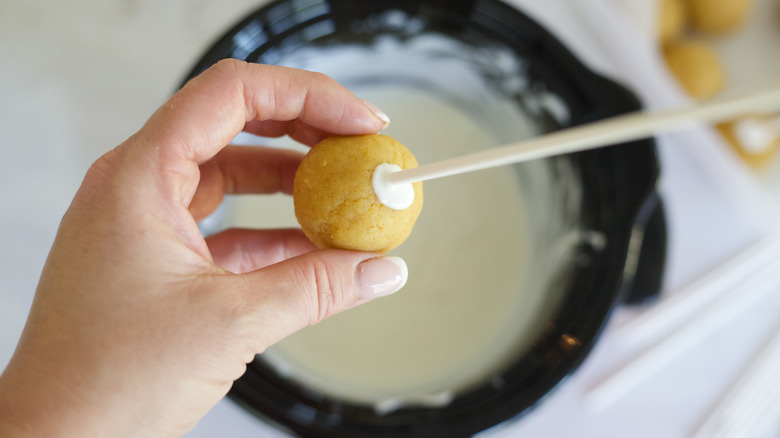
Dip the end of a lollipop stick in the melted almond bark and press it into the cake ball. Set aside and repeat with all of the cake balls.
Step 15: Dip each cake ball
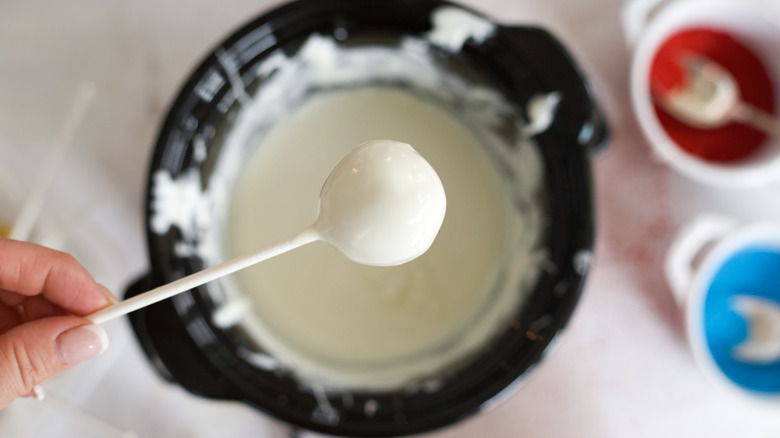
Dip the entire ball into the melted almond bark until submerged. Remove and tap off the excess almond bark.
Step 16:Attach the paper cups
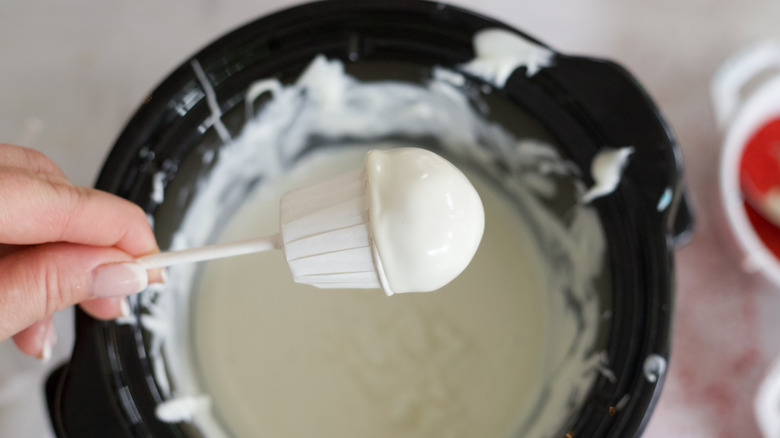
Pull the paper cup onto the lollipop stick until it is stuck to the cake ball.
Step 17: Sprinkle with red sugar
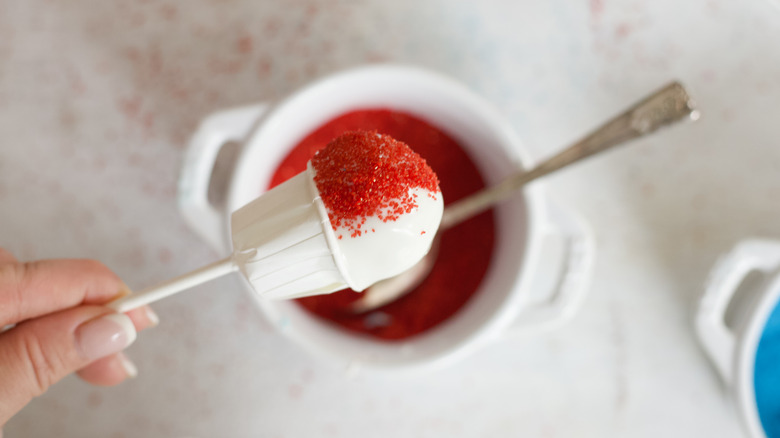
Using a small teaspoon, sprinkle the red sugar onto almost one entire half of the cake ball.
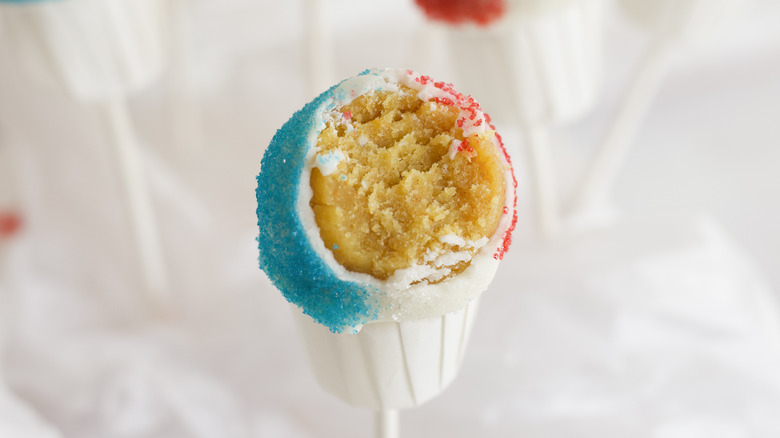
Step 18: Sprinkle with blue sugar

Repeat on the other side with the blue sugar, leaving a strip of white in the center.
Step 19: Sprinkle the center with white sugar

Sprinkle the center with the white sanding sugar, then place in a cake pop stand to harden.
Step 20: Repeat and serve

Repeat with the remaining cake balls, and serve.
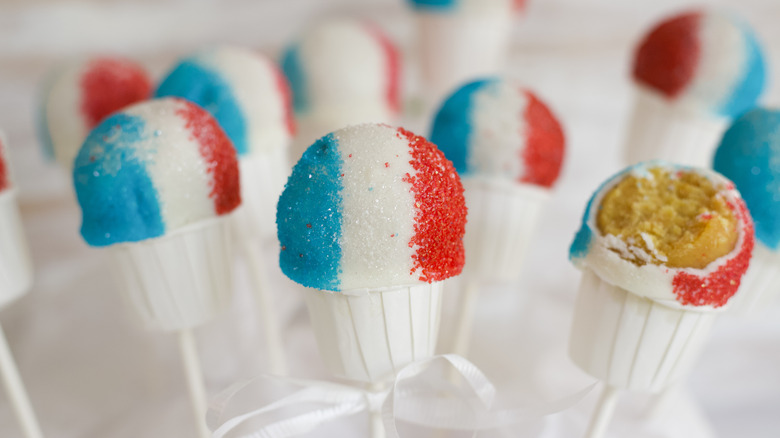
Snow Cone Summer Cake Pops Recipe
These simple cakes pops use boxed mix and three colors of sanding sugar for a simple, summery dessert that resembles a snow cone without all of the mess.
Ingredients
- 1 (15-ounce) box lemon cake mix
- ½ cup melted butter
- ½ cup milk
- 1 lemon, zested
- 3 eggs
- 32 ounces almond bark
- 2 ounces blue sanding sugar
- 2 ounces white sanding sugar
- 2 ounces red sanding sugar
Directions
- Preheat the oven to 325 F.
- Add the melted butter and lemon zest to a large bowl and whisk.
- Combine the box mix with the butter mixture, milk, eggs, and ½ cup water until well combined.
- Pour the batter into a greased 9x13-inch cake pan.
- Bake in the preheated oven for 35 minutes, or until light golden brown.
- Remove the cake from the pan immediately and trim off the crisped edges.
- Place the cake into the bowl of a stand mixer and beat with the paddle attachment until fine crumbs form.
- Using your hands, knead the cake dough until a ball forms.
- Using a cookie scoop, form the cake dough into 1-ounce balls.
- Flatten and massage each ball until it is the consistency of Play-Doh, then roll back into a ball.
- Chill the balls in the refrigerator for at least 1 hour and up to 3 days.
- Poke small holes into the bottom of 18 small paper cups using a toothpick.
- Heat the almond bark in a small crock pot until melted, or melt the almond bark in the microwave in 30-second increments.
- Dip the end of a lollipop stick in the melted almond bark and press it into the cake ball. Set aside and repeat with all of the cake balls.
- Dip the entire ball into the melted almond bark until submerged. Remove and tap off the excess almond bark.
- Pull the paper cup onto the lollipop stick until it is stuck to the cake ball.
- Using a small teaspoon, sprinkle the red sugar onto almost one entire half of the cake ball.
- Repeat on the other side with the blue sugar, leaving a strip of white in the center.
- Sprinkle the center with the white sanding sugar, then place in a cake pop stand to harden.
- Repeat with the remaining cake balls, and serve.
Nutrition
| Calories per Serving | 483 |
| Total Fat | 33.2 g |
| Saturated Fat | 5.7 g |
| Trans Fat | 0.0 g |
| Cholesterol | 40.9 mg |
| Total Carbohydrates | 40.0 g |
| Dietary Fiber | 6.4 g |
| Total Sugars | 12.1 g |
| Sodium | 75.9 mg |
| Protein | 12.6 g |
What are some tips for making perfect cake pops?
Perfect cake pops take practice! But, there are many tips that can help anyone perfect the craft:
The first rule is to be mindful of temperature. Mix the baked cake while it is still warm. This way, the dough will form quickly and you won't need to add any frosting to help it stick together. Once formed, you don't want the cake pop dough balls to be too hot or too cold when dipping them in the chocolate. Too cold, and the chocolate will crack once it dries. Too warm, and the cake pop will fall off of the stick and into the melted chocolate ... a huge mess! It's best to have them slightly chilled or at room temperature.
Temperature also applies to the chocolate. Heating the chocolate in a small crockpot on the warm or low setting is the best way to keep it at an even temperature. It's easy to break the chocolate if it's heated too quickly or unevenly. Using indirect heat helps to slowly heat the chocolate.
Keeping consistent is super helpful when making cake pops. Measuring the weight of the cake balls can help you make sure they're not too big. Keep them between 1 and 2 ounces. If they're too big and heavy, they will fall off the cake pop stick. Molding the dough thoroughly before forming it into a ball helps keep the texture consistent, which will hold the cake together better.
What is the best way to store cake pops?
One of the best ways to store cake pops is upright! Cake pop stands make storing the cake pops upright super easy, but there are other vessels that will work well, too. You can drill small holes in a sturdy (food-safe) board that are just slightly wider than the width of the cake pop stick. Floral foam or styrofoam blocks wrapped in plastic wrap can also do the trick. These will hold up the sticks and cake pops nicely and keep them from falling over.
Small baggies made for treat-making can be placed over the top of the pops, and then a twist tie or ribbon can be wrapped around the base of the cake pop to keep them airtight. If you can't store the pops upright, you can, once they are wrapped, store them in a shallow food storage bin. It's best not to layer them to avoid cracking or damaging the design.
Cake pops are best stored at room temperature. Once they are dipped in chocolate and set, avoid freezing or refrigerating them. This temperature change can crack the chocolate shell. You can, however, freeze the cake balls before they have been dipped in chocolate. Just place them in an airtight bin and make sure to bring them to room temperature before trying to dip them in chocolate.