11 Things You Need To Know Before Using A Grill Rack, According To A Chef
Backyard grilling is one of the best things about summer, and a grill rack can help make it better. We're not talking about your grill's built-in grate, but the kind of racks you place over your grate to add versatility to your cooking. A lot of foods that would be difficult or impossible to grill without a rack become practical, and even easy, when you do have one. If you love to grill, why would you not want to make it easier and open up the option of grilling more of your meals?
I'm a trained chef and former restaurateur myself, and aside from grilling at home and on commercial grills, I used to use a Big Green Egg grill for both grilling and traditional barbecue at my restaurants. I've made good use of grill racks personally, and there are a few things you should know in order to get the best out of them.
The cooling rack you already have can double as a grill rack
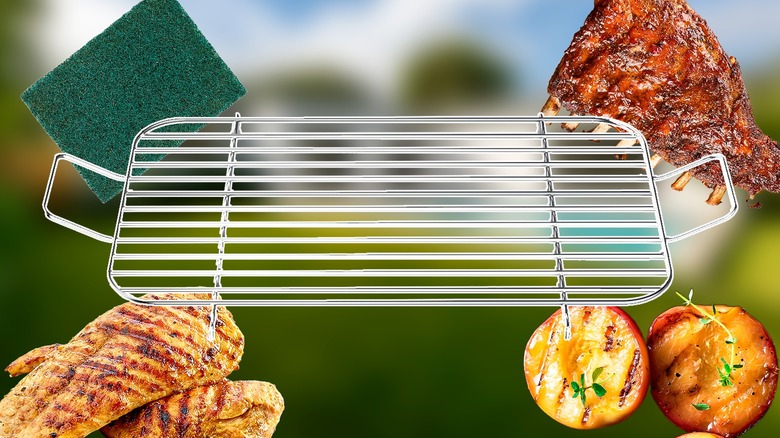
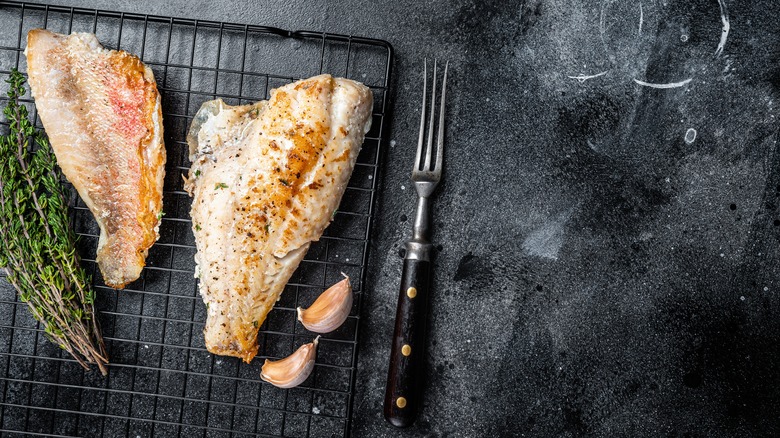
The most versatile type of grill rack (and the one I'll mostly write about here) is rectangular and about the same size as a sheet pan. You can use these racks with sheet pan recipes too, as a way to keep your food out of the drippings. They're very much like the cooling racks you use for baking, but the ones made for use on a grill have wires running at right angles to make a grid, with much closer spacing than the bars of your grill's grate. They're ideal for grilling anything too small or fragile to go onto the grate directly. You could think of these racks as a grill basket alternative, except more versatile.
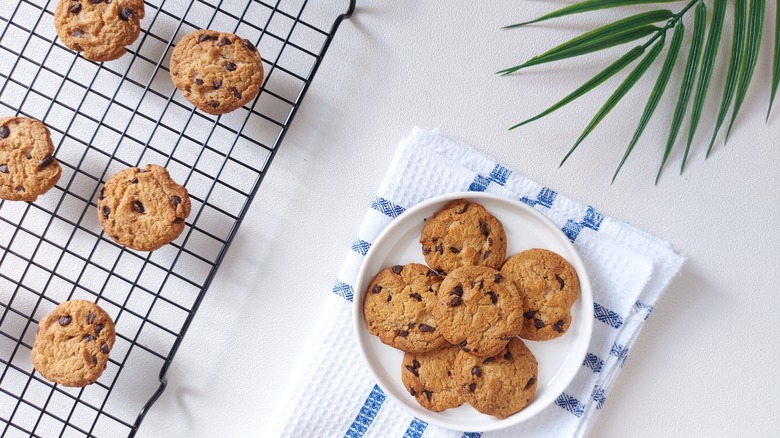
If you aren't a fan of accumulating single-purpose gadgets, you can probably repurpose one of the cooling racks you already own to do the same job. A rack with a grid pattern is best, but the kind with parallel wires and occasional cross-pieces can still work. You just have to position them at right angles to your grill's grate (so the grate and wires together make up a grid). Stick to racks made of stainless or chromed steel; other materials and non-stick coatings can burn up or potentially release toxic chemicals.
Clean your grill rack before you cook on it
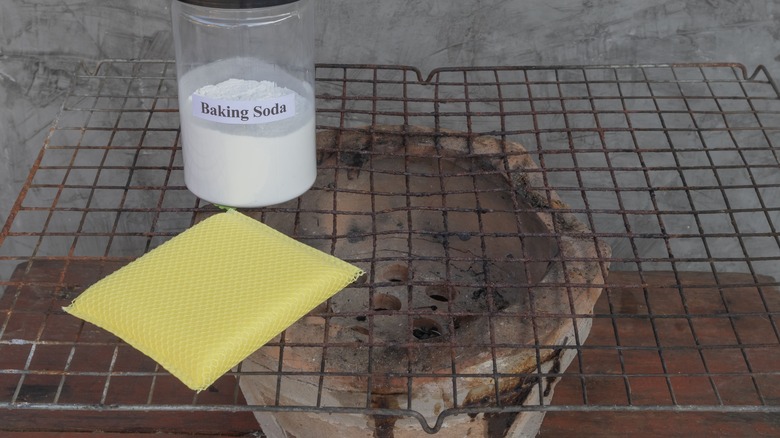
If you've already got a grill rack and have been cooking on it, one of the most important things you can do is clean it before you cook again. It's just like your grill's grates: Food is more likely to stick if it's dirty. You've probably seen this with your used-to-be nonstick pans; food sticks in the rough spots where it stuck before. Bacteria can grow in any food remnants stuck to your grill rack if they aren't cleaned away. If nothing else, it's also an aesthetic issue. Who wants to have old, crusty "mystery stuff" stuck to the food they're cooking today?
You should always clean your grill immediately after cooking, so just think of the grill rack as part of the grill and clean that too. Most of the same grill cleaning tips and tricks apply to grill racks, so try a few to find what works for you. Grill racks are usually better suited to cleaning in the dishwasher than your grill's grates, though you should certainly clean off as much cooking residue as possible to minimize the impact on your dishwasher and its filters.
Heat the grill rack before you put food on it
One piece of "chefly" advice you'll hear a lot is to never add ingredients to a cold pan (unless a recipe explicitly tells you to). Why? Because putting foods — especially meats — in contact with cold metal and then heating it up is a surefire way to make your food stick. Even the smoothest metals have pores on their surface, and as the pan expands under heat those pores become finer. If your food is already in contact with the metal when those pores begin to shrink, it'll stick. If you wait instead until the pan is hot before adding oil and food, your food will sear on contact and lift away easily.
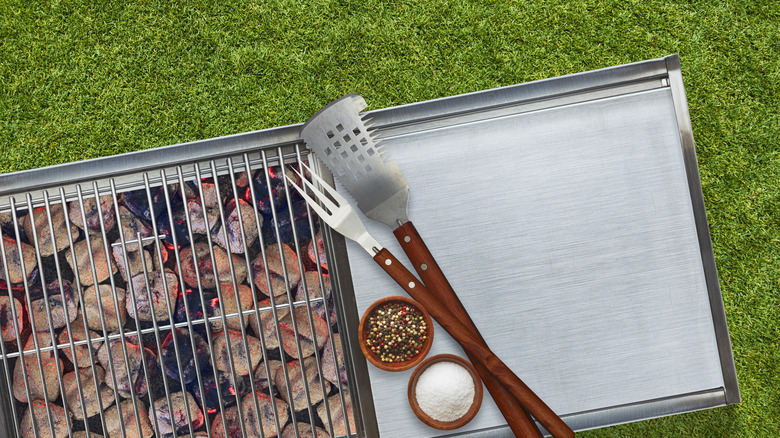
The same holds true for cooking food on a cold grill, with or without a grill rack. Heating the grill (and rack) first is one of the most important ways you can keep food from sticking to your grill. Once it's up to cooking temperature, oil the grill rack and (when appropriate) oil the food before you grill it as well. You don't need the extra oil with burgers, but it definitely helps with chicken, steaks, chops, and fish.
A grill rack lets you cook a wider range of foods
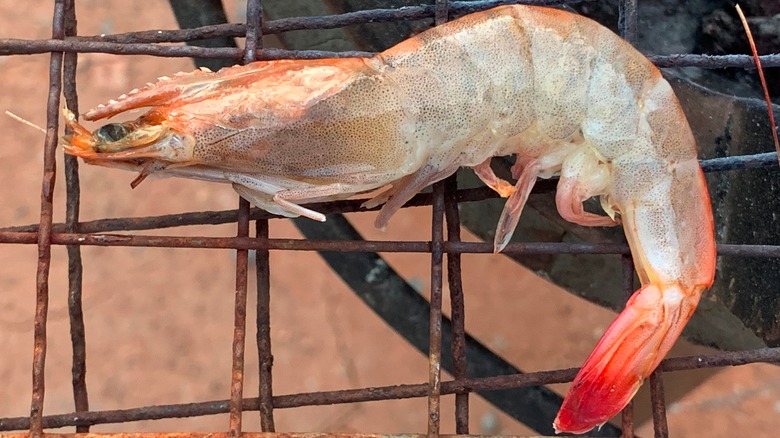
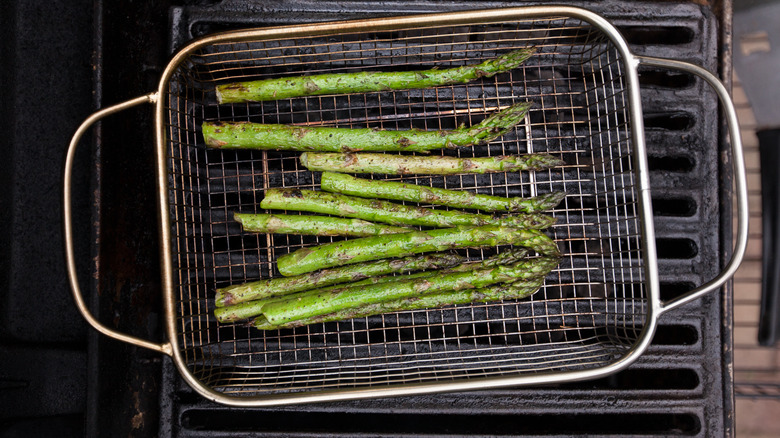
Grilling is a great cooking technique. Many foods get a flavor boost from grilling, and it's healthier than frying or stir-frying because you don't add fat. In fact, grilling helps the fat cook out of most meats. Unfortunately, a lot of foods aren't well suited to grilling because of their shape and size. Asparagus often falls through the grill's grate, for example, because of its slender, pencil-like shape. Similarly small, slender, or delicate foods that would otherwise benefit from grilling include shrimp, string beans, cherry tomatoes, berries, fruit slices, or broccoli and cauliflower florets. Even some extra-skinny sausages can be problematic.
You could address this by skewering those foods or wrapping them in a foil packet to make them more manageable. But skewers are finicky and vegetables cooked in foil are essentially baked or steamed rather than grilled over dry heat. A grill rack is an easier and more versatile option. You'll never lose a shrimp, asparagus spear, or cherry tomato onto the flames again! It's also good when you need to grill delicate and fragile foods, like fish, that are prone to falling apart when they're handled.
It can be a better option than a grilling basket or grill wok
I've suggested that a grill rack can be more versatile than a grilling basket, but I haven't explained why. It largely comes down to size and shape. Grilling baskets come in two main varieties. One is the open-topped kind, often with a handle, that can be used as a sort of "grill wok"; the other is the folding hinged kind that firmly sandwiches your foods between two small racks. The hinged kind is great for fish, but — depending on the spacing of the wires — can still struggle with many smaller foods, especially fruits and vegetables. The open kind works better, but both types of grilling baskets are relatively small, limiting the quantity of food you can cook in them without overcrowding.
A flat grill rack solves both problems, giving you ample space to cook lots of items — even if they're small. Even cherry tomatoes, string beans, or snap peas will stay on top of the rack where they belong (instead of falling through) and you won't have to grill your veggies in small batches to prevent crowding. If you do a lot of vegetarian grilling or use your grill for side dishes to avoid heating up your kitchen, grill racks are a game changer.
Use your grill rack to grill fruit (and thank us later)
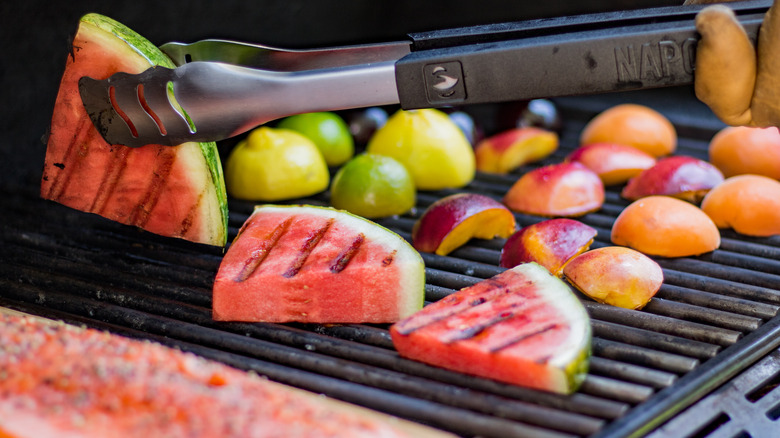
Grilled fruit has been very much on-trend the past few years, and for good reason. Most of my chef colleagues will cheerfully tell you at length (so much length!) about how grilled lemons can upgrade cocktails (and meals in general), and they're just the tip of the iceberg. Grilling adds a whiff of smoke and caramelization to fruit, and almost always elevates it. I personally turn to grilling whenever the fruit I buy turns out to be underwhelming, because grilling brings out its sweetness and flavor better than almost anything.
Many fruits take to the grill beautifully. Grilled peaches make for amazing desserts, and they're great with meat as well. I'm a big fan of grilling rock-hard quinces (an old-school fruit related to apples) to serve with pork or duck, and there are many other fruits and berries to choose from. If you're looking for more ideas, Michigan chef Abra Berens told us her 11 favorite fruits to grill. It takes a slightly different skillset from grilling meats and poultry, so you might want to check out a few of our fruit-grilling tips and tricks before you start.
You'll get perfectly cross-hatched grill marks, every time
A lot of restaurants (and a lot of cooks) pride themselves on getting their grill marks just so. It's enough of a "thing" that some restaurants actually brand their food with grill marks before it's cooked. So if you've wondered how they do that so consistently, it's not always down to skill and practice.
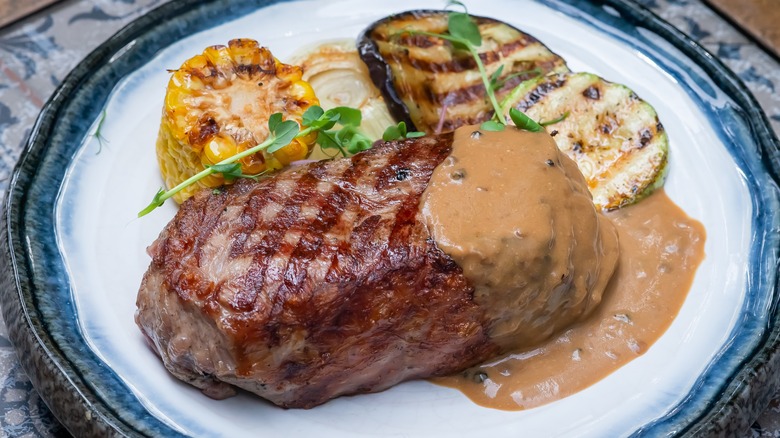
It's not that getting perfectly cross-hatched grill marks on your steaks or chops is hard. It's just finicky and takes practice. You start by laying your steak across the bars so that it points to 10 o'clock, and then after the marks are deep enough you angle it the other way to 2 o'clock. But it does take time and focus away from ... you know ... your actual cooking. With a grill rack, because its wires already make a grid, most of that work is done for you. Just put your meat or veg on the rack diagonally (so the wires are diamonds, not squares) and leave it until the marks are dark enough. Done!
Realistically, perfecting the grill marks can sometimes be a distraction that leads to an overcooked steak. There's also a case to be made that grill marks mean you're missing out on flavor, and a steak is tastier when the entire surface is browned. Still, grill marks are inarguably attractive and your guests may expect them.
Serve the whole meal right from your grill rack
I have a confession to make: I'm clumsy. Often when I'm moving food from the grill to plates or serving platters, I fumble, lose my grip on the plate, or something breaks off and drops between the grill's bars or onto the ground (dog treat!) It happens often enough that eventually I realized there had to be a better way, if only I could find it. In the end, my grill rack was the answer to the problem. It was a minor epiphany: If the whole meal was already on my grill rack, why not just bring the grill rack to the table and serve directly from that?
You'll need to put down a towel first to protect the table's surface. Better yet, use a sheet pan to catch drips — a fine detail I learned the first time I did this. Put on a reliable pair of oven mitts or heatproof gloves, then use your long grilling tongs or spatula to get under the front edge of the rack. Once you've lifted it up a couple of inches from the grill, grip the edge of the rack with one hand, put down the utensil, and grasp the other edge with your second hand. Adjust your grip so you've got a firm and comfortable hold on the rack, bring it to the table, set it down on the pan or towel, and invite everyone to dig in.
Use a rib rack to cook more ribs at once
There are a couple of things everybody wants to know when they buy a grill. One is how much heat it can generate, (usually measured in BTUs), and another is the size of the cooking surface. Grill size is like having more counter space or storage in your kitchen: It's almost always a good thing. Grill manufacturers know this, and will often help you visualize the size of the cooking surface by measuring it in so many steaks or burger patties. As long as your grill generates enough heat to cook effectively across the whole surface, it just plain gives you space to cook more things.
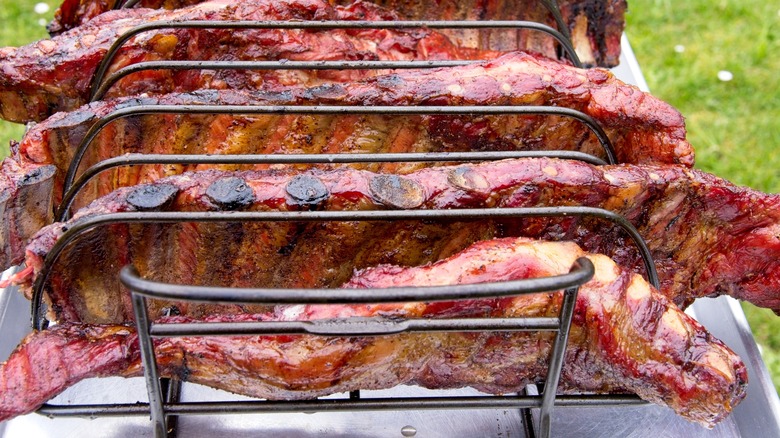
That being said, if your grill is smaller than you'd like, there are ways to increase your usable cooking area. One method is using a rib rack, a simple metal frame that lets you stand your ribs up on the edge for cooking. I used to use one on my Big Green Egg, which has a round grate that's just over 18 inches in diameter. I could only cook two slabs of ribs if they lay flat on the standard grate, but adding a rib rack let me cook six racks at once standing on edge. That was a big increase in how many half-racks I could sell. Just be sure to buy a sturdy rib rack, because that much meat and bone gets heavy, and a flimsy one might break.
Grilling fish? Double down with a rib rack
I'm not shy about buying single-purpose kitchen gear when it fills a need (I'm not Alton Brown; some "unitaskers" are worth it). That being said, once I've bought a piece of kitchen equipment, I usually try to find other things that it's good for. My rib rack was a case in point. It gave me the potential to cook more food on a grill of a given diameter, so looking for other foods to grill on the rack was my obvious next step.
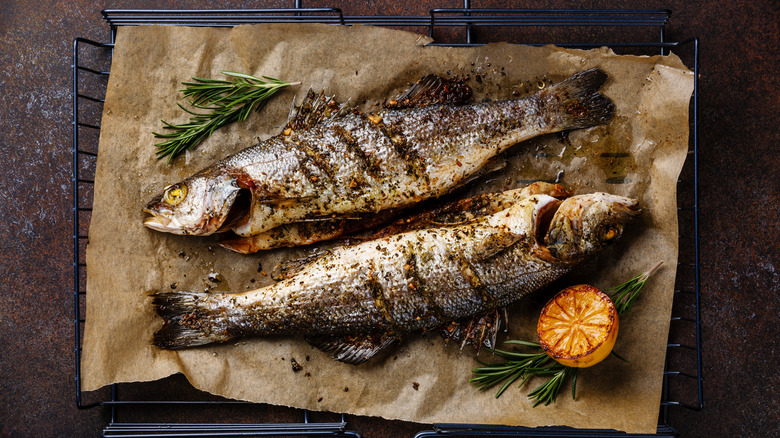
I love fish and live in the seafood-centric region known as Atlantic Canada, so it's something I've frequently grilled at home and in my restaurants. Whole fish are best for grilling when you can get them, and I also like to cook whole, skin-on filets (or at least, large pieces). It turns out that a rib rack is equally good for cooking those: Slide them into the rack, thickest part down, and grill them with the lid closed until they're done. Then just tip the rack over onto a serving platter to slide the cooked fish out. You can even use the rib rack to smoke your fish in the same way, over a lower fire with mild hardwood (like alder or fruit wood).
Grilling spatchcocked chickens and other poultry (basically, you butterfly them) is another excellent use for a rib rack. In this case, point the breast side downwards and the drumsticks toward the lid.
The warming rack is good for more than just burger buns
You may not even need to buy a rack for your grill, in some cases, because a lot of grills already come with one. It's the warming rack, which sits a few inches above the main cooking area. Ordinarily, it's mostly used for warming your hot dog and burger buns, or maybe keeping a few extra dogs or patties warm while you start on the next batch.
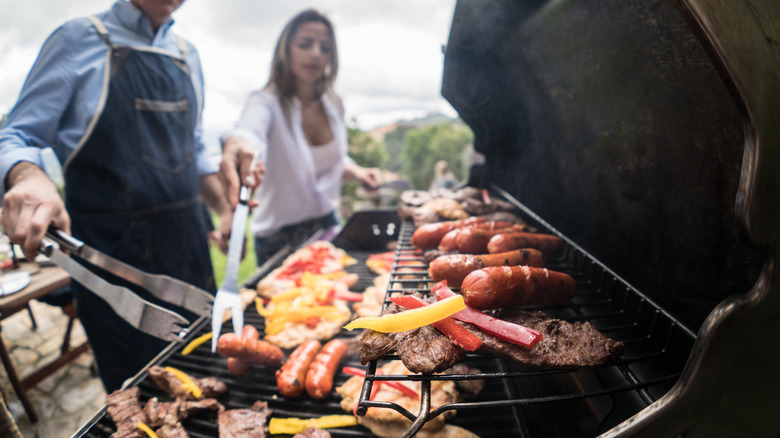
The warming rack provides a second, lower-temperature option you can utilize to extend your cooking area. Two-zone grilling is very much a thing, and this is a relatively painless way to do it. You can use the warming rack to gently cook drumsticks, chicken wings, or other fatty (or glazed or sauce-covered) foods without them charring, for example, and then shift them to the main grate for a final sear. Or you can use it as a platform for smoking foods, giving them time to absorb extra smoke flavor without overcooking. If you have made-ahead side dishes to go with your grilled meat, the warming rack is a good place to reheat them as you cook. You can even use it to reheat fast food if you wish (you may never use the microwave again).
If your grill didn't come with a warming rack, that's fine. There are plenty of aftermarket options available, designed to stand on top of your existing grill grate and elevate the food as it cooks.
