Strawberry Lemonade Buttermilk Donuts Recipe
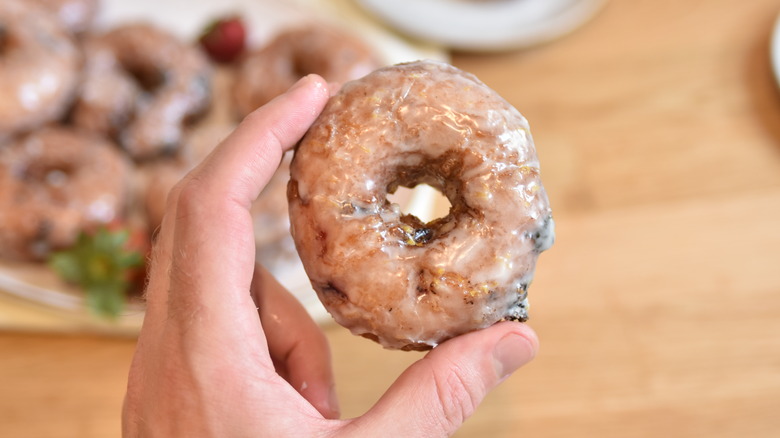
Cake donuts can get a bad rap compared to their airy, yeast-risen siblings. While they don't have any yeast to rise and aren't quite as fluffy, cake donuts can be crispy on the outside, tender on the inside, and absolutely delicious. Plus, they're way easier to make than yeast donuts, which require heavy kneading and proofing times. Cake donuts, like these strawberry lemonade buttermilk ones we've whipped up, can be made and fried right away. So, let's get to frying!
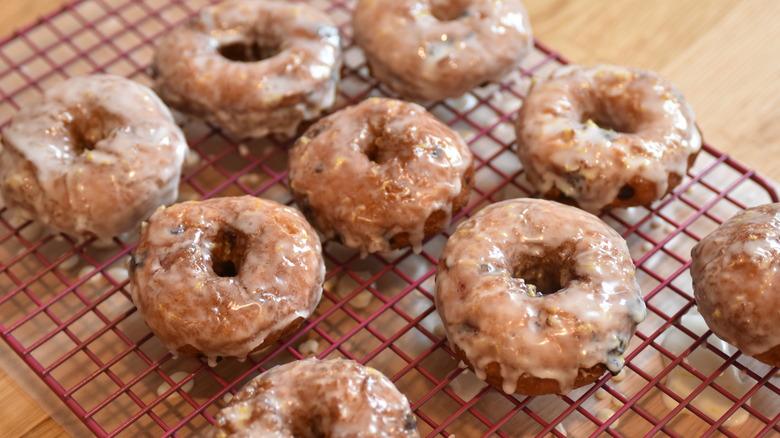
Encapsulating two perfect summer flavors — strawberries and lemonade — these donuts balance sweet and tangy notes. Using some lemon juice and zest in the glaze helps cut through the fatty, oily vibes of a warm donut that's just been fried. Adding some diced strawberries to the dough adds a floral, jammy flavor that only peak-season fruit can provide. Think of this donut as a mash-up between an old-fashioned cruller and a strawberry shortcake – sounds like a sweet victory to us.
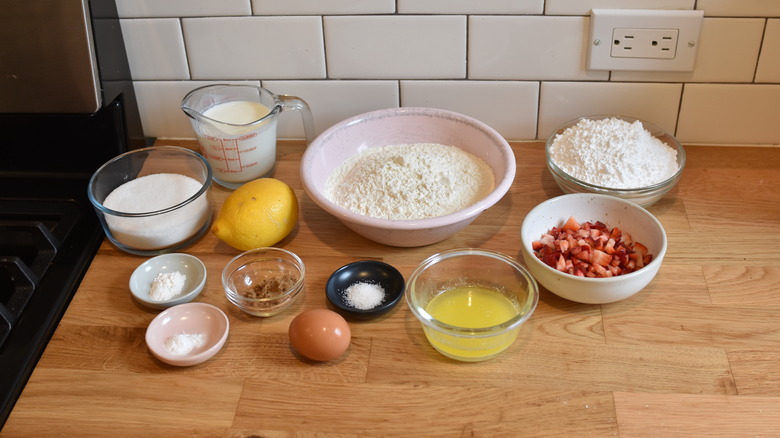
Gather the ingredients for strawberry lemonade buttermilk donuts ...
To make a batch of these deliciously tender cake donuts, you're gonna need some pantry basics: all-purpose flour, white and brown sugar, salt, baking powder, and baking soda. You'll also need a few tablespoons of melted butter and an egg for the dough, along with some buttermilk, which also provides a boost of acidity. For deep frying, make sure you have a quart of oil on hand.
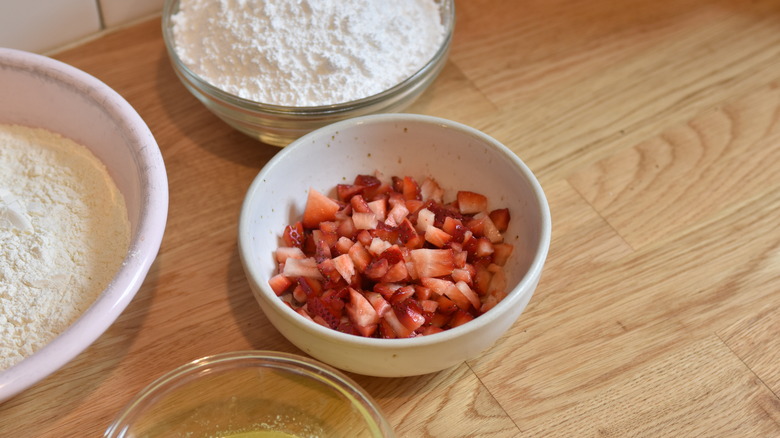
We recommend adding fresh strawberries from your local farmers market to the dough, but if you can only get frozen ones, that's fine, too — just let them thaw before dicing them up and using in the recipe. Last but not least, a little lemon zest and juice is gonna make a zingy, bright glaze that's perfect for dipping these yummy donuts in.
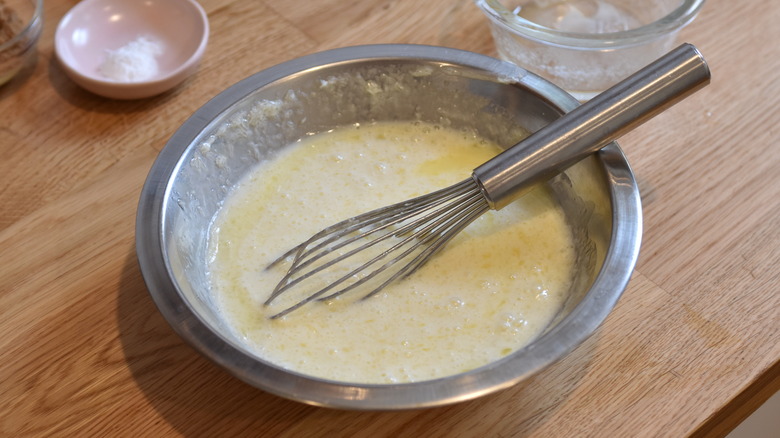
Step 1: Combine the buttermilk and melted butter
Combine the buttermilk, egg, and melted butter in a small bowl.
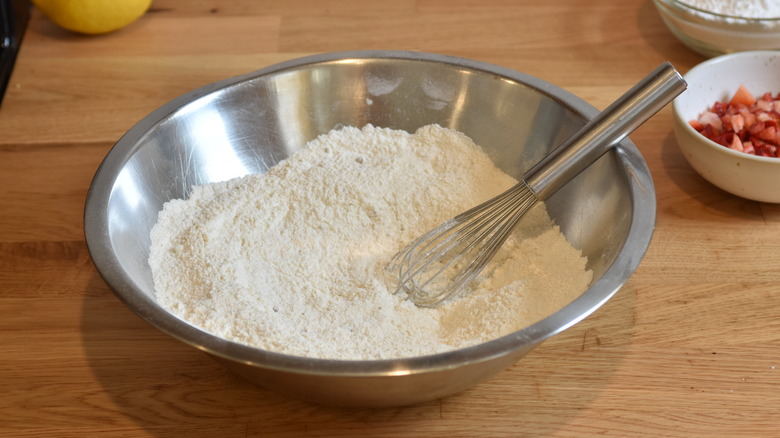
Step 2: Combine the dry ingredients
In a separate bowl, combine the flour, both sugars, baking powder, baking soda, and salt.
Step 3: Combine the wet and dry ingredients
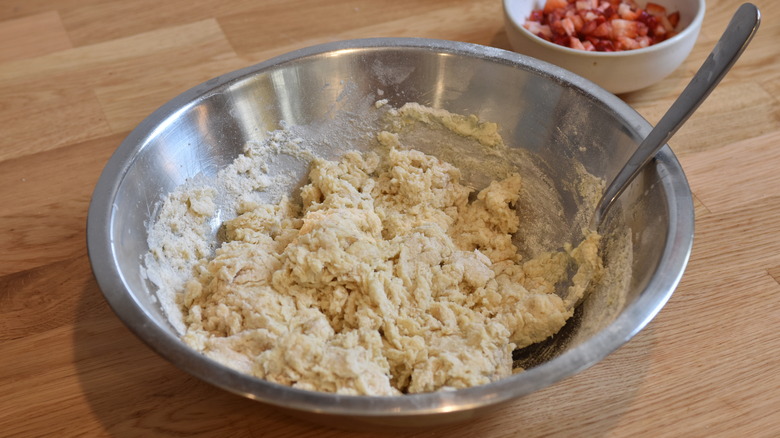
Stir the wet ingredients into the dry ingredients until a soft dough forms.
Step 4: Mix in the strawberries
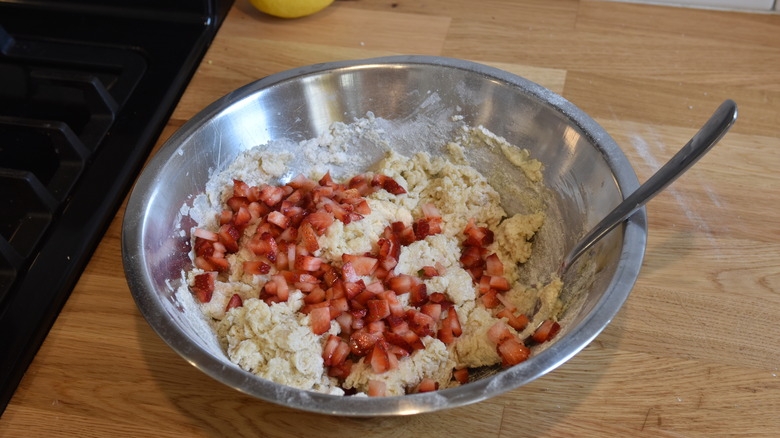
Gently mix in the strawberries.
Step 5: Knead the dough
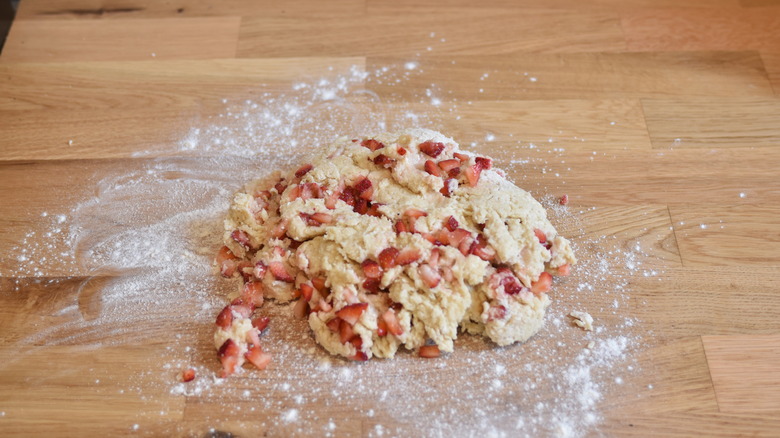
Empty the dough onto a lightly floured work surface and knead a few times to bring it together.
Step 6: Roll to ½-inch thick
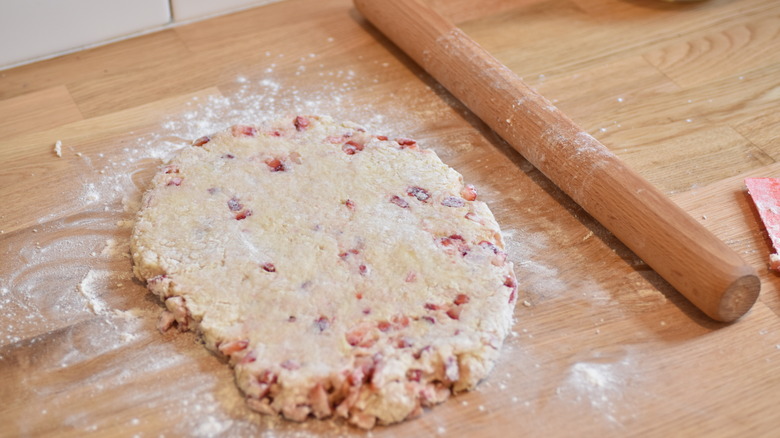
Generously flour the dough and roll it out to ½-inch thick.
Step 7: Cut out the donuts
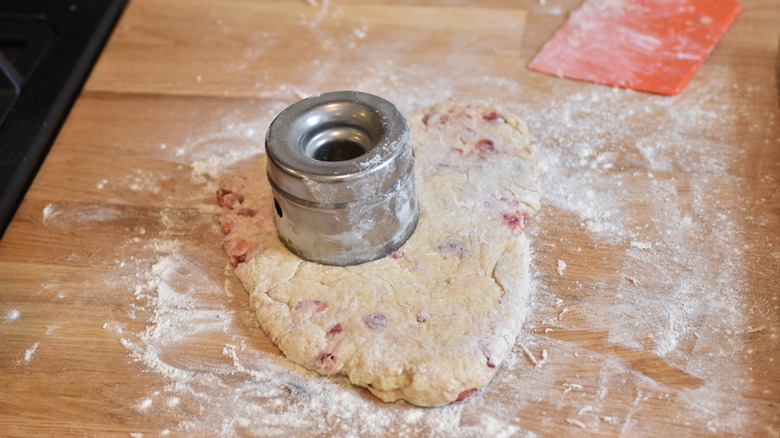
Use a donut cutter to cut out donuts.
Step 8: Re-roll the scraps once
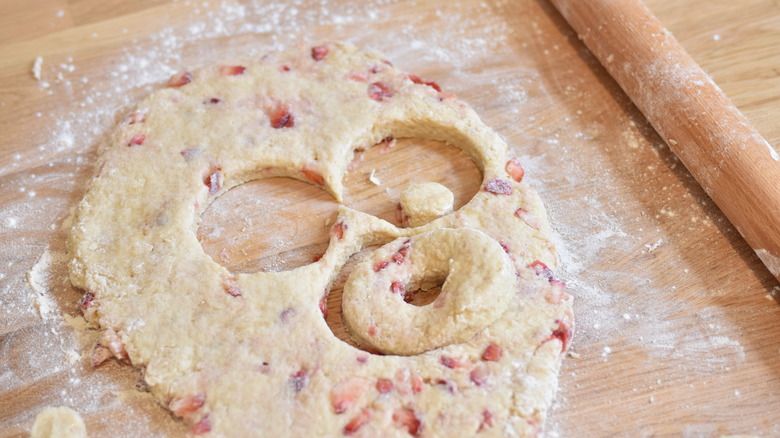
Reroll the remaining edges and holes once and cut again (you should have roughly 10 donuts).
Step 9: Heat the oil
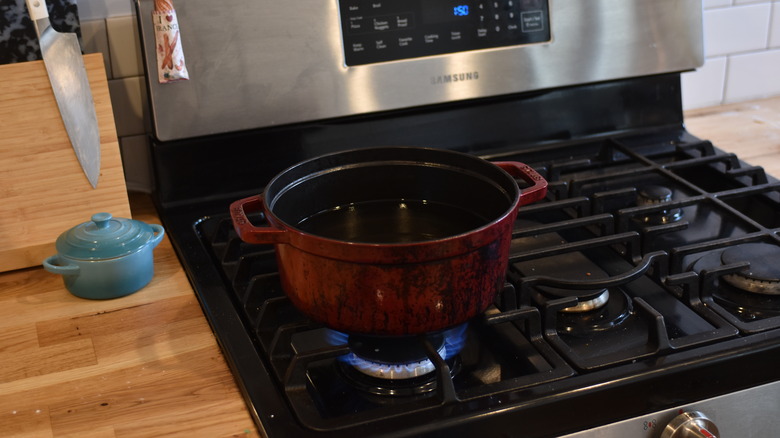
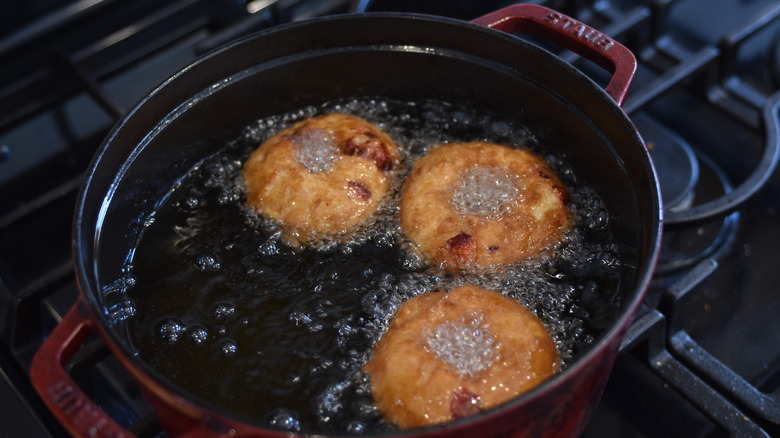
Heat the oil in a large pot to 350 F.
Step 10: Fry donuts
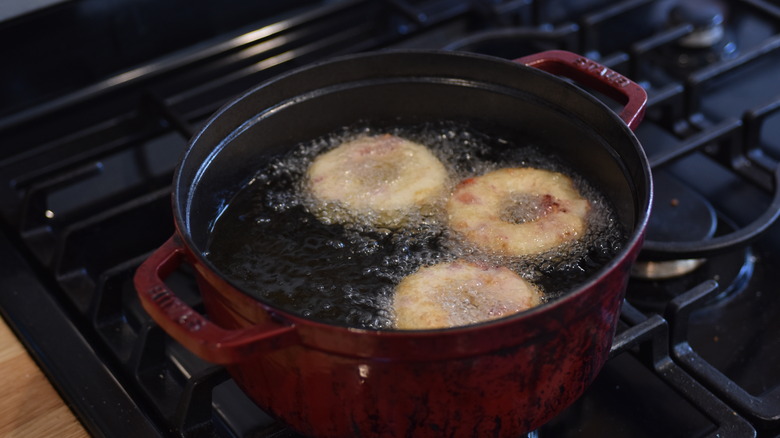
Fry the donuts, flipping once, for 2–3 minutes per side, until deep golden brown.
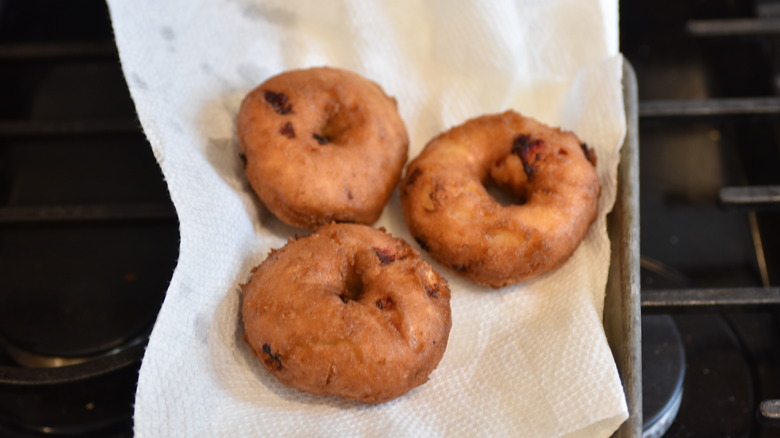
Step 11: Drain the donuts on a paper towel
Drain on a paper towel.
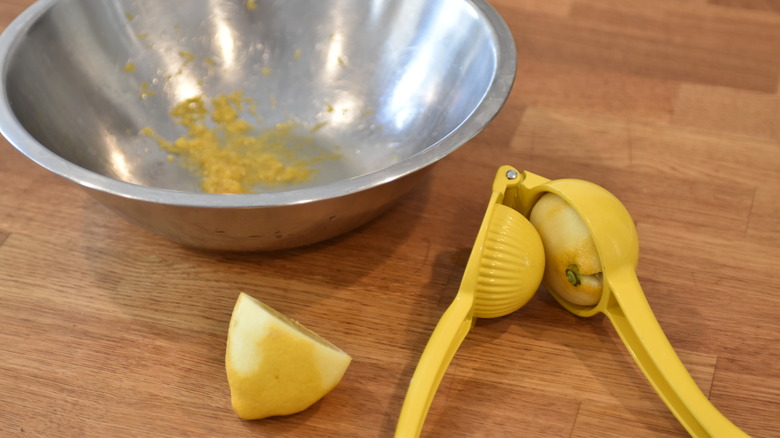
Step 12: Juice and zest the lemon
Juice and zest the lemon into a mixing bowl.
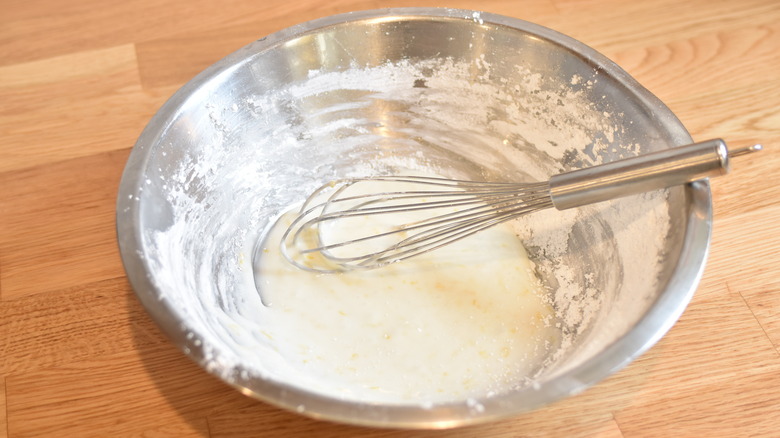
Step 13: Add the powdered sugar to make a glaze
Stir in the powdered sugar until smooth and pourable (add a splash of water if it looks too thick).
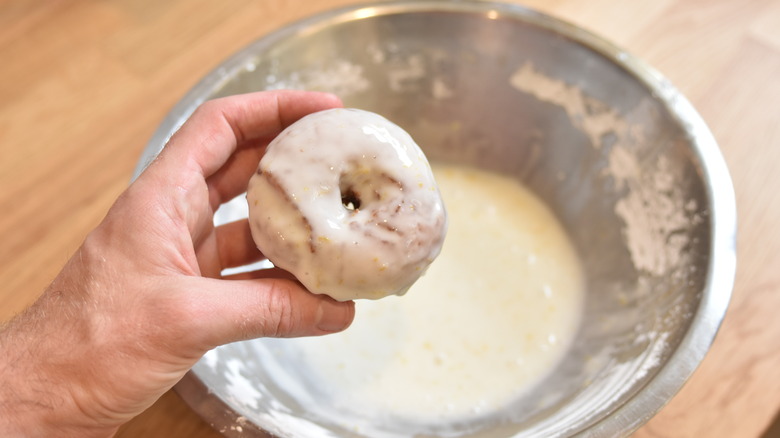
Step 14: Dip donuts in the glaze
Dip the top of each donut in the lemon glaze.
Step 15: Let the glaze set, and serve
Let sit for 5 minutes to allow the glaze to set. Enjoy!
Strawberry Lemonade Buttermilk Donuts Recipe
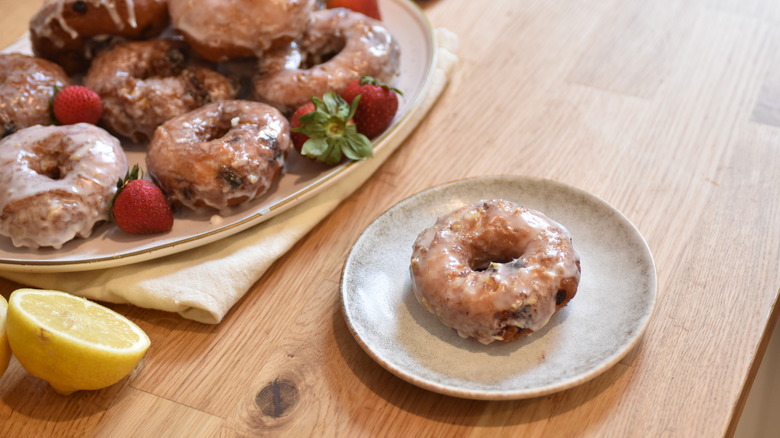
These no-proof buttermilk cake donuts are quick and easy to make, and the bright, strawberry lemonade flavor gives the dessert a summery feel.
Ingredients
- 1 cup buttermilk
- 1 egg
- 3 tablespoons unsalted butter, melted
- 3 cups all purpose flour
- ¾ cup granulated sugar
- 1 tablespoon brown sugar
- ½ teaspoon baking powder
- ½ teaspoon baking soda
- ¼ teaspoon salt
- 1 cup diced strawberries
- 1 lemon
- 3 cups powdered sugar
- 1 quart oil, for frying
Directions
- Combine the buttermilk, egg, and melted butter in a small bowl.
- In a separate bowl, combine the flour, both sugars, baking powder, baking soda, and salt.
- Stir the wet ingredients into the dry ingredients until a soft dough forms.
- Gently mix in the strawberries.
- Empty the dough onto a lightly floured work surface and knead a few times to bring it together.
- Generously flour the dough and roll it out to ½-inch thick.
- Use a donut cutter to cut out donuts.
- Reroll the remaining edges and holes once and cut again (you should have roughly 10 donuts).
- Heat the oil in a large pot to 350 F.
- Fry the donuts, flipping once, for 2–3 minutes per side, until deep golden brown.
- Drain on a paper towel.
- Juice and zest the lemon into a mixing bowl.
- Stir in the powdered sugar until smooth and pourable (add a splash of water if it looks too thick).
- Dip the top of each donut in the lemon glaze.
- Let sit for 5 minutes to allow the glaze to set. Enjoy!
Nutrition
| Calories per Serving | 581 |
| Total Fat | 25.9 g |
| Saturated Fat | 4.1 g |
| Trans Fat | 0.1 g |
| Cholesterol | 26.1 mg |
| Total Carbohydrates | 83.6 g |
| Dietary Fiber | 1.6 g |
| Total Sugars | 53.4 g |
| Sodium | 184.4 mg |
| Protein | 5.4 g |
What can you use as a substitute for buttermilk in donuts?
When you're seeking a buttermilk replacement, consider what buttermilk is in the first place: Essentially, it's fermented — or cultured — milk. Originally a byproduct of churning butter (the liquid left behind being buttermilk), modern buttermilk is fermented in production facilities. In a nutshell, and for lack of a better term, it's "sour" dairy. There are plenty of ways to recreate the flavor profile of buttermilk with ingredients you probably already have on hand. The easiest one is simply combining 1 cup of whole milk with 1–2 tablespoons of lemon juice and letting it sit until curdled.
If you don't want to get experimental, there are also some direct ingredient swaps that can work in a pinch. Try using sour cream or a runny yogurt — if what you have is too thick, thin it out to a pourable consistency with a few tablespoons of water. Other substitutions that would work well here are créme fraîche or plain kefir.
How can you dry donuts in a countertop fryer?
We chose to fry our donuts in a Dutch oven to avoid cleaning another appliance, but if you have a countertop fryer, now is the time for it to shine. Fill your fryer with oil and set it to preheat to 350 F. Once it's ready, you will fry the donuts similarly to how they're done in the recipe (2–3 minutes per side), but you most likely can only fit 1 to 2 in your fryer. Between batches of donuts, let your fryer heat up to the correct temperature again.
While single-use appliances can take up a lot of precious cabinet space, the ease of clean-up and the safety that a countertop fryer provides is much easier than frying in a pot on the stove. It's also a lot safer, considering that there's no open flame and the heat source is electric. Just be sure to let the oil fully cool before removing it from the fryer.
