How To Make And Store Homemade Pie Crust Ahead Of Time
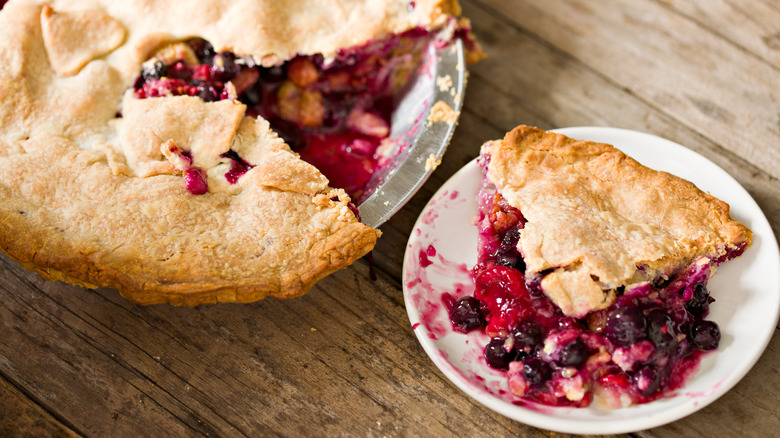
Homemade pie is in a class all by itself. That tender, flaky crust tastes like someone tied a gingham apron around their waist and went to work for at least half a day, flour on their forehead and all. But really, it doesn't have to be that way every time you crave some homemade pie. Making and storing the crusts ahead of time is the pie baker's clever secret.
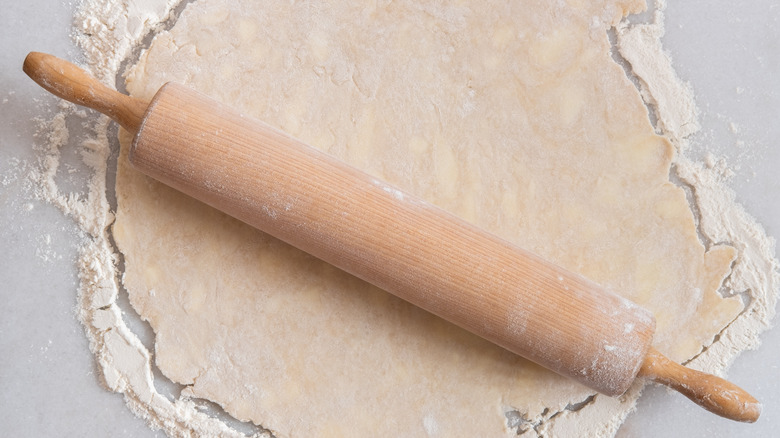
You can have pie anytime if you embrace a few things: adjusting how you prepare the dough and utilizing your refrigerator or freezer space. There are four go-to methods you can use to make pie crust ahead of time and store it until you're ready to use, and each method works best for a specific filling. First things first, though — you need the perfect recipe for flaky pie crust.
The easiest option involves simply making your dough and storing it for later. This method works well with raw pie filling that goes straight into the oven, like baked fruit pies. It also leaves room to decorate your pies using leftover crust. Simply prepare your dough recipe, shape it into a ball, and cut it in half. Flatten each half into a disc and wrap tightly with plastic wrap. Store in the refrigerator for up to three days or in the freezer for up to two months. Let the dough thaw in the refrigerator overnight before using the same way you would a freshly prepared pie crust.
Pick a pie, pick a preparation method
The second make-ahead method works well for custard pies that you will partially blind bake or parbake to avoid a soggy bottom, like a decadent quiche Lorraine. Prepare the dough, roll it out, and shape the crusts into freezer-safe pie plates. Slide them into large storage bags and freeze for up to four months. When you're ready to use, let them thaw in the refrigerator overnight. Thawing allows the dough to remain chilled (not frozen) so that the fats in the dough melt and release water at a specific rate, which creates steam and produces that yummy flakiness. Before parbaking, prick indentations into the bottom of the shells to allow steam to escape, and place pie weights in the crusts so the bottoms don't puff. Bake them for 12-18 minutes at 350 degrees, until you see just a little browning.
It's worth noting that you can also freeze your pie shells after parbaking and thaw them right before you fill them. This third method saves time if you bake pies with custard fillings often.
The fourth option is ideal for pies with fillings that don't need to be baked at all. It requires fully preparing and blind baking your pie crust before freezing it. So when the time is right for a classic lemon meringue pie or your favorite coconut cream pie, you're ready to go. Prepare your dough and bake the crusts until they are done. Cool them and then freeze them for up to four months.