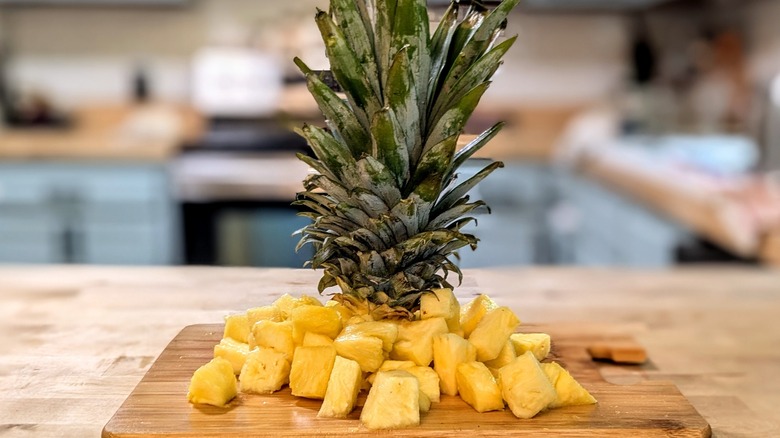
We Tried 6 Different Ways To Cut A Pineapple And This Was The Most Effective Method
When hot weather rears its scorching head, it's time for grilling, ice-cold libations, and sweet, juicy, tropical fruit, pineapple being the most quintessential variety. This spiky yellow delight of the New World first arrived in Europe in the late 1400s, and there the fruit's rarity and fascinating appearance led to pineapples valued at over $8,000 apiece, when adjusted to modern dollars.
Thankfully, the pineapples of today are far less scarce and expensive, and they're frequently displayed in delicious desserts and spotted in savory suppers. The unique, sweet flavor of pineapples makes them a staple of summertime in the U.S., and a cornerstone of cuisines in the Caribbean, South America, and Southeast Asia.
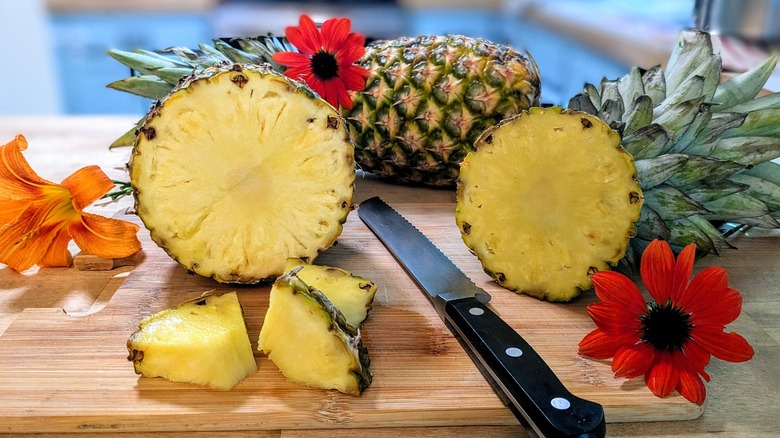
Fresh fruit is the perfect nutritious treat for kids and adults alike when snacking by the pool or at the beach, but a whole pineapple is one of the most difficult fruits to enjoy. Its cumbersome shape, hefty weight, and armored exterior make it awkward to slice or dice. Every dedicated fruit enthusiast has their own tips for working with pineapple, taming this tropical beast with tricks and hacks for cutting pineapple into myriad shapes. Whether you're using it in smoothies, party platters, or just slicing some up for a bite-sized snack, there's likely a cutting method specific to your plans for this funky-looking fruit. I tried six different pineapple-slicing techniques to assess which method was easiest, least wasteful, and the overall simplest way to turn this intimidating ingredient into a tempting treat.
1. Cut around the core
Although the core of a pineapple is edible, it's much tougher than the juicy flesh. Removing the dastardly core is usually necessary, and cutting around it is the most straightforward way to ensure that every bite of pineapple is succulent and delicious.
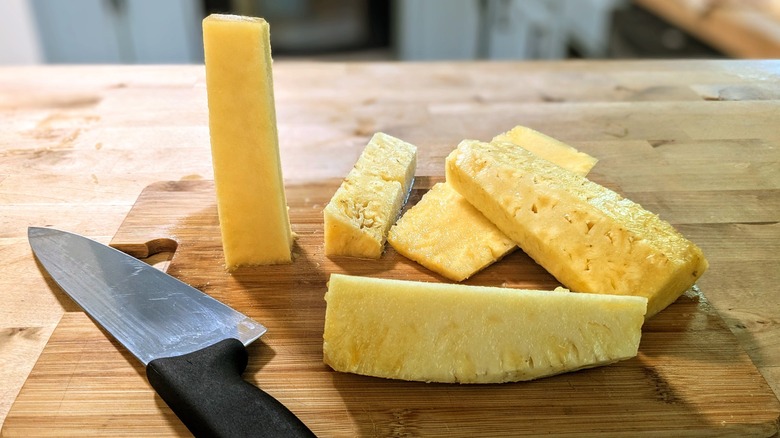
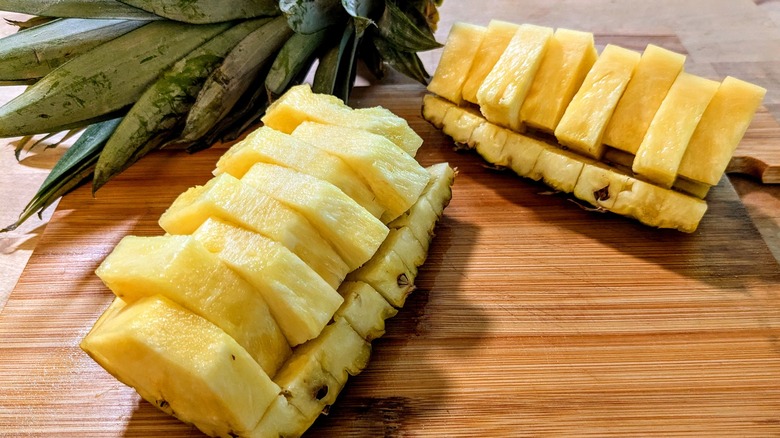
To cut around the core, slice off the pineapple's bottom and top. Cut off the rind, and then remove any pieces of pineapple with dark spots (called eyes) by slicing more layers off. You'll probably remove about a quarter-inch layer of pineapple during this process. Then, with the fruit upright, locate the core and slice four big chunks off around it. Along with your four large chunks, you should be left with a long, rectangular piece of pineapple that's denser than the rest. Slice the chunks into spears, and then into bite sized pieces, if you so choose. You can use a chef's knife, but to make the process easier, you should use a serrated bread knife to cut pineapple.
This method was easily the fastest. It took me only about two minutes to have my pineapple diced up and ready for snacking. The biggest downside to this quick method is how much pineapple winds up wasted; removing the eyes typically requires removing delicious pineapple flesh along with them. If you can't bear to see all that tangy fruit go to waste, one sweet way to use your leftover pineapple core is to make syrup with it and other fleshy scraps.
2. Cut through the core
Cutting through the core is likely a common method for slicing a pineapple, but that doesn't mean it's necessarily the most effective. I was hoping this technique would lead to less waste, while essentially providing the same end result as cutting around the core.
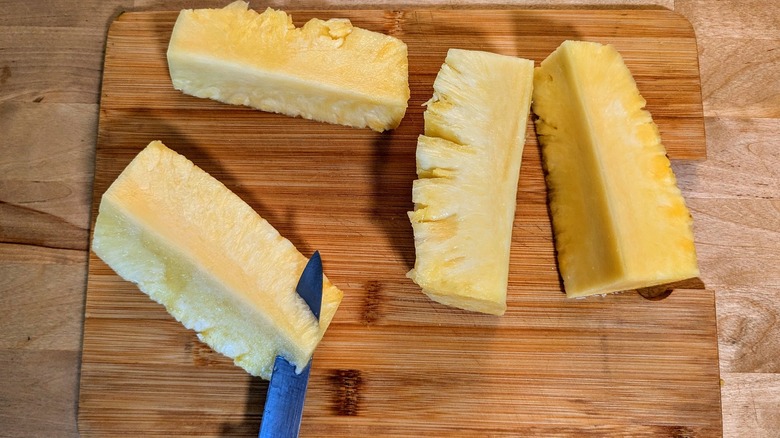
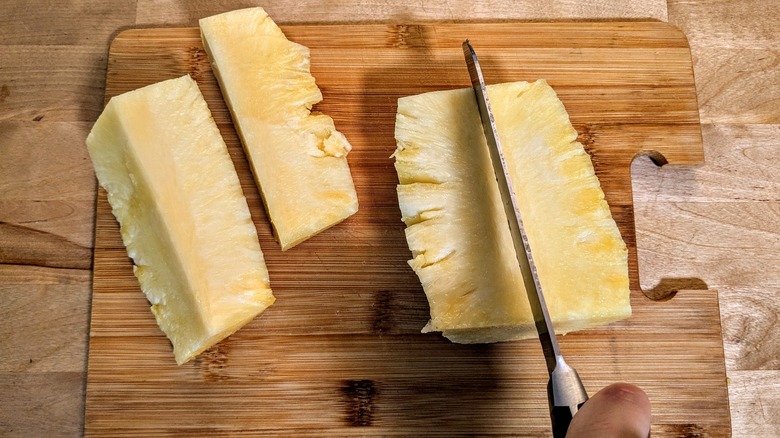
To perform this cut, slice off the bottom and top of the pineapple. Remove the skin and eyes the same way you would when cutting around the core. Then, cut the pineapple vertically into quarters through the middle, creating an "x" directly through the core. You'll have four chunks of pineapple of about equal size. Then, forgo the serrated bread knife and carefully remove the core section from each quarter by using a chef's knife or a paring knife — I found that a paring knife works best. You'll be left with four core-free chunks ready to be sliced into spears and subsequent bite-sized bits.
While this method is similar to the first technique I tried, I found that it took about twice as long to prepare my pineapple — about four or five minutes total. Compared to the first method, cutting through the core required the use of a second knife. While the second knife is not necessary to perform this cut (though it did make removing the core segments easier and safer), it resulted in more cleanup work. However, just as I had hoped, this technique results in far less wasted pineapple, making the extra prep time and cleanup worth it.
3. Make fancy pineapple rings
Pineapple rings are a must-have for pineapple upside-down cakes or making festive fruit platters and garnishes. You can even use the oven to sweeten pineapple by baking the rings. Tools like pineapple corers simplify the process of creating rings, but for those of us who don't have this super-specific equipment lying around the kitchen, an old-fashioned knife works just about as well.
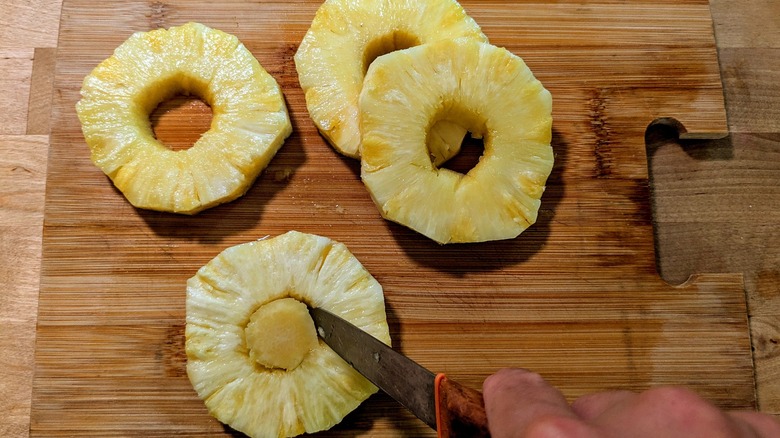
To make pineapple rings, remove the top, bottom, rind, and eyes in the same manner that you would with the two previous methods. If you're making a holiday-themed platter with your rings, twist the crown off and save it to create an adorable pineapple stem Christmas tree charcuterie centerpiece. Once you have the pineapple's exterior removed, turn it on its side and cut it through horizontally into half-inch slices. Next, use a small cookie cutter or a paring knife to cut around the core on each individual slice, until your entire pineapple is transformed into aesthetically pleasing rings.
I must admit that — although tricky — cutting the core out of each slice of pineapple was extremely satisfying; once I was finished, gazing at the fruits of my labor (pun intended) had me swelling with pride. I appreciate that once the pineapple is turned into rings, it's easy to cut those rings into quarters or sixths to make chunks for easy snacking. While this process was more time-consuming than other methods on this list, the lack of waste made it worth the effort.
4. Cut pineapple into pull-apart sticks
To put this technique to the test, start by twisting (not cutting) the crown off. Then — this step is optional, but recommended — flip the pineapple upside down on a plate and let it sit this way for at least 30 minutes, ensuring an even distribution of juice.
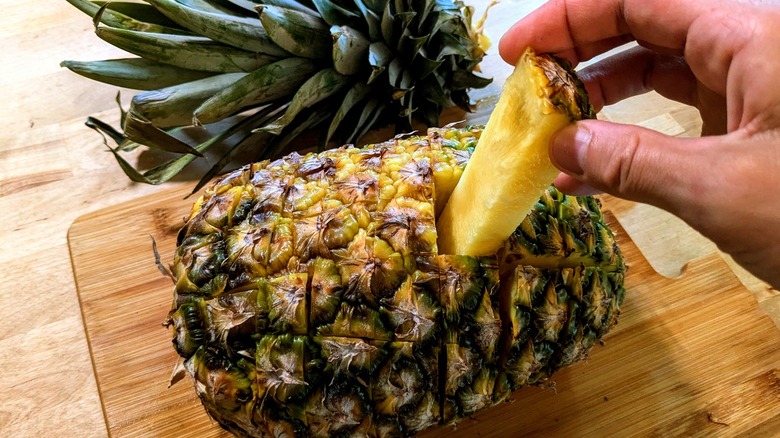
Next, slice the rind from only one side, lay the pineapple flat, and cut it all the way through in a grid pattern, following its natural lines. Now kids can pull their own snacking sticks from the pineapple, or you can separate these and soak the pineapple in tequila for an adults-only treat. You can also try freezing the sticks for a healthy popsicle alternative.
This method may sound easy, but keeping the pineapple together while cutting it is no small feat. However, my biggest qualm with this technique is that, while the sticks pulled from the center of the pineapple are the perfect size for a small snack, the sticks pulled from the ends are too small and hard to eat. There's also no way to remove the core using this method, and although the core is edible, chewy pineapple chunks are a no-go. This technique did prove to be very fast, but when I tried cutting the rind from the pieces before placing them in an airtight container for the fridge — the right way to store freshly cut pineapple — I ended up wasting even more of the fruit than with the cutting-around-the-core method.
5. Make a pineapple boat
If you're aiming to add tropical pizzazz to a snack platter or charcuterie board, then a pineapple boat is the way to go. Grabbing a chunk is easy for guests, and the decoration adds a fun touch. This pineapple-cutting technique is allegedly one of the most popular for convenience and ease, so even if you're not hosting a soirée, this cut could be your new go-to method.
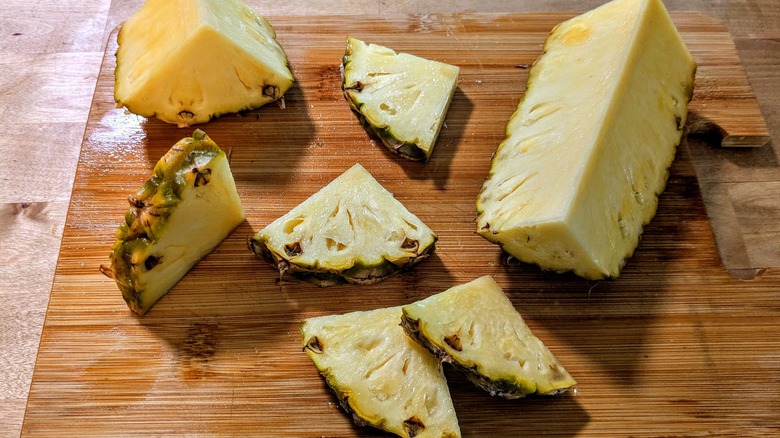
Start by cutting the top and bottom from the pineapple, as usual, but leave the rind intact. Cut the pineapple into quarters from top to bottom. Remove the core segment from the flesh of each quarter by slicing off the pointed tip down the length of each triangle-shaped piece. Then, carefully slide the knife between the flesh of the pineapple and the rind. Once the flesh is separated, make half-inch thick horizontal slices down the length of the pineapple, so that each piece can be removed from the boat, but still sits in place on the rind. Slide each piece out slightly in opposite directions for stylistic effect.
This cut was relatively straightforward, up until it was time to separate the pineapple flesh from the rind. It's tricky, and definitely a job for an experienced knife-wielder. A chef's knife works best to accomplish this, while a bread knife is ideal for making the other cuts in the pineapple. All told, this cut took a medium length of time — around five minutes — with moderate cleanup and minimal wasted pineapple.
6. Create a decorative garnish
No piña colada is complete without a decorative slice of pineapple. To make these garnishes, the inedible rind should remain intact for aesthetic purposes. Some pineapple lovers prefer munching on the fruit segments while holding the rind, discarding it afterwards, the way one eats a watermelon slice. If that's your favored method for snacking on pineapple, then this cutting technique may tickle your fancy.
To make decorative pineapple garnishes, chop the bottom off and twist or slice off the top. Then, simply cut the pineapple vertically into quarters. You can slice the core segment out from each quarter, or you can leave it intact so that the pineapple pieces can more easily slide onto the rim of a glass. Make half-inch horizontal slices down the length of each quarter, until you have separate triangle-shaped pieces of pineapple with the rind attached. To garnish a glass, make a small slit in the flesh of the pineapple from the tip to about a quarter-inch from the rind, and slide it onto the rim of your vessel.
This method was one of the fastest, taking only about three minutes to have the entire pineapple sliced and ready to go. However, making slices of pineapple with the rind still intact isn't suitable for a fruit bowl or platter — only a garnish or handheld snack. When it's time to store the leftover pineapple, be prepared for wasted pineapple and extra minutes spent carefully removing the rind from each piece.
Which was the most effective pineapple cutting method?
The fastest and easiest method was the first option, cutting around the pineapple's core. I'll admit that I'm partial to this method because this is how I've been cutting my pineapple for years. But, after conducting this experiment, I might be changing up my technique. While this method was fast and simple, the resulting amount of wasted pineapple left me cringing at all the juicy, edible fruit that I had been tossing away without a care over the years.
The least effective and most frustrating technique was the fourth option, creating pull-apart pineapple sticks. While it looks fun and effective on TikTok, the waste and cleanup was a pineapple lover's nightmare. The sixth option for pineapple garnishes was the most attractive cut, but this technique fails in the search for the most effective method. Making rings or a pineapple boat required more than one knife and took too long, despite the minimal waste caused by these techniques.
Overall, the most effective pineapple-cutting method is the second option, to cut through the core. This technique is fast, with easy cleanup, and doesn't necessarily require a second knife. With decent cutting skills, this method results in very little wasted pineapple. The pineapple-rings method is our runner-up. Although this technique is slightly tricky and time-consuming, almost no pineapple is wasted, and pineapple rings have a plethora of versatile uses.
Methodology
To conduct this test, I performed each cutting technique on one of six similarly shaped pineapples of about equal ripeness. I noted the amount of time (roughly) that each test took from start to finish.
I factored in the time that each cutting technique required, along with cleanup time. Other considerations for each technique included the number of knives required, the necessary level of skill, and the amount of wasted pineapple that every method entailed. I mentioned aesthetic qualities of the final products from some of the cutting methods, but this didn't factor into the overall decision that determined which technique was the victor.
