Quinoa Cacao Brownies Recipe
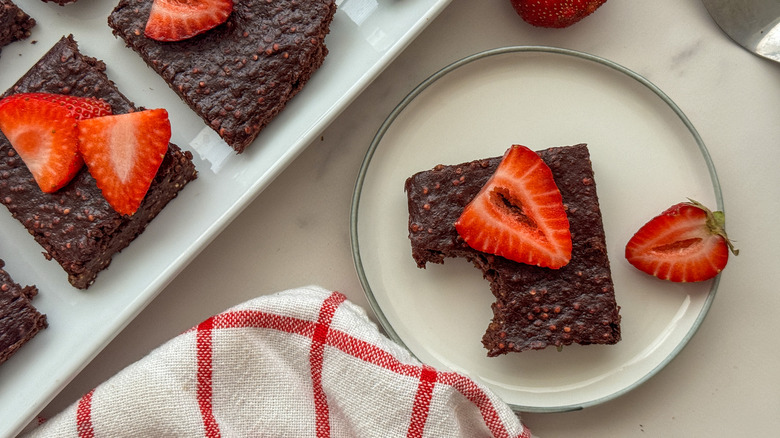
When your sweet tooth strikes but you're committed to staying true to your health goals, whip up a batch of these quinoa cacao brownies and say hello to your new favorite sweet treat. These brownies are chewy and moist and have a natural sweetness from the ripe bananas and maple syrup. They get their chocolate flavor from cacao powder, the raw form of chocolate, which is complemented by creamy and nutty almond butter. The quinoa adds a delicious, crunchy element to each bite.
Wellness coach and recipe developer Miriam Hahn brings us this recipe and says, "I try to avoid adding refined sugar to recipes and instead lean on natural forms of sweetness. When bananas are brown and spotted, they are at their peak of sweetness and do a fantastic job of replacing sugar in baked goods. Adding the caramelized flavor of maple syrup is the icing on the cake, so to speak!" Grab your apron and food processor — it's baking time.
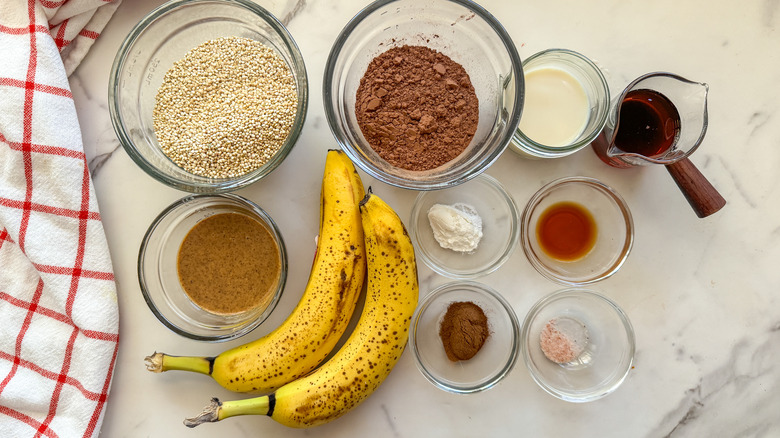
Gather the ingredients for quinoa cacao brownies
To make this recipe, start by picking up some quinoa. There are several different quinoa varieties, and we've found that white quinoa works the best. It's also the most common and will be easy to find. Then, grab cacao powder, maple syrup, almond butter, and soy milk. If you have another type of plant-based milk on hand, you can use that instead of soy. If you're avoiding a nut allergy, sunflower seed butter can replace the almond butter.
You'll need two ripe bananas, so make sure to allow time for them to ripen on your counter before making these brownies. Then, check your pantry for baking powder, cinnamon, vanilla extract, and salt. For a pretty presentation, you may want some strawberries and fresh mint.
Step 1: Soak the quinoa
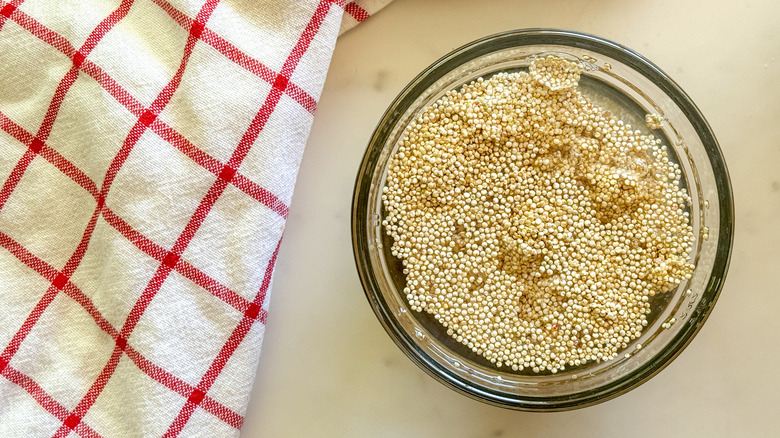
Pour the quinoa into a bowl and cover with water. Soak for 1 hour.
Step 2: Drain and rinse the quinoa
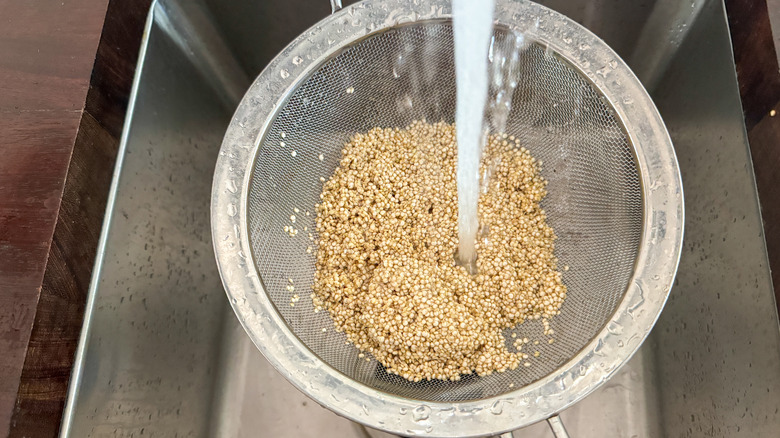
Drain the quinoa and rinse under cold water.
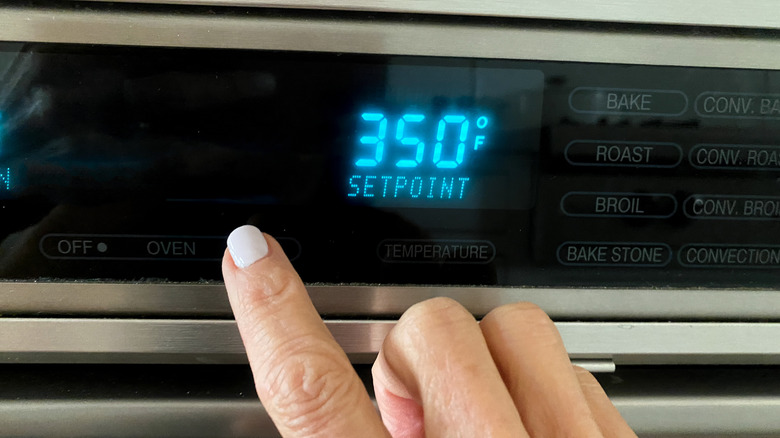
Step 3: Preheat the oven
Preheat the oven to 350 F.
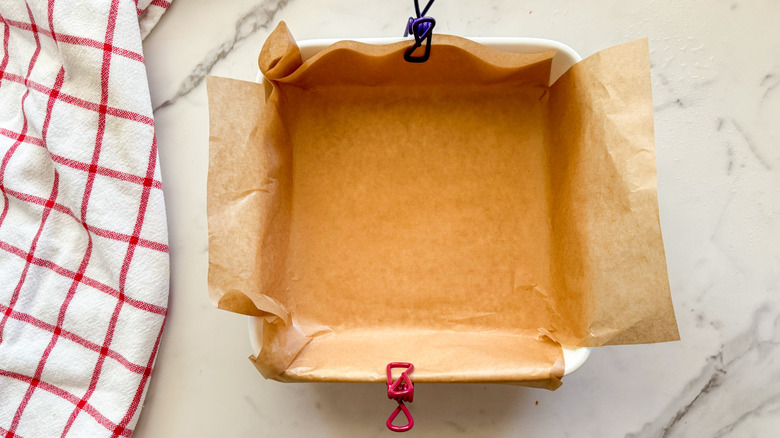
Step 4: Line the baking pan
Line a 9x9-inch baking pan with parchment paper
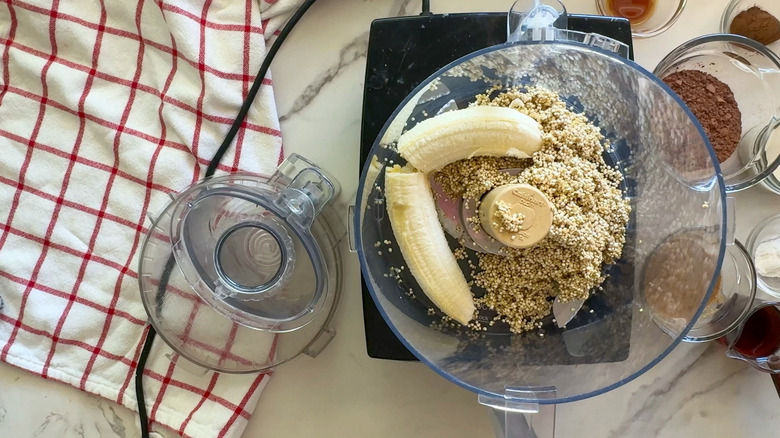
Step 5: Add ingredients to a food processor
Add the quinoa to a food processor with the cacao powder, maple syrup, almond butter, bananas, soy milk, baking powder, cinnamon, and vanilla extract.
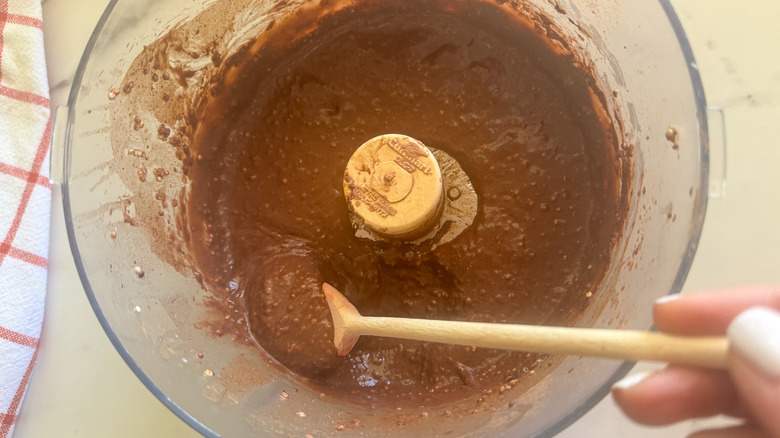
Step 6: Blend until smooth
Blend until smooth and creamy.
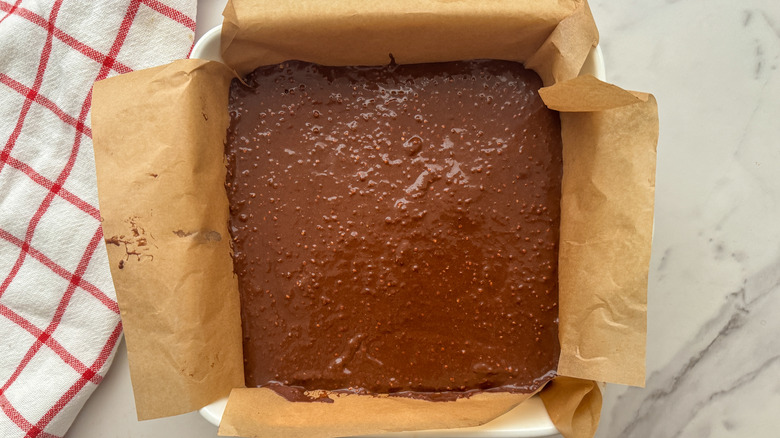
Step 7: Pour into the prepared pan
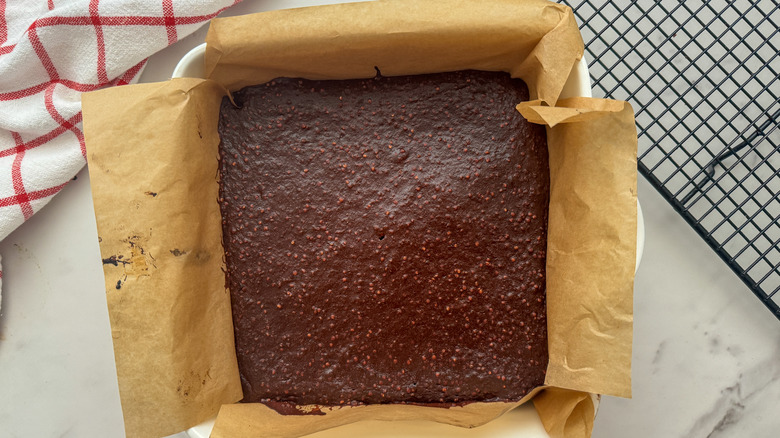
Pour the batter into the prepared pan and bake for 20 minutes.
Step 8: Cool in the pan when done
Remove from the oven and cool in the pan for 10 minutes.
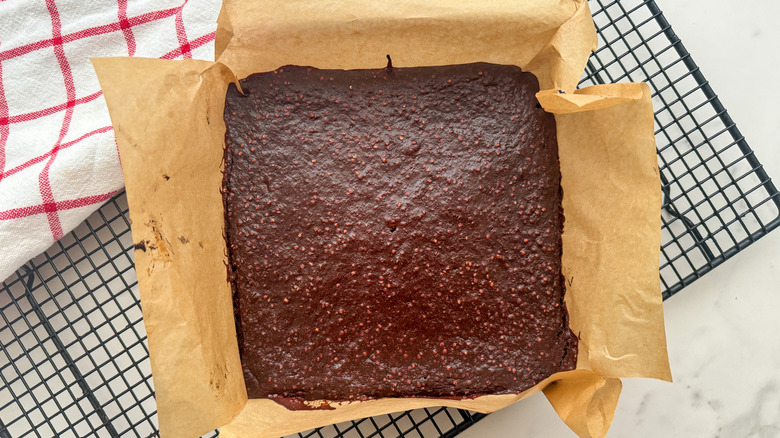
Step 9: Remove from the pan and cool longer
Using the parchment paper as your handles, lift the brownies out of the pan and cool on a rack for 30 minutes.
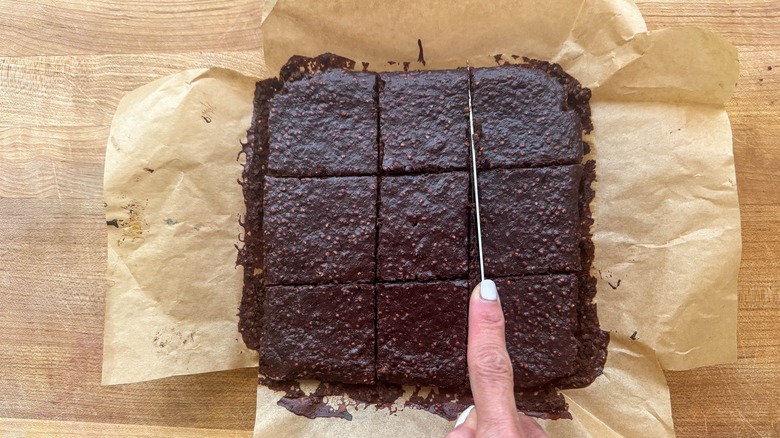
Step 10: Slice the brownies
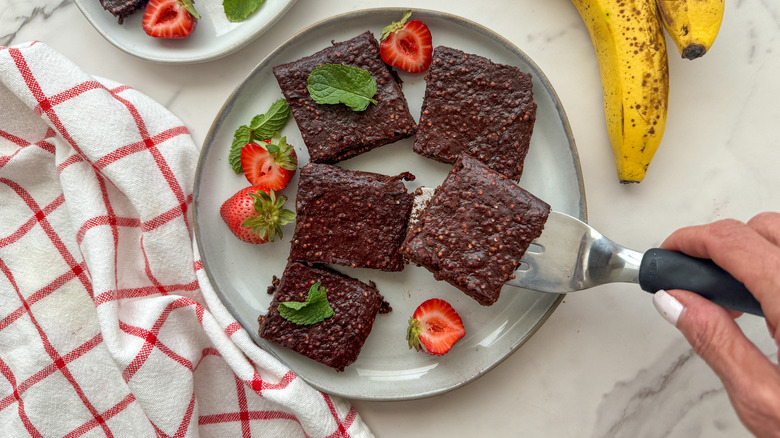
Slice into 9 large squares.
Step 11: Garnish and serve
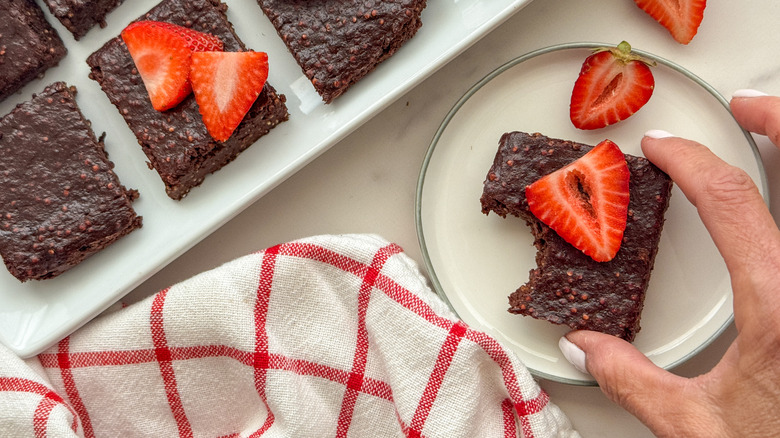
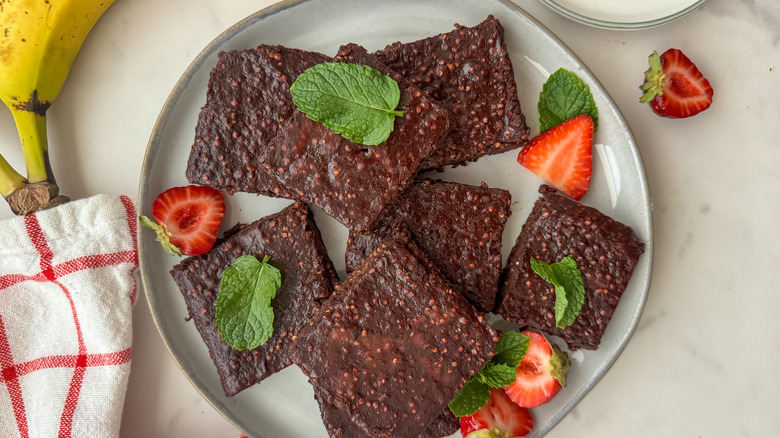
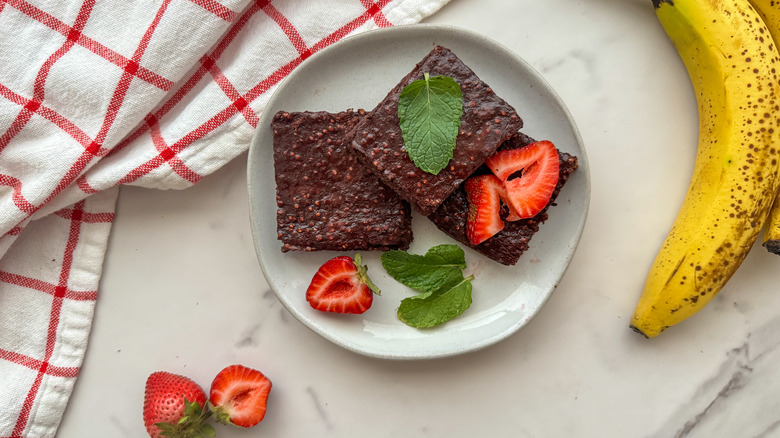
Optionally, garnish with strawberries and mint, then serve.
Quinoa Cacao Brownies Recipe
Entirely vegan and gluten-free, these brownies feature quinoa and unprocessed cacao powder for a delicious and nutritious take on a rich dessert.
Ingredients
- ½ cup uncooked white quinoa
- ½ cup cacao powder
- ¼ cup maple syrup
- ¼ cup almond butter (drippy, not hard)
- 2 ripe bananas
- ¼ cup soy milk
- 1 teaspoon baking powder
- 1 teaspoon cinnamon
- 1 teaspoon vanilla extract
- ¼ teaspoon salt
Optional Ingredients
- Sliced strawberries, for serving
- Mint leaves, for garnish
Directions
- Pour the quinoa into a bowl and cover with water. Soak for 1 hour.
- Drain the quinoa and rinse under cold water.
- Preheat the oven to 350 F.
- Line a 9x9-inch baking pan with parchment paper
- Add the quinoa to a food processor with the cacao powder, maple syrup, almond butter, bananas, soy milk, baking powder, cinnamon, and vanilla extract.
- Blend until smooth and creamy.
- Pour the batter into the prepared pan and bake for 20 minutes.
- Remove from the oven and cool in the pan for 10 minutes.
- Using the parchment paper as your handles, lift the brownies out of the pan and cool on a rack for 30 minutes.
- Slice into 9 large squares.
- Optionally, garnish with strawberries and mint, then serve.
Nutrition
| Calories per Serving | 139 |
| Total Fat | 5.2 g |
| Saturated Fat | 0.8 g |
| Trans Fat | 0.0 g |
| Cholesterol | 0.0 mg |
| Total Carbohydrates | 22.8 g |
| Dietary Fiber | 4.0 g |
| Total Sugars | 9.1 g |
| Sodium | 110.8 mg |
| Protein | 4.1 g |
What makes these quinoa brownies healthy?
There are many reasons why these brownies are healthy. To start, instead of flour, which is the base of most brownies, we are using a whole grain — quinoa — that offers a high protein count, lots of fiber, and many minerals, including iron, magnesium, and potassium. For the chocolate flavor, we are replacing processed coco powder with cacao powder, which is unsweetened and packed with antioxidants.
Some brownie recipes contain butter or oil, but in this recipe, we've used a combination of bananas and almond butter as a substitute, which supply the moisture and binding properties needed to hold the brownies together. The almond butter is full of healthy fats and protein, and the bananas offer vitamins, minerals, and fiber. They also play a major role in sweetening the brownies. Maple syrup pairs with the bananas and carries zinc and manganese along with it.
The use of soy milk or any plant-based milk also offers a substantial health benefit. Because these milks are made from plants, there are no hormones or antibiotics to get in the way of your brownies, and many offer protein and are supplemented with calcium.
How can I store these quinoa brownies, and how long will they last?
These brownies will not likely make it 24 hours in your kitchen — they're that good. But, should you want to make them ahead, there are the options. If you prefer a room temperature brownie, store them in an airtight container away from direct sunlight for up to 3 days. The brownies will last for up to a week if you seal them in an airtight container and store the, in the fridge. Take them out of the fridge to reach room temperature before enjoying.
For a longer shelf life, you can freeze the brownies. To avoid freezer burn, it's best to wrap them in plastic wrap in addition to sealing them in an airtight freezer container. They will last up to 3 months if stored this way. To thaw them out, you can either place them in the fridge for a few hours prior to eating, let them thaw on the counter for an hour, or pop them into the microwave for less than a minute for a quick thaw.
