9 Tips You Need For Cooking Ribs In Your Oven

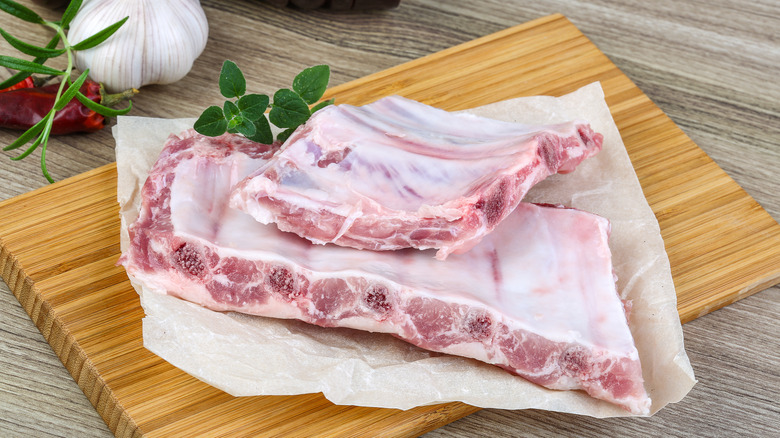
Ribs are such a wonderful treat to cook outdoors, heating slowly in a smoker or on the grill until the meat falls off the bone. But in the absence of a barbecue, you can still enjoy tasty ribs in the comfort of your own kitchen by cooking them in the oven for an indoor alternative.
To help you oven-cook ribs to their absolute best, we spoke with Ed Reavis, pitmaster and co-owner of Money Muscle BBQ — a Silver Spring, Maryland-based purveyor of top-quality barbecued meats served at All Set Restaurant and Bar, the affiliated Fryer's Roadside, and dedicated food trucks. With years of experience, his expert tips will help you take oven-cooked ribs to the next level.
Whether you are a carnivorous connoisseur or are looking to cook ribs for the first time, these suggestions will help make your ribs the best they can possibly be. Oven-cooked ribs require a bit of tweaking from the usual outdoor-based methods, but you can still end up with a delicious plate of food. From wrapping them in foil to making your own barbecue sauce, these techniques and tricks will help you make mouthwatering ribs that will impress your family and friends.
Be sure to brine ribs in advance
The process of cooking the ultimate ribs in the oven starts hours before you even turn on the heat. Chef Ed Reavis explains: "I like to either brine or dry rub overnight in order [to] increase flavor and moisture." This advance planning can make the difference between fairly good ribs and ribs that fall off the bone with delectable tenderness.
Wet or dry brining — techniques that can be used for a variety of different meats — involves infusing the ribs with salt and other seasonings, resulting in much juicier meat than you would otherwise have. The salt in the brining mixture causes the proteins in the meat to change shape, just as they would when cooking. This process tenderizes the meat, which equals deliciously juicy ribs.
Apart from the obligatory salt, you can add just about any other flavorings that you wish to your brine. Garlic, crushed peppercorns, and apple cider vinegar all match brilliantly with pork, but get creative and add your own favorite ingredients in there too. After wet brining, be sure to pat your ribs dry before cooking them. Removing as much water as you can means that the heat of the oven can go straight to caramelizing the ribs, without needing to turn the leftover moisture into steam first.
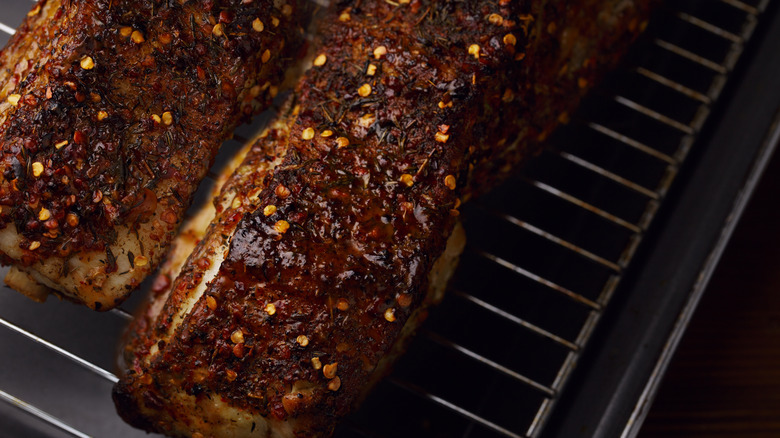
Use a BBQ spice rub to create a smoky flavor
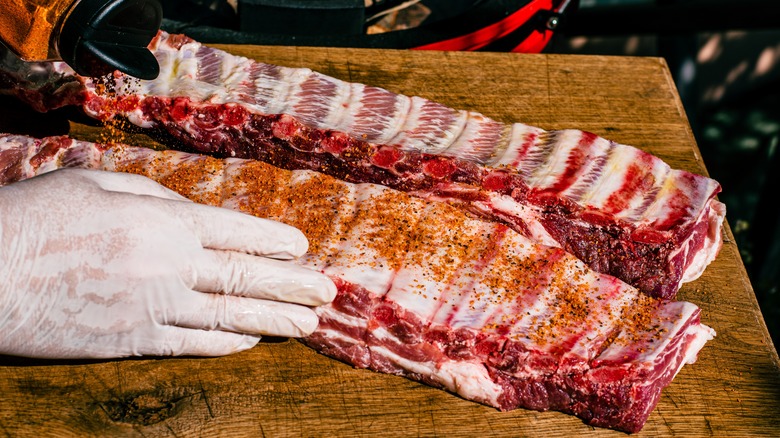
While brining overnight with salt and water will guarantee moist and flavorful ribs, you may not have the time to do that every time you prepare them, so it is worth having a backup plan that will still create a tantalizing meal. Ed Reavis acknowledges that practicality can often mean that a wet brine will not be the most convenient choice. "Dry rub is my go-to, as it's less messy and time consuming," he says.
Dry spice rubs can be prepared in a few seconds, added to the ribs, and then left for as much time as you have to spare before the meat needs to be cooked. Though you can improvise with a spice rub and use whatever spices you want, cooking ribs in the oven means missing out on the signature smokiness of grilling them outdoors, so using spices that will impart a similar smoky flavor is a good idea.
"I like a BBQ spice rub," says Reavis. "They also now have oven-friendly smoke boxes, which help get some authentic smokiness without using liquid smoke or something of that nature." For an easy seasoning blend, try this three-ingredient dry rub that uses common pantry staples, and will allow you to adjust the sweetness and heat to suit your own palate.
Find the balance between temperature and time
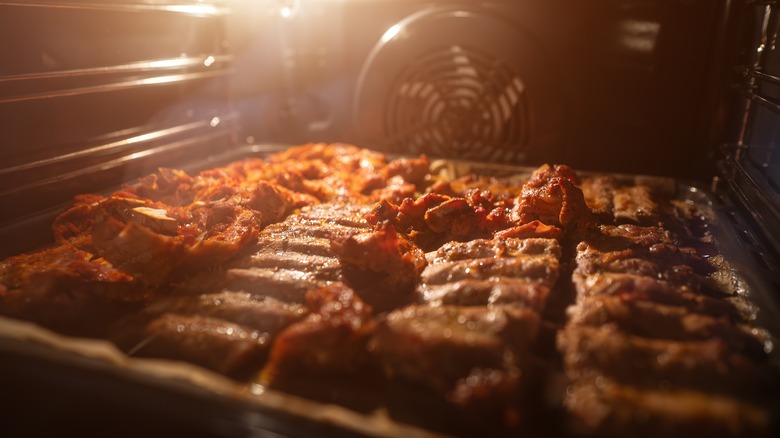
When smoking ribs, the meat famously needs to be cooked low and slow to allow flavor to be infused into the meat, and the longer you cook them, the tastier they will be. This also allows the connective tissue to soften over time, creating tender and delicious meat after several hours.
When cooking ribs in the oven, however, Ed Reavis explains that you have a little more flexibility, and won't need to cook them all day. "You don't need to go extremely low because you are not smoking, and cooking time depends upon the desired tenderness," he says.
The time and temperature that you choose to cook them will depend on how much time you have for this task, but the more time you have available, the lower the temperature can be. "A higher temperature takes less time, so you could do 300 degrees [Fahrenheit] for two or three hours, or 250 degrees [Fahrenheit] for three or four hours," Reavis suggests. While this is a great starting point, the specifics will vary depending on the size of the ribs you are cooking, as larger ribs will take longer to cook than smaller ones. A bit of trial and error may be required, checking on the ribs periodically until they are falling off the bone.
Use a water pan at the start of cooking
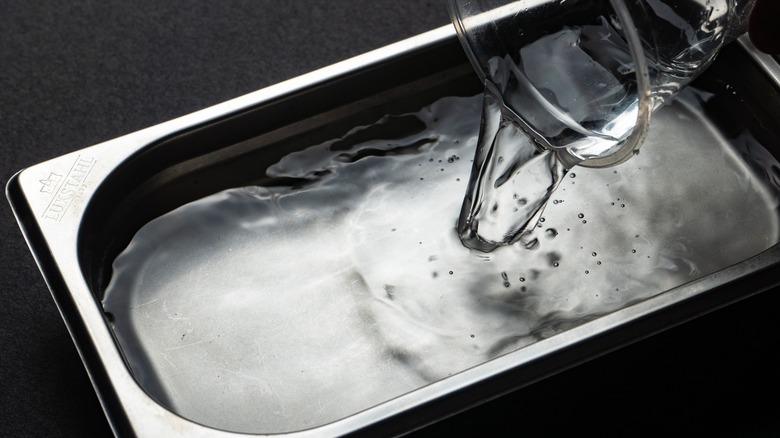
The last thing you want to happen to your oven-cooked ribs is for them to dry out, so finding as many ways as possible to keep them moist is crucial. Ed Reavis has a clever tip used by professional chefs to keep meat moist, and it's likely something you would never have considered.
"Add a water pan to get some moisture in the oven during the first hours of your cook," he advises. This is a simple method of preventing your ribs from drying out. By filling a pan with water and placing it in the oven alongside your ribs, the water will evaporate and create steam within the oven, which can be absorbed by the meat. It can also help to keep the temperature within the oven consistent, so that your ribs will cook evenly.
By placing the tray underneath the ribs in the oven, the water pan can serve a dual purpose by catching any drips of fat that fall from the meat, making the cleanup process easier. Over time, fat droplets in the oven can actually catch on fire, so finding a way to easily remove them after each cook is an important safety measure, too.
Wrap ribs in foil after caramelizing
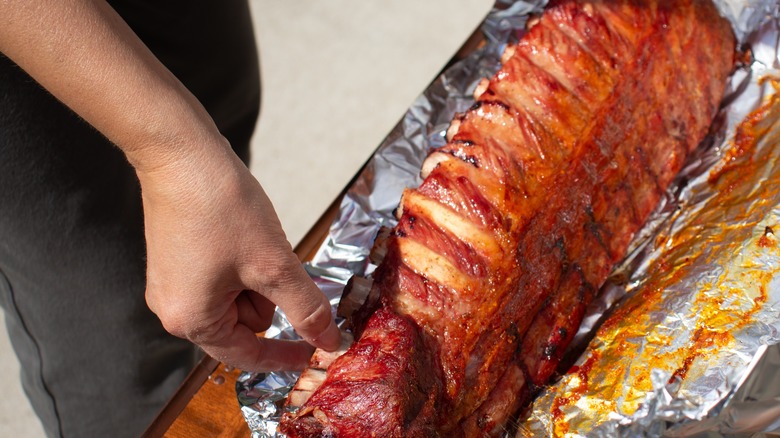
One of the big questions on your mind when oven-cooking ribs may be whether or not to wrap them in foil. There is certainly a good reason to do so — the foil helps the meat to retain moisture and absorb its own juices as it cooks. However, it also shields the ribs from the direct heat of the oven, preventing the beautiful browning of the meat. The trick, according to Ed Reavis, is to add the foil to the meat after the initial cooking has taken place.
"Ribs should be wrapped in foil after the desired caramelization and color is reached," he explains. "I like to mop with a vinegar-based liquid, and maybe add some extra rub, and wrap for the final hour or longer to get the ribs tender and to retain the moisture."
By giving the ribs time in the oven both covered and uncovered, you can get the perfect balance between a delicious caramelized exterior and a juicy middle. The addition of the vinegar will also add balance to the rich meat, which will improve the flavor of the final dish.
Let the ribs rest after cooking
Once your ribs are ready, the temptation to dig right into them will be pretty strong — but you must resist! Resting meat is a crucial stage of cooking, and an essential step in getting moist, flavorful ribs on the plate.
When meat is very hot — for example, while it is cooking in the oven — the juices end up in the middle of the meat, so eating it straight away means that the outside of the meat could be dry. By allowing the ribs to settle for a while away from direct heat, the juices can redistribute, meaning each bite will be tasty, tender and full of moisture.
If you are thinking that leaving your ribs for five minutes before digging in will do the trick, think again. "I like to do at least 30 minutes to an hour for best results," says Ed Reavis. If you simply can't wait that long, you need to leave them for an absolute minimum of 15 minutes before cutting into them.
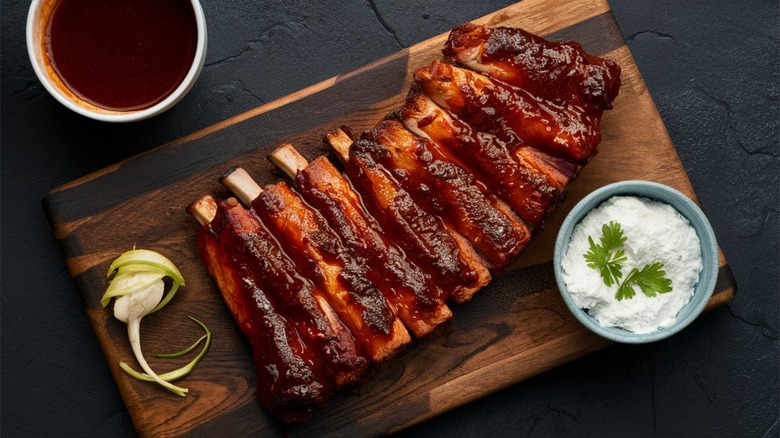
Make your own barbecue sauce
While you may think that adding barbecue sauce is one of the most crucial aspects of cooking ribs, Ed Reavis suggests that if you cook the meat correctly, you shouldn't even need a sauce to go with them. "BBQ sauce is used very differently depending on regions and overall preference," he says. "Just like a good steak, you don't need it when cooking properly."
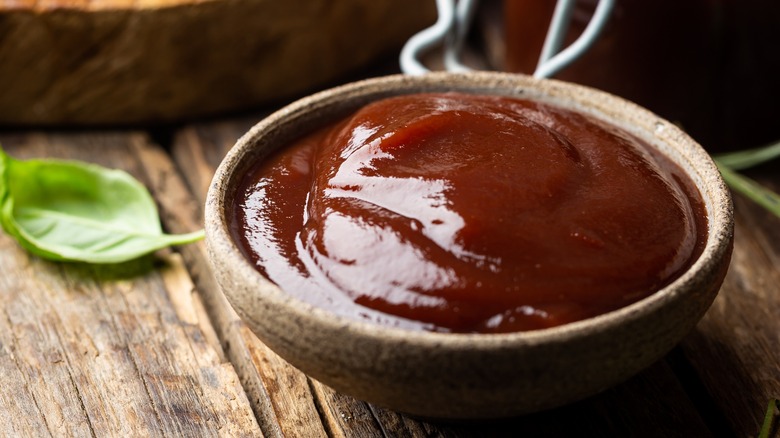
However, for some people, the thought of ribs without sauce just doesn't make sense — so if you feel the need to pour something sweet and sticky over them, just make sure to steer clear of the shop-bought stuff. "Cook your own sauce for best results," advises Reavis, "and I prefer to use it in conjunction with eating ribs, versus pouring over."
Like most foods, a homemade barbecue sauce is going to taste miles better than anything from a bottle, as well as being free of the artificial additives that are often found in the store-bought versions. A sweet and tangy barbecue sauce recipe can be whipped up using pantry-staple ingredients and can be customized with whatever flavors you wish. As Reavis suggests, less is more when it comes to the sauce, so instead of slathering it over the ribs, serve it on the side, and allow people to take as much of it as they like — especially if you are cooking for a crowd.
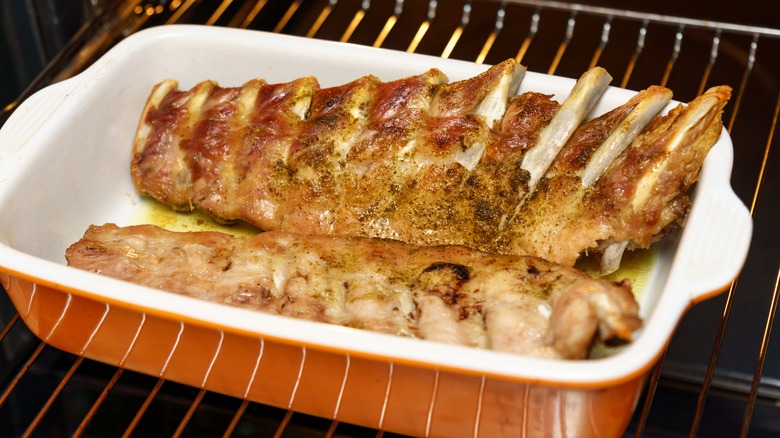
Place the ribs on a rack in the oven
When it comes to cooking meat, little changes can make a big difference to the final outcome, and placing the meat on a rack is one of those tricks that can elevate — literally — your oven-cooked ribs. If you have ever tried to turn a piping-hot rack of ribs halfway through cooking, you will know that it is not an easy task. With fat and sauce dripping all over the place, getting them back in the oven without making a mess or scalding yourself is unlikely.
As one of the best ways how to position ribs in the oven so you never have to turn them, placing them on a rack will help your kitchen floor remain free of sticky rib juice. The purpose of turning meat in the oven is to allow the underside to be exposed to the hot air and cook evenly. If your ribs are raised on a rack, the air can reach every surface, removing the need to turn them over halfway through the cooking process. This prevents the bottom of the ribs from becoming soggy, because if they are kept flat against the baking tray, they could be steamed rather than baked. Make sure to keep a baking tray on the shelf below to catch the drips and save you from scrubbing the bottom of the oven after cooking.
Reheat your ribs low and slow in the oven
In the unlikely event that you are unable to finish all of the ribs and end up with leftovers, you want to be able to reheat them to their former glory if possible. Reheated meat can often be dry, and your precious ribs deserve better than that.
The best method for retaining moisture in the ribs is to reheat them in a similar way to cooking them in the first place. How you should be reheating ribs is by cooking them gently in the oven on low heat, so you can get them back up to a safe and tasty temperature without drying them out. Cover the ribs with foil to keep the juices in, then cook them in the oven at around 250 degrees Fahrenheit.
Leftover meat should always be heated to an internal temperature of at least 165 degrees Fahrenheit, so the ribs will need at least half an hour to reach that temperature. You should always use a meat thermometer to check the internal temperature of your ribs, just in case. If you had sauce on your original ribs, add another layer before reheating, as this will help to retain the juices as they cook.