10 Common Bread Maker Mistakes And How To Avoid Them
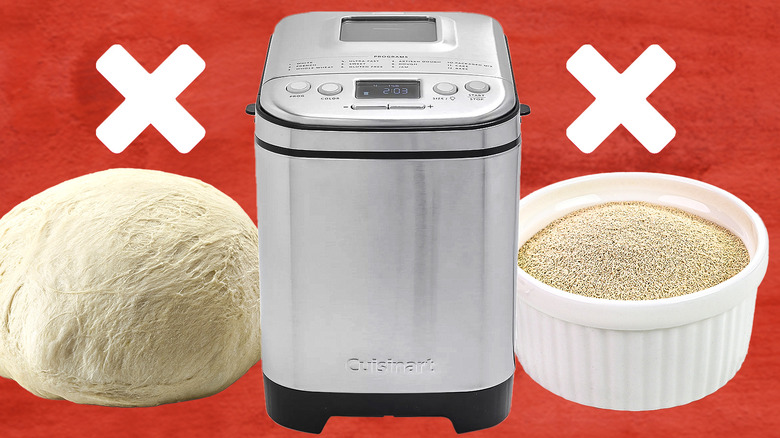
Offering the ability to craft delicious, warm homemade loaves of bread with just a fraction of the labor, bread makers simplify the art of baking and, in fact, offer a range of possibilities that extend beyond classic recipes like French bread or whole wheat loaves. However, though no doubt offering a simpler and more succinct way to produce your own bakery-style goods from home, bread makers often come with a learning curve, and one which can be off-putting to beginners who yield disappointing results. Indeed, many home bakers make common mistakes with their machines, from assuming that all makes and models function the same way, to neglecting the importance of ingredient quantities and quality.
However, with a little knowledge and careful attention, such mistakes are easily avoided or amended, in ways that can be as simple as placing the ingredients in the bread pan in the correct order. For expert advice on how to avoid the most typical bread machine mistakes, Tasting Table reached out to Tiffany Dahle, cookbook author, recipe developer, and indisputable bread maker expert.
Dahle's familiarity with just what can go wrong when using a bread machine, and her seasoned knowledge on how to prevent or account for these mishaps, provide invaluable insights. These can help both first-time users and expert bakers put their machine to best use and avoid the frustrations of a disappointing loaf. Whether your crust is too crumby or you're simply having trouble getting started, the solution is likely simpler than you think.
1. Attempting an overly complicated loaf of bread
One of the most common mistakes made by bread maker users, affirms Tiffany Dahle, is attempting an overly complicated loaf when they are just starting out and have limited familiarity with their machine. Wanting to recreate an indulgent artisan loaf you may have tried at your local bakery is a common and understandable part of the enthusiasm for fresh and homemade bread. However, selecting intricate and complex recipes that aren't suited to your bread maker, or that require a certain knowledge of functions, timing, and methodology, will often lead to disappointment.
As such, Dahle recommends beginning with straightforward recipes that allow you to master the basics. "It is always best to start with a very simple loaf like an Italian bread or a French bread that have very basic and simple ingredients," she says.
Once you've completed a few trial runs with basic loaves, and thus familiarized yourself with your bread maker's settings and nuances, you can slowly begin to start experimenting with more intricate recipes and different ingredients. Whilst they are an excellent addition of flavor and texture, mix-ins like seeds and nuts require a little prior experience with the machine to work properly in a loaf. So, work gradually when increasing the size of your repertoire, keeping in mind that you'll likely encounter some mishaps on the way and will need to adjust your approach accordingly.
2. Making a dough that is too large for your mixer
Much like selecting an overly complicated loaf with an excessive amount of ingredients can overwhelm your bread maker, choosing a recipe that yields a significantly large dough may also cause problems at the start. Your bread maker will be designed to handle specific ingredient proportions and loaf sizes, and it goes without saying that a dough that fares well in a larger machine may not work as well in a more compact maker.
Thus, says Tiffany Dahle, when selecting your first recipe to make in your bread maker, "... Bake the smallest loaf size your machine can handle to see how the bread rises and bakes in your bread pan." Besides the risk of the dough overflowing or sticking to the top of the machine and making a mess, overloading your machine can also lead to disappointing loaves in other ways. A gummy texture is typically the result of using a bread pan that is too small, since the pan needs to be spacious enough to ensure that heat can properly reach and cook the center evenly.
Before you begin, be sure to check your bread maker's manual to find its capacity (most bread machines are built to handle loaves between one and two pounds). Then, avoid or adapt recipes that yield a loaf larger than what your machine can handle. If you want to experiment with a recipe designed for a larger bread maker, consider splitting the dough and baking it in two batches.
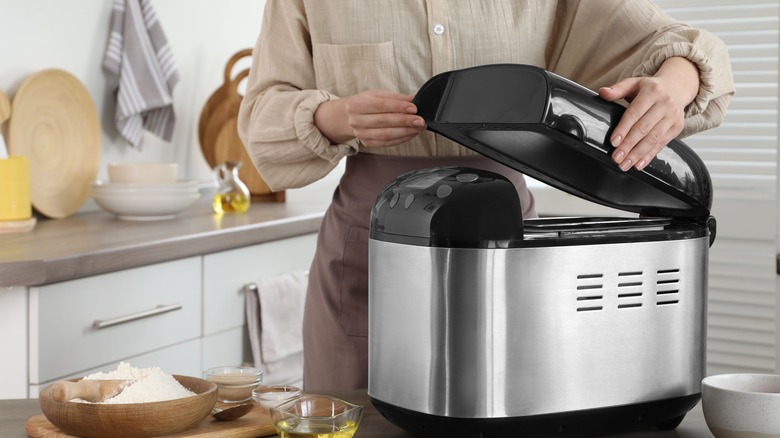
3. Forgetting to add in the bread maker's mixing paddle
A simple oversight but a common mistake that can lead to frustrating results, forgetting to add the mixing paddle to the bread pan before adding the rest of your ingredients can truly dampen your experience, as well as hinder your results. As Tiffany Dahle notes, "By the time you've filled the bread pan, it is very messy and tricky to get that little paddle on the mixing post."
Besides getting your hands (and likely your countertop) sticky, prompting a less-than-joyous prep experience, not getting the paddle on properly, or adding it too late, can put your loaf at risk. Adding the ingredients in a specific order is another crucial part of ensuring a successful texture, and moving things out of the way to put the paddle in its rightful place can disrupt things, resulting in textural issues. Likewise, forgetting the paddle entirely means that the dough will not be kneaded properly, also likely causing poor results.
Thus, to avoid a sticky situation and an under-kneaded dough, be sure to add your mixing paddle into the machine before adding your ingredients. It may be a good idea to keep the mixing paddle inside of the bread pan when it's not in use, so that it is always in its rightful place before you start to bake. Or, alternatively designate a specific place in your kitchen for it, so that you have it to hand when you want to fire up your bread maker.
4. Using the wrong amounts of ingredients
Whilst sometimes baking allows for a little leeway, making bread in a bread machine requires accurate measurements. This is especially important when you are first starting out and are getting to know the ins and outs of your specific bread maker, since inconsistencies in quantities can make it harder to track progress or make adjustments when things are not working.
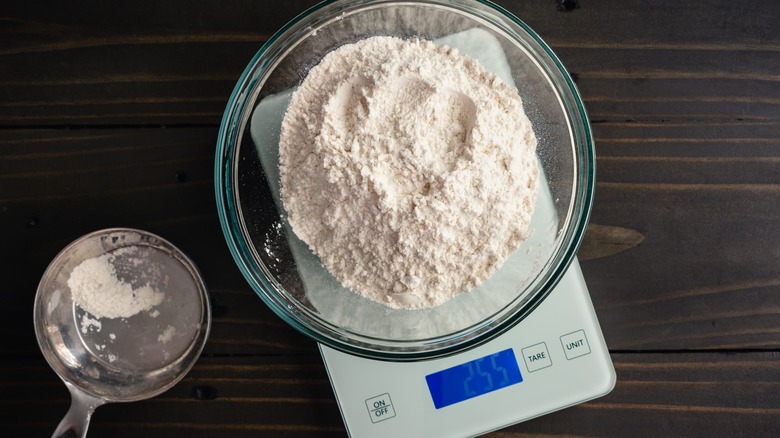
Tiffany Dahle points out that the most important ingredient to measure properly is the flour, considering that, as she puts it, "The most important ratio in baking bread-machine bread is the one between the liquid ingredients and the flour." Improper quantities can result in a poorly risen dough, or even an entirely collapsed one, alongside causing issues with texture and the density of your loaf. So, it's important that you are using the right amount of flour for your particular recipe.
To ensure success, opt for a more precise means of measuring. As Dahle confirms, "The traditional method of scooping a measuring cup into the flour can result in a wide variation of actual quantity of the flour," noting that it's better instead to use a kitchen scale to measure the flour. Measuring cups and spoons can still be used to portion out other ingredients, but just be sure to stick to your recipe and pay close attention to the given ratio between dry and liquid ingredients.
5. Using old yeast
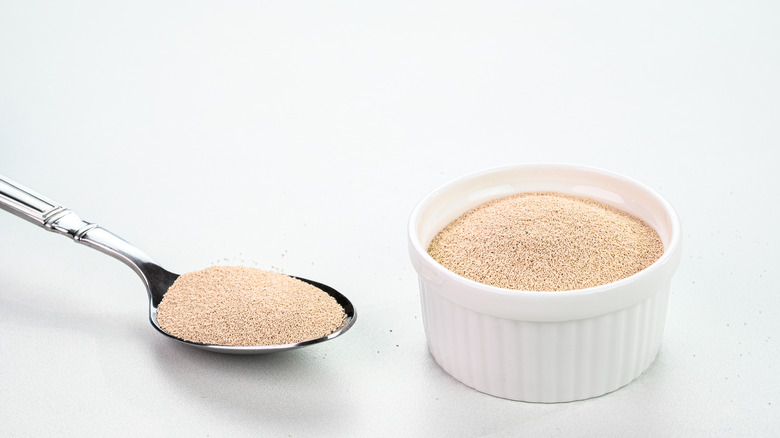
It's no secret that yeast is a pretty crucial ingredient when it comes to obtaining a well-risen, well-formed loaf of bread. So, it's also likely no surprise that not using this key ingredient properly is a common mistake among bread maker users.
Tiffany Dahle points out that yeast which is too old is often the culprit, explaining that yeast becomes inactive if it is too old, and will thus end up giving you a dense loaf of bread. The finished result may also be smaller and heavier than you expected, far away from the well-risen and airy loaf you're more often than not aiming for. Simply ensuring that you are using fresh, good-quality yeast is a simple fix. Certain yeasts are also better than others when baking with a bread machine, so check what your recipe calls for and avoid using an old supply that is not specifically suited to the job.
For best results, avoid using yeast that is more than six months old. As Dahle clarifies, "While it may still be active, you don't want to waste the rest of your ingredients to find out." Indeed, at the very least, the yeast will have decreased in potency over time. So, if you're not sure whether what you have to hand is still good, it's likely worth buying a fresh supply and waiting a little longer to make your bread, as opposed to risking mediocre results.
6. Substituting in the wrong flour for your bread recipe

Whilst there are many different types of flours with unique textures and tastes, many of which lend themselves well to bread making, sometimes simply substituting one type of flour for another can lead to near-complete failure. Coconut flour, for example, is a tasty gluten-free alternative to wheat flour, and can be used tactically to make delicious bread. But it behaves in an entirely different way and would thus most likely produce disastrous results when used as a substitute for regular bread flour in a recipe designed for a bread maker.
Since varying flours have their own unique properties, most require a little adaptation and care when it comes to incorporating them into recipes that were not designed with them in mind. And these adjustments become increasingly hard to make when using a bread maker. As such, Tiffany Dahle notes that, "It is always safest to use the type of flour that is called for in the recipe."
Big changes such as swapping bread flour for almond flour or other gluten-free variants will likely cause significant changes to the loaf's composition. Although, Dahle assures us that the differences between the loaves if you use all-purpose flour instead of bread flour will be fairly minimal. Since bread flour has more protein, it is more absorbent, which helps guarantee a nicely shaped loaf. However, Dahle clarifies that the less uniform all-purpose flour bakes will still taste just as good.
7. Adding ingredients to your machine in the wrong order
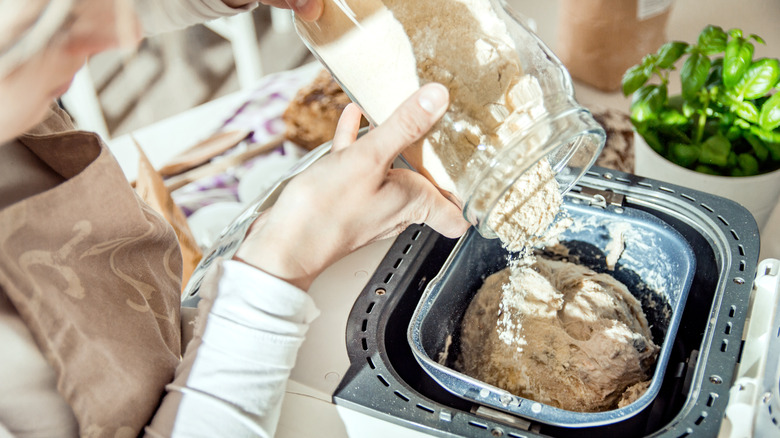
Alongside adding the wrong quantities of ingredients to your bread maker, adding them in the wrong order is a common mistake. Though it may seem trivial since everything is bound to get mixed together, not adding everything in its specified order can throw things off entirely.
"It is very important to add the ingredients to the bread pan in the order they are listed in the bread machine recipe," says Tiffany Dahle, adding that "this almost always means adding the liquid ingredients to the pan first and the dry ingredients on top." The reason being, as Dahle explains to us, is because the paddle in an electric bread maker is smaller than those belonging to electric stand mixers. Thus, to ensure effective mixing and proper dough formation, liquid ingredients are best added at the bottom, since adding dry ingredients first poses a risk of the dough not combining properly.
Adding the yeast at the right time and place is also crucial for success. Yeast is almost always added last, kept away from the wet ingredients until the kneading stage, ensuring that it activates properly and at the right moment. You may also find that your recipe instructs you to build a small well for your yeast, keeping it separate from things like sugar and salt. It's worth taking the extra time and care to follow this step, as this once more helps make sure that all ingredients will come together at the right time.
8. Assuming the bread maker will mix everything perfectly itself
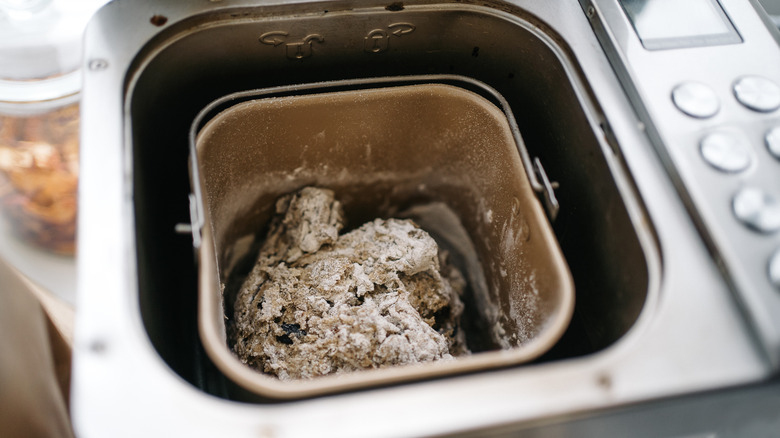
Of course, the purpose of a bread maker is to help take a lot of the manual labor out of making bread from scratch, by mixing, kneading, and baking the ingredients for you. However, while bread machines are designed to automate the process of baking bread, they still require some monitoring during the mixing stage, and a common mistake is a totally hands-off approach.
During the mixing stage, portions of dough can stick to the sides of the pan, which not only prevents them from being incorporated but may also affect the formation of the rest of the dough. As Tiffany Dahle notes, by keeping an eye on the machine, you can be ready to scrape down the sides of the bread pan should anything get stuck. "If you scrape down the sides as it mixes and ensure an even dough ball before the rise stage starts, you'll have a better-shaped bread at the end of the baking program," she says.
Moreover, keeping an eye on your dough as it is worked on by the bread maker allows you to monitor the texture, and make some adjustments if necessary. If you notice that the dough is too wet or too dry, you can account for this accordingly before the mixing stage is complete. Noticing that the consistency of your dough is not quite right after this stage is harder to amend, so being attentive during the mixing phase is a sure-fire way to ensure success.
9. Not getting to know the functions of your machine
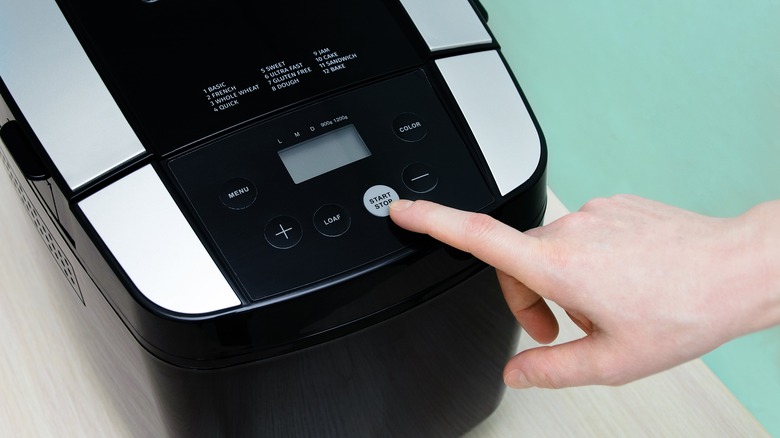
Much like with any kitchen appliance, getting to know the intricacies of how your bread maker works is key to ensuring success. Many mistakes occur because the specifications of the bread maker are not accounted for, whether it be ignoring the capacity of the pan or using the bread maker in the wrong mode for a specific loaf.
For example, many machines have specific programs for various types of bread and flour, which have an impact on the timings used to prepare the dough. Selecting the wrong function may be the reason for a too-crumbly crust, an overly dense texture, or various other textural issues. So, be sure to read over your machine's manual properly to familiarize yourself with the possibilities on offer and select the aptest function for your given recipe every time you bake.
Additionally, you may need to reshape your loaf when using your bread maker for the best chances of an even bake and an attractive and uniform shape. As Tiffany Dahle notes, there is usually a setting on the machine that alerts you to the stage where you can remove the mixing paddle. It is after removing the paddle at this point that you can reshape the dough into a more even ball. So, be sure to check whether your machine has this setting and to use it if you're after a neat and stable loaf.
10. Not cleaning the bread maker properly
Not cleaning your bread maker properly not only runs the risk of reducing its effectiveness or longevity, but it will also have a direct impact on the outcome of your next bake. Rusting or bits of bread collecting in the crevices could burn and affect the taste of your next loaf, says Tiffany Dahle, noting that a little extra attention is needed to ensure these morsels are properly removed and don't jeopardize your future bread-making efforts. Alongside washing the bread pan and mixing paddle with warm soapy water, she explains, "I use a wooden toothpick or skewer to gently detail the area around the paddle post." This helps to carefully scrape off any remnants of past bakes and sweep the excess away.
Whilst a thorough clean is needed after each bake to prevent a build-up of leftover dough, you should avoid leaving the pan to soak in water for an extended period of time. Doing so could cause the pan to rust, especially underneath where it is joined to the bread machine.