12 Mistakes To Avoid When Using Your Ninja CREAMi
You've seen it on TikTok. You've found the Facebook groups. And now you've got a Ninja CREAMi of your very own. It may not be the fastest way to get your hands on some ice cream (that would be going to the store), but if it's customization and convenience you're after, it just might be the appliance for you.
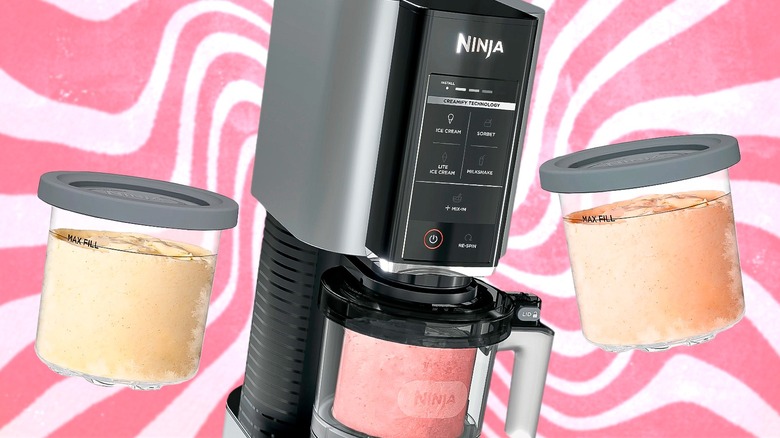
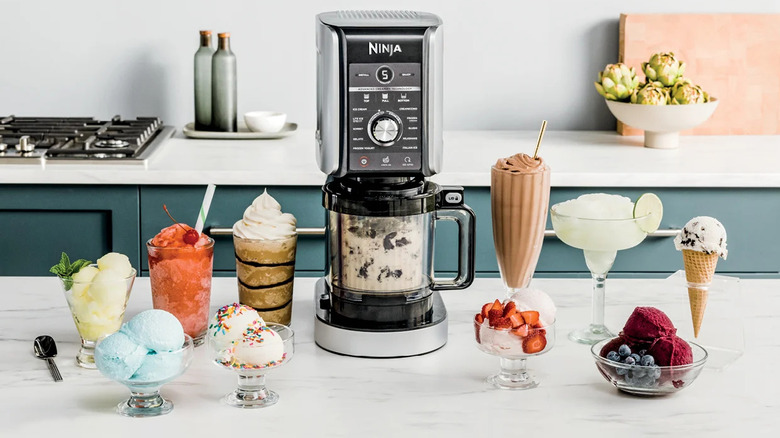
This countertop frozen treat maker is pretty amazing. Freeze your base overnight, then use the CREAMi to transform it into ice cream, sorbet, or a milkshake (plus Italian ice or a frozen margarita if you have the Ninja CREAMi Deluxe) in seconds. The CREAMi spins a blade (called the Creamerizer paddle) while slowly lowering it into the frozen liquid. It shaves and blends the frozen mixture into your desired consistency. Unlike a traditional countertop ice cream machine, which churns and freezes simultaneously, the CREAMi slices into the pre-frozen block, which reduces the risk of ice crystals and gives you a tasty dessert every time.
Frozen treats at your fingertips? Sounds like heaven. For the best possible results every time, be sure to avoid these common Ninja CREAMi mistakes. Don't thank us — just save us a scoop, okay?
Making a recipe for the wrong CREAMi model
Ninja offers three different CREAMi models: the 7-in-1, the Deluxe 11-in-1 XL, and a 5-in-1 version. While the basics are the same (freeze the base, blend it, and enjoy), there are a few key differences you'll want to keep in mind before you start churning.
The 5-in-1 and 7-in-1 models are designed to make true pints of ice cream — each included freezer container has a 2-cup capacity. Both machines can make regular and light ice cream, sorbet, and milkshakes. The 7-in-1 can also make smoothie bowls and gelato, but it isn't designed to make other frozen beverages. The 11-in-1 XL model is, not surprisingly, bigger. The freezer containers hold 3 cups instead of 2, and additional programs can make frozen coffee drinks, Italian ice, and even frozen cocktails.
As you're choosing a recipe, make sure it's designed for the model you have. First and foremost, a recipe for the CREAMi Deluxe won't fit in a standard CREAMi pint container. Second, the more compact CREAMi models are not designed to blend things like slushies or frozen cocktails. The bases freeze differently based on the amount of fat and sugar, and if you make a base your model isn't designed for, it won't process correctly (or it could damage your machine).
Taking the base out of the freezer after less than 24 hours
Freezing is a crucial part of making homemade ice cream. It's the step that requires the most patience, whether you're using a traditional ice cream maker or a Ninja CREAMi. But, we promise all that waiting is worth it for optimal ice cream results.
What happens if you don't freeze your base until it's completely solid? The machine is designed to process bases that are between 9 F and -7 F — which is why you need to keep your base in the freezer longer than it takes to simply reach freezing temperatures. If you don't freeze the base long enough, your ice cream might be too soft to properly blend.
Sure, you need to know you want ice cream in advance, but even a countertop ice cream maker isn't instant (that's what your emergency stash of store-bought ice cream is for). You can also use store-bought or pre-made ice cream to make milkshakes, which don't require all that freezer time — just combine ice cream and milk (non-dairy works, too) and use the milkshake function. But if you're going to make a base for your Ninja CREAMi, go ahead and make two so you've got some handy the next time a craving strikes.
Freezing your base at an angle
One thing the Ninja CREAMi manual really hammers home is this: Do not freeze your base at an angle. Having a level base is crucial to CREAMi success, as well as to the longevity of your machine.
In a countertop ice cream maker, a liquid base is poured into a churn that both stirs and freezes it at the same time. The Ninja CREAMi, however, has a lot more in common with a blender or a shave ice machine (Note: Please do not use your CREAMi as a blender). It uses a spinning blade to finely shave and break up the frozen base, with different speeds and run times based on the dessert you're making.
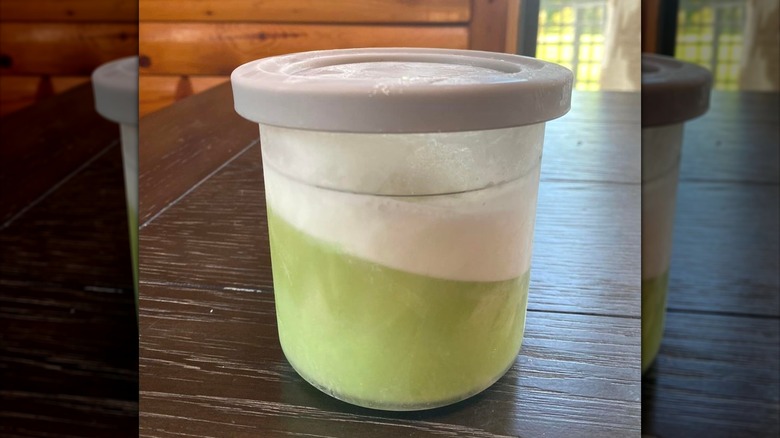
If your base freezes unevenly, it can significantly impact how that blending process works. The blade will hit the base unevenly, which could push the blade out of alignment. To get the best results, make sure your pint container is on a flat surface in your freezer. Ninja recommends upright freezers over drawer freezers, but you don't need to buy a new freezer just to be able to use your CREAMi. Set your container on a flat surface and close the drawer gently so it doesn't get jostled around. If your base does freeze at an angle, melt it enough that you can smooth it out, then put it back in the freezer until it is solid enough to blend.
Blending your base straight from the freezer
When it comes to making frozen treats, it's no surprise that having elements properly frozen is crucial. But did you know there's such a thing as too cold?
Just like rock-hard ice cream is impossible to scoop, a CREAMi base that's too cold is really difficult to blend into a, well, creamy treat. You know to soften your ice cream before you start making a sundae, and it's important to do the same with your CREAMi base before you run your desired program.
If your frozen base is too cold, it could overload the motor of your machine and result in an error message. To avoid overloading the motor, allow your base to sit on the counter for a few minutes before processing. If your processed base looks powder or chalky, be sure to use the re-spin function to get it nice and smooth.
Using your CREAMi as a blender for loose ingredients
Thanks to its sharp blades and a motor, a powerful blender can make quick work of a cup of frozen strawberries. Your Ninja CREAMi? Not so much. Yes, the CREAMi Deluxe has 800 watts of power, but that's nothing compared to Vitamix E310's two horsepower (or almost 1,500 watts) motor. Plus, a CREAMi is just not designed to do what a blender does.
A blender creates a vortex that can pull food towards sharp blades. This allows it to chop and grind whatever food you've put inside. Meanwhile, a Ninja CREAMi's blade is pushed down through the frozen base by a motor at the top of the machine. The blade is significantly less sharp than those of a blender and is designed to shave and mix — not pulverize.
The Ninja CREAMi manual states in multiple places that it is not to be used to blend loose items or crush ice cubes. If you want to process fruit, it needs to be crushed or combined with other (liquid) ingredients and then frozen before being processed. A Ninja recipe for berry sorbet, for example, calls for only mixed fresh berries, which are mashed and pressed into the pint container before being frozen to create a solid, fruity block.
Choosing the wrong blend setting
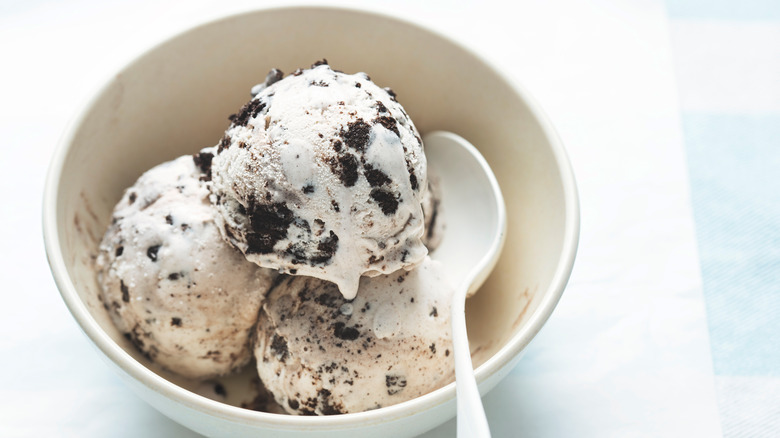
The beauty of the Ninja CREAMi is that it can make a wide range of frozen desserts. Depending on which model you have, you can make ice cream, frozen yogurt, smoothie bowls, and frozen cocktails. Each blending function has a different blade speed and run time to optimize the texture of your base.
A common Ninja CREAMi mistake that's easy to avoid is choosing a blend function that doesn't match your recipe and expecting different results. For example, making one of Ninja's ice cream recipes (which use cream cheese as a stabilizer) and then processing with the gelato function won't give you extra-thick results — you need to make an egg-based gelato recipe to get a gelato outcome.
What's the big deal? Well, those functions are tailored to fit the ingredients in the recipe. So, the amount of fat and sugar in a given recipe will respond differently to the speed of the blade and might need more (or less) blending. Plan your frozen treat adventures accordingly, and know you can always make something different next time (that is, after all, what having multiple storage pints is for).
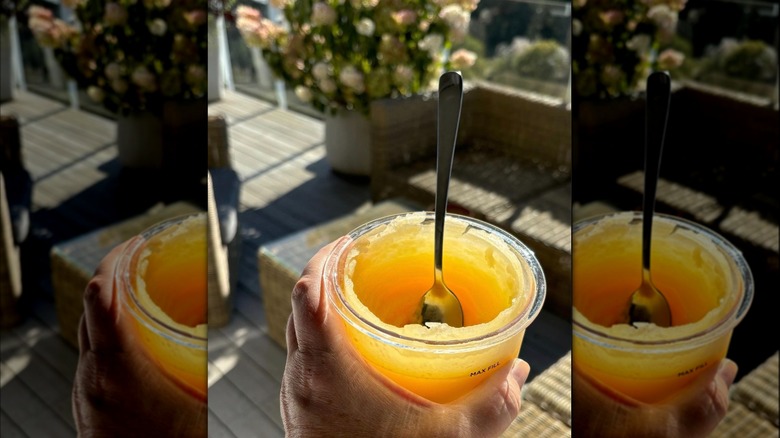
Not using the re-spin button

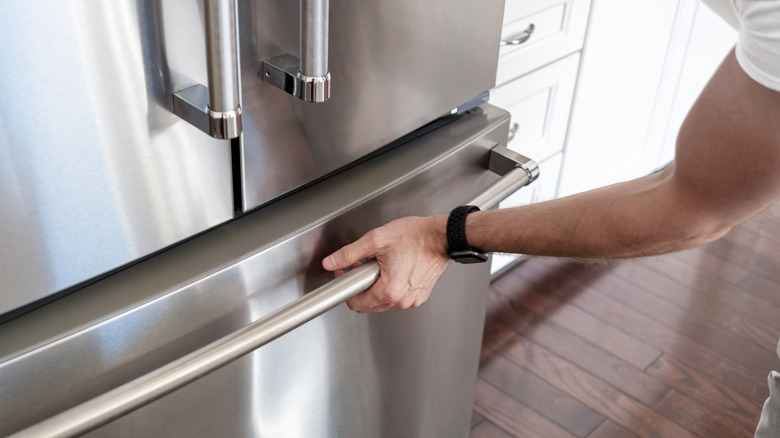
If you've used your CREAMi a few times already, there's a chance you've had a blend or two turn out chalky and crumbly — a far cry from what the product's name implies. You are not alone. While freezing your base properly is crucial to getting consistent results, a too-cold freezer can also present its own challenges — and it can give you chalky ice cream. The most obvious cause for this is a freezer that's set too cold, and it's also why Ninja doesn't recommend freezing your bases in a chest freezer.
Chest freezers don't usually have a self-defrost function. That means they get to 0 F and stay there, resulting in frozen products that are very, very cold. While this might be great for preventing freezer burn in ice cream that has already been churned, it's not great for your Ninja CREAMi bases. On the other hand, many upright freezers have a self-defrost function, meaning the temperature fluctuates above and below zero as the unit turns on and off. Bases kept in an upright freezer for 24 hours or more may not actually be below zero (Ninja recommends a range from 9 F to -7 F), which makes these bases easier to blend than their ultra-frozen counterparts.
Thankfully, there's a built-in fix: the re-spin function. Pressing re-spin after your selected program has finished processing is a sure-fire way to get perfectly creamy results every time. It takes another pass through your blended base, helping increase the temperature and blend everything together. Take the pint container out of your machine, scrape down the sides, and gently flatten the base so every bit gets mixed before pressing the re-spin button.
Just don't use this function if you plan to also add mix-ins. The mix-in blending process will both incorporate your chosen toppings and give the base an extra blend.
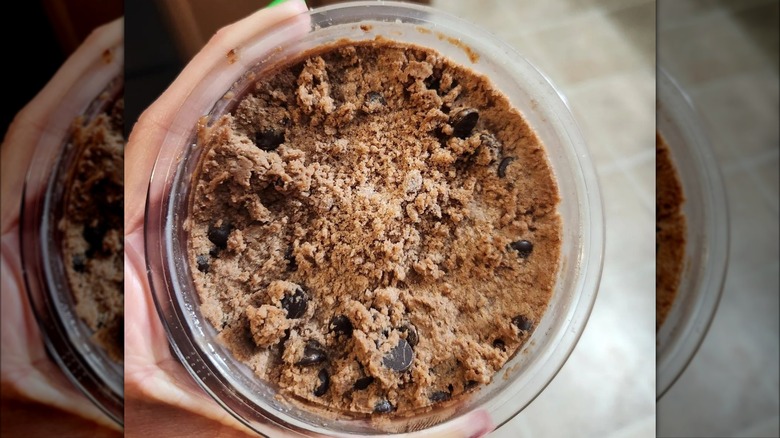
Adding too many mix-ins

Sure, plain ice cream is great. But ice cream with mix-ins? Even better. Whether you are team cookie dough or you're more of a toasted nuts fan, the extra dose of flavor and texture can take ice cream to the next level.
The mix-in function on your Ninja CREAMi makes incorporating your favorite extras pretty easy, but it isn't fool-proof. It's important to follow the recommended procedure to get the most consistent results.
First, don't just dump your add-ins into your churned base and hit the mix-in button. You need to use a spoon to create a well in the middle of the pint, which will help disperse your mix-ins all the way through the ice cream and prevent the blade from decimating everything you've added.
Second, make sure the mix-ins all fit. Put the outer bowl lid (the part with the blade attached) on top of your pint to make sure it can close properly. If your mix-ins stick up too high, widen that central hole so they are level with the top of your ice cream (and are below the max-fill line).
Choosing the wrong type of mix-ins
You've made an amazing ice cream base, and now it's time to amp up the flavor. Mixing in Oreos turns plain vanilla into cookies and cream, while almonds and marshmallows turn chocolate into Rocky Road. The only limit is really your imagination. Well, your imagination and the capabilities of your Ninja CREAMi.
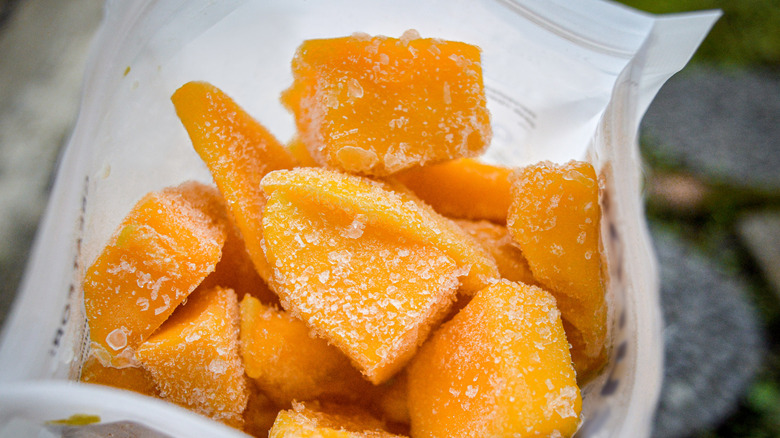
If you plan to use the mix-in function to incorporate extra flavor, choose your add-ins wisely. Hard mix-ins, like chocolate chips, candy pieces, and nuts, will be dispersed in your ice cream, but won't get broken down by the blade. So, it's a good idea to chop them up beforehand or choose smaller items, like mini M&Ms, so they're more bite-sized. The blade can break up softer items (think pretzels, cereal pieces, or frozen fruit), so you'll want to add bigger pieces of these so that they aren't totally decimated by the blade.
Two things to avoid: fresh fruit and liquid sauces like nut butter, caramel, or jam. This is one instance where the Ninja CREAMi does act a bit like a blender. Any mix-ins with moisture will get blended all the way into your ice cream, thus loosening the texture. Instead, either stir these items in by hand or opt for frozen fruit or a magic shell topping.
Trying to freeze extra bases in plastic bags for later use
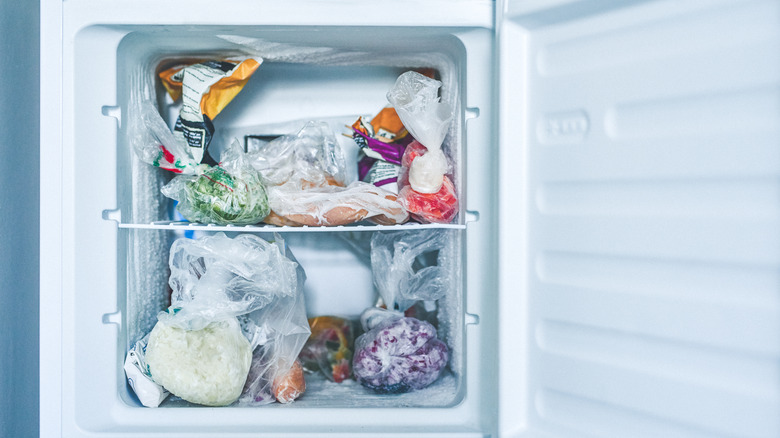
A Ninja CREAMi comes with two reusable containers, but sometimes, that isn't enough to satisfy your cravings. While additional pint containers are available, you might be wondering why you need to buy another one when you could just line your pint with plastic, freeze a base in it, and then pop out the frozen cylinder and store it separately so you have multiple flavors on-hand. Don't do this.
Water expands when it freezes which, in the case of your Ninja CREAMi, means your frozen base is frozen tightly in the pint container. This holds the base still so that it can be properly shaved by the blade during processing — if the base wasn't stuck, it would spin instead of being shaved. The grooves on the bottom of the container also help with this, both locking the pint container into the outer bowl and holding the frozen base in place inside the container.
If you try to freeze a base in plastic and then remove the frozen puck, it won't fit as tightly into the pint container when you put it back. This could cause the base to come loose during processing, which can create a less-than ideal blend or cause an error with the motor and the blade.
Freezing leftovers improperly
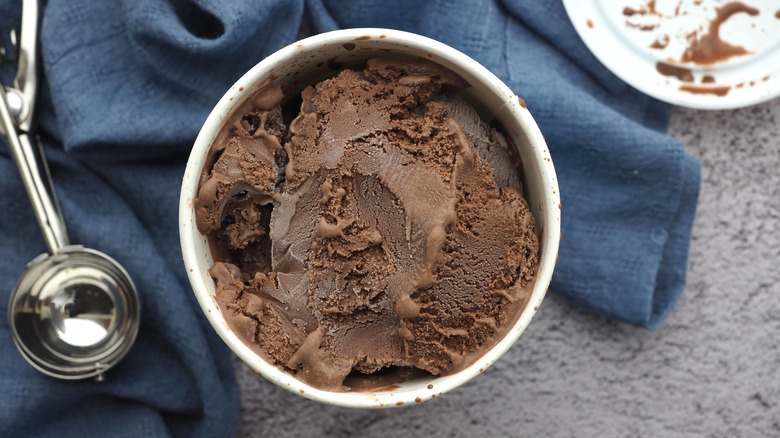
If you can't finish your entire container of ice cream in a single sitting, you're in luck. The beauty of the Ninja CREAMi is that you can have freshly-churned ice cream at a moment's notice, and those leftovers will come in handy when the craving strikes. Just be sure to freeze them properly — future you will thank you.
Before you pop your pint back in the freezer, take a moment to prep your container. Scrape down any remnants from the sides, then use a spoon or spatula to smooth the top. You want the base to be flat so that it will blend correctly next time.
When you're ready to enjoy your leftovers, remember to use the same processing function for consistent results (not the re-spin button). If you already have mix-ins in your ice cream, know that they'll be further blended into smaller pieces the next time you process them. Enjoying leftover frozen beverages? You'll need to add more liquid before reprocessing it.
Forgetting to disassemble and clean your CREAMi
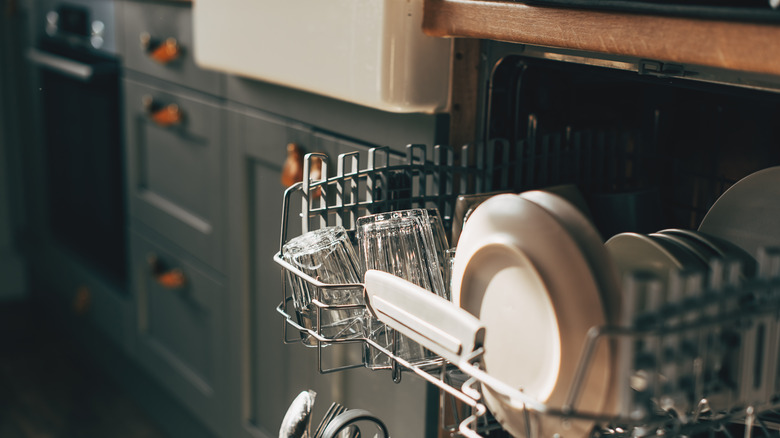
Cleaning your appliances may seem like common sense, but it's a crucial step that will keep them working properly and help you get the best possible results. With your Ninja CREAMi, that means removing the outer bowl and fully disassembling it before you put your CREAMi away.
Be sure to remove the Creamerizer paddle from the lid and clean both the blade and the lid thoroughly to remove any residue. You don't want to be mixing up your next batch of gelato with spoiled milk or mold, right? Be sure to remove the rubber seal on the underside of the outer lid to get anything hidden inside, too.
You, like us, might be wondering how to clean the shaft that pushes the blade down into the pint as it spins. There's a gasket around the shaft in the lid of the outer bowl that removes food as the shaft retracts into the motor, so you've got nothing to worry about.
Want more great news? Ninja CREAMi containers, the outer bowl and lid, and even the blade are dishwasher-safe. Now, there's really no reason not to clean up after yourself.