13 Myths About Baking, Debunked By An Expert

Human memory is funny — once a piece of information makes its way in there, it often sticks around way past its best-before date. That's the case with a lot of myths about baking. Over the last couple of decades, science-minded bakers have put a lot of traditional advice to the test, and very often it doesn't hold up.
I've had a front-row seat to this process. I'd been baking at home for a long time before I became a chef, and during my culinary career I served as my own pastry chef and even ran an in-store bakery. Over those years I've spent a lot of time perusing food-related forums, geeking out on food science, and trying things in my own kitchen. Most importantly, I've taught a whole lot of cooking classes. During these courses, people have asked all kinds of questions about baking, which taught me a lot about what real-life bakers struggle with. So, here are 13 baking myths (yes, a "baker's dozen") that you should stop believing, because they're holding you back.
1. Just scoop your flour, and don't fuss over it
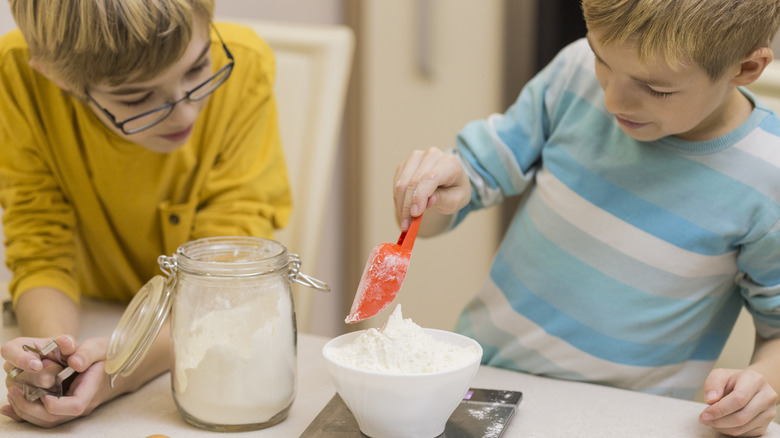
Here's a big one. Almost every home baker I know reaches in with a measuring cup and simply scoops out the flour. This is one of the biggest bad habits you can have, which is why I've chosen to lead this list with it.
There's a reason why some recipes call for the persnickety spoon-and-level method to measure flour, or to sift the flour before measuring it. Flour is loose and fluffy when it leaves the mill, but gravity and handling cause it to be packed down pretty solidly in the bag or in a container. Scooping can give you a "cup" of flour containing 10% to 20% more powder than the recipe intends. When I've demonstrated this in cooking classes, I've seen the extra amount go as high as 30%. That excess flour often yields baked goods that are dense, dry, and brick-like, as well as batters that bake up stodgy and doughy. It's also one reason why two bakers can have such different results with the same recipe.
2. Liquid and dry measuring cups are different sizes
This is more of a misunderstanding than a myth. The part of the measuring cup that does the actual measuring should hold an identical volume of ingredients, but distinct measuring cups for liquid and dry ingredients are shaped differently because of how they're used.
Dry measuring cups have a flat rim, so you can fill them and then level them with a knife to get a precise amount. Liquid measuring cups have a higher rim, with a generous space above the markings. That way you can measure and pour your liquid ingredients without spilling them.
So, while the two types of measuring cups hold the same volume of ingredients, they're not directly interchangeable. It's not ideal to measure dry ingredients in a wet measuring cup, because you can't level it neatly. Similarly, measuring wet ingredients in a dry measuring cup without spilling is tricky. Viscous ingredients like molasses or corn syrup are less likely to spill than water or milk, so I'll sometimes use a dry cup for those, but only if I have no wet measuring cup handy.
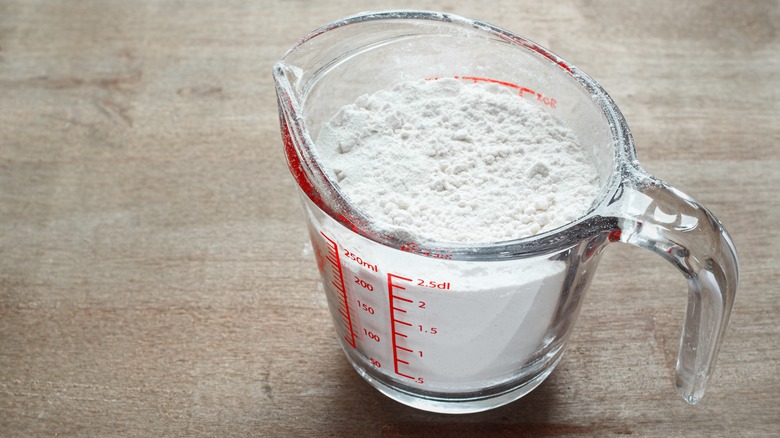
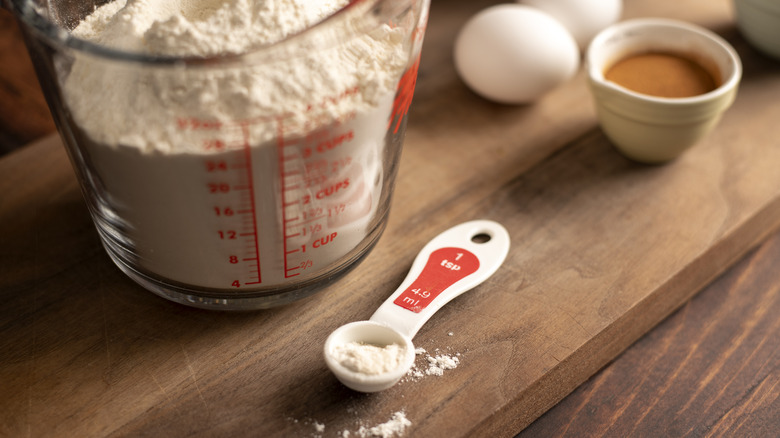
3. Cups and spoons are the best way to measure ingredients
Measuring your ingredients with cups and spoons is convenient and familiar, but sadly they're not a very accurate way to determine precise amounts. That's true even if you ensure that your measuring cups are accurate, which isn't always the case. That's especially true of measuring cups and spoons purchased from discount stores or shady online vendors.
Even when they're accurate, cups and spoons are rarely good tools for measuring ingredients (let alone the best). One reason is that many ingredients — like flour and confectioners' sugar — won't measure accurately if they've been compacted. Then there are ingredients like brown sugar that can only be measured correctly when they are compacted. Then there's human error: Did you eyeball that liquid measuring cup correctly?
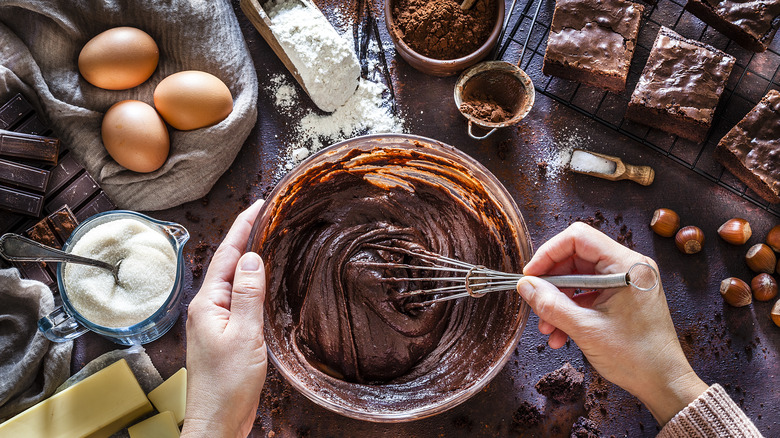
Professional bakers have no time for that kind of fuss, which is why pro recipes measure ingredients by weight. Seriously, you should bake with a scale and look for recipes with the ingredients in weights. This will revolutionize your baking like nothing else, especially when you're starting out. I can't recommend it enough.
4. Yolk in your egg whites will keep them from whipping properly
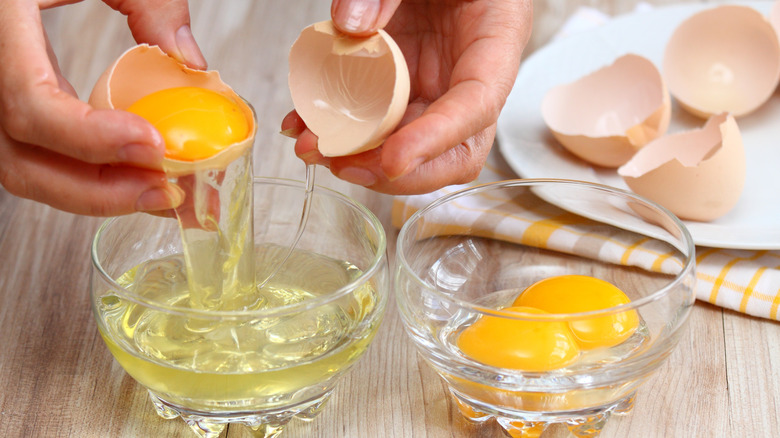
I've repeated this myth many times over the years, and was shocked when a baker friend of mine challenged it. But it turned out that my friend was right. Letting a bit of yolk seep into a bowl of separated egg whites will make them whip more slowly — but the whites will still get to a properly whipped state after a bit of extra time in the mixer.
There is a limit to this, of course. A small quantity of yolk is fine, but you can't leave a whole broken yolk in the bowl of whites. If you can successfully scoop out most of the yolk, though, the traces left behind shouldn't do any harm. I suspect that the advice to discard whites with any yolk in them originated before the invention of powerful mixers, when an apprentice with a whisk was responsible for whipping the eggs, and the process would have taken much longer.
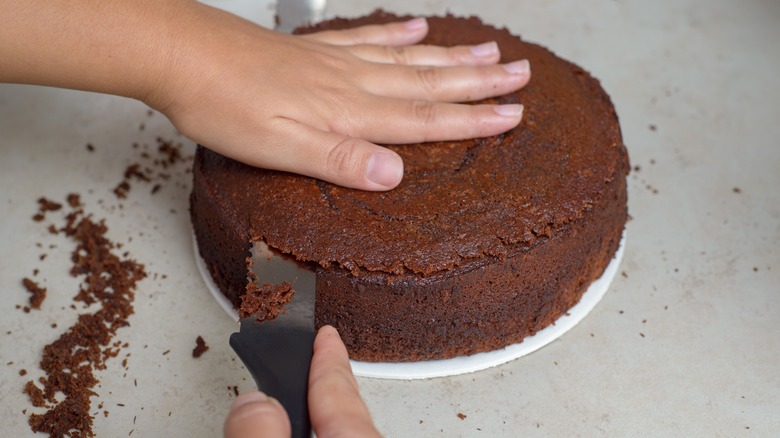
5. A cake that's frozen isn't as good as one that's freshly baked
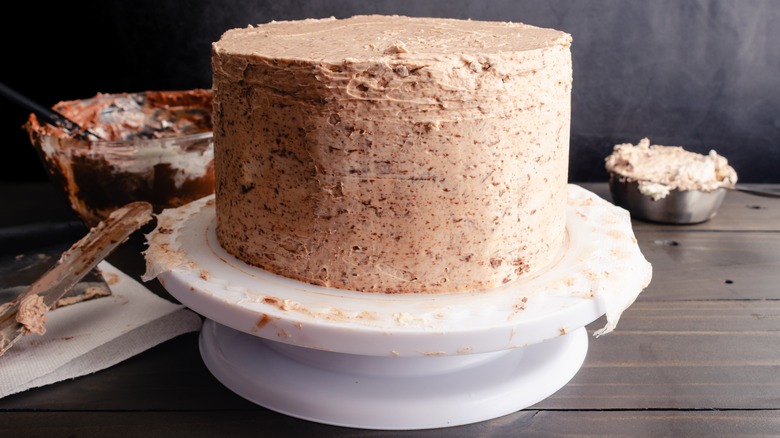
We've all seen ads touting some food or another as "fresh, never frozen." Sometimes this is indeed a good thing, but it doesn't apply to cakes. In fact, commercial bakers and cake decorators deliberately freeze their cakes.
Here's why. When a freshly baked cake first cools, it's still delicate and easy to damage. If you try to frost it, you'll get a lot of crumbs in that base layer of icing (aka the "crumb coat"), and there's a risk that you'll tear the cake itself. Freezing the cake changes things. After freezing for at least an hour, or ideally overnight, the cake's crumb structure tightens. It's still tender and delicate, but the flour's starches reorganize themselves into a more stable configuration. The cake layers slice more neatly, and won't generate as many crumbs.
Most cakes freeze beautifully, so bakeries keep lots of them in the walk-in fridge. You can do the same at home — just make sure to always use two layers of wrapping to freeze baked goods like cakes, which you can keep on hand for a special occasion. There are even glazes and finishes that only work if the cake is frozen when they're applied, but that's a special case.
6. Just thaw dough on the counter, it's fine
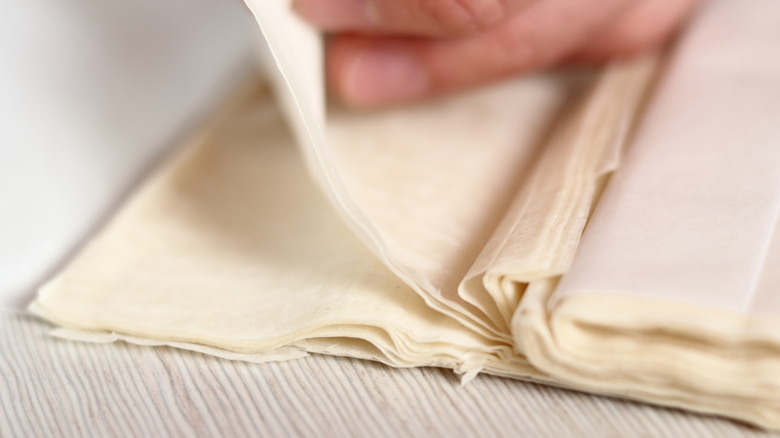
Good-quality frozen doughs have been a boon for home bakers and commercial bakeries alike. You can make things like puff pastry or phyllo from scratch, if you have the time and the skills — but those commodities are notoriously in short supply.
Many frozen doughs state on their packaging that the product should be thawed overnight in your fridge for best results. That's absolutely accurate. If you're in a hurry, and try thawing your dough on the counter, you'll learn about the negatives quickly enough. This especially applies when thawing frozen phyllo dough, which will stick to itself maddeningly and tear if it's quick-thawed on the counter — or worse, in the microwave.
Pie crust, croissant dough, puff pastry, and other flaky doughs aren't quite as difficult to work with after a countertop thaw, but they do take a hit in quality. They're at their flakiest when the butter or other fat content is chilled, and room temperature can ruin your puff pastry because it won't rise like it should if the butter is soft or melted. Chilling the dough after it's thawed helps a lot, even with baked goods like croissants that will need to rise in a warm place after they're shaped. As long as they're cold when you roll, cut, or shape them, the end result will be much better.
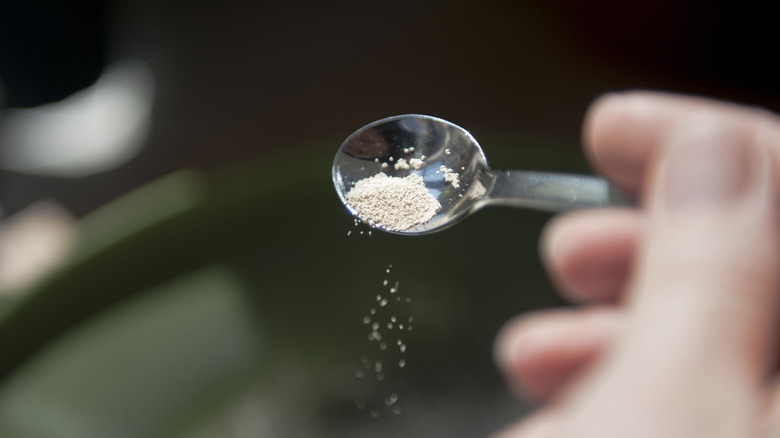
7. Baking powder and baking soda never expire
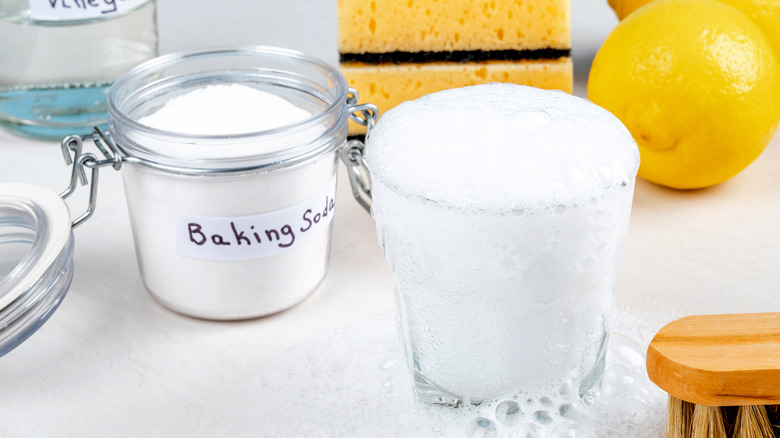
If this were a podcast, I'd make the noise of a game-show buzzer, and say "Nope, but thank you for playing." I've had a lot of people over the years tell me quite earnestly that baking soda and baking powder are chemicals, and that (like salt) they don't go bad or expire.
Sadly, that's not at all true. The air in your home and the moisture in the air aren't chemically inert, like the nitrogen that companies pump into packaged salad greens and other products to keep them fresh; this is the reason why your potato-chip bags are never fully filled. Reacting to humid air erodes soda's leavening power over time. Also, baking powder expires when humidity causes it to slowly lose effectiveness, as its acidic and alkaline ingredients interact.
On that note, please don't bake with the baking powder you use as a fridge deodorant. It's there to suck up nasty odors from your fridge, and why would you want to add those in with your baked goods? Do yourself a favor, and keep a separate box of baking powder for baking with.
8. More leavening gives you lighter and higher-rising baked goods
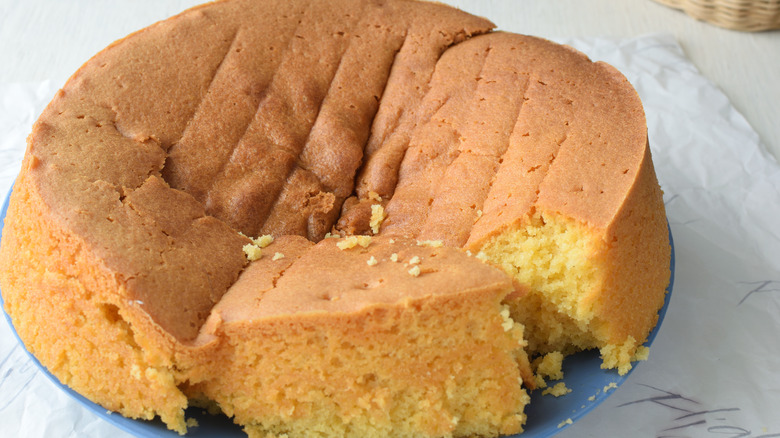
One of the first lessons of baking is that more isn't always better. Leavening is a classic example: If baking powder makes your baked goods light, then adding more should make them even lighter, right? Sadly, that's not the case.
In truth, there are active downsides to heavy-handedness. If you've added too much baking powder to a recipe, it can end up tasting bitter, and excessive baking soda leaves baked goods tasting soapy. Even worse, over-leavening your baked goods can make them rise too much, then collapse. The end result is dense and dry baked goods. As a rule, about a teaspoon of baking powder for every cup of flour in a recipe, or ¼ teaspoon of baking soda per cup of flour, is about right.
Using too much yeast causes similar problems. It makes your dough over-ferment, giving it a sour smell, a coarse texture, and a pale crust. The finished bread will be unpleasant to eat, hard when toasted, and will go stale faster. Trust me on this one: I've been baking bread for 45 years now (how did that happen?), and I've made the mistake so that you don't have to.
9. The temperature your oven shows is accurate
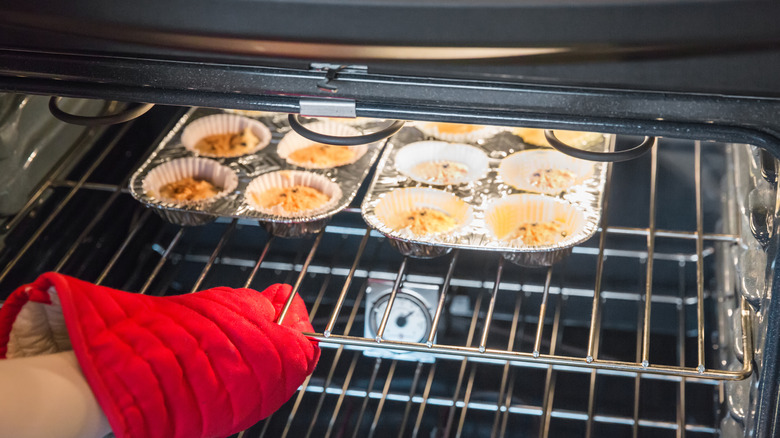
Most recipes call for baking at a specific temperature. It needs to be high enough for your baked goods to rise or spread properly, and have the right texture — but low enough that they don't scorch or set too soon.
The assumption is that temperature settings on your appliances are accurate, but can you actually trust a built-in oven thermometer? Hardly. Oven sensors are usually inaccurate, and sometimes drastically so. The more it's off, the more difficult it is to bake well. The only way to know for sure is by checking your oven's real temperature with an inexpensive oven thermometer. Start with the lowest temperature you normally use (maybe 250 degrees Fahrenheit), and go up to the highest (perhaps 450 degrees Fahrenheit), to see how they compare. Sometimes the difference grows as the temperature rises.
Ovens can be recalibrated for better accuracy, but this may require specialized skills. Failing that, you can take notes of the real temperatures at given settings, and compensate that way. There's also one more complication: ovens heat unevenly, with warmer and cooler spots. You can identify where this occurs with the parchment paper trick to map out your oven's hot spots. Once you know where the hot and cool areas are, you can strategically position or rotate your pans to get evenly baked goods.
10. Using a larger or smaller pan just requires scaling the recipe
Unless you have a lot of differently sized pans in your cupboards, someday you'll need to scale a recipe to fit the pan you have. It takes some figuring, but we've got a guide to adjust pan measurements to help, and your phone has a calculator for doing the math.
Unfortunately, the math is only part of the story. There are things to know before you double a recipe, halve it, or otherwise scale it up or down. The most important aspect is to consider how changing the size or shape of the pan changes how things bake. Partly that's due to volume: the more batter in the pan, the longer it takes to bake. The shape of the pan is important as well. Batter in a tall, deep pan takes longer to bake than in a shallow, wide one, because heat needs to travel a greater distance to penetrate into the middle.
These considerations have a bearing on how your baked goods turn out. In a larger pan, your cake will tend to "dome," meaning that the sides stay low while the center rises high above them, and needs to be leveled off before being decorated. Minimize that effect by wrapping your pans with baking strips, which insulate its sides for more even heating. Also keep in mind that when scaling a recipe up, flat cakes require reduced heat and a longer bake time — but turn up the heat and bake more quickly than the recipe calls for when using a smaller pan.
11. All yeast can be handled the same way
Industrial food production changed a lot of things for home cooks and bakers. One of the biggest changes was the arrival of manufactured leavening agents. Baking soda and baking powder make cakes and quickbreads easier and more practical, and replacing sourdough with packaged yeast did the same for home bread baking.
Recipes typically specify which type of yeast to use. Cake yeast needs to be crumbled into warm liquid before you use it, and it makes really good bread. Unfortunately, it's highly perishable, and needs to be refrigerated. Active dry yeast is the same organism, but dried and pelletized so that it's pantry-friendly. Instant or quick-rising yeast is very similar to active dry yeast, but it's much finer and quicker to absorb moisture. All three types of yeast can make good bread.
The difference between cake, dry, and instant yeast is in how they need to be handled. You can't just use active dry yeast in a recipe calling for instant or "bread machine" yeast, for example. Instant yeast doesn't need to be started in liquid, because it's so fine that it can simply absorb enough moisture from the dough to activate itself. Active dry yeast or cake yeast must spend some time in warm liquid first, to liven up and become hydrated. You can substitute between them, but not by following the recipe as written. If you aren't comfortable with changing recipes on the fly, it's best to use the kind of yeast specified.
12. If the recipe didn't turn out right, you did something wrong

This is a big, and often unfounded, assumption. In my cooking classes I emphasize this a lot: When a recipe doesn't work, there are a lot of possible explanations, and many of them have nothing to do with you. So don't beat yourself up — just start looking for solutions, and try again.
What kind of things can go wrong? Well, online recipes often aren't necessarily tested properly. In cookbooks, typos often sneak past the proofreading process. Your measuring cups may not be accurate, your oven's temperature may be off, your yeast may be dead, your baking powder or baking soda may be past its prime, or ... well, you get the idea.
You can weed out a lot of those possibilities with a bit of diligence. Start by comparing the failed recipe to others for similar baked goods, and look for differences in their directions or ingredients. Check for errors in published cookbooks. On recipe sites, read the comments to screen for mistakes. Test your leavening ingredients before you use them. Being proactive this way doesn't just help you with one specific recipe — it's a key step in learning why recipes work or don't work. Over time, it will make you a better baker.
13. There's no room for freewheeling when you bake
I'm going to close with this myth, which may surprise you given how much emphasis I've put on accurate measurements. But I think the recent fad of approaching baking as science is overrated, and intimidates a lot of bakers into thinking that they can't improvise. I believe the opposite is true, and that improvising as needed is a fundamental part of baking. Think about all those grandmothers who bake with a handful of this and a pinch of that, and somehow magically produced the best stuff you've ever tasted.
Frankly, the deck is stacked against exactitude in baking. Eggs aren't uniform in size, flour quality varies from one bag to the next, your leavenings may be losing their oomph, different types of butter may have a higher or lower moisture content than what the recipe developer used, and so on. Learning to roll with those complications is how you know you've graduated from being a novice to being a competent baker.
As you become more experienced and proficient, you'll come to rely less on recipes and more on your senses to tell you when things are right or wrong. That in turn creates room for you to improvise, adapt to substitutions, or try using familiar preparations in unfamiliar ways. Even a less-than-perfect result is usually still edible or salvageable, and you'll learn a lot from trying and failing. So walk before you run, but by all means run! Fly! Spread your wings, and have fun with your baking!