REVIEW: Ninja SLUSHi Makes Great Milkshakes, But Is It Worth The Price?
We may receive a commission on purchases made from links.
It doesn't take much for me to get small appliance envy. Social media is rife with the newest kitchen toys, and I'm a prime target. Beautiful coffee machine? I'm excited to make espresso. Cool-looking cooking device? I can't wait to see how it works. Slushy machine? Please make my kitchen the best bar in the neighborhood. So, when I started seeing Ninja's SLUSHi machine popping up with wine slushies and frappes, I longed to try it. When that very opportunity arrived, you can bet I leapt on it, immediately wondering how I could make my favorite drinks into chilly drinks. However, I also approached the machine with some trepidation since I've had other Ninja machines not deliver on their promises.
Upon getting the machine and reading over the material, I set it up, cleaned the parts, and got excited to give it a whirl. To determine if this should be the next small counter appliance you add to your home bar, I put the new Ninja SLUSHi machine through its paces, testing all settings.
Price and availability
The Ninja website sells the Ninja SLUSHi for $299.99. Target's website offers much the same story with in-stock appliances for the same price, shippable to your home. As I write this, there are some nearby stores that have stock, but not many. Aside from Target and the Ninja website, availability and price are inconsistent.
The biggest problem is that some of these stores are selling it for quite a markup. Walmart, for example, is selling the SLUSHi for over $400. Best Buy, though listed on the site, does not have stock, though the price is listed at $299.99, just like the Ninja site. Amazon also has the machine listed, but sold by third-party sellers for just about $400. Also of note, Walmart offers a smaller Ninja machine with fewer options for a sale price of $249.99. Instead of all settings, you only get three. Although it might be tempting to shell out the dough to get the device sooner, my recommendation is to wait for its restock in your favorite store.
Machine specs and features
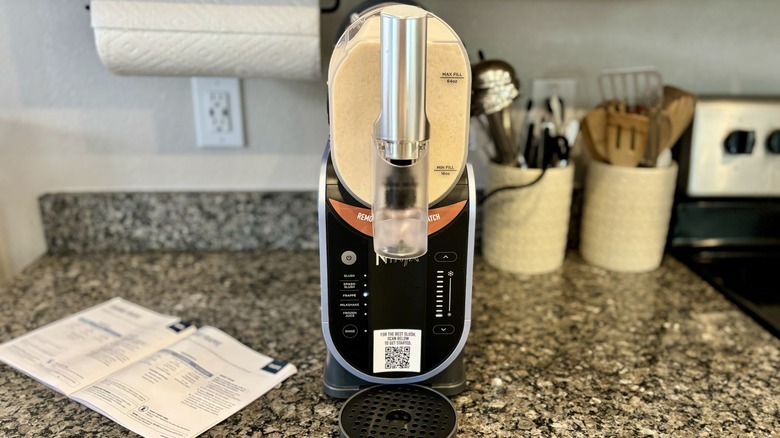
One of the biggest selling points for me is that the Ninja SLUSHi makes icy beverages without actual ice. No blending here; just supercooling with Ninja's RapidChill technology. The fluid you put in the machine moves around the cooling cylinder. To do its thing, the machine needs a minimum of 16 ounces of fluid, but it can hold as much as 64 ounces. After pouring in your liquid, the machine can keep it at a slushy temperature for a maximum of 12 hours.
The Ninja SLUSHi has five settings: frozen juice, milkshake, frappe, spiked slush, and slush. These settings mostly decide the degree to which the machine cools down the liquid you add. Though they each have a predetermined cooling level, you can change this level if the slushy doesn't quite freeze as much as you'd like. Or, alternatively, if it freezes too much. In general, I found these levels to be pretty spot on, only needing a mild alternation a couple of times.
Setup review
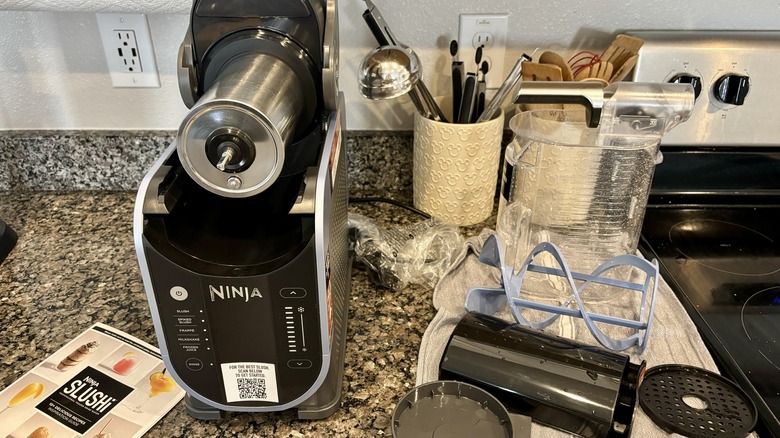
After the package arrived, I quickly got to unboxing. The machine is well packed, but these types of machines are always a little difficult to squiggle out of their box. I recommend getting a buddy to help unpack to be sure the machine doesn't accidentally take a tumble. After you place it on your counter, don't miss the first important step: The machine must sit upright for two hours before use. There's a sticker alerting to this point, but I can imagine it being easy to miss. I recommended removing it from the box, unpacking it, cleaning the removable parts, and forgetting about it for two hours while the parts dry. After it's been two hours, reassemble the machine and choose what your first drink will be.
The setup process was very easy, and so was the cleaning. The instructions included with the machine show you where everything goes and are straightforward. I was surprised to learn that the machine needed to sit upright for a few hours, so it would have helped if that sticker was a little more front and center, but that's my only real gripe about the setup.
Frozen juice
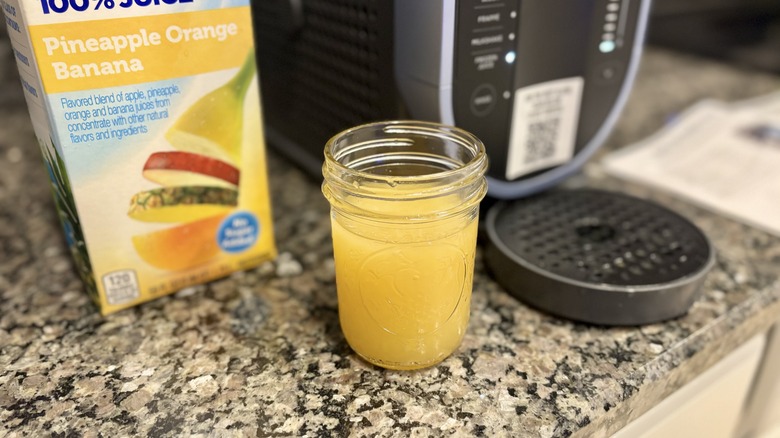
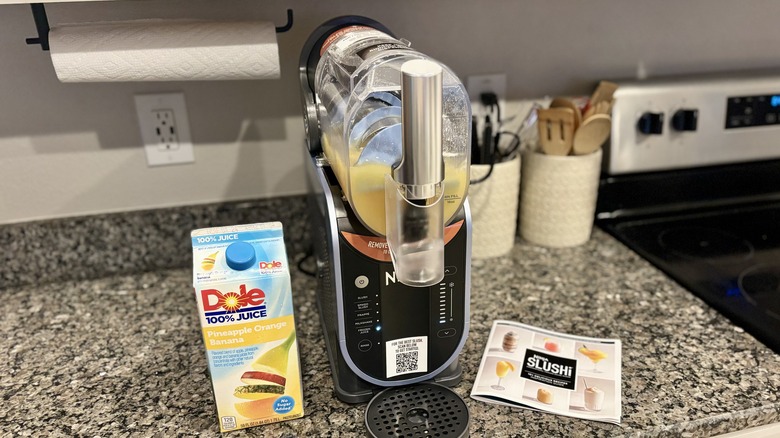
The first setting I tried out was the frozen juice option. I went here first because it was the most simple. For most juice, you'll just pour from the jug into the top of the machine. The only thing you really need to pay attention to is the sugar content. Essentially, your chosen juice needs a high enough total sugar content that the juice will slush in the machine. There's a simple way to figure this out, and Ninja tells you what to look for. If the juice you're hoping to use for slush has a serving size of 8 ounces (as my chosen Dole pineapple orange banana did), then the total sugars need to be at least 8 grams. The Dole pineapple orange banana juice has 26 grams of sugar, so it is ideal. These sugar rules apply to all drinks, not just the frozen juice, so it's definitely something to be aware of.
I found that the frozen juice setting made the slushy far too liquidy. In fact, the first time I pulled the lever, it shot out at me so fast I had to clean spilled juice off the floor. Not a great first impression. To remedy this, I simply increased the freeze level by one, and it was absolutely perfect. The lesson to learn from this is that you should take a small sample when the machine beeps to signal it's done. Then, move from there, going more or less frozen based on your ideal outcome.
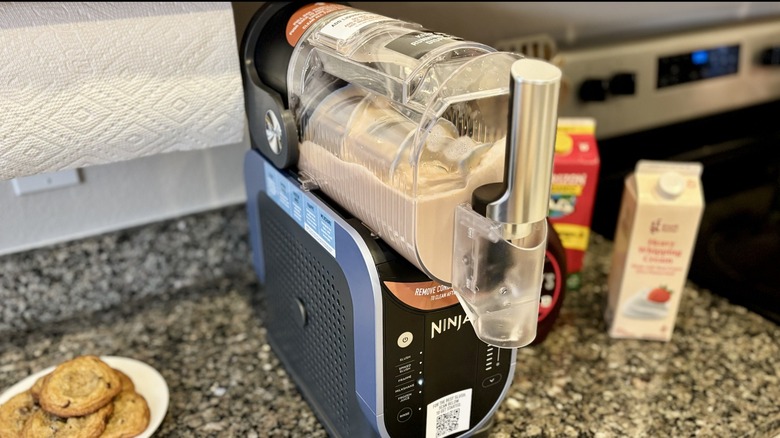
Milkshake
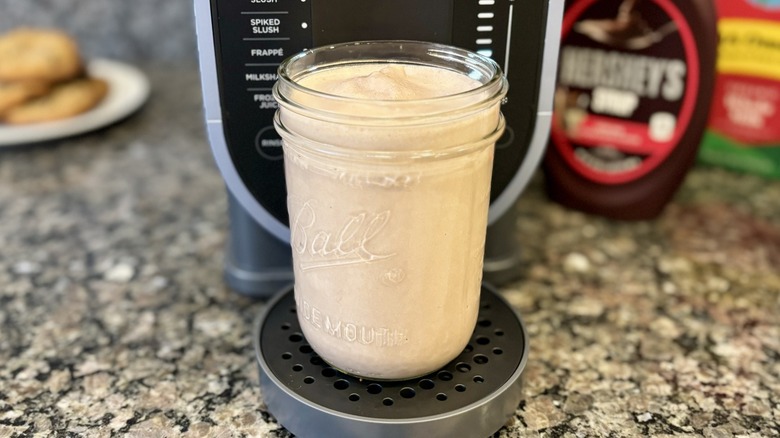
In my initial makes, the milkshake setting made it easily the best product. Because I'm still getting the hang of the machine and how it works with sugar, I followed a simple chocolate milkshake from the included recipe book. This had me mix whole milk, heavy cream, vanilla extract, granulated sugar, chocolate syrup (I used simple Hershey chocolate syrup), and cocoa powder together. However, I didn't include the cocoa powder since I don't love the taste.
One of the biggest tips I can pass on through my sampling is to be sure you have a mixing bowl to use that has a pour spout. The one I use holds four cups, and this is the perfect size for me, but I can imagine needing a bigger bowl to make for guests. In this bowl, be sure everything mixes well before pouring it into the little door on top.
This milkshake came out ultra smooth and tasted exactly like a Portillo's chocolate milkshake — which just so happens to be my favorite place to grab a Chicago-style hot dog and milkshake. I've made it a couple more times since my first go, and the result has been the same each time.
Frappe
When I worked at Starbucks, my absolute least favorite drink to make was a Frappuccino. Any variety — I hated them all. The biggest problem with Frappuccinos is that they seem to take a long time, and then the texture is perfect half the time and terrible the rest of the time. While I enjoyed the flavor of Ninja's frappe, the first time I made it, I was less impressed by the texture. After making it again later, I think I'm starting to get the hang of it.
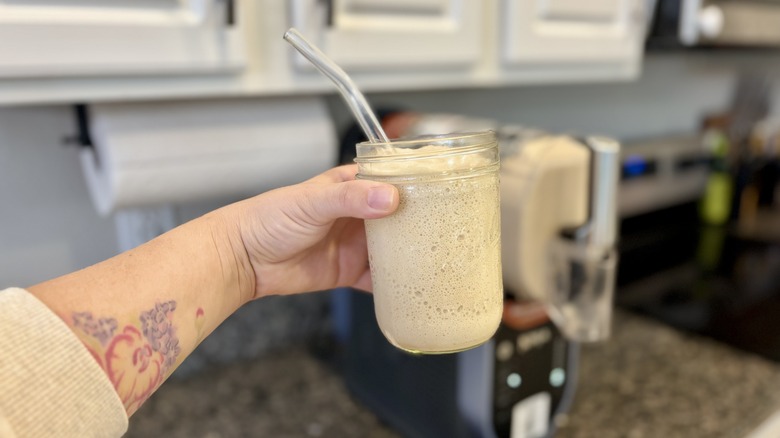
For my first crack at this one, I followed the coffee frappe recipe. This combined half and half, coffee, vanilla extract, and granulated sugar. I made the coffee ahead of time and put it in the refrigerator so it would be chilly. The consistency came out in globs, but it did pour. Though this mixture was tasty, the texture needed some work. It was almost icy in parts, as though I had used actual ice (I hadn't), and it was quite foamy.
For my next frappe, I followed the caramel frappe recipe and had more success. For this one, the recipe recommends caramel sauce instead of vanilla extract and granulated sugar. Since I had Ghiradelli caramel sauce in my fridge, I used that. This time, I also started with hot coffee, adding cold caramel and cold half and half to cool it down. This drink got too frozen and slowly trickled out the spout, so I turned it down one level, and that got things moving. I have to tell you, I'm in love with this drink as a sweet coffee treat. Plus, there was no foamy problem with this one. The second time's the charm, I guess.
Spiked slush
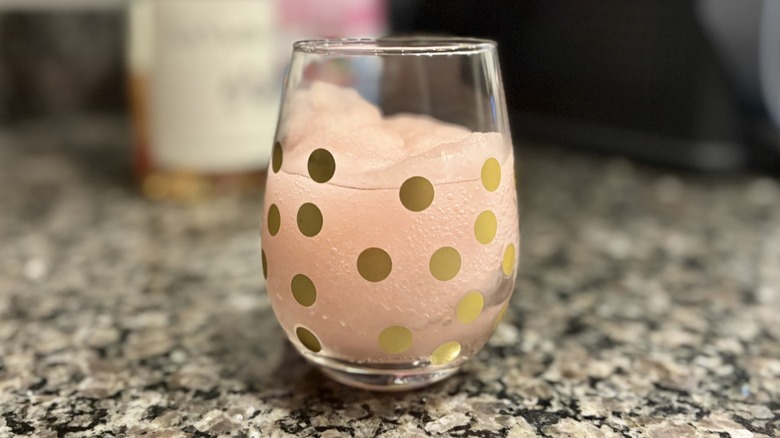
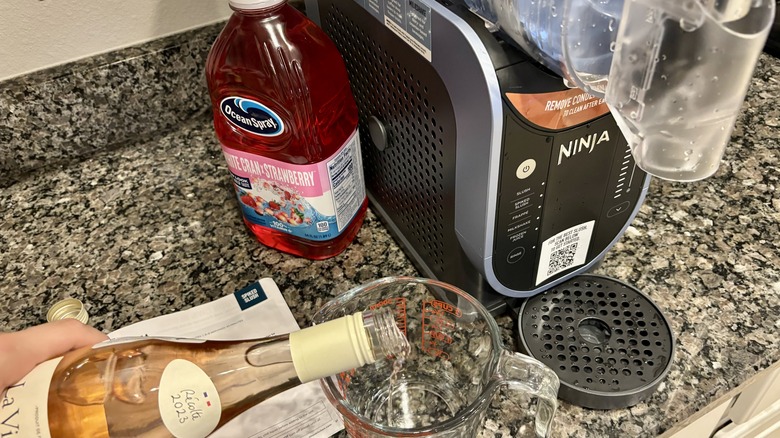
What's better than rosé? Frozen rosé, of course. The recipe book has a very straightforward mixture for frosé that has you combine rosé wine with a white cranberry-strawberry juice and simple syrup. I used La VieIlle Ferme rosé wine, Ocean Spray white cran strawberry juice, and made my own simple syrup. Like the milkshake mixtures, you'll want to combine one this well before pouring it in. This, and the liquor you add in, will be set as a spiked slush. The freeze level is pretty high, so it will take a little while.
I made enough that I had some leftovers. To save it for the next day, I dispensed the frozen slush into a large bottle and put it in the fridge. I knew it would melt, but it was also in perfectly liquid form to pour back into the machine the following day. It froze up again with no problem and was just as good.
You can use the spiked slush for more than just frozen wine, of course. I'm thinking it would be ideal for making frozen tiki drinks. Here, you'll want to be mindful of the maximum alcohol content you can include. For a recipe making 24 ounces, Ninja recommends no more than 4 ounces.
Slush
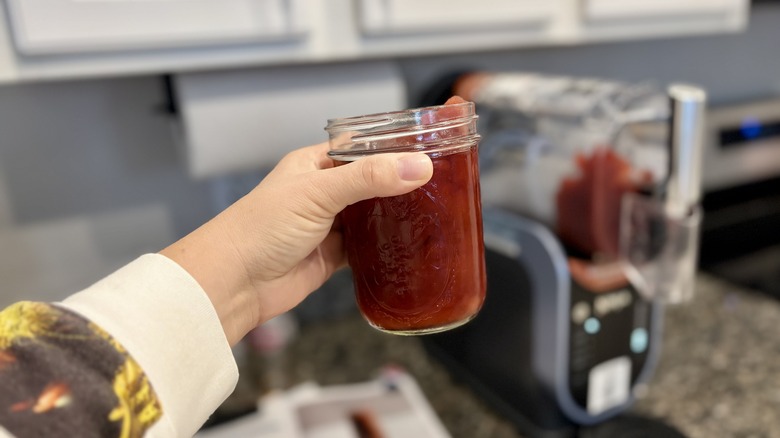
The last setting I tried was slush. The recipe book recommends soda for this one, and since the sugar content is so high in my favorite fizzy drink, I figured it would work reasonably well. For my slush, I used cheerwine, a sweet cherry soft drink. I poured in two bottles to hit that minimum mark.
Although this slushed well, and it was enjoyable enough, it was probably my least favorite slushy I tried. The soda lost its fizzy feel, leaving behind the flavor of the soda, and while that is enjoyable, with the loss of that carbonation, it's just not as tasty. I'd be curious what other sodas might taste like instead. Perhaps something like a Dr. Pepper would be better.
Sugar content is an essential consideration when you're creating a slushy soda. If the soda you'd like to use doesn't have sugar, you'll need to add some. If you'd prefer not to use sugar, Ninja explains that you can use flavored syrup or juice, along with date sugar, coconut sugar, maple syrup, agave, simple syrup, or honey, but artificial sugars or those sweeteners that are sugar-free aren't going to do it.
Cleaning process review
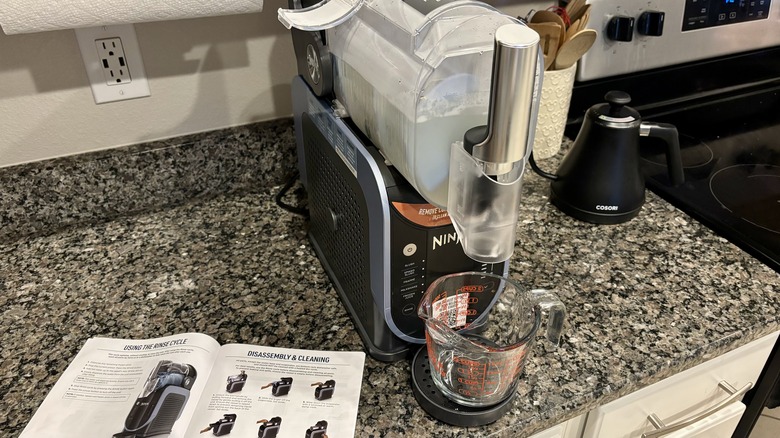
Each time I used the machine on a new setting or changed the ingredients, I cleaned out the machine. The obvious first step is getting every bit of slushy out that you can before switching to the rinse cycle. Then, add hot water, rinse it so that the cylinder defrosts, pour all of that rinse water off, and turn off the machine. Disassemble the pieces and clean them. These removable pieces are machine washable, but I choose to wash them by hand.
The cleaning process is pretty easy, but there's a sticker on top that makes it a little confusing. The little opening you'll use to pour in the hot water has a sticker that says not to add anything hot. I imagine this is just meant for when you're making drinks because the cleaning directions explicitly tell you to add hot water. So, this instruction could be clearer, and I'm not sure if the sticker is necessary. Other than that, it's a simple cleaning process.
Final thoughts after using the machine
All told, I really enjoyed this machine. The slushies it makes are impressive. Having an item in the kitchen like this certainly opens up the kinds of drinks you can make. There is a small learning curve, but if you're willing to play a little once you learn the basics, the learning curve is nothing. Experimentation can be fun, and if you approach it that way, you'll find this to be true over and over again.
The price is a big sticking point. This isn't a cheap machine. However, if your family likes slushies and you'd use it for more than the occasional frozen pina colada, it may be worth it. I don't recommend shelling out more than $299.99, however. Be smart and patient with your money.