20 Cake Decorating Tips We Learned From TikTok
You can find just about everything you could ever dream of on TikTok these days, including advice for the kitchen. Spend just a few minutes scrolling through the app, and it likely won't be long before you come across something food-related. With creators sharing an array of mouthwatering recipes, TikTok is the perfect place to pick up new cooking and baking tips — and cake decorating is no exception. Professional chefs and enthusiastic home bakers alike are sharing their secrets for creating showstopping cakes with ease.
Whether you're aiming for a simple buttercream finish or a jaw-dropping fondant masterpiece, there's definitely something to learn from this social media platform. We delved deep into the "#caketok" rabbit hole to find the very best tips that are sure to help you add that extra wow factor to your baked creations. Many of these techniques are incredibly simple, smart, and moreover, totally doable. Let's get decorating!
1. Chill cakes before decorating
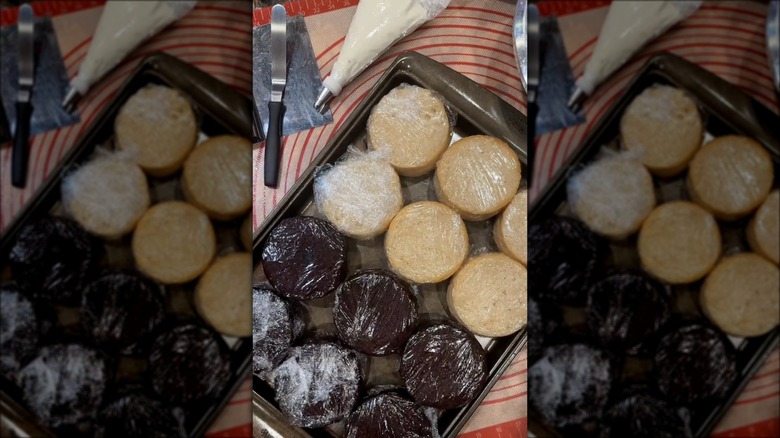
Our first handy tip comes from TikToker pinktanukibakery, and while it might seem incredibly simple, it's crucial for anyone using buttercream frosting. Chilling cake layers in the fridge before decorating is an essential step in creating an evenly stacked cake, with perfectly smooth layers of frosting.
When chilled, cake becomes much firmer, so it's less likely to crumble or break during the decorating process. This means it can be frosted, stacked, and moved around with ease. To chill your cake, first wrap each individual layer tightly in plastic wrap to prevent it from drying out. Then, place your cake layers in the fridge until completely chilled — around two hours, or overnight if it's easier.
2. Make sure your buttercream doesn't contain air bubbles
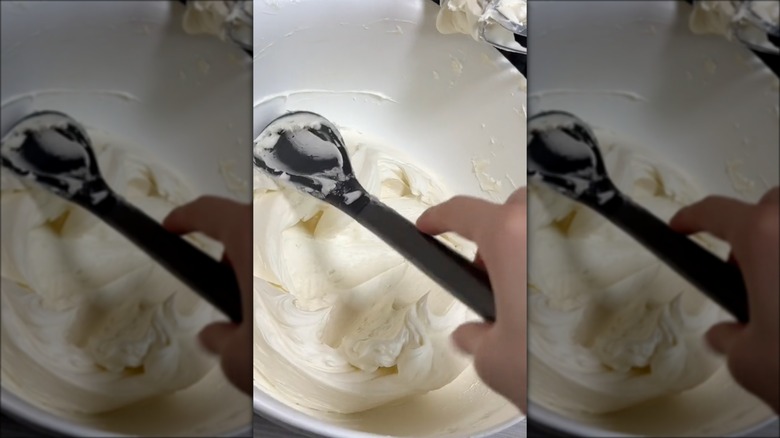
Our next tip comes from Melissa Volido, who when sharing her recipe for the ultimate buttercream, provides a simple technique for getting the frosting silky smooth. After thoroughly beating the butter, adding salt, vanilla extract, and sifted powdered sugar, she whips everything up until well combined. Volido explains that getting a few air bubbles in the mixture is common, but this problem is easy enough to overcome.
For the smoothest results, use a simple rubber spatula to work the bubbles out. Simply run the spatula firmly through the bowl of buttercream using a side-to-side motion. This should burst any sneaky air pockets. Pressing the frosting against the side of the mixing bowl can help, too. The TikToker adds that if your frosting is being used in a piping bag, small air bubbles will often be eliminated as you squeeze it.
3. Create a frosting dam before adding other fillings
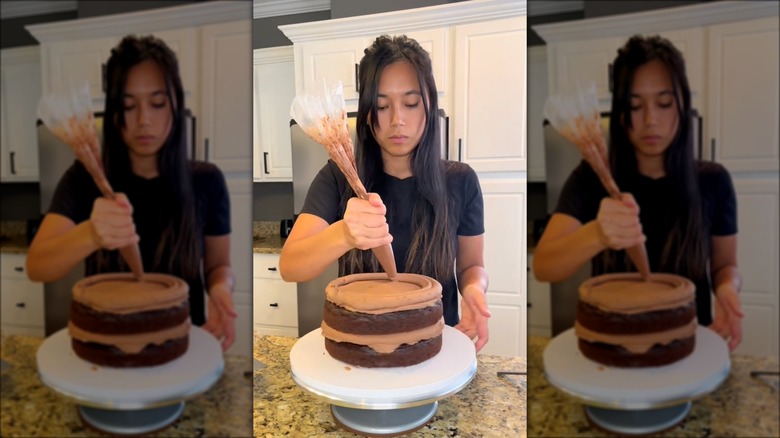
One of the best tricks to prevent filling disasters is to create a frosting "dam" before adding other, runnier fillings between your cake layers. This technique, demonstrated by cake decorator extraordinaire trulymargaret, involves using a thick layer of buttercream to create a sturdy barrier on the edges of your cake layer that holds filling in place, ensuring that it doesn't leak.
To make a frosting dam, fill a piping bag with a smooth, thick buttercream and use a large round tip to pipe a circle or "wall" around the edge of your cake layer. Once it's in place, you can add your filling. This could be a fruity jam, chocolate ganache, or whipped cream, which you won't have to worry about spilling out when you stack the next layer.
4. Use a cake leveller for perfectly even layers
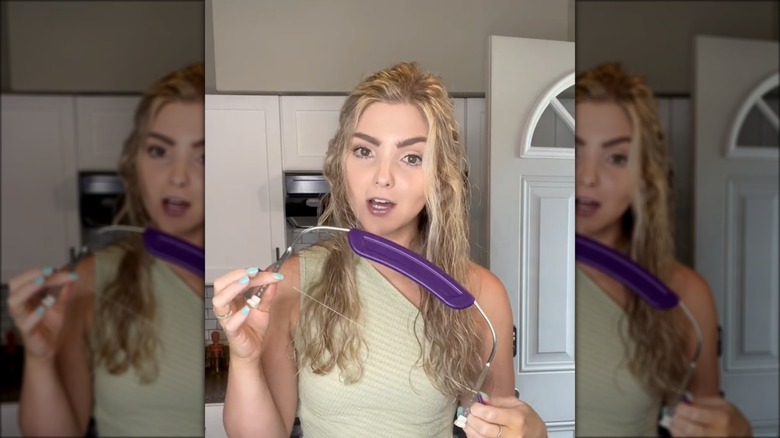
In cari_chap's TikTok that lists nine essential tools for any beginning baker, she highlights the importance of using a cake leveller. Uneven layers can turn a beautifully designed cake into a lopsided mess, but a cake leveler can save you from that fate.
A cake leveler is essentially a wire or blade on a stand that you can adjust to your desired height. Simply set the leveler to the height you want, then carefully slide it through each cake layer to remove the domed tops. It's much easier to get an even cut with this tool than with a knife, especially if you don't have the steadiest hands. A leveler ensures that all your cake layers are uniform, giving your cake a more professional look. If you're stacking multiple tiers, you'll also get more stability with using flat, evenly sized layers.
5. Drizzle cakes with simple syrup to keep them moist
While refrigerating cake layers is key for hassle-free decorating, this can also cause them to dry out a little. Luckily, cakesbymarian has an effective tip for keeping your cakes moist and delicious. Before assembling and decorating your cooled cakes, simply drizzle some homemade simple syrup over each layer. A basic mixture of water and sugar, it's the perfect tool for adding moisture to your cake without altering its texture.
This technique is particularly helpful if you're working with cakes that will take multiple days to decorate or have been baked in advance. Marian assures us that adding simple syrup shouldn't noticeably alter the sweetness of the cake, but notes that some bakers also opt to use milk for this technique instead.
6. Use the panelling method when applying fondant icing
Applying a smooth, even layer of fondant can be one of the trickiest parts of cake decorating, but it doesn't have to be as fiddly as it sounds. TikToker perfectcakesco has a simplified technique to make fondant application a breeze — the panelling method.
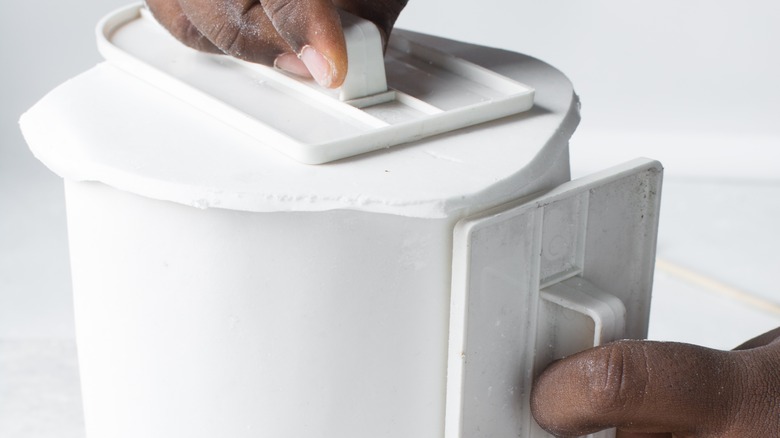
Unlike the traditional method of draping a single large piece of fondant over a cake, panelling involves cutting separate pieces of fondant to cover the sides and top of the cake. This method is particularly helpful for achieving crisp edges and avoiding the dreaded "elephant skin" texture that sometimes happens when fondant application takes too long. Plus, any visible seams can be easily blended away with a fondant smoother. To prevent fondant cracking and help the layer stay in place, you can also apply a thin layer of buttercream to the cake beforehand.
7. Heat up your cake scraper for perfectly smooth frosting
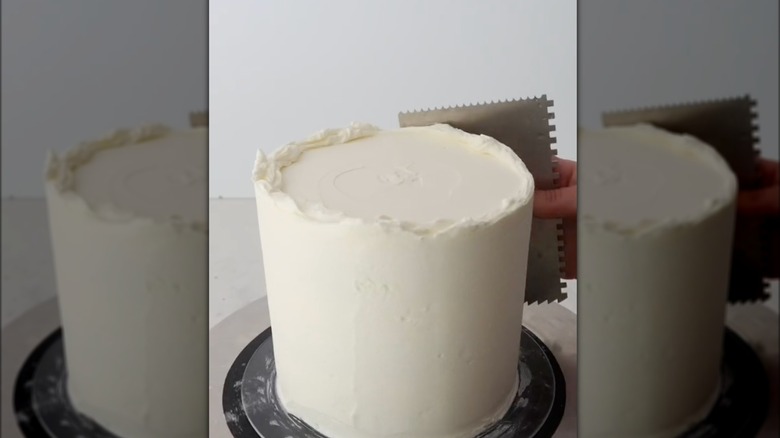
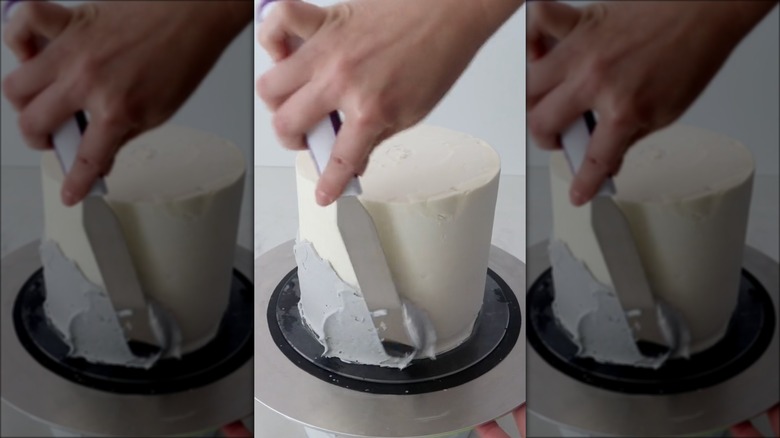
Achieving a perfectly smooth frosting finish can feel like an elusive goal, but with this simple technique, you'll soon be on your way to cake perfection. As suggested by krismariebakes, heating up your cake scraper (aka bench scraper) is an easy way to transform your buttercream application.
First, apply your final layer of buttercream to the outside of the cake with an offset spatula, getting it as smooth as you can. Then, heat your scraper by running it under hot water for a minute or so, before drying it thoroughly. While rotating the cake on a turntable or plate, gently press the scraper against the cake. The warmth helps melt the top layer of your frosting, allowing it to glide smoothly as you scrape, leaving you with a beautifully sleek finish.
8. Use a squeeze bottle to add a drip effect
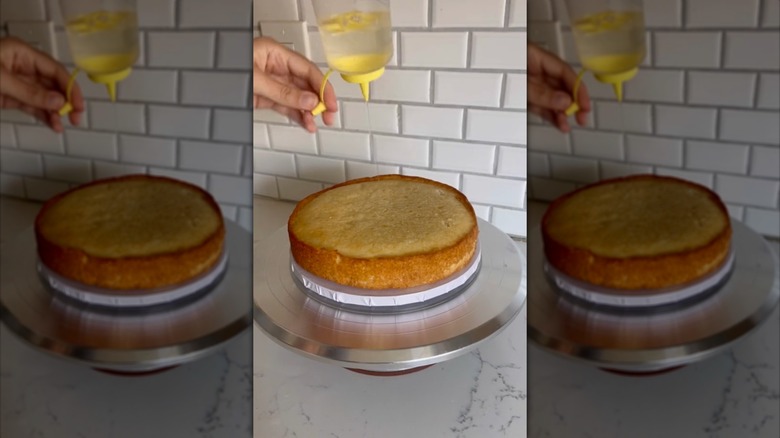
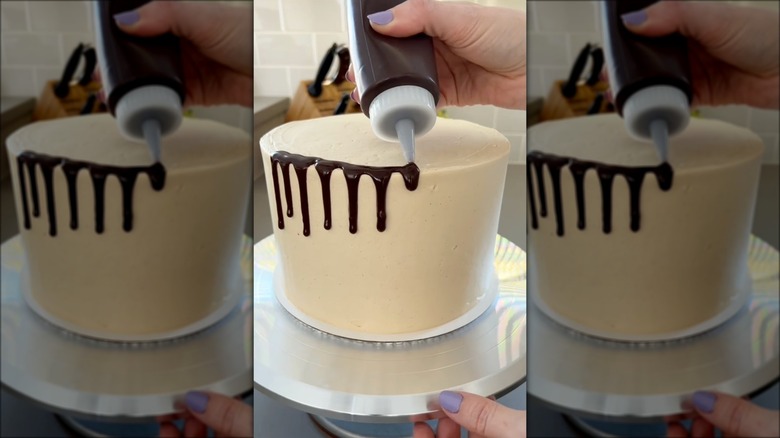
If you're aiming to create an eye-catching drip effect on your cake, a squeeze bottle should definitely be your tool of choice. TikToker cakemehometonight demonstrates this perfectly, using a plastic bottle to apply chocolate ganache to her cake with precise control.
First, transfer your slightly cooled ganache or drip mixture into a clean squeeze bottle fitted with a nozzle. To apply the drip, hold the bottle at a slight angle above the edge of the cake and gently squeeze to let the mixture run down the sides. You can adjust the pressure and duration of each squeeze to control the thickness and length of the drips. You can also pop your frosted cake in the freezer before adding the drip, so the ganache will chill as it's applied and not run too much.
9. Use gel rather than water-based food coloring
When it comes to adding color to your frosting, gel food coloring is the way to go. Unlike traditional water-based food coloring, gel colors tend to be highly concentrated, with only a small amount needed to give your frosting a vibrant hue. Additionally, as krismariebakes explains, gel colors won't alter the consistency of your frosting like water-based food colorings might. This is because they're much thicker in texture.
You can purchase gel food coloring from many craft shops and a range of online retailers. There tends to be a vast range of colors to choose from, with far more choice than you'd find amongst the liquid colors in your standard supermarket.
10. Pre-set your chocolate ganache
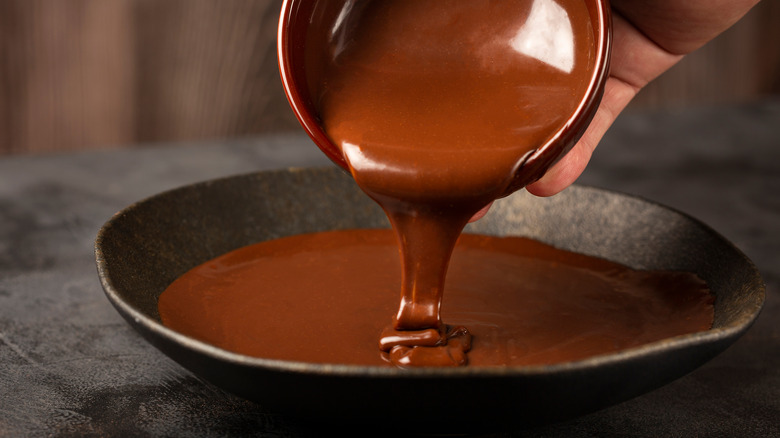
A rich chocolate ganache is the filling of choice for many tiered cakes, but working with this indulgent mixture of melted chocolate and cream can be a little finicky. Too runny, and the ganache could cause your cake layers to slide all over the place. Too thick, and it will be difficult to spread into a smooth, even layer.
Fortunately, TikTok baker madi.chilcott has come up with an innovative method to get consistently smooth results — pre-setting your chocolate ganache. Madi simply pours the warm ganache into the bottom of a parchment-lined baking pan (the same size as the cake being decorated). This then goes into the fridge to set, creating a solid, perfectly round layer of ganache. Use the parchment paper to lift the ganache from the pan, place the set ganache face down onto your cake layer, and peel away the parchment.
11. Crumb coat your cake
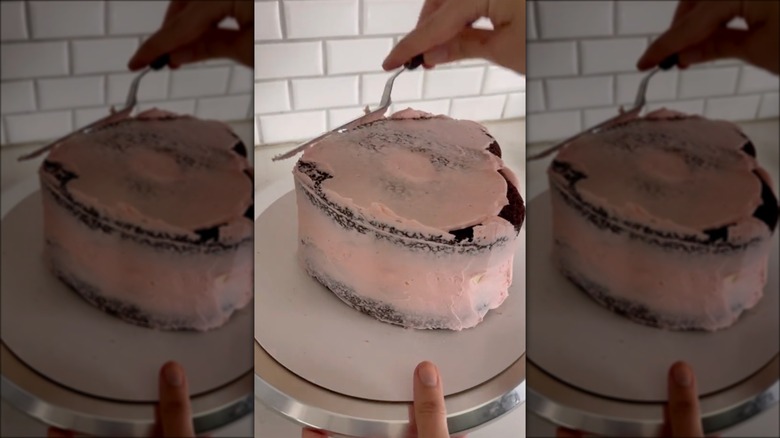
We know that chilling cake layers before decorating is a vital step, but what about crumb coating? This widely used technique is essential if you want to achieve a perfectly smooth, crumb-free layer of buttercream on the outside of your cake.
In cakesbymarian's run-down of her cake-making tips, she highlights the all-important crumb coat. This technique involves applying a thin layer of frosting to the top and sides of the cake, to seal in any loose crumbs. You can apply the crumb coat with an offset spatula or cake scraper, and don't worry if the crumbs are visible — this layer is meant to catch them! Next, chill the cake in the refrigerator for about 30 minutes. This allows the frosting to set and harden, forming a stable, smooth base for the next layer.
12. Apply buttercream to your cake board
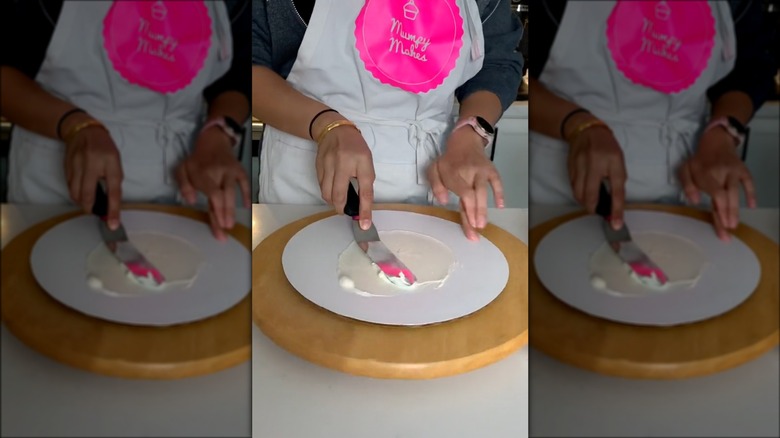
When you're stacking multiple layers of cake, stability is key. One way to ensure your cake stays firmly in place is by applying some buttercream to your cake board before you begin. TikTok baker mumpymakes demonstrates this perfectly, spreading a small circle of buttercream frosting on the board before carefully placing the first cake layer on top.
This tiny layer of buttercream acts like glue, keeping the cake anchored to the board while you're working on it. It's particularly helpful if you're using a turntable, as it keeps the cake stable as you spin it. It's a small step that can save you a whole lot of hassle. After all, nobody wants to experience the horror of their beautifully decorated cake sliding right off the board!
13. Use an air brusher to add color
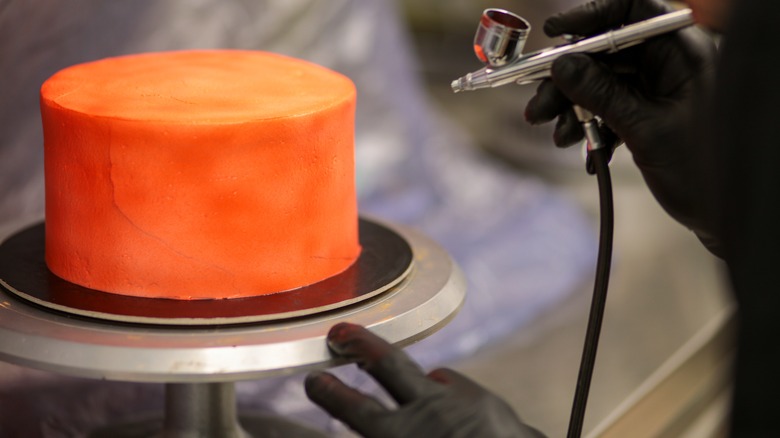
For those wanting to take their cakes to the next level, using an airbrush gun is a unique way to create elaborate, multi-colored designs with beautiful soft gradients. Cake maker danicakesbakes shows us how to use the airbrush technique in her TikTok post.
An airbrush gun allows you to spray fine mists of edible color onto your cake, creating seamless blends, bold patterns, or delicate touches depending on the specific technique used. If you'd like to use multiple colors on your cake, you can use pieces of acetate to divide the cake into sections, spraying each with a different shade. Remember to keep your airbrush moving in smooth, even strokes to avoid pooling or patchy spots.
14. Select the right piping tip for your desired look
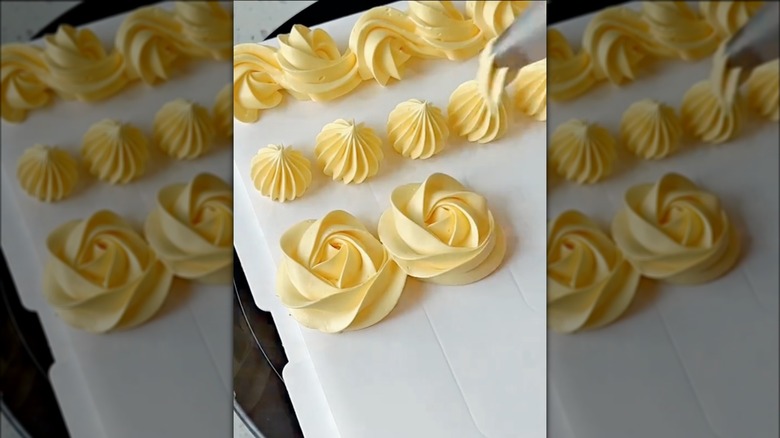
The selection of piping tips out there is pretty vast, with a whole host of different shapes and sizes. When fitted to the end of your piping bag, each piping tip will produce a different frosting pattern, so it's important to know what you're aiming for when choosing one.
In kowaniiofficial's TikTok piping tutorial, they show the results you can achieve with three popular Wilton tips. The 1M is a star-shaped tip, perfect for creating softly swirled buttercream rosettes and borders. On the other hand, the 6B tip creates a more defined pattern, with deeper, tighter ridges and a more structured appearance, perfect for creating shell and flower designs. The 2D tip is a closed star, which creates a softer, petal-like shape. This makes it the tip of choice for creating elegant floral designs, such as buttercream roses.
15. Double-bag your frosting when piping
A top tip from TikTok baker designeatrepeat is to double bag your frosting when switching between multiple colors. Why, you might ask? This method will save you a whole lot of time and cleanup!
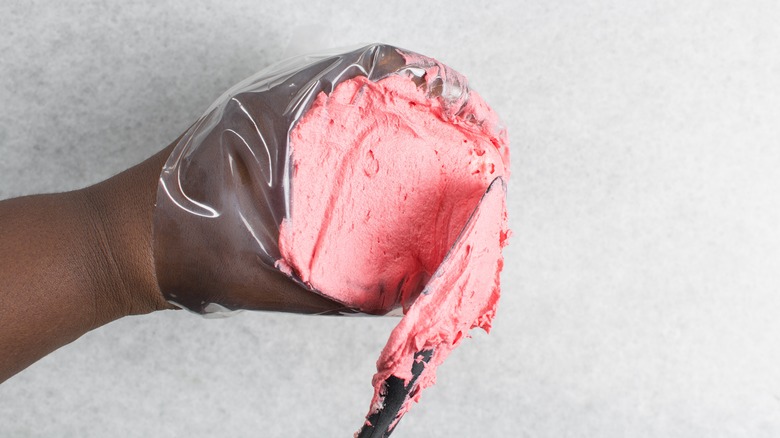
Start by filling a one piping bag with your frosting before trimming off the tip. Then, slide this bag into a larger piping bag fitted with a tip of your choice, and pipe away. This way, if you want to change frosting colors later, you can simply switch out the inner bag containing the frosting for another pre-filled bag. Likewise, if you want to switch between different tips, you can easily remove the inner bag, and pop a different tip into the outer bag. This allows you to keep the outer bag and piping tip clean, for a mess-free decorating experience.
16. Create two-tone frosting
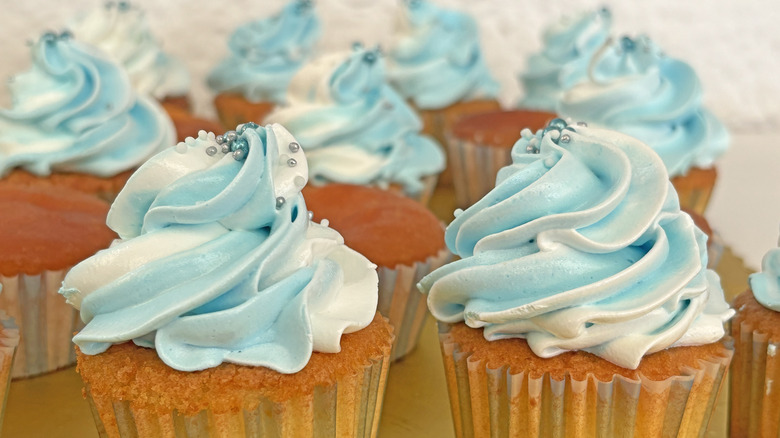
Frosting cupcakes doesn't have to mean sticking to one color, as debbiescakesbakes perfectly demonstrates with her two-tone buttercream technique. This method adds a unique and professional look to your cakes and cupcakes by swirling two colors together in a single piped design.
First, prepare your frosting, choosing two colors that will create an eye-catching contrast. Then, add these to your piping bag, alternating between dollops of each color, until the bag is sufficiently filled. Debbie uses a Wilton 2D tip to pipe gorgeous pink and cream buttercream roses onto her cupcakes. The beauty of this technique is that each swirl will be unique, with slightly different ratios of the two colors coming out every time.
17. Create an ombre effect
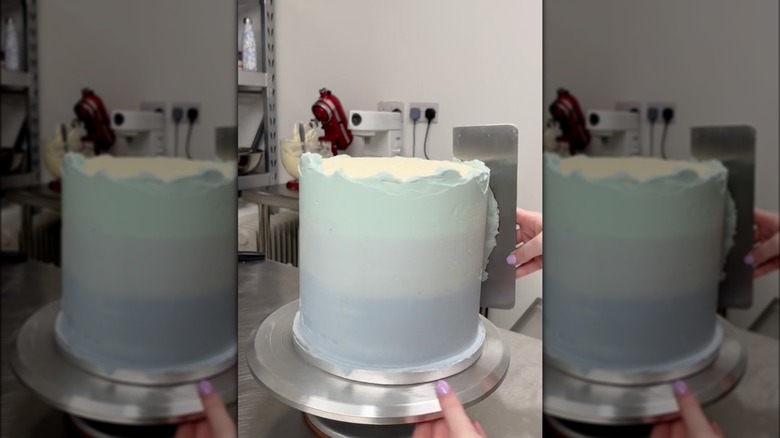
Ombre frosting is one of the most visually appealing cake finishes, and it's far easier to achieve than you might think. For this method, you'll need to blend different shades of the same color (or complementary colors) from light to dark.
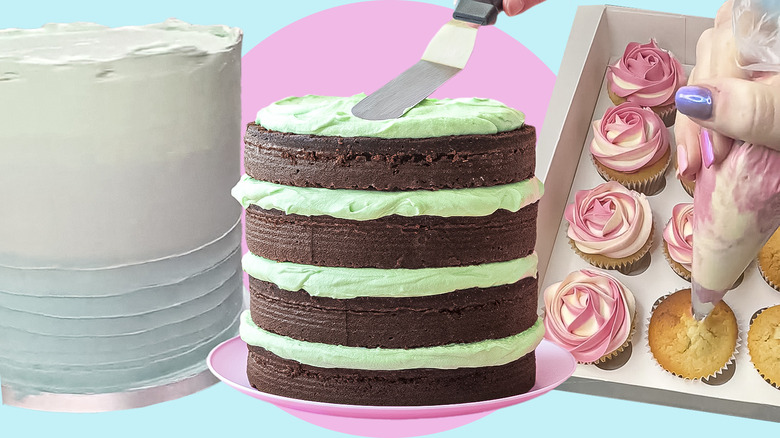
In a TikTok tutorial, colhouncreations opts for three shades of blue frosting to create this effect, starting by roughly applying the darkest shade to the bottom third of the cake using an offset spatula. Then, with a clean spatula, she applies a slightly lighter shade to the middle. The top section is coated with the lightest blue frosting. Finally, a cake scraper is used to smooth the frosting and blend the colors into a seamless gradient.
18. Use purple food coloring to whiten your buttercream
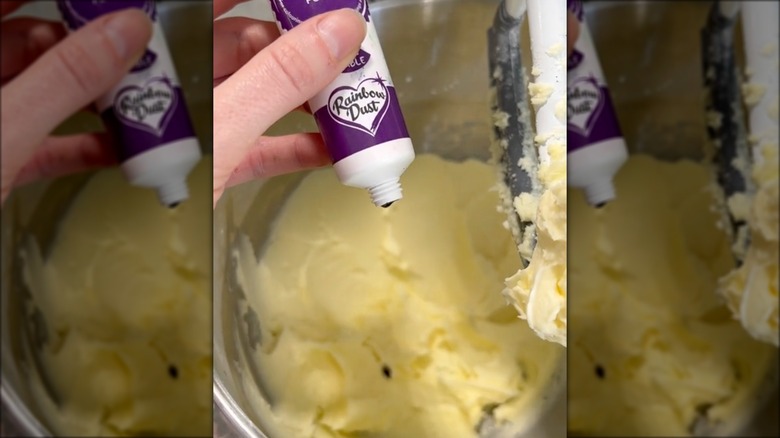
Ever wondered how bakers get their buttercream frosting so perfectly white? One clever trick used in the baking world is to add a little purple food coloring to the frosting batch. This might sound strange, but it works!
TikToker alicefevronia explains that the food coloring works "a bit like purple shampoo", explaining that "it helps to cancel out the yellow tones of the butter". It's best to add just a drop at a time, beating the frosting after each addition until the coloring has been completely combined. This way, you're less likely to overdo it and add just the right amount of purple to counteract that natural yellow hue.
19. Use dowels for smaller cakes
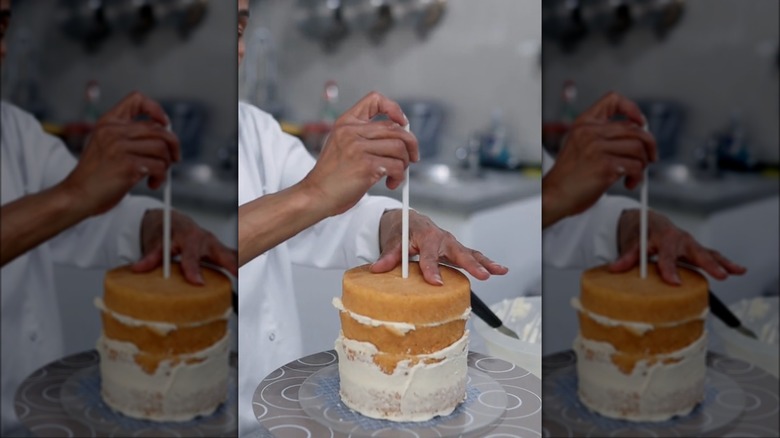
Many people assume that decorating a smaller cake is significantly easier, but compared to cakes with a larger diameter, it can be far more difficult to keep small tiered cakes stable. According to lachi_ldn, "the smaller the cake, the more it slides and shifts." This is because smaller cakes have less surface area in contact with the base or board.
Thankfully, dowels can be a game-changing tool for keeping your cakes nice and stable. These simple wooden or plastic rods provide support, ensuring that your cake layers don't move around, especially when stacking or transporting them. When making a smaller cake, lachi_ldn simply stacks up the layers, ensuring everything is nice and straight, before popping a plastic dowel right through the center of the cake, all the way to the bottom.
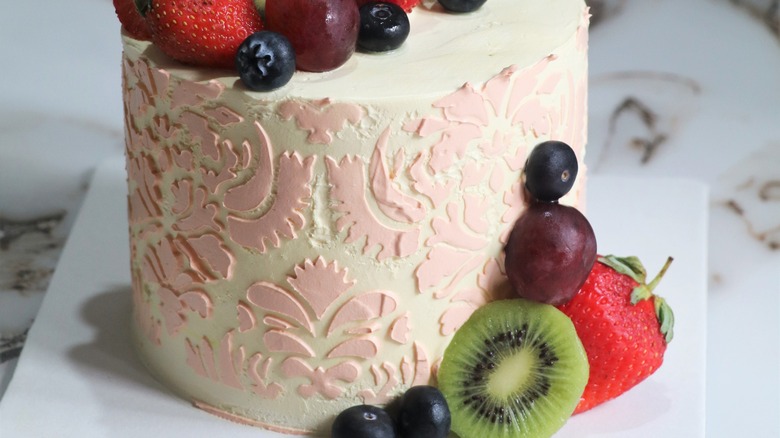
20. Use a cake stencil to create beautiful patterns
Another creative and visually stunning technique you can use to make any cake stand out is stencilling. This allows you to create intricate designs and patterns on your cakes quickly and easily, with no fine art skills required!
In a TikTok demo, debbiescakesbakes uses a cake stencil to add an intricate botanical pattern to the sides of her impressive floral cake. First, she gently positions the stencil against the cake, which has already been coated in a layer of white buttercream. Then, she uses an offset spatula to spread purple buttercream over the top of the stencil, before peeling it away to reveal the intricate pattern underneath.
If you use a stencil on the top of your cake, you can also use powdered sugar or cocoa powder. Just put a few tablespoons of either in a fine sieve and dust it over the stencil. Or, if you'd rather apply food coloring or edible paint to the cake, you can use a paint brush or airbrush gun.
