11 Mistakes That Are Ruining Your Sous Vide Steaks
Sous vide cooking might sound like a trick reserved for high-end kitchens, but it's a game-changer at home too, especially when it comes to steak. As a professionally trained chef and food writer who's worked with sous vide in both restaurant and home settings, I've learned the magic and nuance that this method can bring to steak. With sous vide, you can dial in perfect doneness every time, making steak tender, juicy, and packed with flavor in a way that's tough to beat with traditional cooking methods.
Sous vide stands out for its precision: By cooking at a consistent low temperature, you achieve an even, edge-to-edge doneness that's simply impossible to replicate with other techniques. Add a good sear at the end of the sous vide session — similar to a reverse sear for those truly crispy edges — and you'll elevate your steak to something remarkable. But, as with any technique, there are some critical dos and don'ts. Skip the details, and you might end up with an overcooked, under-seasoned, or downright disappointing result.
This guide dives into the most common mistakes people make with sous vide steaks and, more importantly, how to avoid them. Whether you're a sous vide newbie or someone who's been using the method for a while, these tips will help you take your steak game to the next level, ensuring each cut is juicy, tender, and worth every bite. Let's get into it.
Overcooking by starting with too high a temperature
One of the biggest draws of sous vide cooking is its precision, but that same precision requires patience. Many beginners make the mistake of setting the temperature too high, assuming they can speed things up without compromising quality. But sous vide is all about low-and-slow control, and jumping the gun on temperature can mean an overcooked, less-than-tender steak.
The ideal range for steak depends on your preferred doneness: around 129 F (54 C) gives you a perfect medium-rare, 135 F (57 C) gets you to medium, and 144 F (62 C) takes you into medium-well territory. Staying within these limits allows the steak to cook evenly, yielding that tender, juicy finish sous vide is known for. Higher temperatures can cause the steak's proteins to tighten too quickly, leading to a firmer, less succulent texture and a steak that feels more like it's been pan-fried than sous vide.
Sous vide is all about consistency, so letting the steak heat gradually allows it to break down naturally, resulting in an even cook from edge to edge. By sticking to lower temperatures, you're letting the meat do its thing, giving it time to relax and reward you with an unmatched melt-in-your-mouth experience. After all, part of sous vide's magic is in the wait.
Skipping the sear or doing it wrong
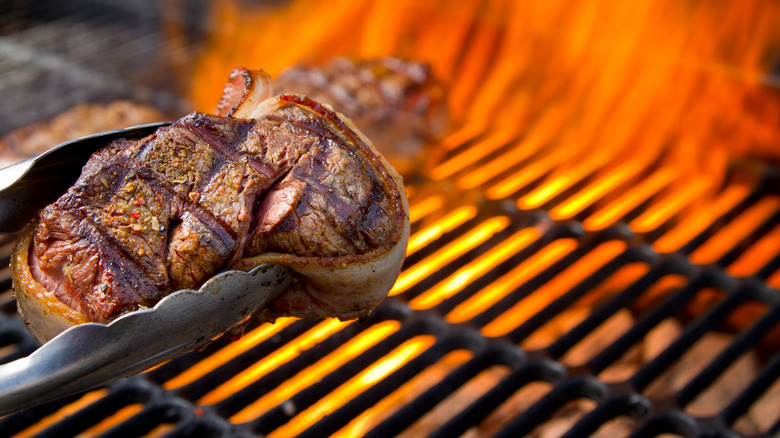
A sous vide steak may come out perfectly cooked on the inside, but it isn't truly complete without a rich, caramelized crust. Skipping the sear is one of the most common mistakes — and it's a missed opportunity to bring extra depth and texture to your steak. A good sear adds that layer of complexity, giving the steak a golden-brown exterior that contrasts beautifully with its tender, juicy interior. When done right, the sear takes your sous vide steak from good to absolutely unforgettable.
Getting the sear right means using high heat and working quickly. After removing the steak from the sous vide bath, pat it completely dry with paper towels. Any remaining moisture on the surface will cause the steak to steam rather than sear, leaving you with a less-than-crispy crust. Next, heat a heavy skillet with a high smoke point oil like avocado, grapeseed, or clarified butter. The pan should be just shy of smoking hot, so when you add the steak, it gets an immediate, intense sear.
Aim to sear each side for about 30 to 45 seconds, plus a quick run along the edges. This develops that browned crust without overcooking the interior. And don't hesitate to get some additional color by adding a pat of butter or fresh herbs to the pan — this helps deepen the flavor and adds a touch of richness. The result is a steak that's beautifully cooked inside and out, with a contrast in texture that brings out the best in each bite.
Using too much or too little seasoning
Sous vide cooking amplifies flavors, which is why getting the seasoning just right is crucial. Unlike traditional cooking methods, where seasoning can adjust as flavors meld, sous vide locks in the profile from the start. One common mistake is either under-seasoning, which leaves the steak bland, or over-seasoning, which can overshadow the meat's natural richness. Striking that balance is key to achieving a steak that's both flavorful and true to its high-quality cut.
Start by using a simple, even seasoning of salt and pepper to enhance the meat's natural taste. Don't go heavy-handed with spices or marinades that can overpower the steak, especially since sous vide will concentrate these flavors. If you want to add aromatics, consider a sprig of rosemary, thyme, or a clove of garlic in the bag. These gentle additions infuse the meat subtly, enhancing it without dominating it.
For those looking to add a bit more flair, wait until after the sous vide process to apply seasonings or sauces. A touch of finishing salt or a drizzle of herb-infused butter post-sear adds complexity without overwhelming. This approach keeps your steak balanced and delicious, celebrating the meat's natural flavors without losing its essence.
Neglecting to rest the steak after searing
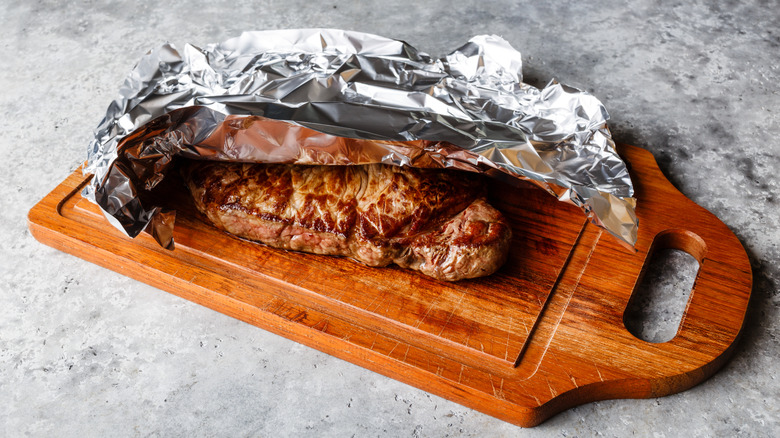
Resting the steak after searing is a key step that many overlook, thinking the sous vide process makes it unnecessary. But here's the thing — even after a precise sous vide cook, a final sear brings a surge of heat to the steak's surface, causing the outer juices to redistribute. Skipping this rest period can result in a steak that looks perfectly cooked but loses its precious juices on the plate when sliced, leaving you with a dry and less flavorful bite.
To keep those juices where they belong — in the steak — let it rest for about 5 to 10 minutes after searing. This brief pause allows the meat to reabsorb moisture, ensuring each bite is tender and succulent. Resting also allows the intense heat from the sear to even out, creating a smoother transition between the juicy interior and the crispy exterior. The result? A steak that's visually impressive and packed with all the flavor you intended.
If you've gone for a deeper, bolder sear with butter and aromatics, this rest period becomes even more important. The extra heat from these ingredients can intensify the juice movement within the steak, so giving it time to settle enhances not only the taste but the texture, creating a richer, more enjoyable eating experience. In short, resting the steak after searing is the final touch that preserves the work you've put into a perfectly cooked sous vide steak, bringing out the best in every slice.
Using inferior quality beef
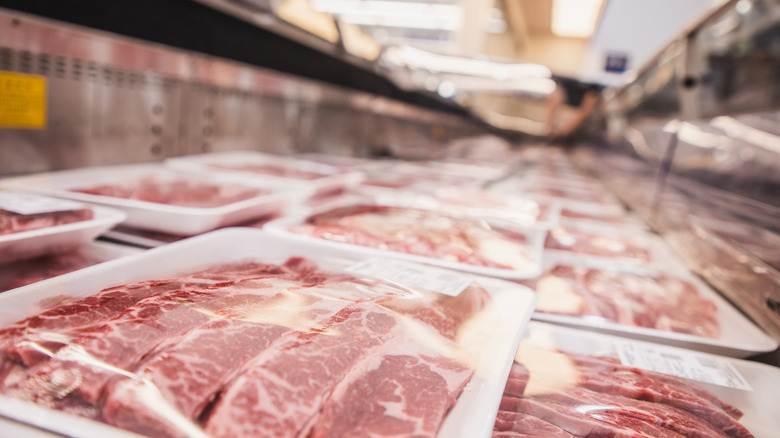
Sous vide cooking can elevate a good steak to greatness, but it can't turn a subpar cut into a showstopper. A mistake I've seen is starting with lower-quality beef and expecting sous vide to work culinary magic. While sous vide does wonders with tenderness and can bring out the natural juiciness of the meat, it also amplifies every nuance of flavor — both good and bad. If the steak lacks marbling or flavor from the start, those shortcomings will be more apparent after cooking, resulting in a final product that falls short of expectations.
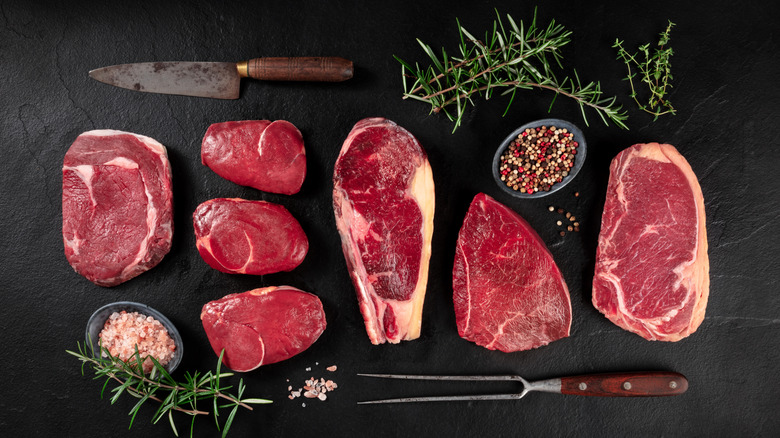
The beauty of sous vide lies in its ability to enhance a high-quality cut of steak, such as a well-marbled ribeye, strip steak, or filet. These cuts are rich in flavor and have a texture that benefits from the precise, low-and-slow cooking that sous vide offers. The fat within a quality cut melts and tenderizes beautifully, resulting in a steak that's juicy and flavorful from edge to edge. On the other hand, leaner cuts or beef that's too tough will lack that buttery, melt-in-your-mouth experience, even with a sous vide cook.
If you must sous vide leaner or tougher cuts, like flank or sirloin, consider adding extra fat or flavors. A small pat of butter, a drizzle of olive oil, or even a few aromatics like garlic and herbs in the bag can help enhance flavor. But ultimately, starting with quality beef makes all the difference, letting sous vide do what it does best.
Cooking all steaks the same way
Not all cuts of beef are created equal, and one mistake many sous vide enthusiasts make is cooking every steak with the same time and temperature. Treating a ribeye like a filet or a flank like a New York strip can lead to disappointing results, as each cut has its own unique texture, fat content, and thickness that requires tailored cooking. Sous vide is precise but to get the best out of each cut; it's essential to adjust for the specific needs of the meat.
For instance, a tender, well-marbled ribeye shines at a temperature of around 129 F (54 C) for medium-rare and needs only about an hour to reach optimal tenderness. But a tougher cut like flank steak benefits from a slightly higher temperature, around 135 F (57 C), and a longer cook time to break down connective tissues and tenderize properly. The thickness of the steak also matters; thicker cuts may need a bit more time to ensure heat reaches the center evenly.
Tailoring your sous vide process to each cut of beef allows you to bring out its best qualities. Thinner steaks can reach doneness quickly, while thicker or tougher cuts need a more patient, low-and-slow approach. By making small adjustments based on the specific cut, you'll end up with a steak that's perfectly suited to sous vide's precision, delivering flavor and tenderness unique to each variety.
Forgetting to vacuum seal properly
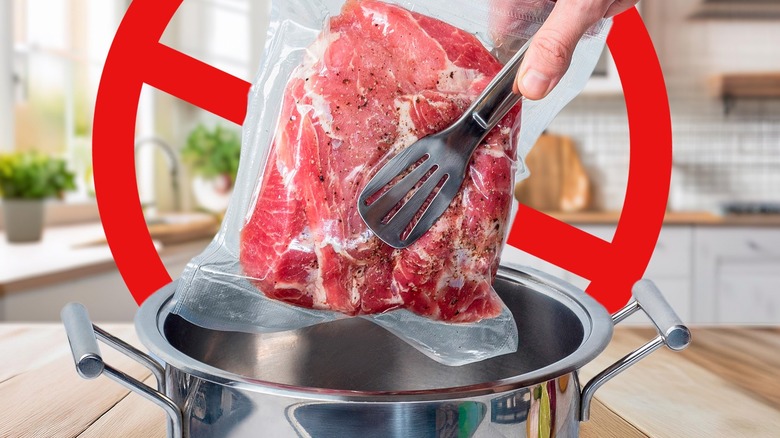
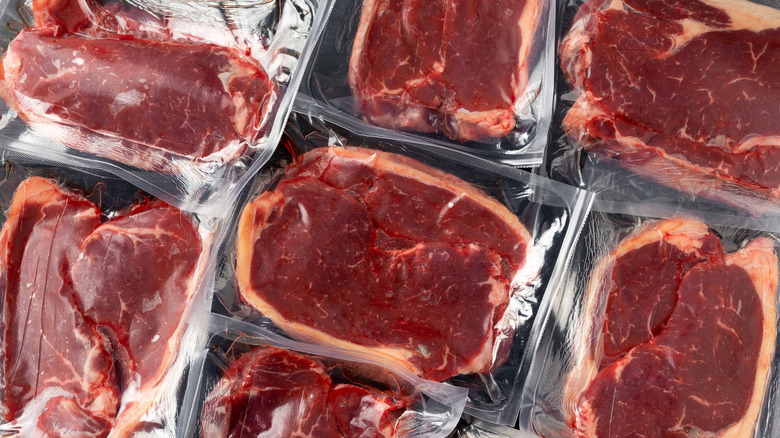
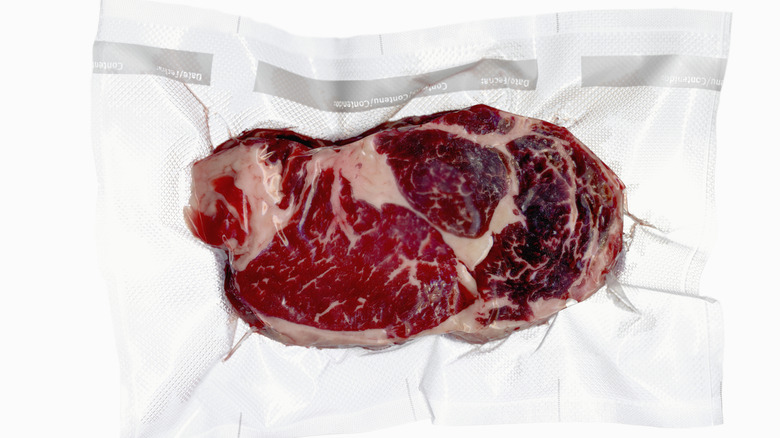
Vacuum sealing is the foundation of sous vide cooking, keeping air and water out so your steak can cook evenly and safely. But if the bag isn't sealed correctly, you can end up with lots of air pockets that disrupt the process, leading to uneven cooking and potentially waterlogged meat. A proper vacuum seal ensures that your steak is fully surrounded by water, allowing precise, consistent heat to cook the meat from edge to edge without any hot or cold spots.
To get the best seal, make sure the meat is positioned flat in the bag and avoid overfilling, as this can prevent the bag from sealing tightly. When sealing, watch for any small creases or bits of seasoning that could obstruct a clean seal — these small details can make all the difference. Many vacuum sealers have both dry and moist settings, so if your steak has been marinated, be sure to use the moist setting to achieve a stronger seal.
If you're using a zip-top bag instead of a vacuum sealer, try the water displacement method by slowly lowering the bag into the water bath to push out excess air before sealing it closed. A well-sealed bag not only keeps water out but also locks in the flavors and juices that sous vide cooking enhances. Try to get as much air out as you can without being obsessive.
Not letting the steak fully thaw (if frozen)
Some things can be sous vide from frozen, but steaks aren't a good one to try. While some cooks might be tempted to throw a frozen steak straight into the water bath — don't, unless you want to ruin your steak. Thawing in your sous vide bath will lead to uneven cooking, with edges that come out tough or overcooked while the center struggles to reach the right temperature. If your steak is frozen, letting it thaw fully before cooking ensures that every part of the meat heats evenly, delivering the tenderness and consistency you expect from sous vide.
To properly thaw a steak, place it in the refrigerator the night before, allowing it to defrost slowly and safely. This method maintains the meat's texture and keeps it out of the "danger zone" where bacteria can grow. If you're short on time, you can also place the steak in a sealed bag in a bowl of cold water, changing the water every 30 minutes until it's fully thawed. Avoid warm or hot water, as this can start to cook the edges before the steak is ready for sous vide.
Starting with a fully thawed steak — even better if it's tempered to room temperature — guarantees that sous vide's precision can work its magic, giving you an evenly cooked steak that's juicy and tender all the way through. It's a small step, but it makes all the difference in getting that perfect, edge-to-edge doneness.
Leaving the steak in the water bath for too long
One of the perks of sous vide is its flexibility — you don't need to watch the clock like you do with traditional cooking. But leaving your steak in the water bath for too long can still compromise the final texture. While sous vide offers a forgiving window, cooking for hours longer than necessary can lead to a mushy texture as the meat's fibers break down more than intended.
For optimal results, stick to recommended cooking times based on the thickness and type of steak. For a typical 1- to 1.5-inch cut, one to two hours at your preferred temperature (e.g., 129 F for medium-rare) is usually perfect. If you leave the steak in for, say, four or five hours, it might still be safe to eat, but the texture could lack that satisfying bite, making it feel over-soft and less enjoyable.
If you need more flexibility, use a timer or set an alert to remind you when the optimal time is up. That way, you get all the benefits of sous vide's precision without risking the integrity of your steak's texture. Finding that balance gives you a steak that's tender yet still holds its structure, delivering everything sous vide promises without any compromises.
Using a non-precise sous vide setup
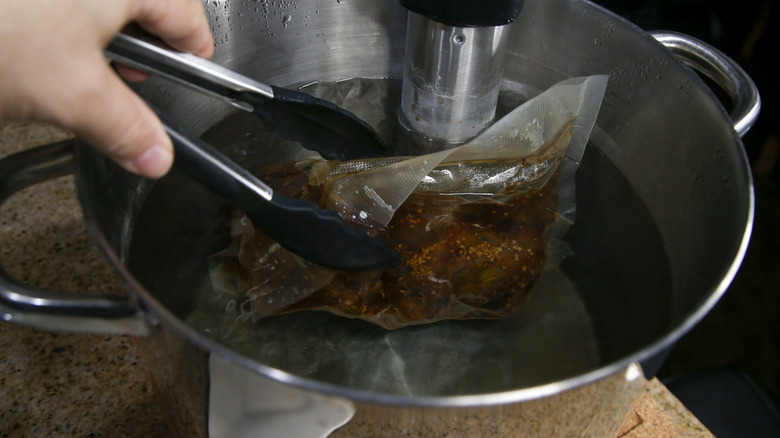
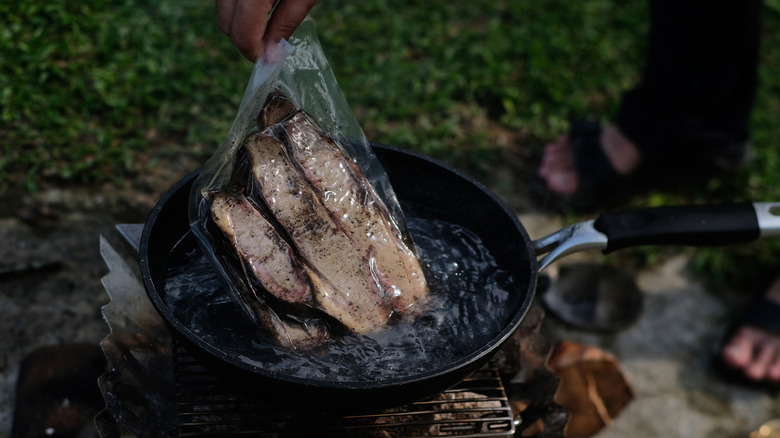
Consistency is the name of the game in sous vide cooking, and an imprecise setup can undermine everything you're trying to achieve. Some beginners try to mimic sous vide with DIY methods, like using a stovetop with a thermometer or makeshift setups without precise temperature control. Unfortunately, these methods often fail to maintain the stable, low temperatures that sous vide requires, resulting in steaks that are inconsistently cooked, with parts that may be over or underdone.
Investing in a reliable sous vide device — as well as some insulation for your bath — is crucial for achieving that consistent edge-to-edge doneness. Modern sous vide devices allow you to set an exact temperature and hold it steady, ensuring the entire water bath stays uniform. Quality devices also heat up quickly, adjust automatically, and alert you to any changes, making the process easy and worry-free. An imprecise setup, on the other hand, leaves too much room for error and can negate the very benefits that make sous vide special.
While sous vide machines may seem like an investment, a good one makes all the difference in results and reliability. Having consistent temperature control lets you focus on the quality and flavor of your steak rather than babysitting the water temperature, delivering results that match the sous vide promise every time.
Failing to monitor the water level and time
Even with the precision of sous vide, a few small details can make or break your results, especially over longer cooking times. One common oversight is forgetting to monitor the water level. As water heats, especially during extended cooks, evaporation can lower the level enough to expose the steak to air, leaving it partially uncooked or even allowing bacteria to form on the exposed meat. If the steak isn't fully submerged, you're missing out on the even cooking that sous vide promises.
To prevent this, use a lid or cover to reduce evaporation or keep an eye on the water level throughout the process. Many sous vide machines come with an alert function if the water drops too low, which is particularly helpful for longer cooks. If your device doesn't have this feature, simply add a bit more water periodically to keep the steak fully submerged.
Additionally, while sous vide offers flexibility, setting a timer is still essential to avoid overcooking. Forgetting a steak in the bath for hours past the recommended time can alter its texture, so setting a reminder helps keep the process controlled. Paying attention to these final details ensures that your steak comes out as perfectly as planned, without any unexpected surprises.
