12 Simple Ways To Get More Out Of Your Countertop Blender
We may receive a commission on purchases made from links.
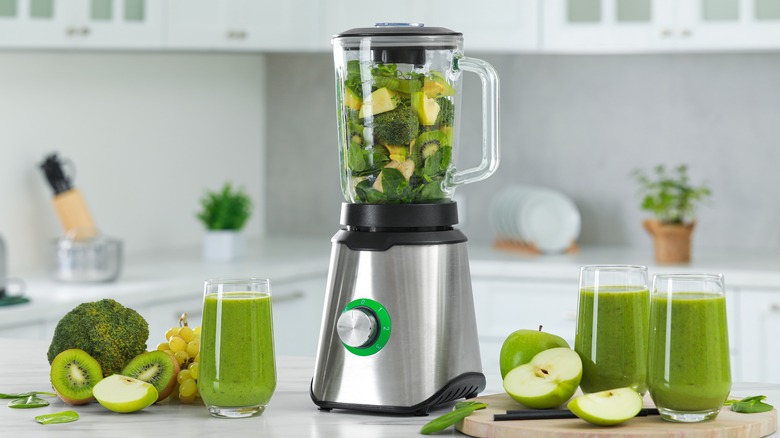
Countertop blenders are a culinary appliance that can transform your kitchen working environment and slash the time it takes to do certain tasks. Compared to bulkier items, they don't take up much space in your cupboard or on your worktop, making them a convenient and versatile option. Of course we all know that they are great for whizzing up a smoothie in seconds, but are you getting as much out of your blender as you could be?
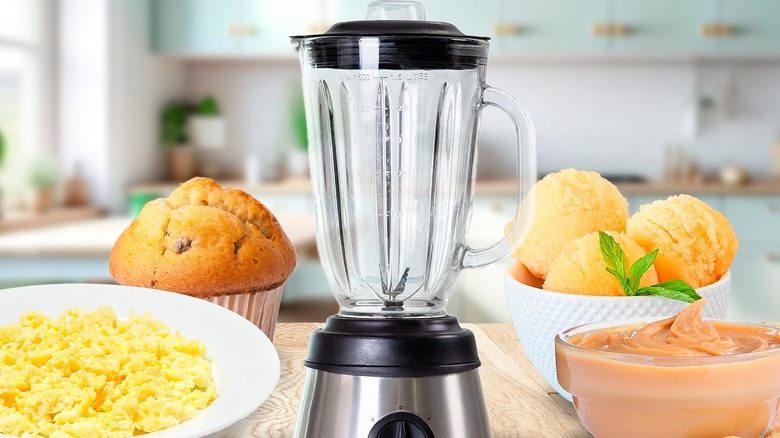
From creating the fluffiest scrambled eggs to helping with your meal prep, your blender is capable of far more than creating a healthy morning drink. And when it comes to looking after your blender, there are a few time saving hacks that you should start implementing immediately. If cleaning the blade of your blender is your all-time least favorite kitchen job, keep reading! Whether it's maximizing productivity in the kitchen or making items you thought you didn't have time for, there are so many ways to get more out of this kitchen essential. So, let's look at 12 ways to get the best use out of your countertop blender.
Order your ingredients properly for the smoothest results
If you enjoy using your blender to make smoothies or sauces, you presumably love the convenience — just chuck everything in and turn it on, right? Well, if you want the smoothest possible result, then no. There is a correct way to add the ingredients to your blender, and not paying attention to it can create a lumpy liquid or lead to you scraping chunks from the blades (more on that later).
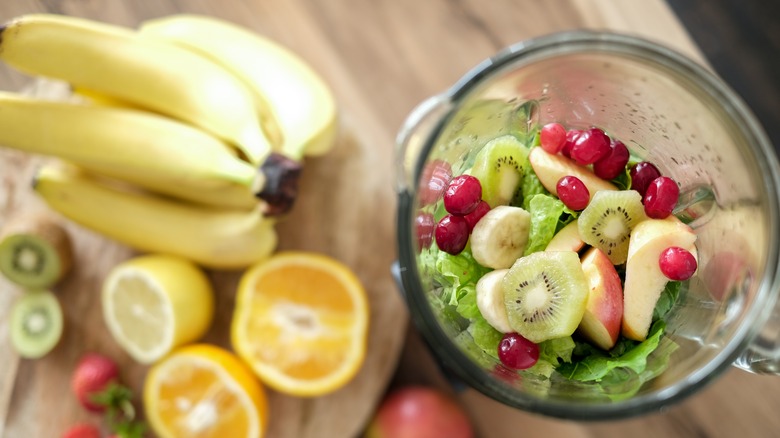
As a rule, most of us add the fruit and other solid ingredients to the blender first, then top up with the liquid, but that is actually the wrong order. Start with your liquid to allow the blades to easily blend the rest of the ingredients. If your blender has built-in measuring lines, it will also allow you to accurately judge how much liquid you have added. Next in should be the dried powders, which now won't stick to the blades thanks to the presence of the milk, juice, or water.
Now add fruits and veggies in this order: leafy greens, soft fruits, and then harder ones. Yogurt can also be added at this point, to ensure it is completely mixed by the end. The hardest ingredients go in last — nuts, seeds, ice, and any frozen fruit. Using this method, the harder ingredients on top will push down the softer ones, which should result in a smoother, more consistent drink. So next time you're about to toss all your ingredients in at once, stop for a second and change the order — your blender blades will thank you for it.
Prevent waking the household with a simple towel hack
If you love to use your blender first thing in the morning to whip up a delicious smoothie, you may have noticed a slight snag. As the blades spin into action to break down the fruit into liquidy goodness, it can sound like a jumbo jet is taking off in your kitchen. If the rest of your household is still in bed, this creates a bit of a dilemma — is your energizing smoothie worth giving up the quiet time you'll get if they all stay asleep?
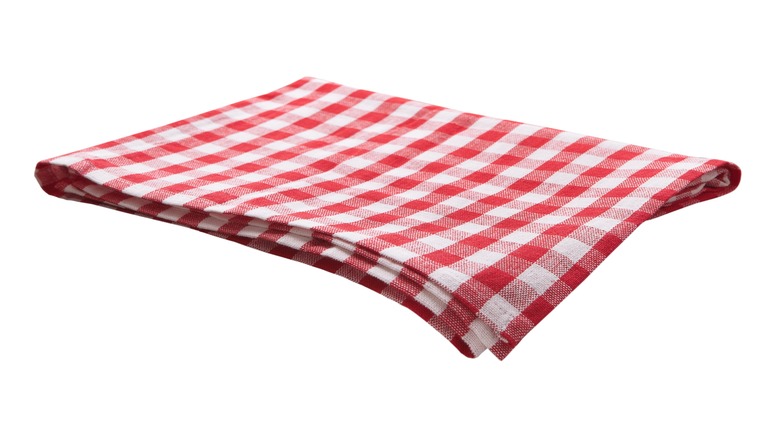
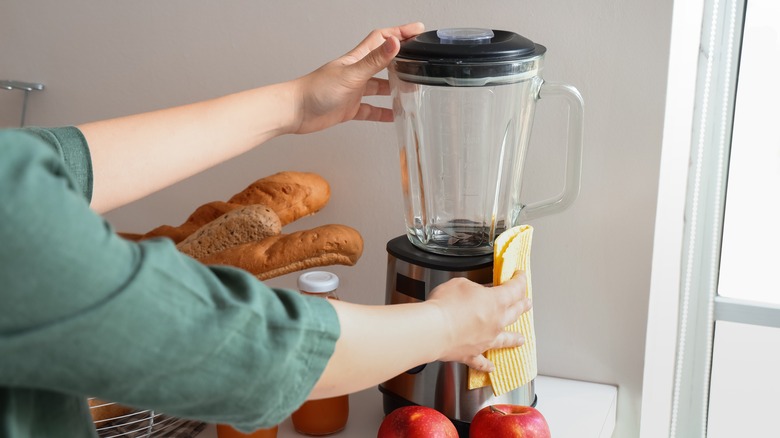
Fortunately, you don't have to choose between alone time and nutrition, as a simple hack can reduce the noise from your blender significantly. Simply grab a tea towel and place it under your blender unit before you turn it on. This will help absorb some of the noise that transfers from the blender to the worktop, which can be particularly loud if there is a cupboard or hollow space underneath. The thicker the towel, the more noise it will absorb, but you need to make sure it doesn't touch or cover any of the vents. Though this hack will not make your blender totally silent, it should cut enough noise that your family (and neighbors) won't be drawing you dirty looks for the rest of the day.
Make the fluffiest scrambled eggs
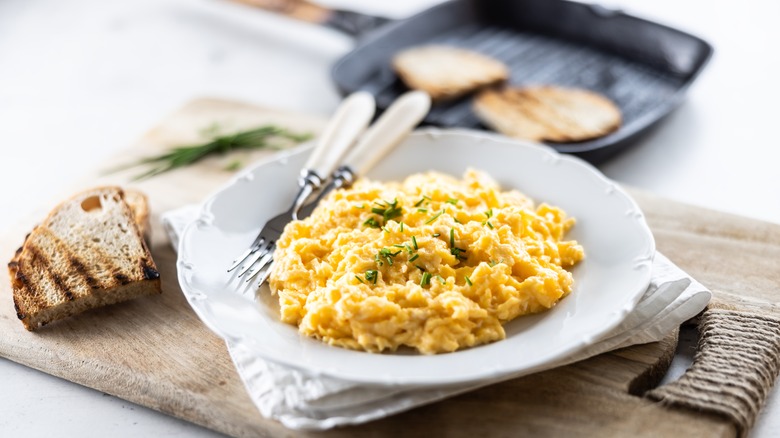
If you want to make the fluffiest scrambled eggs possible, the key is to mix the raw eggs as thoroughly as you can. This will benefit the egg mixture in two ways — it will make sure the whites and yolks are completely mixed to avoid uneven lumps of one or the other, and it will also add plenty of air into the mixture. Air is what you need for a light, fluffy plate of scrambled eggs, so rather than putting your biceps to work by beating them with a fork, you can give them a quick blitz in your blender instead.
Crack the eggs straight into your blender with your desired seasoning and a splash of milk or cream if you wish. Blend for a few seconds at a time until the whites and yolks are well and truly combined, then pour the mixture into a hot pan with oil, and cook them in your usual way. Once you see how pillowy-soft and fluffy blender eggs are, you will never want to resort to mixing by hand again.
Use it instead of an ice cream maker
Making your own ice cream can be a wonderfully rewarding process, but it takes quite a bit of time and effort, so many of us don't even attempt it. But there is a way to make a delicious frozen treat without hours of churning, and it involves, of course, your trusty blender.
For the simplest option, start with a heavy cream base if you are making dairy ice cream – the higher the fat content, the more creamy your blender ice cream will be. If you prefer a plant milk, coconut milk from a can is the best option, using as much of the high-fat cream that separates out as you can. Add your main flavor to the cream, chopped fruit or vanilla are great options, then add sugar or a sweetener such as honey.
Blend the base on high power until a smooth consistency is achieved, then add any additional ingredients such as nuts or chocolate chips, and blend again. Pour the creamy mixture into a freezer-safe dish and leave it for at least four hours. While your blender ice cream will be delicious, it will have a slightly different texture to regular ice cream, and you may need to bring it out of the freezer 15 minutes before scooping. Serve in a bowl topped with chopped nuts or freeze dried fruit, and enjoy the wonder of ice cream that takes only minutes of hands-on time to create.
Make smooth pancake batter
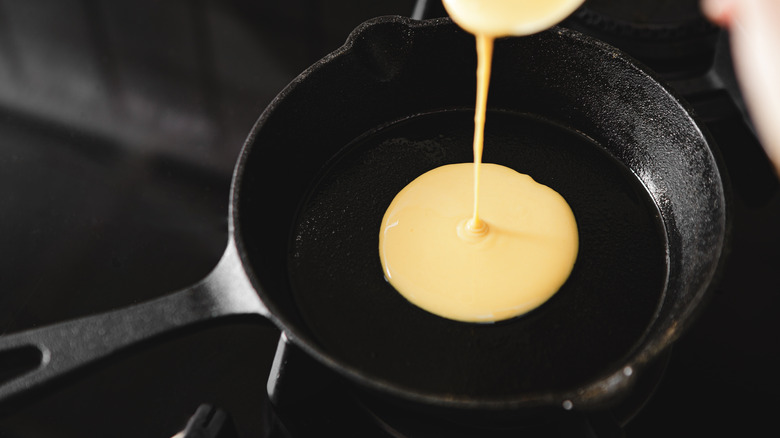
Making homemade pancakes is a delicious option for either breakfast or dessert, but lumpy batter can ruin that dream and leave you feeling disappointed. Getting out all the lumps can be hard work if you do it manually, and can leave you wishing you had just grabbed a pack of pancakes at the store. Making up the batter in your blender instead will make easy work of creating a silky smooth batter, resulting in perfectly fluffy pancakes.
Gather your usual pancake recipe ingredients, and add them all to the blender. Remember to add the liquids first to prevent the dry elements from sticking to the blades. Pulse the mixture for a few seconds at a time, until you have a lovely thick batter. You can now add any extra ingredients, such as blueberries or lemon zest, folding into the mix before pouring the batter into the pan. If your blender has a pouring spout, it will make this step mess-free, and mean the only item that will need to be washed is the blender itself.
Make sauces quickly
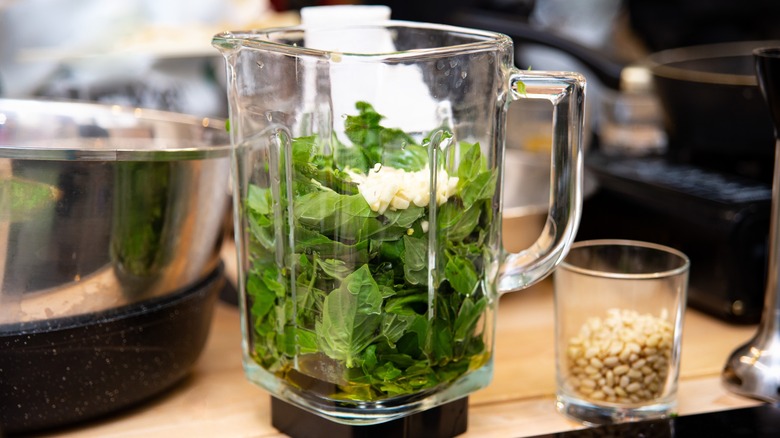
No matter what type of sauce you need to whip up for dinner — whether a marinara, chimichurri, or even a tricky hollandaise, your blender can help you make light work of it, and create a sauce with very little effort. For a straightforward sauce such as tomato sauce or pesto, simply add the usual ingredients into the blender, whizz them up to your desired consistency, then heat in a saucepan if required. Remember the rules of adding the ingredients in the correct order, to allow your blender to do its best work.
For a more complex sauce like a hollandaise, you will need to split the ingredients up. Blend the egg yolks, lemon juice, and seasonings together while you heat the butter in a pan. Keep the blender running for at least 30 seconds to ensure that plenty of air gets into the mixture. You can then slowly drizzle the melted butter into the blender, leaving it running while you pour, if your blender allows. Once everything is incorporated, you can then serve your easy blender hollandaise with eggs Benedict, asparagus, or drizzled over some baked fish.
Start on a low speed, and increase it to high
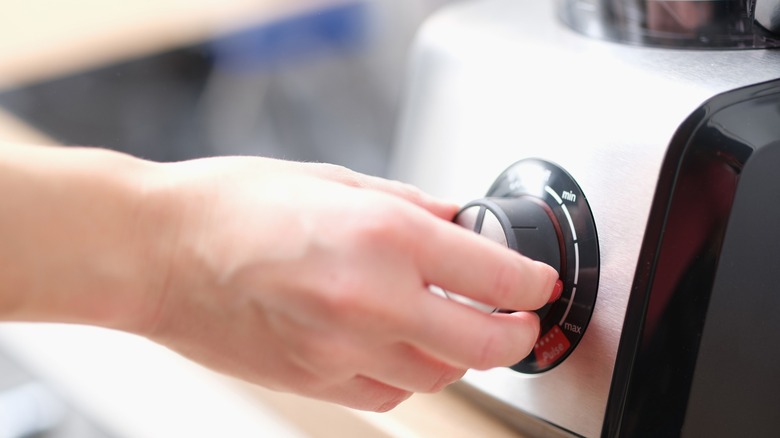
Since we often use our blenders to take shortcuts in the kitchen, you may be used to turning the power knob straight to high, to reduce the time it takes to blend the ingredients. However, the correct strategy is to start the mixing on a low speed, before increasing it gradually to maximum power.
Starting slowly allows the blades to pull the ingredients in toward them, and start to chop them to break them down. If you have added the ingredients in the correct order, the liquid will help this process remain smooth and efficient. Once the largest chunks have been dealt with, you can turn the speed up to high, and allow it to break down the smallest particles into a smooth liquid. This technique will reduce the chance of an air bubble forming inside the machine and can help make it quieter too.
Make chia jam
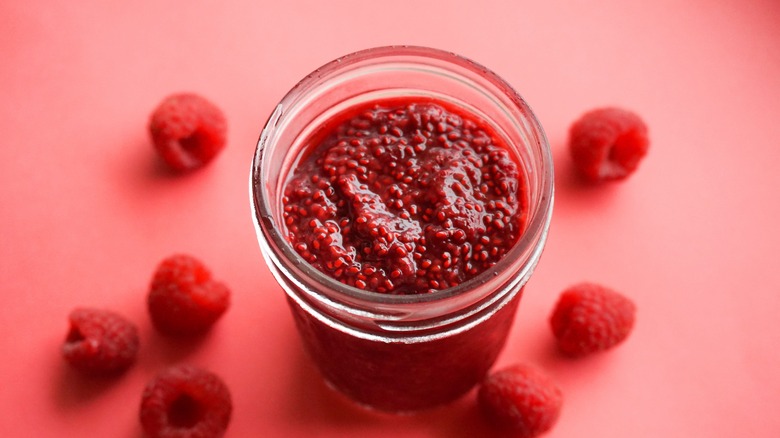
If you love the idea of homemade jam, but simply don't have time to stand over the stove for hours, you should definitely consider making chia jam instead. This easy recipe will allow you to have jam that is ready to spread within an hour or so, and with only a few minutes of hands-on preparation time.
The secret to this jam lies in the special properties of chia seeds when they mix with water or other liquids. Though tiny, dry seeds when kept away from moisture, they have the ability to absorb huge amounts of liquids, forming a thick gel that will give the fruit that jammy texture. Given the significant health benefits of chia seeds, including possibly reducing inflammation and balancing blood sugars, adding these tiny little beauties to your jam will benefit more than just the texture.
For this blender jam, you can choose pretty much any fruit you wish. Berries are of course a traditional choice, but stone fruits work well too. Simply blend your choice of fruit well until it forms a smooth purée, then add a few tablespoons of chia seeds and mix well. Put it in the fridge to help it set faster, and after an hour, you will have a thick, sticky jam to enjoy on toast or pancakes. If you prefer it a little sweeter, you can add honey or any other sweetener to the fruit before blending.
Make double (or triple) the quantity
If your least favorite part of cooking is the clean-up, you can reduce the misery slightly by using your blender to prepare double, or triple the quantity and store it for later in the week. Many of us just add a little sauce or smoothie into the blender, even though we know we will need more in a few days. Most blenders are capable of handling a decent volume of ingredients, meaning you can take the pressure off your future self and do a little meal prepping with virtually no extra effort. Imagine making enough pancake batter to do you the whole week, without needing to wash any further appliances — bliss!
The trick is to get the balance right between making a large batch and over-filling your blender. If your jug has a maximum level marked on it, don't exceed it, or you may end up with a sticky mess spilling out the top. If you have too much liquid, blend in batches before pouring into freezer safe containers and continuing with the next portion. Foods such as soups and smoothies can comfortably be made and kept in the fridge for a few days, or you can freeze them to keep them fresh for months. Once you've stored everything in airtight boxes, you can wash your blender once, then stand back and feel slightly smug about your ridiculously easy meal prep efforts.
Get yourself a blade scraper
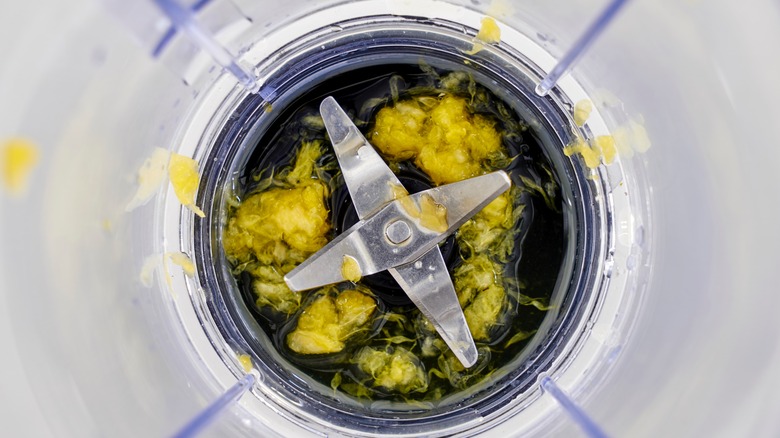
Chances are you have gotten this far in your blender career without even knowing that a blade scraper existed, but it may be a game changer if you use your appliance often. Thick pastes such as nut butters or pesto can often get stuck under the blade, making it difficult — and downright dangerous — to get every last bit of our delicious creation out from underneath. Enter, the under-blade scraper, designed to prevent you from missing out on that last mouthful, or risking the top of your finger trying. It is also handy to use mid-blend, stopping the blender to scrape any ingredients that are stuck on the blade, before resuming the blending process.
If you were lucky enough to receive a blade scraper as part of your blender package, go and hunt it down and start putting it to good use. Otherwise, you can buy a silicone blender spatula that can also double up to help you retrieve the last drops from jars of mayo, mustard, or jam. What more could you hope for from a plastic utensil?
Make muffins
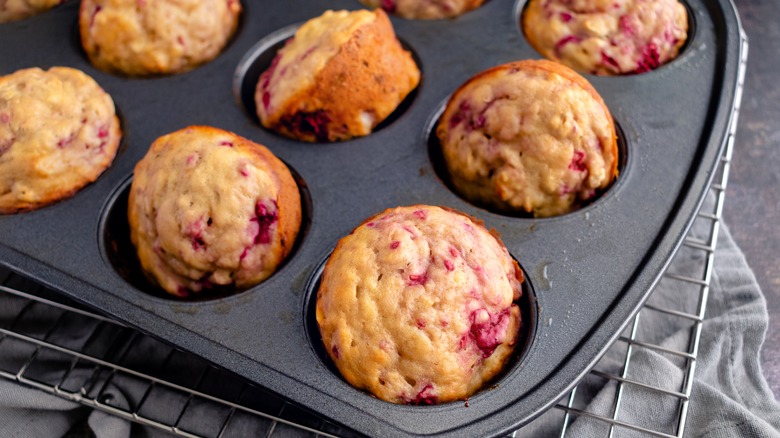
Making muffins from scratch is such an appealing thought — eating them hot straight from the oven is a treat that store-bought can never compete with. But the thought of whipping up the batter and doing all the washing up afterwards is less appealing — unless of course you make it in your blender.
Gather the ingredients for your muffin mix, and add them to the blender, liquids first. Blend them up until they form a smooth, thick batter, without you having to give your whisking arm a workout. If you want to add fruit such as berries or bananas, you can add them once you have already created your batter, then blend them for a few seconds to ensure they still retain a little texture. You can then use your newly acquired blade scraper to remove the batter from the blender and make sure it all ends up in your muffin tray. The only issue now is having to wash up your blender, but don't worry, there's a handy hack for that too.
Clean your blender in a flash
We all know that cleaning up kitchen appliances is the worst part of cooking. With blenders especially, chunks can get stuck under the blades, or paste can end up clinging stubbornly to the side, making us wish we hadn't bothered. And even if your blender jug claims to be dishwasher safe, the rubber seals can often react badly and change shape. As it turns out, we've been washing our blenders wrong all this time, and there is a handy blender cleaning hack that will have it sparkling in no time.
Once you have finished creating your blended masterpiece, add lukewarm water to the jug with a tiny splash of dish soap. Then simply turn the motor on and allow the blades to do all the hard work for you. The sooner you do this after blending, the easier it will be, since smoothies and sauces have an irritating way of sticking awkwardly to the side of the jug. Once you have turned it off, you can simply pour the soapy water away and repeat if the jug is particularly dirty. This method prevents you from using abrasive scrubbers that could scratch the jug, and means that your blender can be sparkling clean and back in the cupboard within a few minutes of using it.
