The Ultimate Guide To Brining Turkey
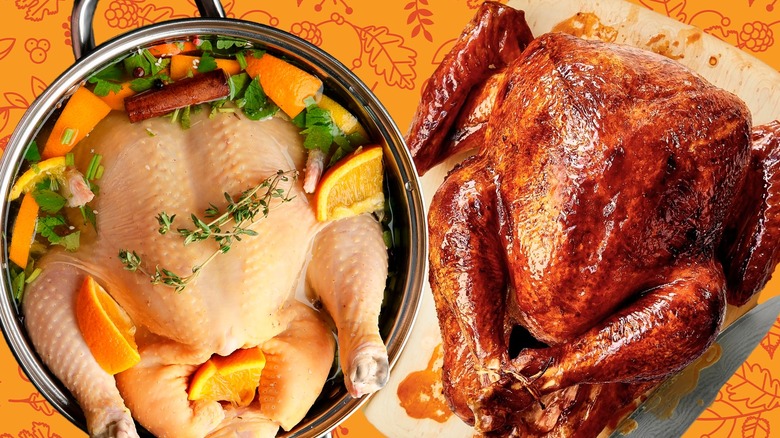
Undeservedly, turkey gets a bad rap. The complaints are almost universal — too dry, too bland, too dependent on gravy to save it. And the worst part? These grievances are often true, but the common denominator is almost always one major misstep. What if I told you that turkey doesn't have to be the boring plus-one of your holiday meal? Enter brining, the not-so-secret weapon of home cooks and chefs alike.
Brining takes your turkey from sad and dry to juicy, flavorful, and, dare I say, unforgettable. By locking in moisture and injecting layers of seasoning, this simple technique ensures every bite is a succulent masterpiece. And here's the best part: Brining isn't complicated. Whether you're a fan of wet brining — a good ol' saltwater soak — or the less messy dry brining method, the results are transformative.
I am the de facto protein cook at Thanksgiving every year, and I take great pride in my turkey. It's my favorite protein, and the secret is all in the brine. I'm a freak about brining all my poultry — something conditioned in me through years of chasing the juiciest and crispiest poultry in professional kitchens and at home.
This guide is here to give you the tools (and the confidence) to brine your turkey like a pro. From explaining what brining actually does to walking you through each method step by step, you'll have all the info you need to make your bird the MVP of the table.
What exactly is brining?
Before we get into the nitty-gritty, let's talk about what brining actually is — and why it works. At its core, brining is the process of using salt to improve the flavor, texture, and moisture content of your turkey. Think of it as the ultimate flavor insurance. Salt not only seasons the meat but also alters its structure on a cellular level (don't worry, there's no quiz).
When you apply salt to turkey — whether through a liquid brine (wet brining) or a direct rub (dry brining) — a little bit of magic happens. The salt draws moisture out of the meat, which might sound counterproductive at first. But then osmosis kicks in, pulling that moisture back into the bird, now infused with salt and whatever other seasonings you've added. The result? A turkey that's seasoned all the way through, not just on the surface.
So why choose brining over, say, slathering your turkey with butter or basting it obsessively? Because brining penetrates. It doesn't just coat the skin; it works its way into the meat itself. Plus, brining improves texture, making even the white meat — usually the first casualty of overcooking — juicy and tender. In short, brining takes a turkey that tastes like a chore and turns it into the highlight of your holiday meal.
The pros and cons of wet brining
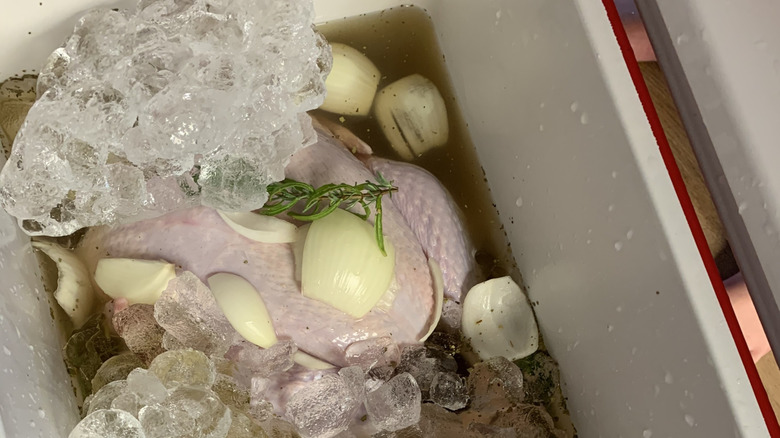
Wet brining is the classic approach. It's the OG method, the one your food-obsessed uncle (and I) swear by. It involves submerging your turkey in a saltwater solution anywhere between 24 hours and three full days, depending on the size of your turkey. This allows the bird to soak up all that salty goodness. The benefits are undeniable: Wet brining adds moisture, ensures even seasoning, and creates a safety net against overcooking.
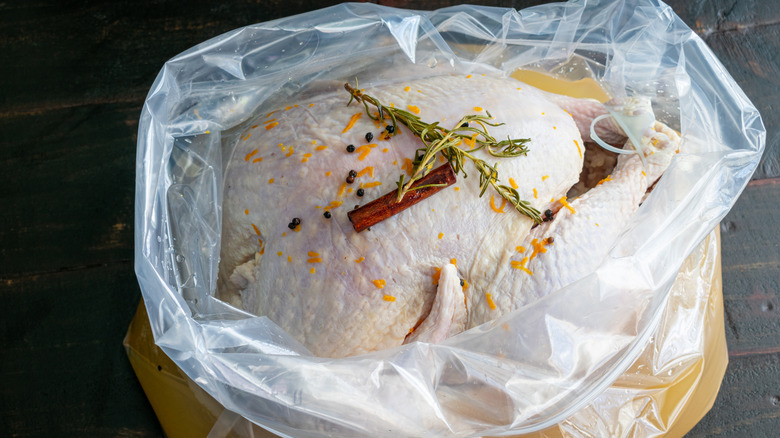
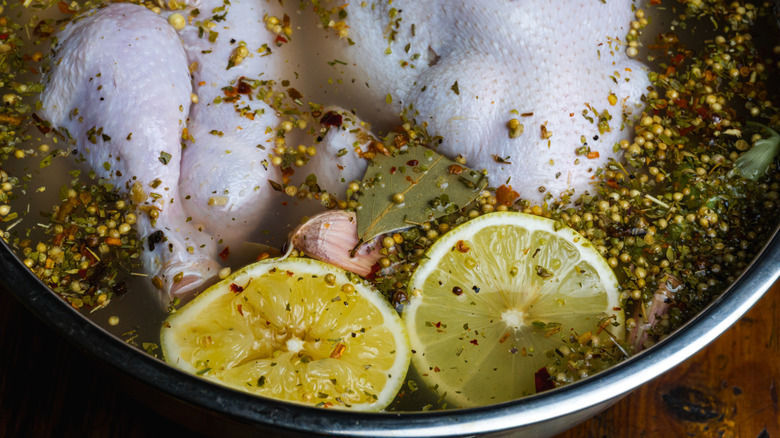
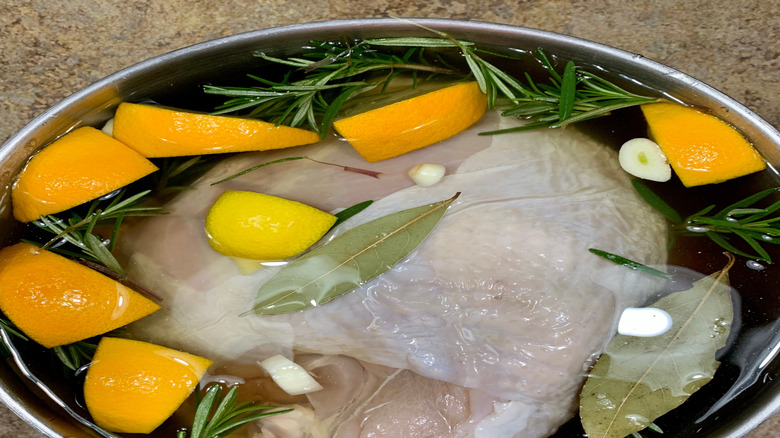
Picture this: Your turkey sits in its briny bath, absorbing not just salt but also any other flavors you've added — think garlic, herbs, citrus, or even spices like cinnamon or cloves. By the time it's done, you're left with a bird that's plump, juicy, and perfectly seasoned all the way to the bone.
Wet brining is a commitment. You need space. Unless you have a second fridge or a garage cold enough, fitting a giant bucket of turkey and brine in your kitchen can be a logistical nightmare. And then there's the mess factor. A wet turkey is a slippery, unwieldy beast, and getting it from brine to roasting pan without splashing half your kitchen is a feat worthy of applause.
Is it worth it? In my opinion, absolutely — especially if you're new to brining and want a foolproof way to keep your turkey juicy. But be prepared for some extra prep and cleanup, and make sure you have a vessel large enough before you commit to it.
The pros and cons of dry brining
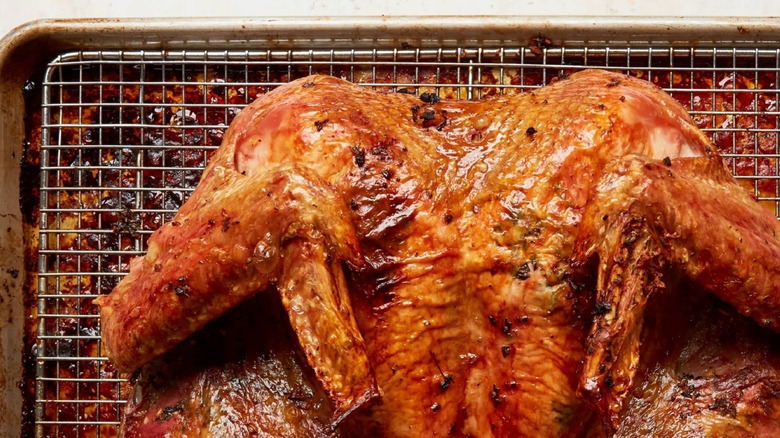
If wet brining is a pool party for your turkey, dry brining is a sophisticated spa day. Instead of dunking your bird in liquid, dry brining involves rubbing it with a mix of salt and seasonings, then letting it chill (literally) in the fridge for a day or two. It's less messy, more convenient, and — bonus — leads to the crispiest, golden-brown skin you've ever seen.
Here's why dry brining is a game-changer: it takes up almost no space. All you need is a fridge shelf and some time. Plus, it delivers concentrated flavor. Without the extra liquid from a wet brine, the turkey's natural juices mix with the salt to create a self-basting effect. The result? Meat that's tender and packed with flavor without the risk of becoming waterlogged.
But dry brining isn't without its challenges. It requires patience — at least 24 hours, though 48 is even better. It's also less forgiving. While wet brining gives you some wiggle room to overdo it, a heavy hand with the salt in a dry brine can leave your turkey tasting more like jerky.
If you're confident in your seasoning skills and want a method that's low-maintenance but high-impact, dry brining is the way to go. Just make sure to plan ahead — it's not a last-minute solution.
Choosing the right brining method for your needs
So, wet or dry brine? That's the big question. And like most things in life, the answer depends on your situation.
If you've got the fridge space, time, and energy to deal with a giant bucket of saltwater, wet brining is a fantastic option — especially if you're a brining newbie. It's forgiving, nearly foolproof, and guarantees a juicy bird every time. Plus, it's a great way to infuse extra flavors into the meat, from citrusy brightness to herbaceous depth.
On the other hand, if your fridge is already packed with side dishes and pies (or you just don't want to deal with the mess), dry brining is your best bet. It's simple, space-efficient, and delivers flavor that's just as impressive as its wetter counterpart. And if you're a sucker for crispy skin, dry brining is basically your soulmate.
Still can't decide? Think about your priorities. Want juicy meat with minimal risk? Wet brine. Craving bold flavor and perfectly crackling skin? Dry brine. Either way, you're on the path to turkey greatness.
Essential ingredients for brining
Brining isn't only about salt. To take your turkey to the next level, you'll want to recruit a few other key players to the flavor game. Think of this as building your turkey's entourage — each ingredient adds its own little something to the final performance.
Here's the foundation:
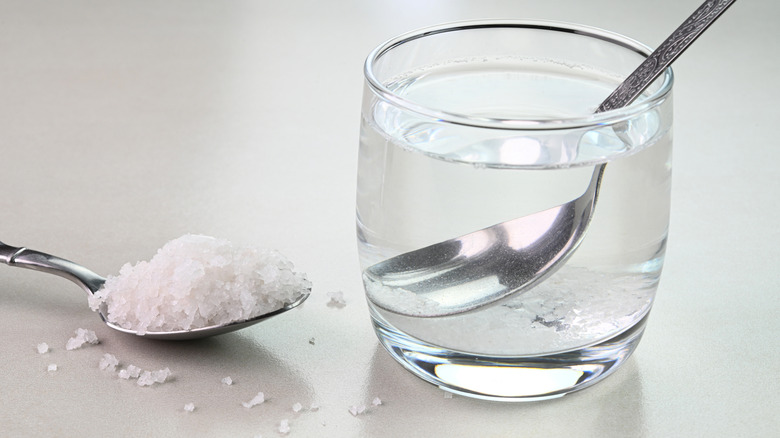
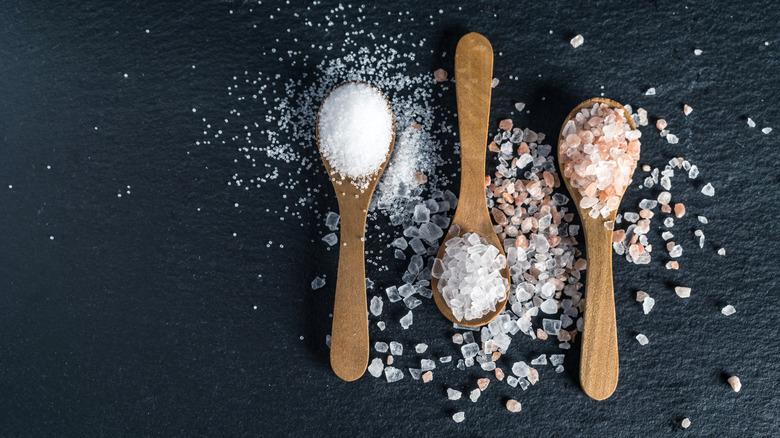
Salt: The non-negotiable. For wet brining, stick with kosher salt or sea salt — skip the iodized stuff unless you want a turkey that tastes like science class. For dry brining, finer salt works best to ensure even coverage.
Sugar: The sweet sidekick. While it's not essential, adding a little sugar (brown, white, or even maple syrup) balances the saltiness and helps with browning.
Acid: Not as scary as it sounds. Ingredients like citrus juice, apple cider, or even vinegar can brighten flavors and tenderize the meat.
Herbs and spices: This is where you make it personal. Classic choices include rosemary, thyme, sage, and bay leaves, but you can get adventurous with star anise, cinnamon, or juniper berries.
Extras: Garlic, onion, and citrus peels are all fair game. Want to get really fancy? Toss in some whole peppercorns, fennel seeds, or even a splash of bourbon (for the turkey, not you — though no judgment).
The beauty of brining is that it's customizable. Love bold flavors? Go heavy on the garlic and spices. Prefer something subtle? Stick to the basics. Either way, these ingredients work together to turn your turkey into the flavor-packed centerpiece it was born to be.
Quick guide to wet brining
Wet brining may sound intimidating, but it's actually as boiling water. Here's your step-by-step game plan for a wet brine that delivers juicy, seasoned turkey every time.
- Start with one gallon of cold water for every five pounds of turkey. The general ratio is one cup of salt to one gallon of water. Bring 1/3 of the water to a boil and stir in one cup of kosher salt per gallon and equal parts sugar until dissolved. Add aromatics and let steep. Add the remaining cold water to the pot.
- Make sure your turkey is fully thawed. Spatchcock now, if doing so. Remove the giblets and neck (save these for stock or gravy) and rinse the bird under cold water.
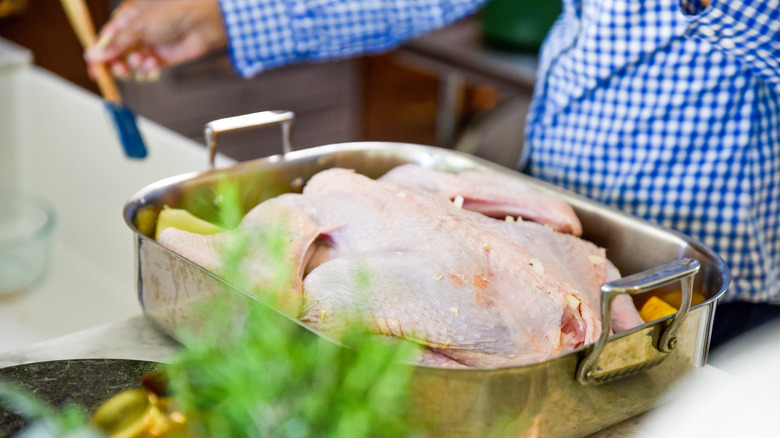
- Place your turkey in a large, food-safe container, like a stockpot, bucket, or brining bag. Pour the brine over the bird, ensuring it's fully submerged. No peeking — it's like a spa day for your turkey.
- Refrigerate the turkey in its brine for at least 12 hours but no more than 24. If you're brining outdoors (hello, cold-weather cooks), make sure the temperature stays between 35–40 F to avoid any food safety disasters.
- Pull from brine and let drain a few minutes. Roast.
- Optional: Swap plain water for buttermilk or pickle juice in your brine (and maybe try it on steak, too?). The slight acidity tenderizes the meat even further. Both are Southern tricks that might just become your new tradition.
Quick guide to dry brining
Dry brining isn't just the lazy person's brine. With less mess and less stress, it delivers all the benefits of wet brining (and then some). Here's how to do it right.
-
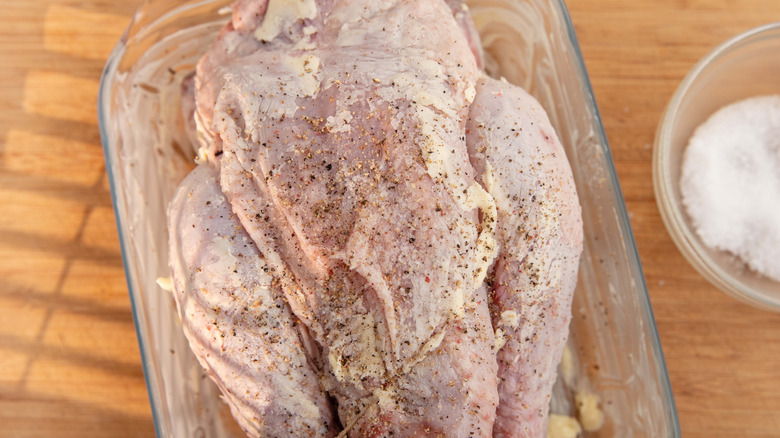
Measure out one tablespoon of kosher salt per five pounds of turkey. Mix it with other seasonings, like finely chopped herbs, cracked black pepper, or even a pinch of smoked paprika. Want a hint of sweetness? Add a teaspoon of brown sugar to the mix.
-
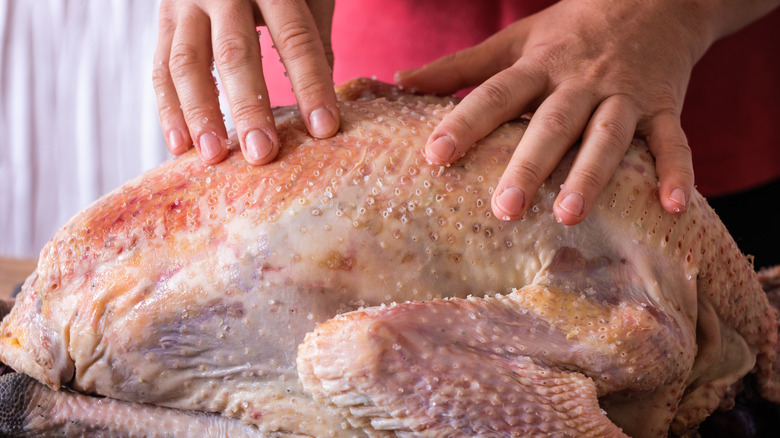
Place your thawed turkey on a baking sheet or in a large dish. Generously coat the entire bird with your salt blend, making sure to get into every nook and cranny (yes, even under the skin).
-
Place the salted turkey uncovered in the fridge for 24 to 48 hours. The longer it sits, the more the salt works its magic, breaking down proteins and locking in flavor. Don't worry about it drying out — this is part of the process.
-
Before cooking, pat the turkey dry with paper towels. Unlike wet brining, there's no need to rinse — just brush off any excess salt or seasonings. If you want super crispy skin, let the turkey air-dry in the fridge for another hour or two before roasting.
Dry brining is a set-it-and-forget-it kind of deal. No buckets, no spills, no extra fridge drama — just a turkey that's perfectly seasoned and ready to shine.
Common mistakes to avoid when brining
Brining might sound foolproof, but even seasoned cooks can screw up the basics. Avoid these common pitfalls to ensure your turkey turns out moist, flavorful, and Instagram-ready.
Over-salting: Salt is the MVP of brining, but too much of it can ruin the game. Follow the recommended salt-to-water ratio for wet brines (one cup of salt per gallon of water) or stick to one tablespoon of kosher salt per five pounds of turkey for dry brines. Resist the urge to "eyeball" it — this is a precision game.
Brining for too long: Yes, brining works wonders, but leaving your turkey in the salt solution for too long can make it overly salty and mushy or chewy. Remember, we're not curing ham. Stick to the time guidelines: 12–24 hours for wet brining and 24–48 hours for dry brining. More isn't always better.
Brining a butter-injected or pre-brined turkey: Read your turkey's packaging carefully. Many commercial birds are already injected with a salt solution or pre-brined, meaning you'll be doubling up on salt. This is a fast track to inedible turkey territory.
Using iodized salt: Iodized table salt dissolves inconsistently and can leave a metallic taste behind. Always opt for kosher salt or sea salt for brining — it's worth the small upgrade.
Brining is about finesse, not brute force. Keep these tips in mind, and your turkey will be a brining success story instead of a salty cautionary tale.
How long should you brine your turkey?
Timing is everything when it comes to brining. Brine too short, and you won't get the full benefits; brine too long, and you'll end up with salty mush. Here's how to get it just right based on your bird's size and brining method.
Wet brining: Plan for 12 to 24 hours. A smaller turkey (10 to 12 pounds) can be brined in 12 hours, while a larger bird (15 to 20 pounds) benefits from a full 24 hours. Any longer, and the texture may start to suffer.
Dry brining: Dry brining requires more patience. The sweet spot is 24–48 hours. While you can get away with a shorter brine, the longer timeline allows the salt to fully penetrate the meat, delivering that rich, deep flavor you're after.
If you're planning to spatchcock (removing the backbone to flatten the turkey for even cooking and more oven space), do this before brining. If you're on the fence about it, I recommend everybody take the back out of their birds. A spatchcocked turkey has more exposed surface area, which means the brine works more efficiently. Plus, the backbone you remove can be saved for stock — a win-win.
Remember: Brining isn't a marathon. Stick to the recommended timeframes, and your turkey will turn out perfectly seasoned without any salt overload.
Post-brining prep: Setting up for success
Your turkey's had its time to soak or sit in salt — now it's time to get it ready for its big moment in the oven. Proper post-brining prep is key to getting that golden, crispy skin and tender, juicy meat.
Pat dry: This step is crucial for both wet and dry brining. Use paper towels to blot every inch of the turkey until it's completely dry. Moisture is the enemy of crispy skin, so don't skimp on this step.
Air-dry: For the crispiest skin, let your turkey rest uncovered on the counter and come to temperature. This allows the skin to dry out even further and also helps the pre-heated oven maintain its temperature when you stick the bird in.
Add final seasonings: While the brine has done most of the heavy lifting, this is your chance to add a final layer of seasoning. A light rub of butter, oil, mayo, or your favorite spice blend on the skin can elevate the flavor even more.
Stuff with aromatics (optional): If you're not stuffing the cavity with actual stuffing (pro tip: don't), fill it with aromatics like halved lemons, garlic cloves, and fresh herbs. These will infuse the meat with subtle flavor as it cooks.
Your turkey is now prepped, primed, and ready to hit the oven. And the best part? The hard work is already done.
Cooking brined turkey: Tips for perfection
The brining was just the warm-up. Now it's time to cook your turkey to golden perfection. Follow these tips to ensure your hard work pays off in every juicy, flavorful bite.
Adjust salt levels in recipes: A brined turkey is already seasoned, so take it easy on the salt in any rubs, marinades, or stuffing you plan to use. This is not the time to double down.
Monitor internal temperatures: Forget guessing — use a meat thermometer to ensure your turkey is cooked to perfection. The ideal temp is 165 degrees Fahrenheit. I prefer to pull my bird at 160 F and let it rest. The residual heat will bring it up to about 165 F while it does. Anything higher, and you risk drying out the meat.
Baste sparingly: A brined turkey doesn't need constant basting. If you're after crispy skin, avoid opening the oven too often. Each time you do, you're letting heat escape and steam build up.
Let it rest: As tempting as it is to dive right in, let your turkey rest for at least 20–30 minutes after roasting. This allows the juices to be redistributed, ensuring every slice is as juicy as the last.
Carve like a pro: Use a sharp knife and carve against the grain for the most tender, flavorful slices. And don't forget to save the carcass for stock — it's liquid gold for soups and gravies.
