Ultimate Grilled Italian Sausage Sandwich Recipe
We know sausages don't usually qualify as sandwich material — even Anthony Bourdain had a lot to say about it (to be fair, he had a lot to say about everything). Italian sausage, though, is the one exception that can sneak its way into the sandwich category. In New York especially, where Italian immigrants are a prominent group, Italian sausage sandwiches are a staple at cookouts and in sandwich shops. Italian sausage isn't terribly different from a German-style bratwurst except that Italian sausage is flavored with seasonings like fennel and garlic instead of Germanic nutmeg and caraway, making it a good candidate for sandwiches and the perfect accompaniment to the mandatory peppers and onions.
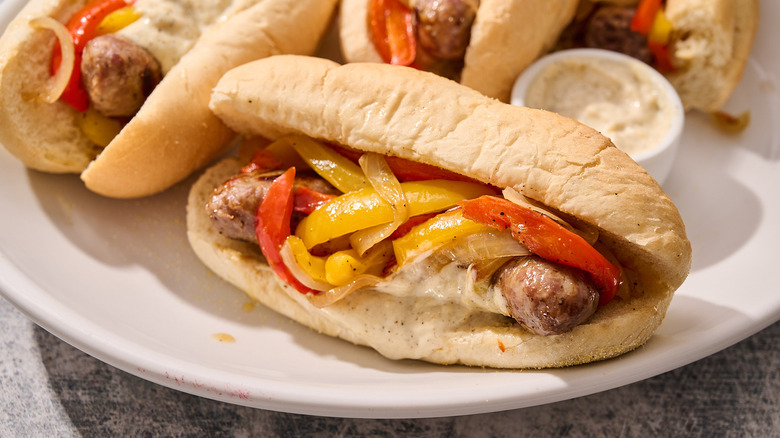
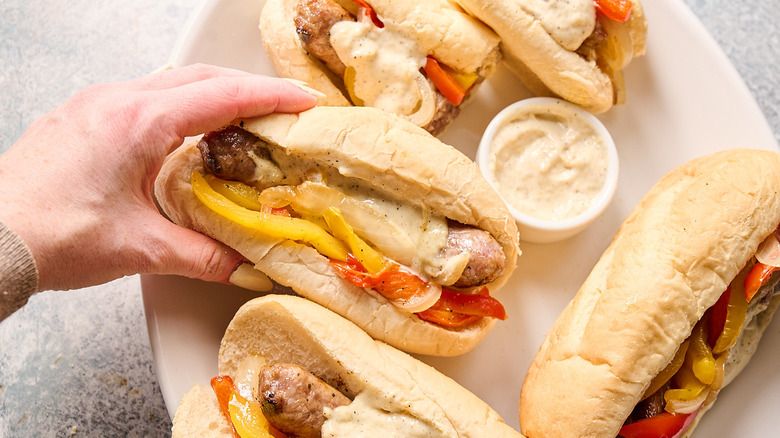
This Italian sausage sandwich recipe written with developer Michelle McGlinn is reminiscent of the classic Italian sausage sandwiches of New York but with a garlicky twist. This sandwich is first filled with spicy grilled sausage, then topped with roasted peppers and onions. Finally, the hoagie is drizzled generously with garlic mayo, which elevates the sandwich and keeps you (and your guests) coming back for more.
Gathering ingredients to make the ultimate grilled Italian sausage sandwich
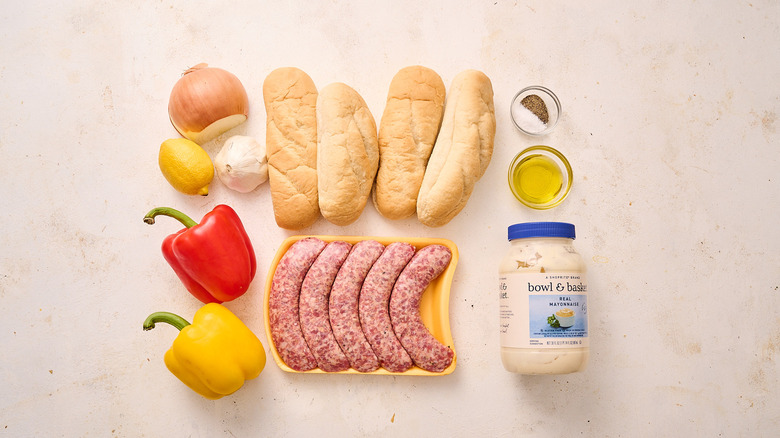
The ingredient list is fairly simple for these sandwiches: First, you'll need to get Italian sausage. If you prefer it a little spicy, try hot Italian, but if you'd rather avoid it, opt for mild or sweet instead. Gather a few bell peppers of any color, then grab garlic, olive oil, and a Spanish (or yellow) onion. Finally, add mayonnaise, salt, pepper, a lemon, and a few hoagie rolls to your list to finish up the sandwiches.
Step 1: Preheat the grill
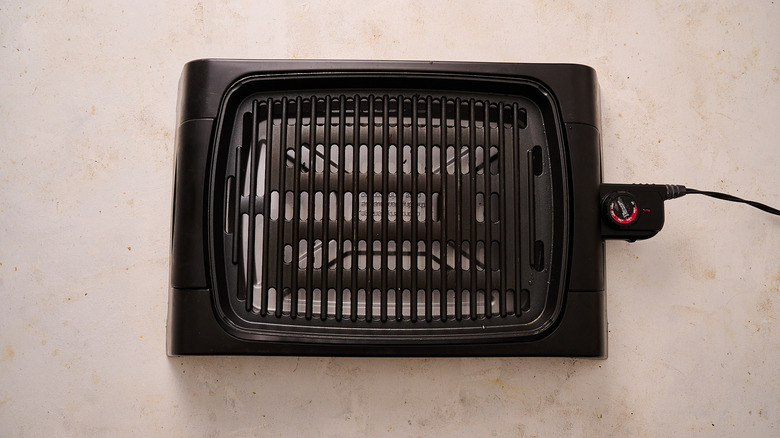
Heat the grill to 400 F, or medium-high. If using a gas grill, light half of the burners, leaving half of the grill for indirect heat.
Step 2: Chop the top off of the garlic bulb
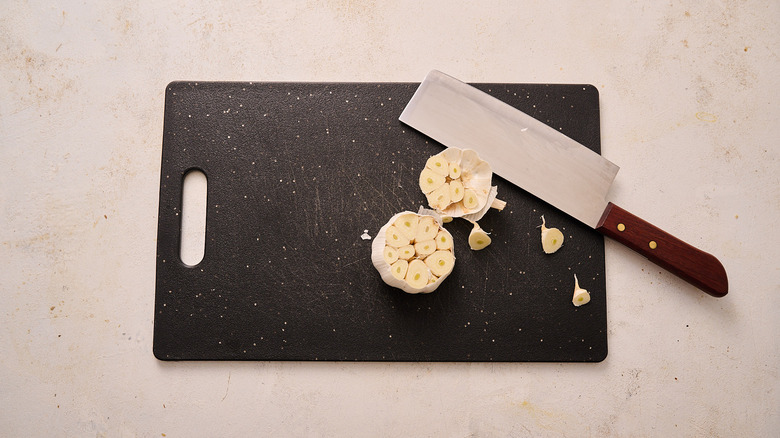
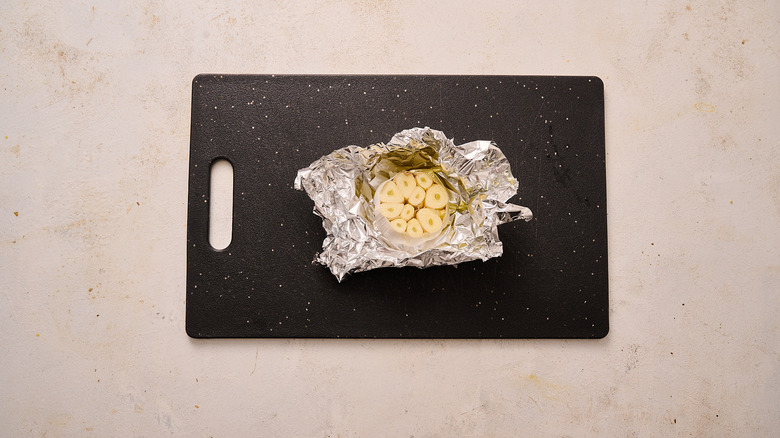
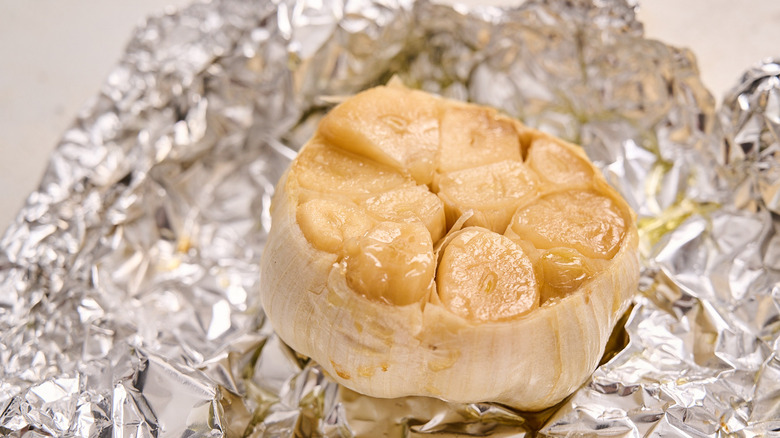
Slice through the top ¾ of the garlic bulb, leaving the cloves exposed.
Step 3: Place garlic in foil
Place the garlic in a small piece of foil and drizzle with 1 tablespoon olive oil.
Step 4: Roast until soft
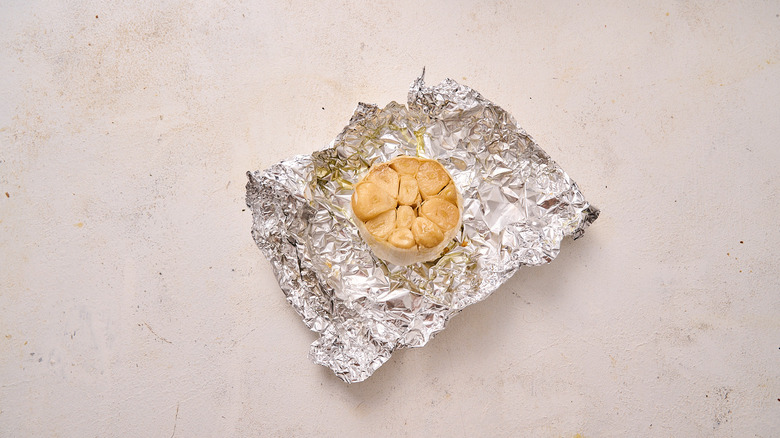
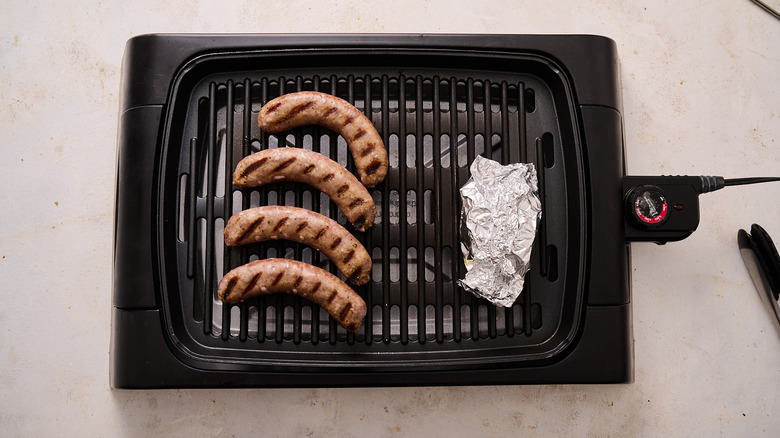
Wrap the foil around the garlic and place it over indirect heat. Close the grill and let the garlic roast until very soft, about 30 to 40 minutes.
Step 5: Prepare the peppers and onions
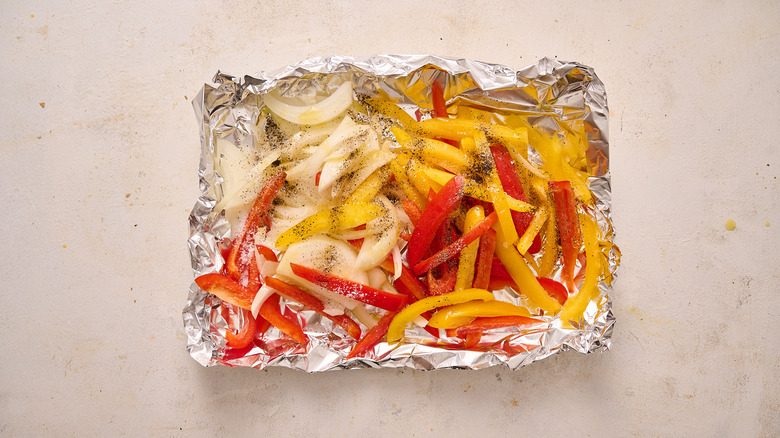
Meanwhile, place the sliced vegetables on a large piece of foil. Drizzle with the remaining oil, then sprinkle with ½ teaspoon each salt and pepper.
Step 6: Grill until soft
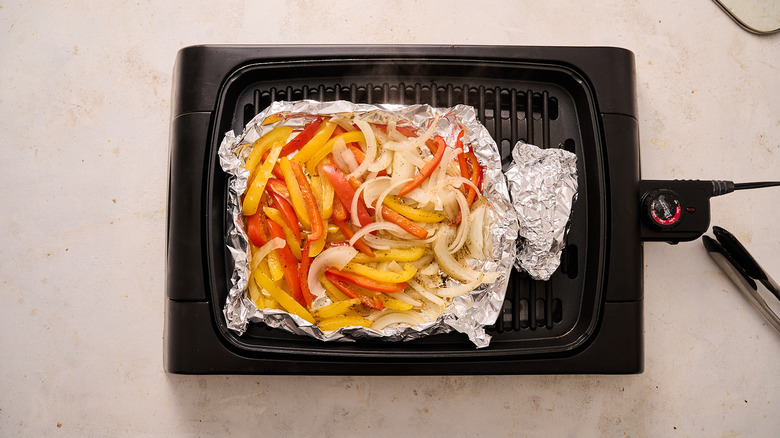
Place the peppers and onions next to the garlic, over indirect heat. Grill until soft, about 15 to 20 minutes, tossing every 5 minutes.
Step 7: Cook the sausages
To cook the sausages, place the links over the direct heat and cook for 8 to 10 minutes, turning once halfway through.
Step 8: Mash the garlic into a paste
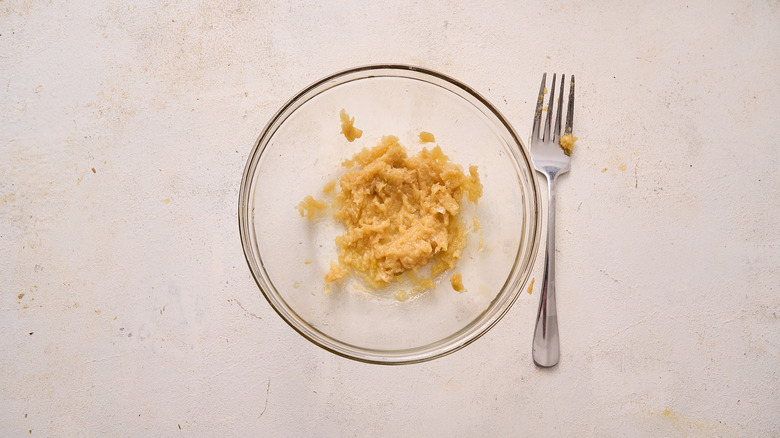
Once the garlic is softened, carefully squeeze the cloves from the bulb into a small bowl. Use a fork to mash the garlic into a paste.
Step 9: Stir the garlic mayo together
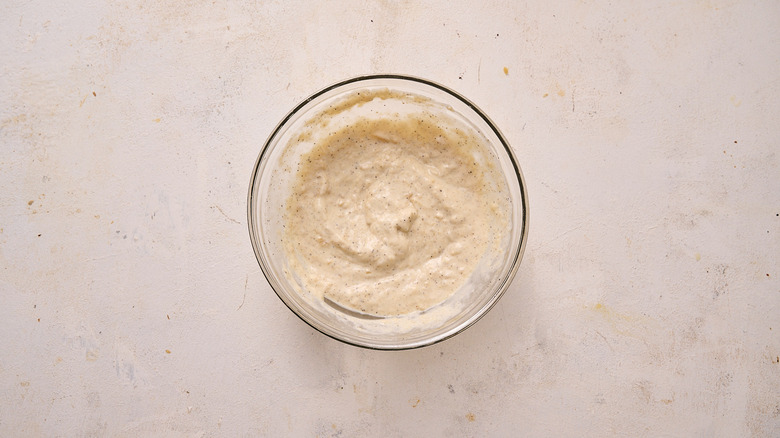
Stir together the mashed garlic, mayonnaise, lemon juice, and ¼ teaspoon each salt and pepper.
Step 10: Build the sandwiches
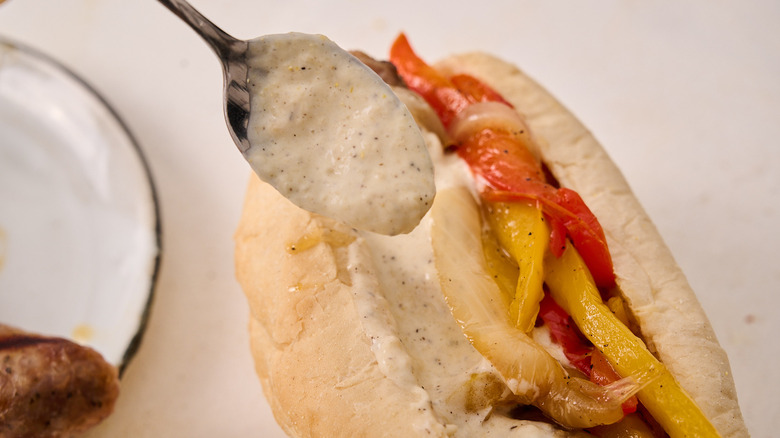
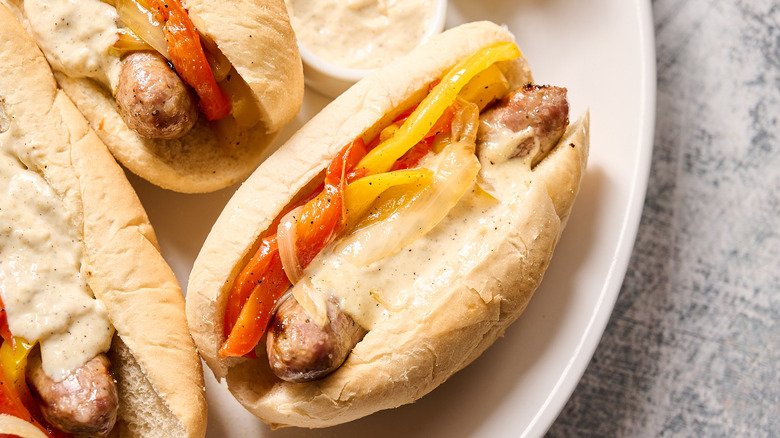
To build the sandwiches, add the grilled sausages to the hoagie rolls. Top with the grilled vegetables, then drizzle with roasted garlic mayonnaise.
Ultimate Grilled Italian Sausage Sandwich Recipe
This upgrade on a classic Italian sausage sandwich features grilled peppers and onions and a tangy mayo made with slow-roasted garlic.
Ingredients
- 1 garlic bulb
- 2 tablespoons olive oil, divided
- 1 red bell pepper, sliced
- 1 yellow bell pepper, sliced
- 1 Spanish onion, sliced
- ¾ teaspoon salt, divided
- ¾ teaspoon pepper, divided
- 4 Italian sausage links
- ½ cup mayonnaise
- 2 teaspoons lemon juice
- 4 hoagie rolls
Directions
- Heat the grill to 400 F, or medium-high. If using a gas grill, light half of the burners, leaving half of the grill for indirect heat.
- Slice through the top ¾ of the garlic bulb, leaving the cloves exposed.
- Place the garlic in a small piece of foil and drizzle with 1 tablespoon olive oil.
- Wrap the foil around the garlic and place it over indirect heat. Close the grill and let the garlic roast until very soft, about 30 to 40 minutes.
- Meanwhile, place the sliced vegetables on a large piece of foil. Drizzle with the remaining oil, then sprinkle with ½ teaspoon each salt and pepper.
- Place the peppers and onions next to the garlic, over indirect heat. Grill until soft, about 15 to 20 minutes, tossing every 5 minutes.
- To cook the sausages, place the links over the direct heat and cook for 8 to 10 minutes, turning once halfway through.
- Once the garlic is softened, carefully squeeze the cloves from the bulb into a small bowl. Use a fork to mash the garlic into a paste.
- Stir together the mashed garlic, mayonnaise, lemon juice, and ¼ teaspoon each salt and pepper.
- To build the sandwiches, add the grilled sausages to the hoagie rolls. Top with the grilled vegetables, then drizzle with roasted garlic mayonnaise.
Nutrition
| Calories per Serving | 710 |
| Total Fat | 55.4 g |
| Saturated Fat | 13.4 g |
| Trans Fat | 0.1 g |
| Cholesterol | 81.0 mg |
| Total Carbohydrates | 34.1 g |
| Dietary Fiber | 3.1 g |
| Total Sugars | 4.1 g |
| Sodium | 959.0 mg |
| Protein | 19.2 g |
Can these be made without a grill?
There are a few ways to make these sandwiches if you don't have access to a grill. The grill works like an oven but has the benefit of an open flame, which adds a smoky, charred flavor to vegetables and meat. That being said, you can simply use the same directions and use the oven instead. Wrap the garlic in foil and place on a baking sheet to roast for about 40 minutes. Arrange the peppers and onions on a foil-lined sheet and roast for about 15 to 20 minutes. Arrange the sausages on another foil-lined sheet and roast for closer to 30 minutes, flipping halfway through. Because you are no longer cooking the sausages over direct flame, these will take a little bit longer to cook.
While you can't roast the garlic in a skillet, you can make the peppers and onions on the stovetop. To do this, oil a cast-iron skillet and place it over medium heat. Add the sausages first and sear, then continue cooking until the internal temperature reads 160 F or the juices run clear. If there is room in the skillet, add the peppers and onions about halfway through cooking, tossing often, or use a separate skillet to soften over medium heat.
What is the benefit of roasting garlic?
Roasted garlic takes on a different flavor than raw or even softened garlic. Raw garlic has a sharp, strong flavor that we recognize due to its distinct garlicky flavor that can take on a bitter edge. Softened, the garlic is less sharp but just as strong, adding a pleasant flavor to cooked dishes. Roasted, garlic becomes muted, earthy, and rich — a much more mellow flavor that shines in sauces where you want more umami and can be smeared directly on a piece of good crusty bread.
Though there are a few ways to shortcut roasted garlic, the best way to do it is slowly — if you cook it too hot or too fast, it simply browns and, eventually, burns. If you don't have the time to roast a bulb of garlic, you can make the garlic mayo a different way. You can grate 2 cloves of raw garlic into the mayo for a stronger, more garlicky sauce (which is equally as tasty). You can deepen the garlic flavor a bit by gently sauteeing minced garlic until fragrant — this will only take about a minute. You can also roast the garlic ahead of time and store it for nearly 2 weeks in a jar of oil, a trick we love to use so that we always have some roasted garlic on hand.
