14 Tools That Will Take Your Home-Baked Cakes To The Next Level
There's nothing quite like the satisfaction of baking a cake from scratch. Whether it's a classic white cake or an intricately decorated showstopper, there's always joy to be had in turning simple ingredients into something truly delicious. I've been baking for as long as I can remember, always relishing the process of experimenting with new techniques and flavors. Throughout the years, and now more so than ever in my job as a recipe developer and food photographer, I've learned that the correct tools can make all the difference in ensuring your home-baked cakes come out spot on.
Investing in the right equipment doesn't just make your life easier, it nearly always means better results in the kitchen. If you're striving for perfectly smooth buttercream, sharp edges, or beautifully crafted fondant decorations, you'll likely need the help of some specialist tools. Most of these tools aren't even expensive or hard to find, but understanding how to use them effectively is key.
Below are 14 items that I would absolutely recommend to anyone looking to hone their cake-making skills. Many are useful for just about every bake, such as basic piping tips and the humble offset spatula, whilst tools like cake stencils and airbrushers are amazing for creating more specific designs. No matter your previous baking experience, there's something here that can fit into everyone's toolkit, and you'll be amazed how a few simple additions will transform your cakes.
Cake leveler
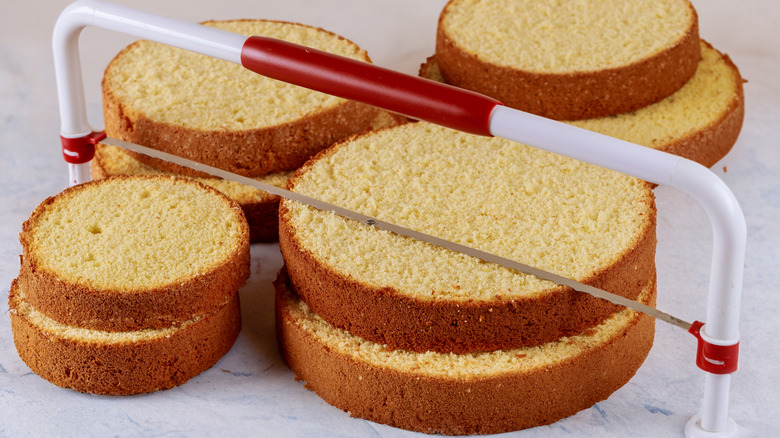
One of the most underrated tools in baking is the cake leveler. If you've ever struggled with uneven layers or wobbly tiers, this tool will fix everything. A cake leveler helps you to get each layer of a cake perfectly flat, so you have a stable foundation for stacking and decorating. If you've been relying on a serrated knife and some guesswork, it's definitely worth upgrading.
Most cake levelers have a thin, adjustable wire or blade stretched across a compact stand with a handle, and using it is pretty simple. With the adjustable wire, you can control the height of each cut. Simply place your cooled cake on a flat surface, set the blade to your desired level, and carefully glide the leveler through. You'll be left with a smooth, level cut.
Levelers are especially useful if you're baking multiple layers for a tall cake, and need all of them to be equal in height. Or, if you're working with delicate sponges that can crumble easily, the thin wire cutter will give you more precision than a knife. You can use this tool to remove the domed tops from each cake layer, or split one cake into two halves. Some levelers even have multiple blades, so you can slice a cake into three or more layers with a single cut.
Offset spatula
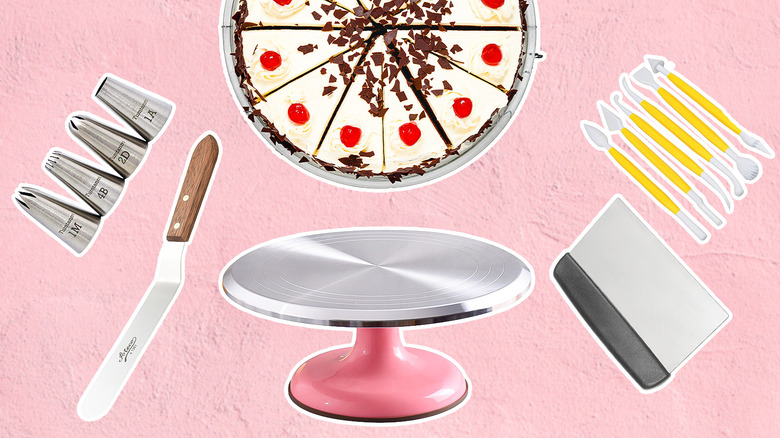
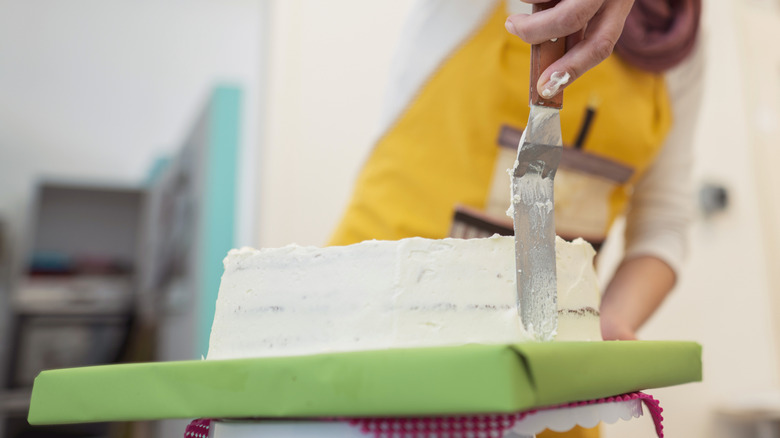
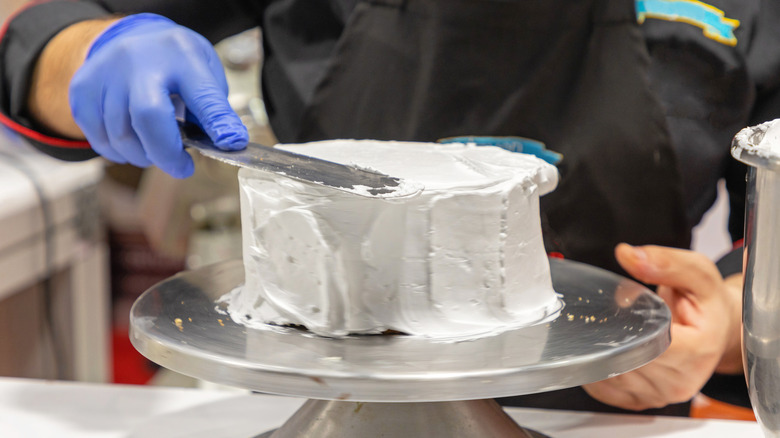
If smooth, even frosting or stunning swirled finishes never quite feel achievable, an offset spatula (aka a palette knife) might be what you're missing. Its angled blade allows for better control and precision than a regular spatula or knife, making it perfect for spreading a smooth vanilla buttercream or rich chocolate ganache without smudging or overworking the surface.
Just spoon your frosting or other topping of choice onto the cake, then glide the long, flattened blade over it to spread the frosting out and create a smooth, even layer. To help the blade move even more effortlessly over the cake's surface, you can dip it into hot water (and dry it off) before using. This will prevent the icing from sticking to the spatula. You'll notice that having the handle slightly offset from the blade means your fingers stay clear of the frosting, so there won't be any accidental smudges.
Offset spatulas come in a variety of sizes, but a medium-sized one should be versatile enough for smoothing the top of a cake, frosting the sides, and even spreading fillings between layers. Another one of my favorite ways to use this tool is creating gorgeous swirls and waves on cakes. By applying gentle pressure and moving the spatula in circular or zigzag motions, you can get creative with patterns in the frosting. If you're working on smaller details, perhaps for cupcakes or areas of piping work, a mini offset spatula is worth having, too.
Piping tips
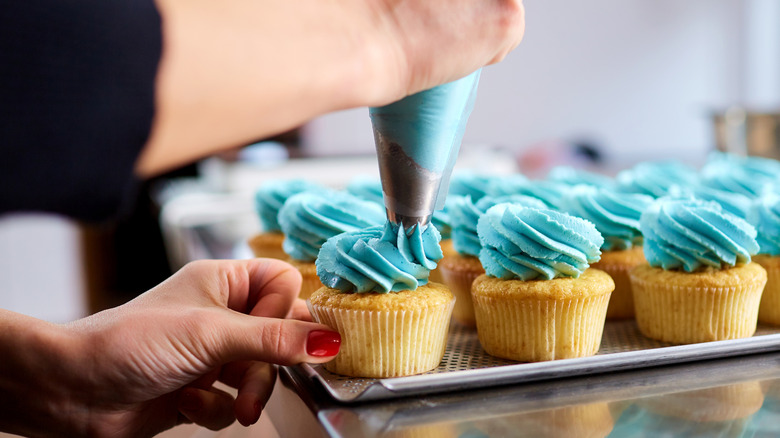
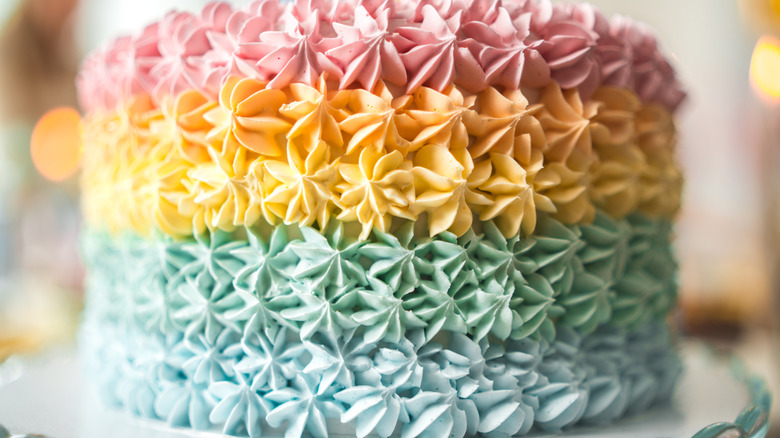
Investing in a handful of basic piping tips has to be one of the best ways to upgrade your cakes. These seemingly simple tools are the keys to creating a whole host of professional-looking cake decorations, from beautiful borders to stunning flower-like swirls and rosettes. Piping tips are generally made from metal or plastic, and can be attached to a piping bag to shape the flow of frosting into various patterns.
These tips come in a variety of shapes and sizes, each with its own purpose. Round tips are perfect for writing messages, making dots, or adding smooth, pleasing dollops on top of cupcakes. Star tips create impressive rosettes and swirls, while petal tips are ideal for flowers and ruffles. Using these tools takes a bit of practice, but the results are worth it. Make sure there are no air bubbles in the piping bag and hold it steady, applying even pressure as you squeeze out the frosting. I'm a big fan of practicing designs on a piece of parchment paper before piping onto the cake itself! You can also pair your tips with couplers, which allow you to easily switch between differently-shaped tips without needing a new piping bag.
Paint brushes
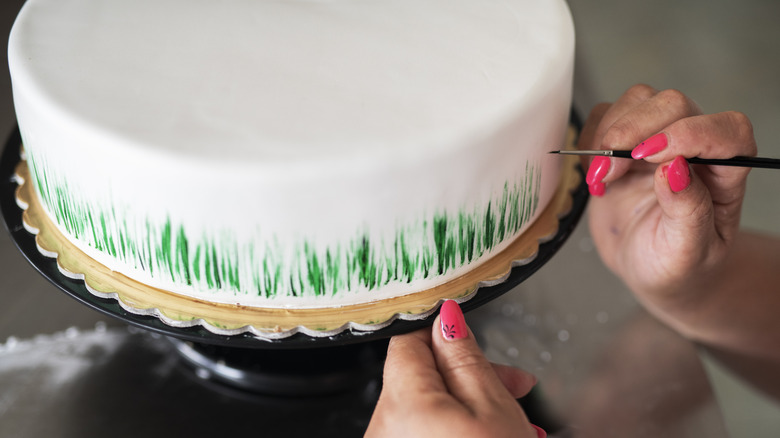
If you're looking to add an artistic touch to your homemade cakes, brushes can help you to create hand-painted details that'll make your bake truly unique. You can brush on edible paints or lusters to create an endless variety colorful designs or striking texture effects, all with a simply set of paint brushes.
Make sure to look for brushes that are specifically designed for food use, since these will be made from food-safe materials. Like traditional paint brushes, you'll find that there are a wide selection of shapes and sizes to choose from, with each suiting different tasks. A fine-tipped brush is great for intricate details, such as hand-painting flowers or calligraphy, but a broader brush will make it easier to apply color to larger areas.
One of my favorite cake looks is coating the sponge with a layer of white fondant icing, and decorating it with watercolor-style washes. This dreamy pastel-toned effect can be created using edible paints, or by diluting some food coloring in a little water and brushing this over the fondant layer. Brushes can also be used to smooth edible gold leaf, or fondant cut-outs onto cakes, for a decadent finish.
Turntable
Smoothing frosting evenly all the way around a cake can be a fiddly task, but using a turntable is game-changing. It'll save you time (and probably frustration!), allowing you to spin the cake swiftly with one hand, whilst smoothing frosting, creating patterns, or adding details with the other.
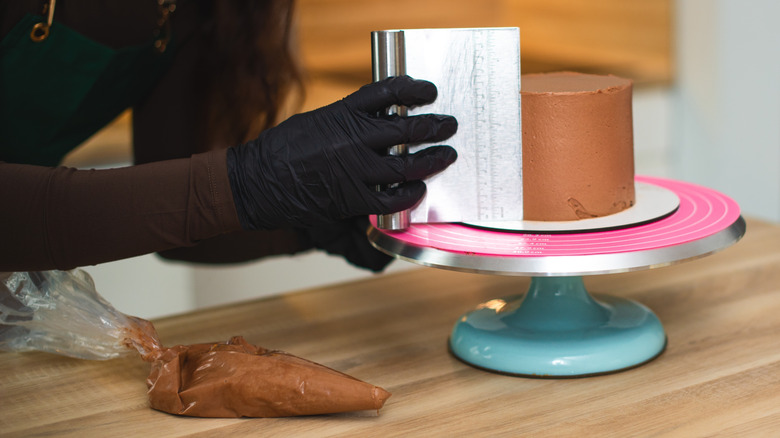
A turntable eliminates the need to constantly move the cake around on a cumbersome plate, and helps you to achieve even, professional-looking results. The smooth, easy rotation lets you focus on your technique without having to pause for cake repositioning every few seconds. You can pair your turntable with a bench scraper or an offset spatula to create perfectly smooth sides and sharp edges on your cakes.
Look for a sturdy metal or high-quality plastic turntable with a non-slip base to keep it steady as you work. Many models also have locking mechanisms, which are helpful when you need to pause the rotation for precision work.
Dowels
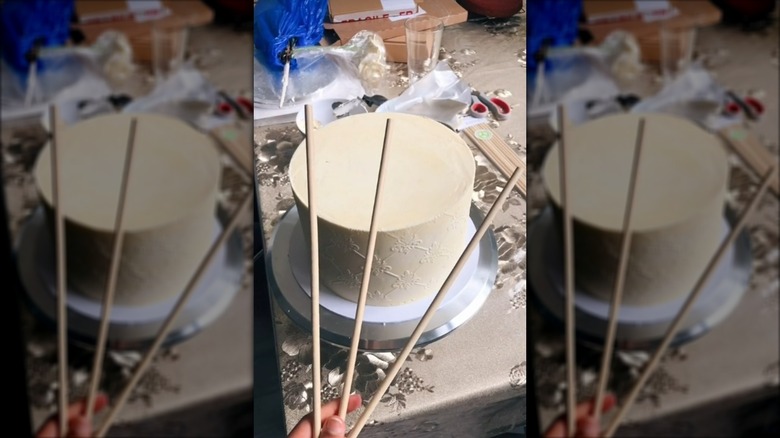
When it comes to stacking and transporting tall, multi-tiered cakes, it can be a challenge to keep everything staying upright. Here, dowels are the answer. These simple, sturdy tools can provide a tall cake with all the structural support needed to keep the layers stable and prevent collapse. Dowels are essentially rods (usually made from wood or plastic) that are inserted into the cake to bear some of the weight of the upper tiers. Without them, gravity and any sort of movement of the cake can wreak havoc.
After frosting your bottom tier, measure the height of the cake and cut the dowels to match. You can do this by inserting a longer dowel all the way to the bottom of the cake, and marking where it meets the top, before removing it and cutting it down. You can then use this as a guide for cutting your remaining dowels. Push the dowels in the cake (only in the area that the next tier will cover), ensuring even distribution across all four quadrants. Then, you're ready to stack the next layer on top, and repeat the process again for any remaining tiers. For larger cakes, you can also insert a central dowel at the end that runs through all of the tiers for even more stability.
Stamps
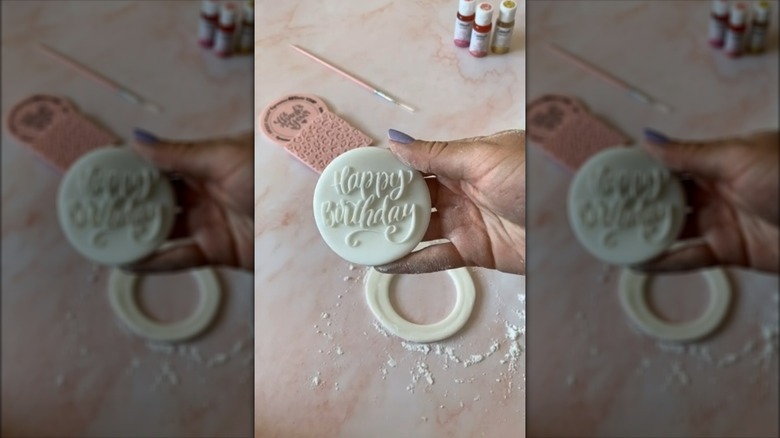
Baking-specific stamps are a brilliant tool for adding pretty patterns, personalized messages, or themed designs to your cakes, with no advanced decorating skills required. They're a particularly versatile addition to your kitchen, coming in a wide variety of styles, from alphabet sets for writing names and messages to decorative designs like florals, geometric designs, or holiday-inspired looks. They're especially useful for keeping things consistent when working on multiple cakes or cupcakes.
These stamps work best on fondant icing. Just roll this out and press the stamp firmly into the surface of the fondant. Lift the stamp away, and you'll reveal the design. Rather than transferring color to the surface like a traditional crafting stamp, the baking stamp will create an indentation in the fondant to either emboss or deboss your specific design. You can then add the decorated fondant pieces to a larger cake, cupcake, or even a cookie. Some stamps can also be applied directly onto a fondant-coated cake. These tend to be ones that produce a debossed effect (the message or design is depressed into the icing, rather than raised above it). To make this effect look even more impressive, try brushing edible paints over the stamped design.
A bench scraper
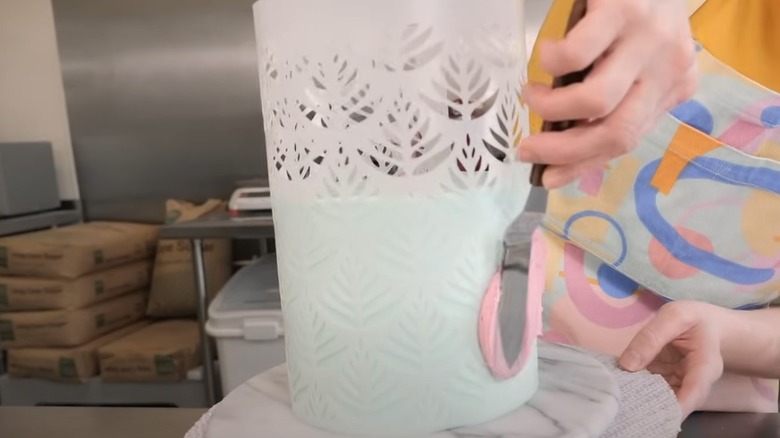
A valuable companion for your cake turntable, and the absolute best tool for getting that flawlessly smooth frosting finish on your cakes, a bench scraper is a must have item for any cake decorator. And you don't have to be a professional to use it. A bench scraper is a flat, sturdy blade with a handle, that's relatively long and wide. You can use it to smooth buttercream, ganache, or whipped frosting along the sides of your cake, creating those all-important clean, smudge-free edges.
The trick is to hold the scraper steady while turning your cake on a turntable. The combination of a steady hand and smooth rotation removes excess frosting and leaves you with a polished finish. For ultra-sharp edges, crumb coat and chill your cake before applying the final layer of frosting. Use the bench scraper while the frosting is firm but pliable, and don't forget to wipe it clean between passes for the best results.
Cake boards
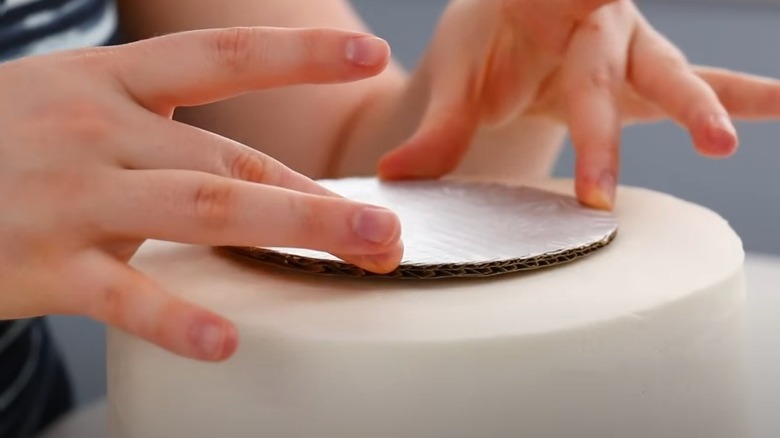
You might've wondered whether cake boards are really an essential tool, but I can assure you that they'll make your cake far more structurally sound. A sturdy, reliable cake board can keep your cake stable and secure as you transport, serve, and display it, so using one (or more if you have multiple tiers) is always a great idea.
Cake boards are typically made from thick cardboard or acrylic, and come in a variety of sizes and thicknesses to match the size of your cakes. You can even make a DIY version by cutting a strong piece of cardboard into an appropriately-sized shape for your cake, adding a coating of glue, and covering it in aluminum foil. Whether you're working on a single-layer cake or something with two or more tiers, boards will prevent shifting or collapse, and help to support each layer during cutting. Simply add a blob of frosting to a board, and place your cake on top before stacking or decorating. You can either match the size of the board exactly to that of the cake, to make it less visible, or choose one that's slightly larger for maximum stability. Any visible edges can always be disguised with buttercream, fondant, or ribbon. Larger, thicker cake boards also make a great temporary surface for decorating your cake on, before transferring to a plate or cake stand.
Good quality food coloring
Good quality food coloring is a must-have if you want your cake's decoration to really pop. It can be used to transform plain frosting, fondant, or batter into something wonderfully eye-catching, whether your desired look is pastel shades, vibrant hues, or bold blacks.
However, not all food colorings will have quite the same effect. Your best bet is to skip the watery supermarket versions, since these tend to lack intensity, and can sometimes ruin the consistency of your frosting. Instead, go for concentrated gel, paste, or powdered food colorings. These typically deliver richer, more vibrant colors, and won't thin out your buttercream or fondant.
Usually, just tiny amounts of these concentrated colorings are required to achieve the desired effect, so using them won't impart any unwanted flavors. A little goes a long way, so always add them gradually. Use a toothpick to add small amounts at a time, mixing thoroughly before deciding if more is needed.
A cake lifter
Moving a fully frosted cake, or even just individual layers, can be a nerve-wracking experience. I've definitely had a few close shaves myself, and let me tell you, two spatulas are not a reliable option. But that's where a cake lifter can come to the rescue. Designed to slide easily underneath a cake, this tool provides support so you can lift and move your bakes without fear of breakage, smudging, or heaven forbid, cake on the floor.
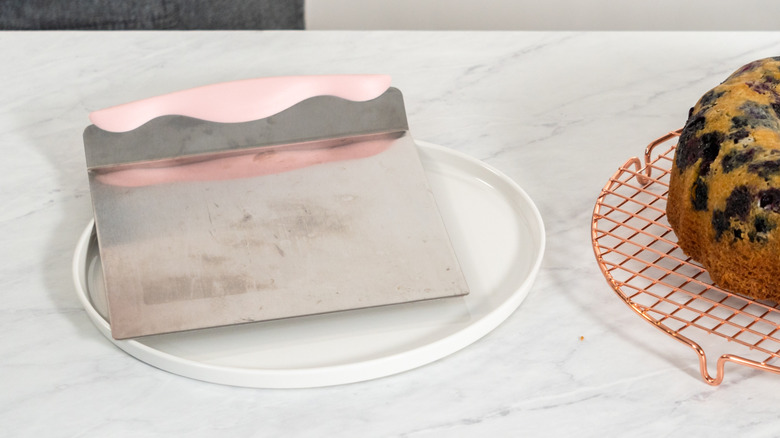
A cake lifter is essentially a thin but sturdy sheet of stainless steel or plastic with a handle. They come in various sizes, so choose one that's large enough to support the majority of your cakes. Simply slide it under your cake, supporting it from beneath, and move it to your desired surface. To remove the lifter, apply a light pressure on the side of the cake opposite to the lifter's handle, and swiftly pull it out from underneath. It's great for transferring cakes onto turntables before decorating, stacking tiers, or placing finished cakes onto display stands.
Fondant modeling tools
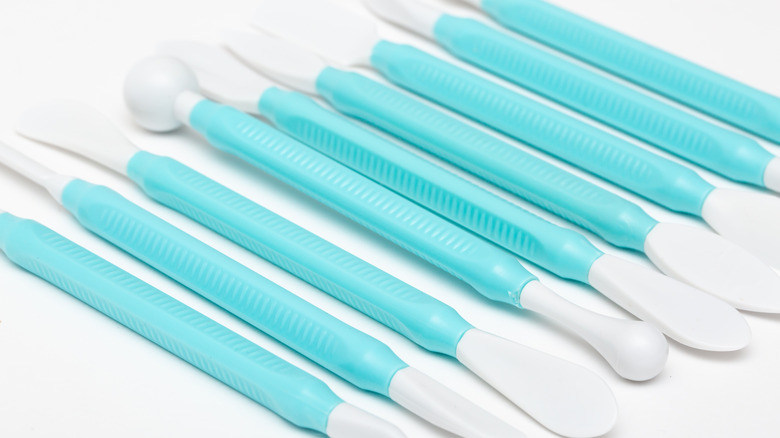
Experimenting with fondant models is one of the most fun aspects of cake decorating, allowing you to unleash your creativity with your own unique designs. But sometimes, using your hands alone doesn't provide quite as much precision as you'd like, and some extra tools are required. Specifically-shaped fondant modeling tools are the secret to creating intricate three-dimensional decorations. They're designed to shape, sculpt, and add details to your fondant creations, helping you create everything from delicate flowers to lifelike figurines.
A standard set of fondant modeling tools might include differently-sized ball tools — sticks with a ball on one or both ends, and quilting tools — sticks with a serrated rotating wheel. The former are perfect for shaping leaves and petals, or defining facial features, whilst the latter are great for creating unique patterns textures like dots, dashes, or a fabric-like look. Knife and needle tools can also aid with slicing or positioning smaller pieces of fondant, or releasing any air trapped in the icing.
Cake stencils
Another way to add intricate designs to your cake with ease is using a cake stencil. These thin, reusable templates come in many shapes and styles, such as floral motifs, lace-like effects, and custom lettering. It's a fantastic approach for those new to the world of cake decorating, since no piping or modeling skills are required.
This technique involves first placing the stencil against your frosted or fondant-covered cake. If you're using frosting, make sure it has a fairly firm consistency and leave it to set fully beforehand. Once your stencil is in place, apply edible paint or edible glitter over the design. Colored buttercream can work wonderfully, too. When you carefully lift the stencil away, the pattern is left behind, creating a professional look with very little effort. Stencils are also work incredibly well for airbrushing (more on that in a moment!), where it's possible to create gorgeous ombré effects by blending different colors through the stencil. You can also use stencils to dust powdered sugar or cocoa powder shapes on top of a cake, so they're certainly a versatile tool.
An airbrusher
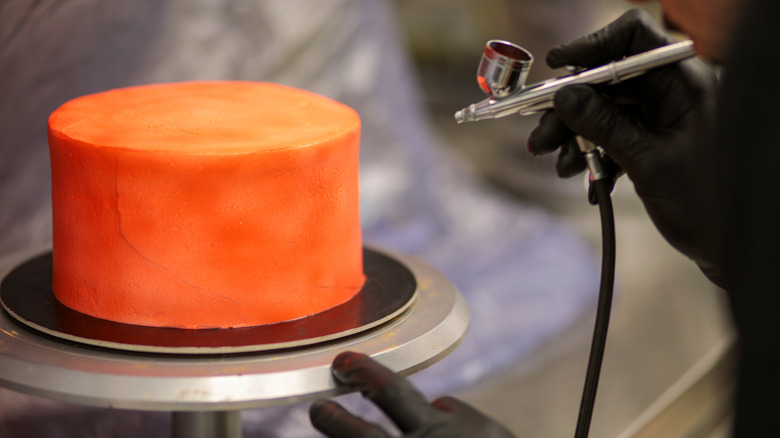
An airbrushing machine could perhaps be considered the most extra of all decorating tools, but it's highly effective, fun, and oh-so satisfying to use. This piece of equipment sprays edible food coloring in a fine mist, so you can add seamless gradients, vibrant colors, and striking designs to cakes with precision and speed.
Effects created with an airbrusher are often difficult to replicate with other techniques. You can use this tool to add dimension to fondant elements on your cake, perhaps by softly shading flower petals or figurines. It also allows you to create seamlessly blended colors if you're trying to cover a particularly large area, use a stencil to create detailed patterns, or going for a watercolor look.
Using an airbrusher does take a bit of practice to master the technique, but once you do, you'll be amazed by the creative freedom it unlocks. A top tip is to keep your airbrush moving at a steady speed to avoid oversaturating one area. You'll also need to purchase specific airbrush food colorings, as traditional versions can clog up the machine.
