13 Mistakes You're Making When Braising Meat (And How To Fix Them)
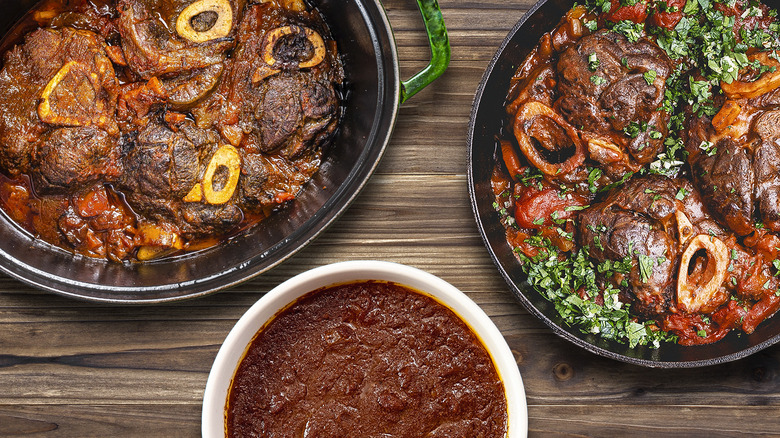
Braising meat is a time-honored cooking technique that has earned its place in kitchens worldwide. There's something magical about transforming tough, humble cuts into fork-tender, flavor-packed dishes with just a handful of ingredients and some patience. But while braising seems straightforward, it's a technique where the details make all the difference. As a chef with professional kitchen experience, I've spent countless hours perfecting the art of slow cooking and know how even small missteps can derail a braise (not to be confused with a stew).
Braising is all about balance — between heat and moisture, flavors and textures, and time and technique. It's a method that rewards care and attention, coaxing deep, rich flavors out of simple ingredients. There are plenty of tricks and tips to learn the trade of braising. But common mistakes, like choosing the wrong cut of meat or rushing the process, can leave your braise falling flat. The good news? With a few adjustments, you can sidestep these pitfalls and turn every braising endeavor into a resounding success.
This guide dives into the most common braising mistakes and their solutions, so whether you're a first-timer or a seasoned home cook, you'll learn how to elevate your technique. From browning the meat to finishing the sauce, each step offers an opportunity to enhance flavor and texture. Ready to master the slow-cooking process? Let's break it down and ensure your next braise is as impressive as it is delicious.
Choosing the wrong cut of meat
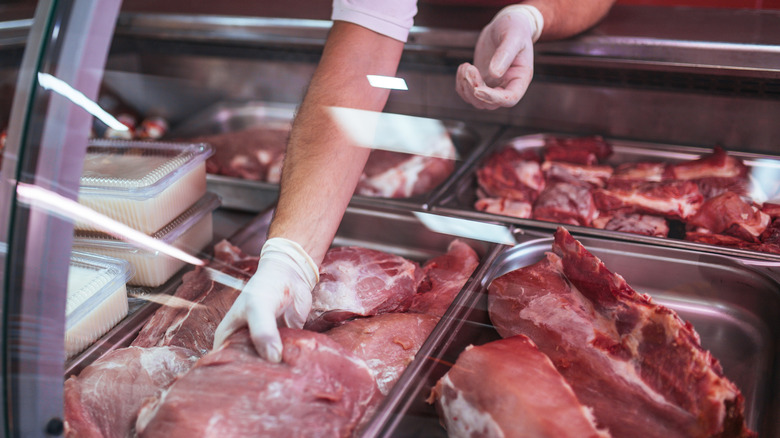
The secret to a great braise starts with choosing the right cut of meat. Lean cuts like chicken breast or pork loin might seem like smart choices because they're easy to cook, but they're ill-suited for braising. These cuts lack the connective tissue and fat necessary to achieve the luscious, fall-apart texture that defines a good braise. Instead of breaking down, they dry out, leaving you with tough, flavorless results. From beef to cuts of pork, choosing the right cut is imperative for a solid braise.
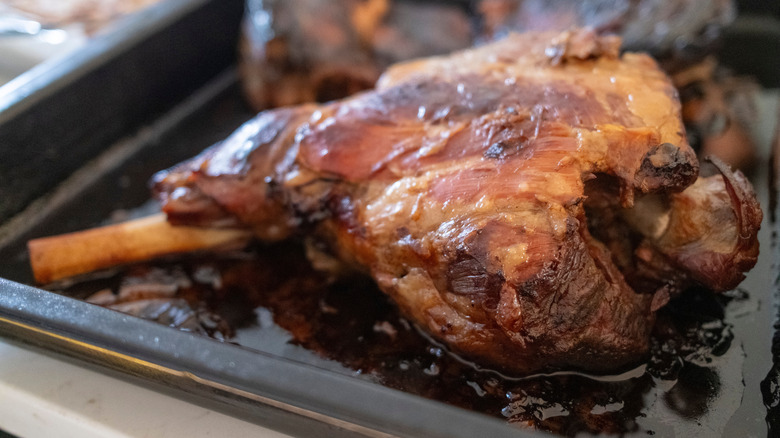
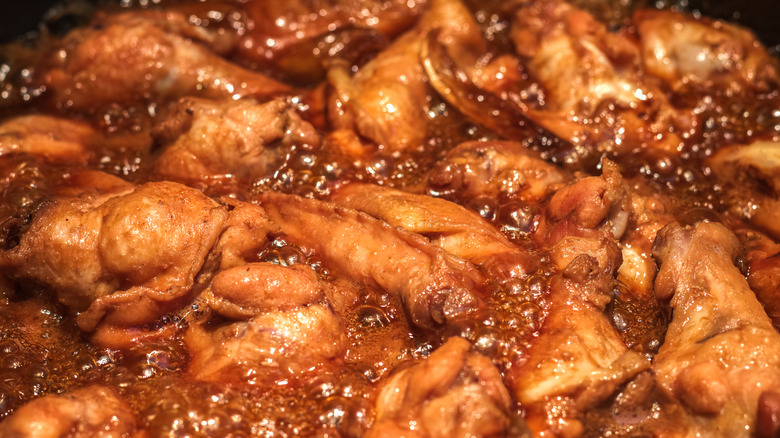
For success, choose cuts like beef chuck, lamb shanks, pork shoulder, or short ribs. These tougher cuts are rich in collagen, which transforms into gelatin during slow cooking, creating a luxurious texture and adding body to your sauce. If you're braising chicken, thighs and drumsticks are the way to go — they're forgiving and full of flavor.
Don't trim off all the fat from your chosen cut. A little fat renders beautifully during cooking, enriching both the meat and the braising liquid. With the right cut in hand, you're setting yourself up for braising success.
Not browning the meat properly
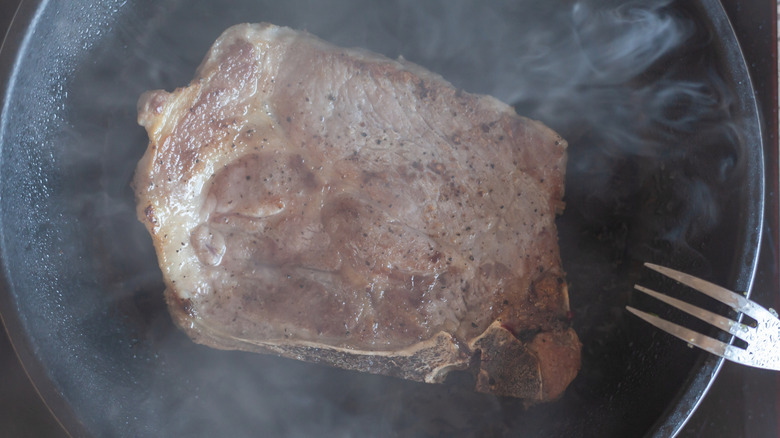
Braising without browning is like skipping the first chapter of a book — you lose the essential setup. Searing meat creates the Maillard reaction, a chemical process that develops deep, complex flavors. Skipping or rushing this step leaves your braise tasting flat and one-dimensional, no matter how good your liquid or aromatics are.
To fix this, give your meat the attention it deserves during browning. Heat a heavy-bottomed pot or pan over medium-high heat and add a thin layer of oil. Place the meat in the pan and let it sear undisturbed until a deep, golden crust forms. Flip and repeat until all sides are browned. This step isn't just about color; it's about building flavor that permeates every bite.
If you're worried about time, remember this: Proper browning is an investment in flavor that pays off exponentially. Use the visual and aromatic cues — your meat should smell nutty and caramelized, and its surface should look beautifully crisp. Rushing here means robbing your dish of its potential.
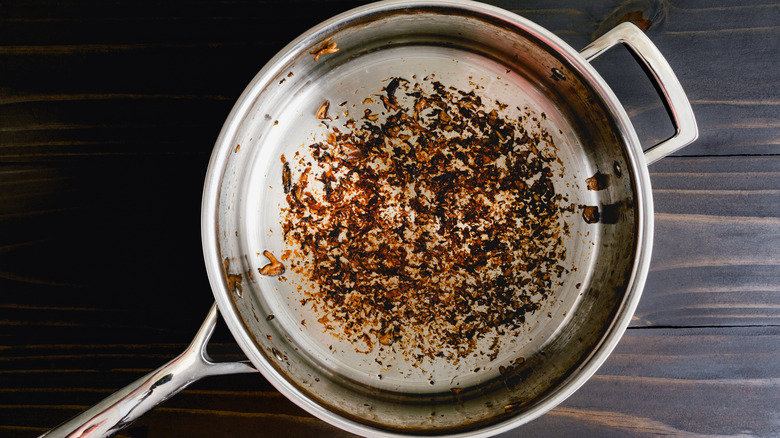
Pro tip: After browning, drain excess fat if needed, but leave the fond (those browned bits stuck to the bottom of the pan). They're flavor gold for your braising liquid.
Overcrowding the pan while searing
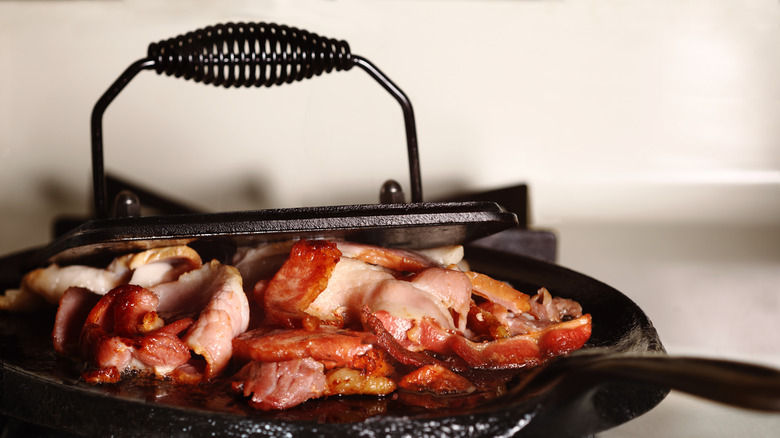
Imagine this: You've got your beautiful cut of meat sizzling in the pan, but instead of a golden-brown crust, it's turning an uninspiring shade of gray. What went wrong? Overcrowding the pan is a common mistake, and it causes the meat to steam rather than sear. This happens because too much meat in the pan lowers the temperature, preventing the Maillard reaction from occurring.
The fix is straightforward but requires patience: Sear your meat in batches. Leave enough space between pieces so that the heat stays consistent and the surfaces of the meat make proper contact with the pan. While this might seem time-consuming, the rewards are well worth the effort. Each piece of properly seared meat contributes to the depth and richness of the final dish.
Resist the urge to move the meat around while it's searing. Let it sit undisturbed to develop a proper crust. After each batch, deglaze the pan with a splash of wine, water, or stock to loosen up the fond, ensuring it doesn't burn. Then scrape up those flavorful bits and get ready for the next round. It's a little extra work, but the payoff — a deeply flavorful braise — is undeniably worth it.
Skipping the fond
After you've browned your meat to perfection, you might notice a layer of golden-brown bits stuck to the bottom of the pan. This is the fond, and skipping it is one of the biggest mistakes you can make when braising. Those caramelized bits are concentrated flavor bombs waiting to be unlocked. Ignoring them is like leaving treasure buried in plain sight.
The fix? Always deglaze the pan. Once your meat is browned and set aside, pour a splash of liquid — like wine, stock, or water — into the hot pan. Use a wooden spoon or spatula to scrape up the fond, incorporating it into your liquid. This step not only prevents the fond from burning but also infuses your braising liquid with a rich, savory depth that can't be replicated any other way.
For an added layer of complexity, choose your deglazing liquid thoughtfully. White wine adds brightness, red wine brings a robust depth, and a splash of soy sauce or miso-infused stock can elevate the umami factor. This small step ensures that none of the flavors you worked so hard to develop during browning go to waste. In braising, the fond is your best friend. Treat it with care, and your dish — and those eating it — will thank you.
Using too much liquid
It's a common misconception that braising means drowning your meat in liquid. While it might seem logical to fully submerge the meat, this approach can lead to boiling rather than braising. The result? Tough, rubbery meat instead of the tender, melt-in-your-mouth texture you're aiming for. Keeping the right amount of liquid consistent during your braise is of the utmost importance.
The fix is simple: Use just enough liquid to come halfway up the sides of the meat. Braising relies on a combination of direct heat and steam to break down tough connective tissues, and too much liquid disrupts this balance. By keeping the meat partially exposed, you allow the top to roast gently while the bottom cooks in the flavorful liquid.
This approach also intensifies the flavor of your sauce. With less liquid to dilute the aromatics, the final result will be richer and more concentrated. If you notice your liquid level dropping too much during cooking, add a splash of hot water or stock to maintain the balance. This technique ensures that your braise stays tender, flavorful, and perfectly cooked.
Not layering flavor in the braising liquid
Your braising liquid isn't just there to cook the meat — it's an opportunity to build flavor. Relying solely on water or plain stock is a missed chance to elevate your dish. Without the right combination of aromatics and seasonings, your braise can end up tasting one-dimensional.
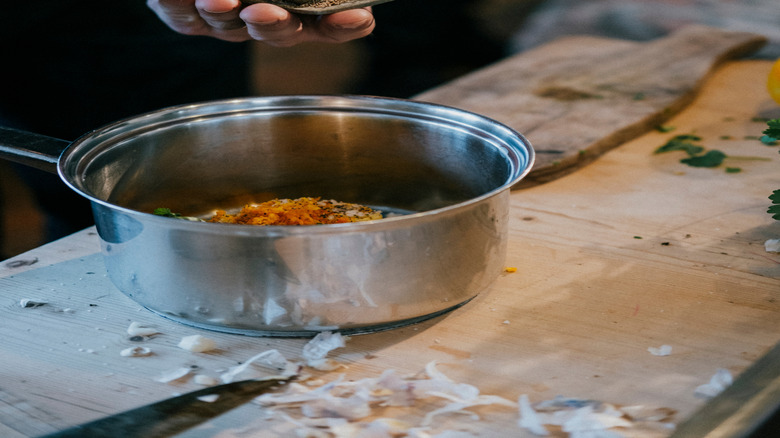
To fix this, think of your liquid as a flavor playground. Start with a base of stock or wine, then layer in aromatics like onions, garlic, and fresh herbs. Add depth with tomato paste, soy sauce, or miso, and don't be afraid to include a pinch of sugar or a splash of vinegar for balance. Spices like cinnamon, star anise, or bay leaves can also add complexity, depending on the dish.
As the meat cooks, it will absorb these flavors, and the liquid will transform into a rich, silky sauce. If you're unsure about proportions, taste your braising liquid before adding the meat. It should be slightly more intense than you want the finished sauce to be, as the flavors will mellow and integrate during cooking. A well-seasoned braising liquid is the foundation of a dish that's bursting with flavor.
Braising at the wrong temperature
Braising is a delicate dance of time and temperature, and cooking at the wrong heat can ruin even the best ingredients. Too high, and you'll end up with tough, chewy meat that hasn't had time to properly break down. Too low, and you risk an undercooked dish with underdeveloped flavors.
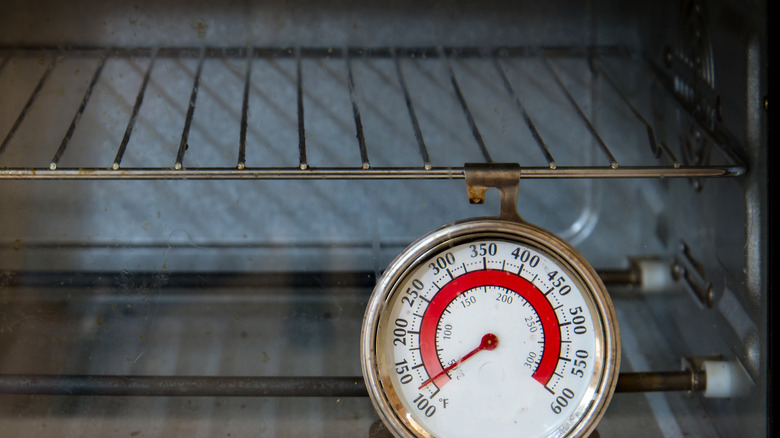
The fix? Keep it low and slow. For oven braising, aim for a temperature of 275–300 degrees Fahrenheit, or maintain a gentle simmer if you're cooking on the stovetop. The goal is to cook the meat slowly enough to allow the connective tissues to break down into gelatin, transforming tough cuts into tender, flavorful bites.
To ensure even cooking, check that your liquid is barely bubbling — small, lazy bubbles are what you're after. If you notice the liquid boiling aggressively, reduce the heat immediately. And don't be tempted to crank up the temperature to speed things along; rushing the process will only result in disappointment.
If you're using the oven, rotate the pot halfway through cooking to ensure even heat distribution. This small step can make a big difference in the final texture of your meat. When braising, patience isn't just a virtue — it's a necessity.
Lifting the lid too often
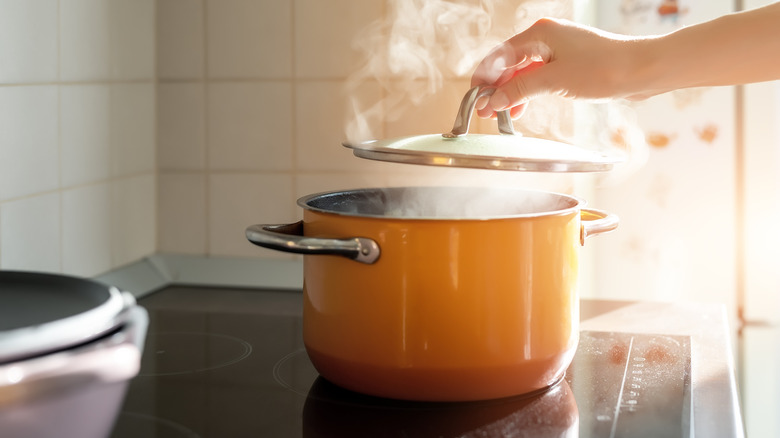
It's tempting to check on your braise frequently, especially when your kitchen starts to fill with mouthwatering aromas. But every time you lift the lid, you're releasing steam and lowering the cooking temperature, which can disrupt the braising process. The result? Meat that's dry or unevenly cooked.
To fix this, resist the urge to peek too often. Check on your braise only every 45 minutes or so, just to ensure the liquid level is consistent and nothing is sticking. Each time you lift the lid, you lose precious heat and moisture, so make those checks count.
If you're worried about overcooking, use a meat thermometer to monitor doneness instead of relying on visual cues. If your pot has a glass lid, you can keep an eye on things without releasing steam. This way, you can admire your handiwork without sabotaging the cooking process. Some braises actually instruct you to cook with the lid off, which — depending on the style of your Dutch oven — can let you use the lid to do other stuff concurrently, like roast veggies. Trust the process, and your patience will be rewarded with perfectly tender, flavorful meat.
Ignoring the importance of resting
After hours of slow cooking, it's tempting to dive straight into your braised masterpiece. But cutting into the meat immediately after cooking can cause it to lose its juices, leaving you with a drier result. Resting isn't just for roasted meats — it's equally crucial for braises.
To fix this, let your meat rest in the braising liquid for 15–20 minutes after cooking. This step allows the juices to redistribute and the meat to absorb even more flavor from the liquid. It also gives you time to finish the sauce, ensuring the entire dish is ready to shine.
If your braising liquid is too hot to handle, remove the pot from the heat and cover it with the lid while the meat rests. This helps retain warmth while keeping the meat moist. Resting might feel like an unnecessary delay, but it's the final step that takes your braise from good to great.
Forgetting to finish the sauce
Braising isn't just about tender meat; the sauce is just as important. Serving the braising liquid as-is can leave your dish feeling incomplete, with flavors that are too diluted or unbalanced. Finishing the sauce is the final step that ties everything together, transforming a good braise into a great one.
To fix this, strain the braising liquid to remove any solids like herbs or aromatics. Then, transfer the liquid to a saucepan and simmer it gently until it reduces to a thicker, more concentrated consistency. This step intensifies the flavors, ensuring every spoonful packs a punch. Taste the sauce and adjust the seasoning with salt, pepper, or even a splash of vinegar for brightness.
For a touch of French technique, finish the sauce with a knob of butter or a drizzle of cream for added richness. Want to keep it lighter? Fresh herbs like parsley or chives can brighten the flavor without overwhelming the dish. This small effort transforms your braise into a polished, restaurant-quality meal.
Not considering texture contrast
Braises are the epitome of comfort food — soft, tender meat in a luscious sauce — but they can feel heavy and one-note if served without contrasting textures. The richness of a braise is its strength, but it also demands balance to keep the dish interesting and prevent palate fatigue. Texture contrast is the unsung hero of great plating, elevating the dish from hearty to harmonious.
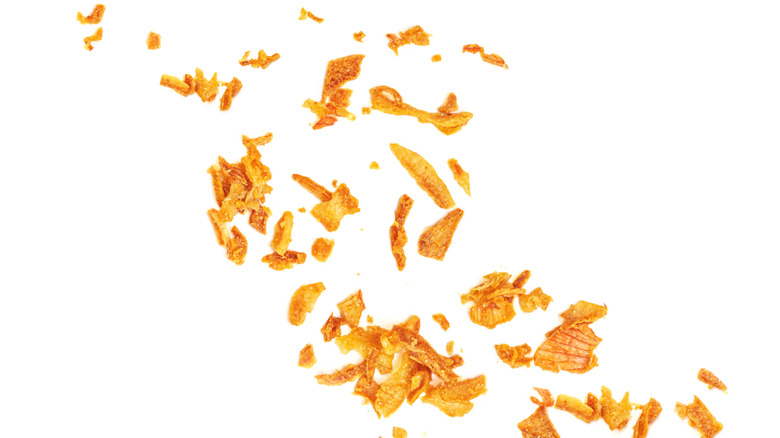
To fix this, think about what's missing. A crusty loaf of bread or crisp flatbread can provide crunch and soak up the flavorful sauce, making each bite more satisfying. Fresh herbs like parsley, dill, or cilantro add a bright, herbal pop that cuts through the richness, while a tangy side salad with vinaigrette offers refreshing acidity. For an extra layer of complexity, try garnishes like fried shallots, toasted nuts, or even crispy pancetta.
Pro tip: Acid is a game-changer. A squeeze of lemon, a splash of vinegar, or pickled onions can bring the whole dish to life, balancing the richness with brightness. Don't be afraid to experiment — something as simple as a side of roasted vegetables with a caramelized edge can add a subtle but essential layer of contrast. When done right, texture and balance turn a good braise into a truly unforgettable meal.
Disregarding the cooking vessel
The cooking vessel you choose is as important as the ingredients themselves. A thin, lightweight pot might seem convenient, but it often leads to uneven cooking and hotspots that can ruin your braise. The key to perfect braising lies in steady, consistent heat, and that requires the right tool for the job.
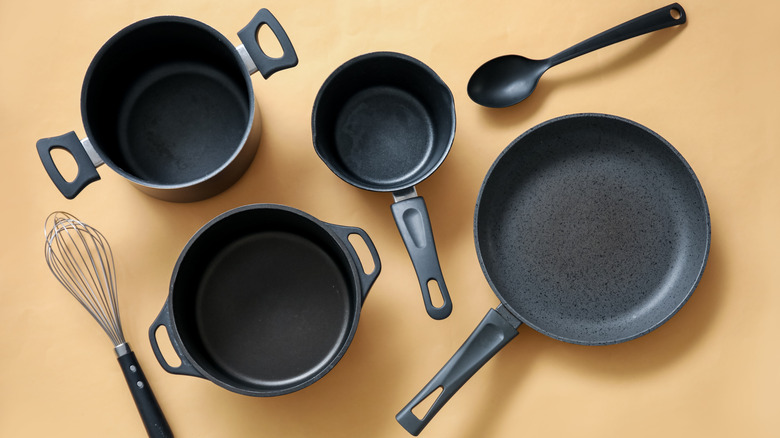
To fix this, invest in a heavy, oven-safe pot like a Dutch oven or a cast-iron braiser. These thick-walled vessels distribute heat evenly and retain it well, ensuring that your meat cooks uniformly from edge to center. They also come with tight-fitting lids, which trap moisture and prevent your liquid from evaporating too quickly — a crucial element for successful braising.
Size matters, too. The pot should fit your meat snugly, with enough room for the liquid to circulate but not so much space that the meat steams instead of braising. If the pot is too large, the liquid may reduce too quickly, leaving your dish dry. Too small, and you risk uneven cooking or overcrowding.
If you don't have a Dutch oven, a heavy casserole dish covered tightly with foil can work in a pinch. Just ensure it's sturdy enough to handle low, slow cooking. The right vessel transforms your braising experience, making the process smoother and the results consistently excellent.
Rushing the process
Braising is the culinary equivalent of a long, slow symphony, where every step builds on the last to create something extraordinary. Trying to rush this process is like skipping movements in the music — you'll end up with a dish that feels incomplete and underwhelming. Impatience is one of the most common mistakes, and it's one that often leads to tough, flavorless results.
To fix this, commit to giving your braise the time it needs. The magic of braising lies in the gradual breakdown of connective tissues into gelatin, which takes time at low temperatures. This is what gives braised meats their signature tenderness and rich, velvety mouthfeel. Skipping steps like browning the meat or reducing the sauce robs your dish of the depth and nuance that make braises so special.
Plan your cooking day around the braise rather than the other way around. Start early, and let the dish work its slow-cooking magic while you focus on other tasks — or simply relax and enjoy the anticipation. If you're short on time, consider making the braise a day ahead. Braises often taste even better the next day, as the flavors have more time to meld and deepen.
