17 Mistakes To Avoid When Cleaning Your Stove Burners
We may receive a commission on purchases made from links.
There's more to cleaning your stove burners than you may know, which means that you've likely been making mistakes with cleaning them — regardless of stovetop type. Using the correct cleaning methods will not only result in working smarter rather than harder but will also make your kitchen safer. Plus, you're less likely to damage your stove.
We've looked at several different types of stovetops to address the mistakes that are unique to each one. Different stove types require different cleaning methods, which leads to making different errors while cleaning. Chances are, there are stove cleaning mistakes you've been making all your life that you need to change. Your stove might even hold secrets you didn't know about, like parts that are removable or even surfaces you can lift for cleaning. Once you've found what you've been doing wrong while cleaning your stove burners, you can start cleaning them the right way.
Cleaning stove burners before they've cooled
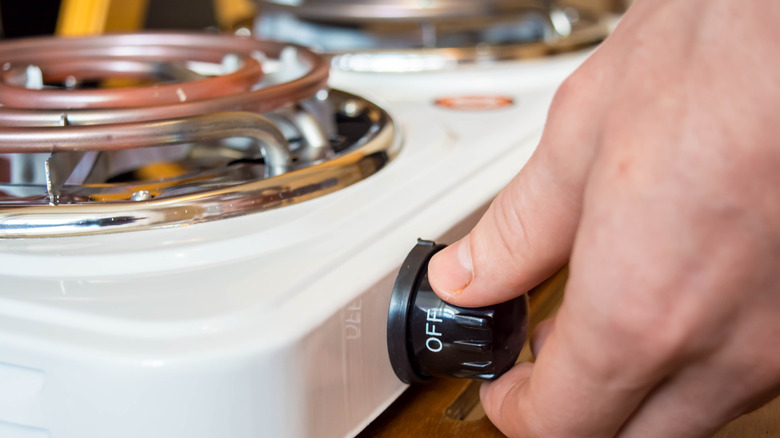
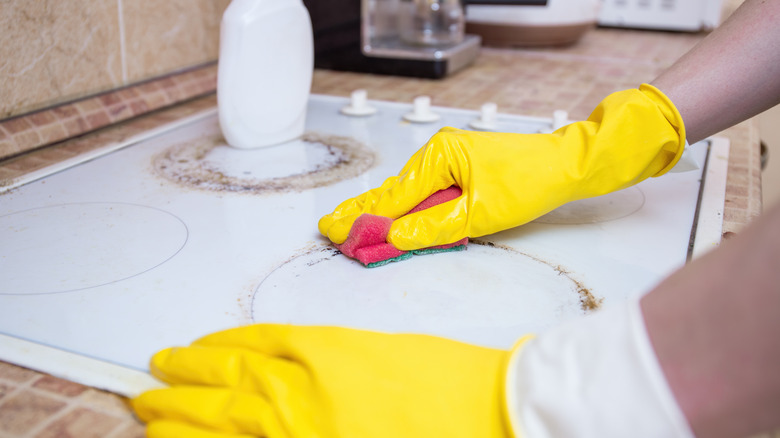
One mistake to avoid when cleaning stove burners, including induction stovetops, is cleaning them while they're still on or hot. Most of us have cleaned electric burners while they're on or while they're still hot. However, there are several reasons you should take heat out of the equation.
There are health and safety reasons for waiting for them to cool. First of all, there's a risk of skin burns. Beyond that, there's the potential to scorch or even set your cleaning cloth, sponge, or other materials on fire. Something else you may not have considered is that heated chemical cleaners and synthetic cleaning materials can cause vapors that may not be safe to breathe.
Cleaning only cooled burners can also avoid damage to your stovetop. Some cleaners leave behind stains when they're heated, which aren't easily removable. And if you use a synthetic cloth on a hot surface, there's a potential for it to melt into the surface, causing potentially permanent damage to the surface.
Not detaching coil-style electric stove burners from the stove before cleaning
If you've had coil-style electric stove burners and didn't realize you're supposed to detach them to clean them, you're not alone. Yes, you can unplug the entire coil from the socket with a gentle tug.
Removing the coils can allow you to get both sides of the coil clean as well as be able to more easily. If you've been struggling all this time to clean the bowls underneath and thought the design was to blame, there really has been an easier way all along. Plus, being able to remove the coils means that you can replace one if it ever stops working.
Pulling them out should be as easy as making sure the stovetop is off, waiting for them to cool, and then unplugging them like you'd unplug something from an electrical outlet. However, it's always a good idea to consult your owner's manual or watch a video about how to remove coils from your specific model. Some brands require pushing the coil into the socket before lifting it up and out. So, there might be a few tricks to uncover.
Submerging or using cleaning solutions on electric stove coils
Now that you've realized you can remove coils from your electric stovetop, you need to know what to do and what not to do with them. Submerging the coils in water and using cleaning solutions on them are both bad ideas.
When food falls onto an electric coil, it's normal to let it burn off. In fact, a two-to-three-minute burn-off at high heat is the perfect way to start cleaning electric stove coils. You can clean any debris left behind with a damp cloth. There's no need to use a cleaning solution that could off-gas fumes next time you turn on the coils. Water is fine.
Submerging the coils in water to wash them can damage your stove. If you get the electrical connections and parts in the coils wet, it could potentially damage them permanently. It probably goes without saying that you shouldn't put them in the dishwasher, either.
Not realizing that some cooktops can be lifted up for cleaning
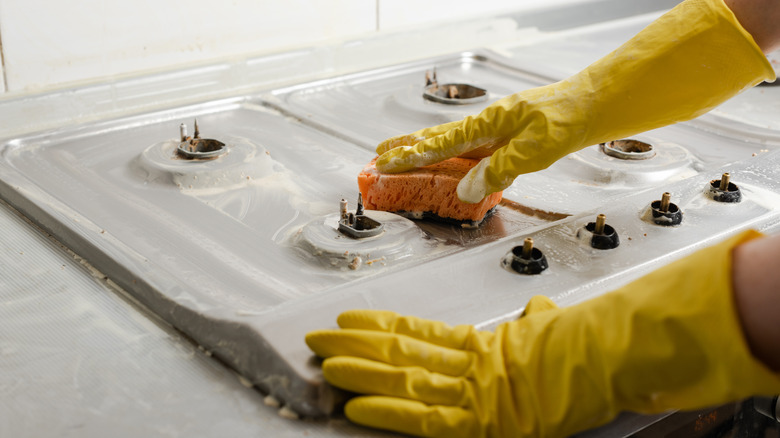
If you have an electrical coil-type stovetop or a gas stovetop, the cooktop likely lifts for cleaning. If this is new knowledge for you and you've had your stove for a long time, be prepared for a possibly big mess underneath.
If your cooktop is liftable, you'll find a slight ledge around the edges of your stovetop. Just place your fingertips underneath the ledge at the corners of the stovetop and lift. It should have the ability to lock into place like the hood of a car so that you can work with both hands. Some have a latch that you have to engage to ensure that it stays lifted while you clean.
Forgetting to shut off the pilot light or unplug before cleaning a gas stove
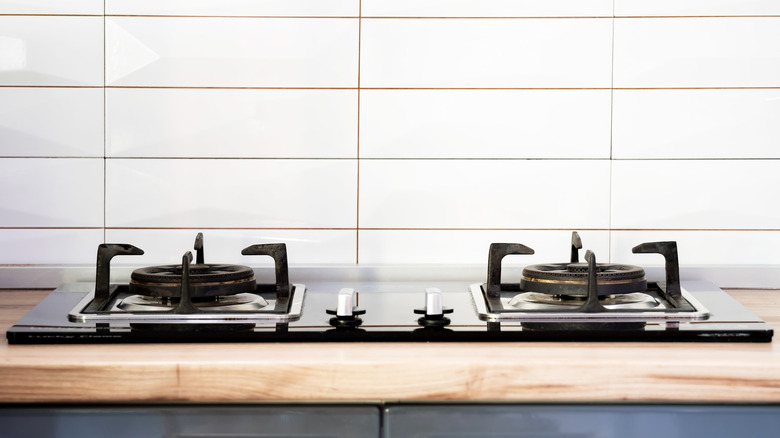
Before you clean your gas stovetop burners, you should turn off the pilot light and unplug the stove for safety's sake. You should do this before cleaning the pilot system, removing burner caps, and other tasks related to cleaning gas burners.
If you have an old-style gas stove, you'll need to turn off the pilot light. Old-style gas stoves have a constantly lit pilot light rather than having an electric ignition to activate gas when the stove is in use. If you have the older type of gas stove, you can probably see the flame always on through a small opening inside your oven. With your cooktop lifted up, you should be able to locate a switch near the gas lines that will allow you to turn the pilot light off. In some cases, you may have to move your oven away from the wall to access the off switch on the gas valve to turn it off.
If you have a newer model, you'll need to unplug the stove from the electrical outlet. If you have the newer type, you hear a click-click sound when you turn on the flame, which is the sound of the electric ignition lighting the pilot light.
Not knowing which parts to remove and clean with a gas burner
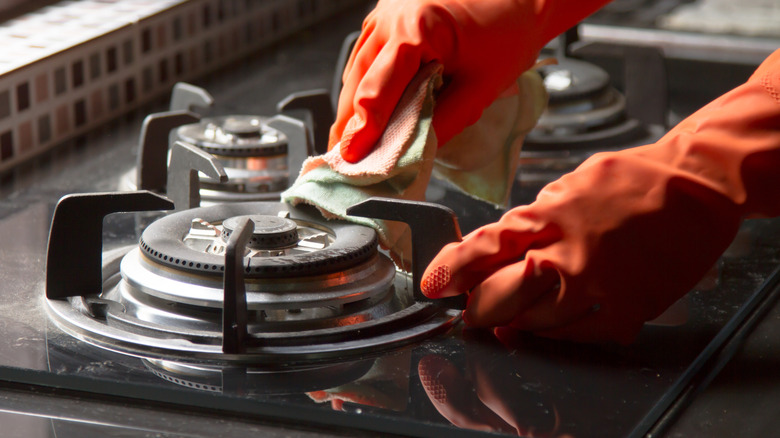
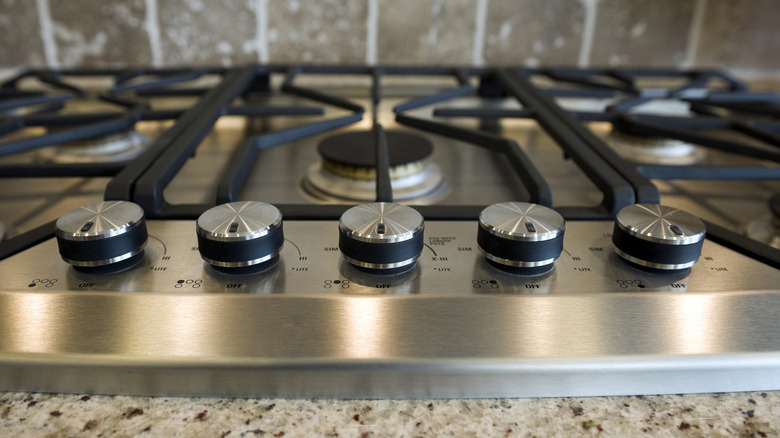
Cleaning gas stovetop burners is a bigger undertaking than some other types because of all the removable parts. Thus, it's easy to miss important steps. It's a good idea to follow the instructions that came with your stove to help you know how to clean your specific model.
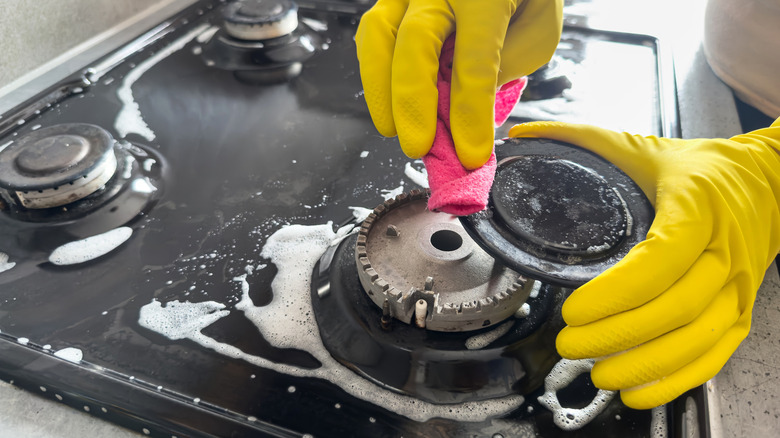
The metal cooking grates and the burner caps should all be removable, and they tend to need a deep clean because of all the food debris that can get baked onto them. If you can't take the burner caps off easily, check to see if they have a screw that needs to be removed first. You should also clean the burners themselves.
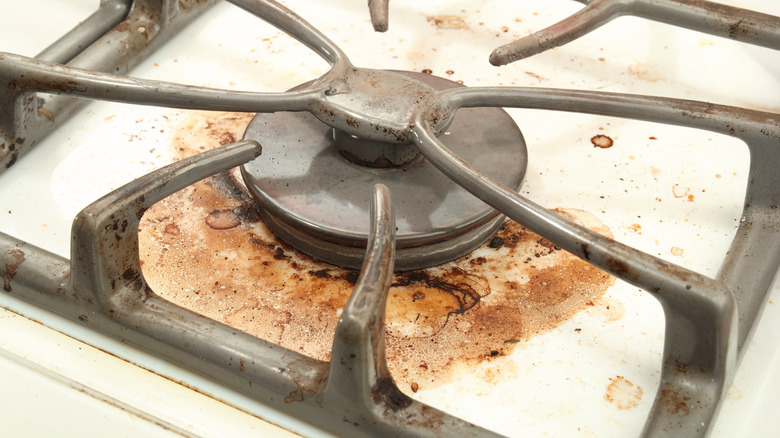
Part of the burner-cleaning process of a gas stove is to clean the gas burner ports because you don't want a build-up from grease, food particles, and other debris. If you don't clean the burner ports, they can start to clog. Clogged, they will take longer to light or stop lighting altogether. Generally, you can use a soft brush to remove debris outside; a thin wire, needle, or pipe cleaner for dislodging debris from the burner ports themselves (never a toothpick, which can break off); and canned air for the other pieces that are left behind.
Forgetting to soak your gas stovetop grates and drip pans before cleaning
Stovetop grates and drip pans can get especially dirty as food particles fall onto them and bake on, but time, soap, and water are your friends for getting them clean. There is one caveat to note. You'll only want to soak your cast iron grates if they are well-seasoned or if they're coated with a non-stick finish.
Go ahead and prep a sink full of warm, soapy water, and place your grates and drip pans in to soak for about 20 minutes while you're cleaning the rest of your stovetop. However, you'll probably want to avoid placing them in the dishwasher unless your owner's manual says that they're dishwasher safe. Once they've soaked, it's much easier to remove cooked-on food from grates and drip pans, even if a little scrubbing is still necessary.
Using the wrong type of cleaning solution
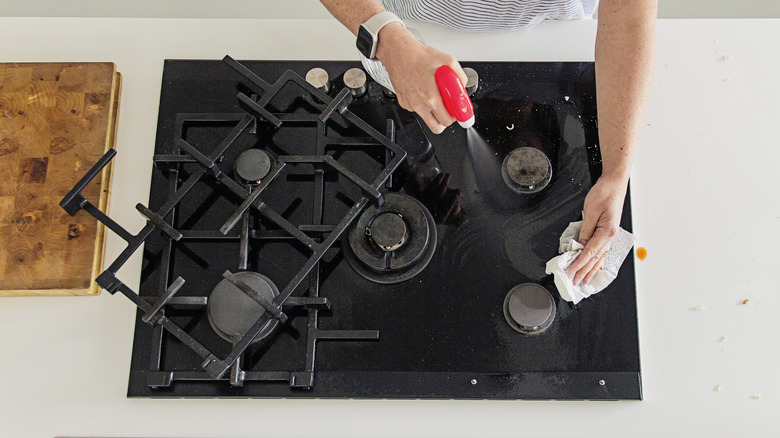
If you're trying to figure out how to clean your stove burners, one of the biggest mistakes you can make is using the wrong type of cleaner. The most important thing to do is to avoid using harsh chemicals. Check the product label before you start spraying your regular kitchen cleaner on your stovetop since you don't want something that will damage your stovetop surface or be toxic when heated.
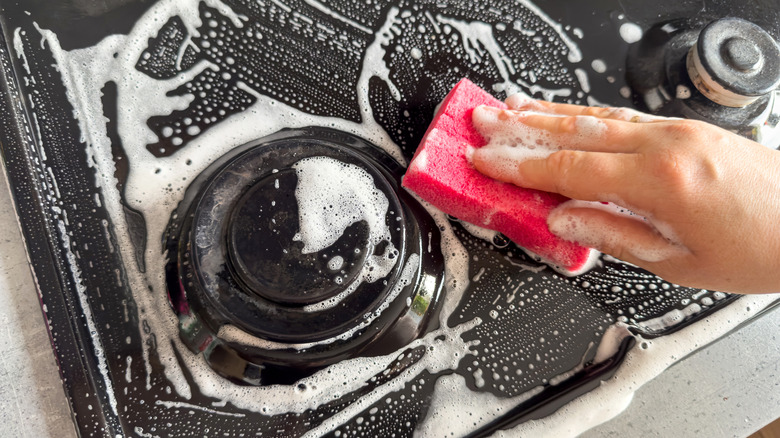
Great burner cleaners are likely already in your kitchen. The simplest thing you can use to clean your burners is gentle dish soap and water. Another option is to make a paste of baking soda and water to spread on your surface. A solution of one part vinegar and one part water works wonders, too. There are also solutions made with specific types of stovetop surfaces in mind, such as Cerama Bryte for glass and ceramic stovetops and Weiman Gas Range Cleaner and Degreaser for gas stovetops.
Not cleaning your burners regularly
While you may be cleaning your stovetop regularly, it can be easy to neglect your burners, especially if they're the recessed type. There are several benefits to cleaning your burners regularly beyond just having a clean stovetop.
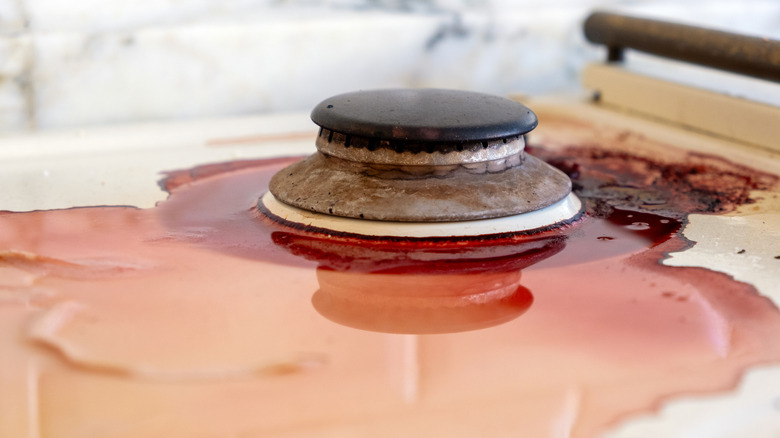
First of all, the more often you clean your burners, the easier it'll be to clean them. It's best if you clean the surfaces every time you use your stovetop. You'll also want to remember to schedule a monthly deep cleaning session when you take care of debris and stains that might have accumulated or burned onto surfaces. Regular deep cleanings help prevent permanent damage to surfaces and parts.
Even more importantly, if you have a gas stove, cleaning the burners regularly can prevent clogs. We've already mentioned some of the negatives of having clogged ports, like your burners not working as well or the clogs causing a fire.
Not wiping down your stovetop burners with vinegar between uses
A little bit of prevention can go a long way in helping keep your stovetop burners clean. While you may not have realized it, there's a way to make the surface actually deflect grease buildup. So, if you've had problems removing grease buildup in the past, take note.
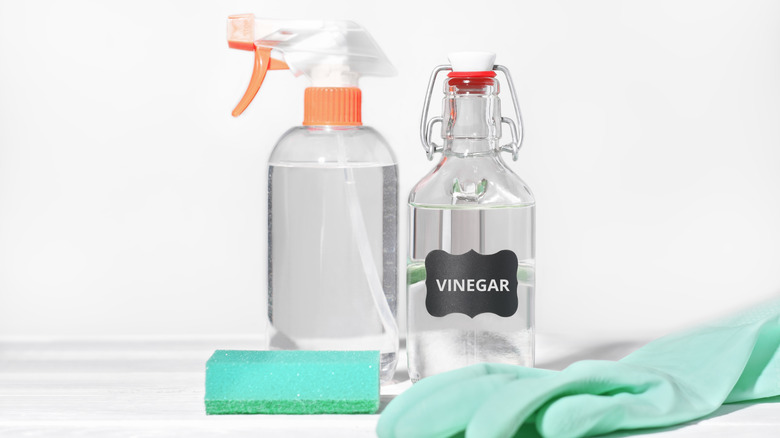
Next time you clean your stovetop surface and other burner parts, try using a combination of one part white vinegar and one part water as your cleaner. Not only will vinegar help to clean your stovetop and burners by killing bacteria, but it also helps repel grease spills and splatters. For best results, let it sit for half an hour before wiping down.
Not allowing cleaning solution to sit before wiping
It's easy to get in a hurry while cleaning your burners and try to get everything done all at once, but the process will be easier if you take your time. Specifically, you should apply your cleaning solution and then let it sit before wiping.
So, add your cleaning solution to your stovetop and burners as one of the first parts of cleaning your kitchen, and then come back to wipe them clean later. We've found that even two to three minutes of soaking helps. However, if you have the time and a really big mess to clean, soaking for 15 to 30 will help get everything cleaner, loosening dried and stuck-on food and stains. You'll thank yourself for how much less effort it takes to clean everything after a good soak.
Using the wrong type of scraper for a glass stovetop
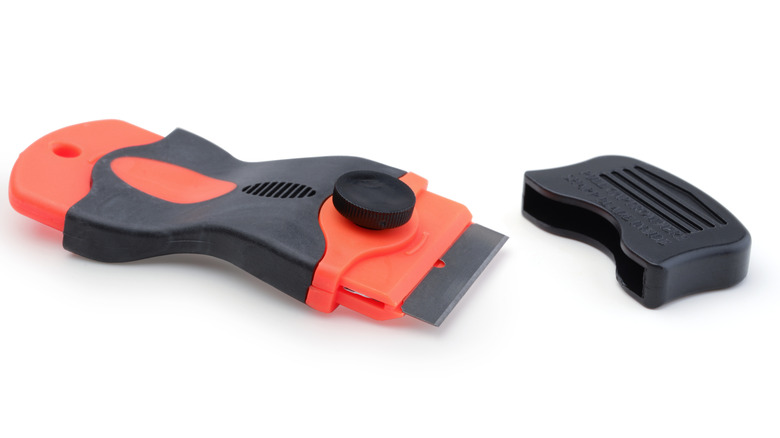
Chances are that if you have a scraper for your glass stovetop burners, you have one with a metal razor blade. While a stovetop scraper with a metal razor blade will work, it's not ideal because of the chance it has of scratching the glass surface.
So, what should you use instead of a metal razor blade scraper? Well, it turns out that there's such a thing as scrapers with plastic razor blades, like Foshio Plastic Razor Blade Scrapers. And, yes, a plastic blade works just fine for cleaning debris off the burners of glass stovetops, especially if you allow your cleaning solution to sit before wiping. So, rather than worrying about holding your metal razor blade just right to avoid scratching the glass or worrying about cutting yourself, you can just let a plastic scraper do the job.
Using an abrasive material to clean any type of stovetop
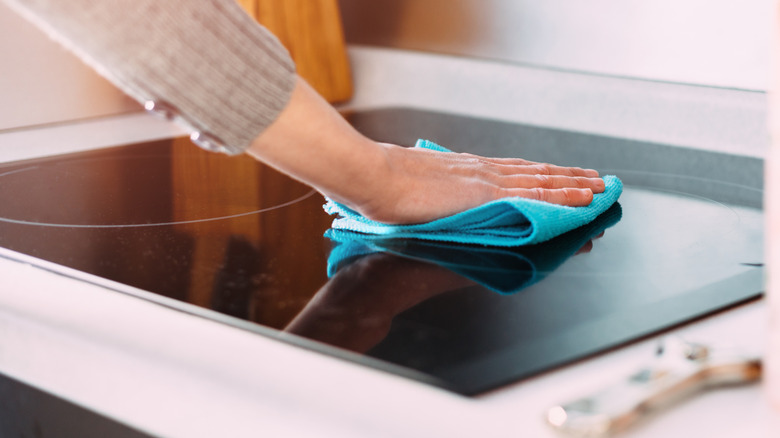
Stovetops are built to be sturdy, but they're not indestructible. So, it's important to avoid using abrasive cleaning materials no matter what type of stovetop you have.
Acceptable cleaning cloths include soft dish towels, microfiber cloths, sponges, and paper towels. If you're going to use a scrubbing pad, it should be one that's not abrasive — never steel wool. If you need to scrub a gas burner or metal grates on a gas stove, you can use a brush, but you'll want to ensure the bristles are soft and won't ruin the surfaces like steel brushes would. And never use a knife to remove something that's caked on, as one little slip can make a scratch that could last forever. The more delicate the surface, the softer the materials you use for cleaning should be. If you see any scratches, it's a good indication that you're using the wrong type of material for cleaning.
If in doubt about what to use, seek out a cleaning kit specific to your type of stove, like the Affresh Cooktop Cleaning Kit, which is safe for glass and ceramic cooktops. Such kits come with the appropriate types of cleaning pads, scrapers, and often even the right type of cleaner.
Re-attaching electrical or gas stove burner parts while they're still wet
It takes a little patience to clean burners, especially if you have electrical coils or gas stove parts to clean. However, there's a different reason for patience when it comes to drying parts for these two kinds of stoves.
When it comes to letting your electrical coils dry, the reason is related to safety. Knowing that water and electricity don't mix, you can probably imagine why you should wait for your electrical stove coils to dry before plugging them back into the stovetop. Getting an electrical outlet wet can damage and short-circuit internal wiring, damage your stove, or even cause a fire.
When it comes to a gas stove, the reason for not reattaching parts like the stovetop grates and drip pans while wet is different. When these metal objects are wet, the water can cause them to rust. Then, you'd potentially be left with rust on your stovetop.
Forgetting to use drip pans under gas and electric coil burners to make cleanup easier
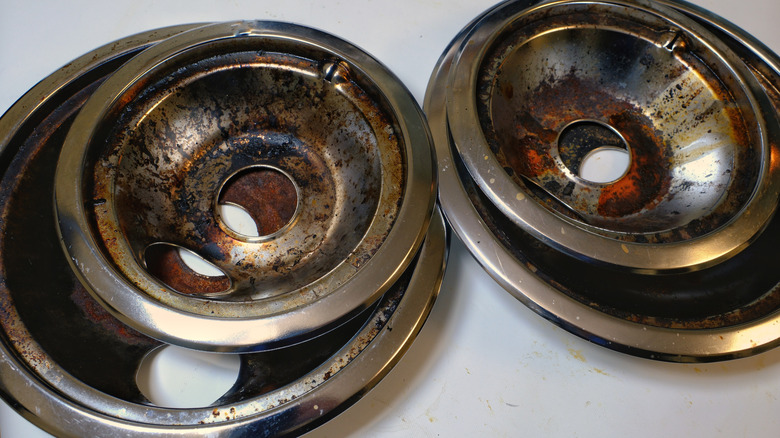
If you have a stove with a recessed area under the burner, like a gas stove or electrical-coil-type stove, drip pans are your friends. While you still have to clean the drip pan, the area underneath it should stay clean longer so that you don't have to do deep cleans nearly as often.
One trick we've always liked is having two sets of drip pans: one to use and one to clean. That way, you replace your drip pans immediately, without needing to wait for it to soak and for the washing and drying process. Just be sure to get pans that are compatible with and the right shape and size for your particular type of stove. Also, don't forget that some of your back burners may be smaller than the others when measuring to fit.
Using foil to line drip pans for easy cleanup
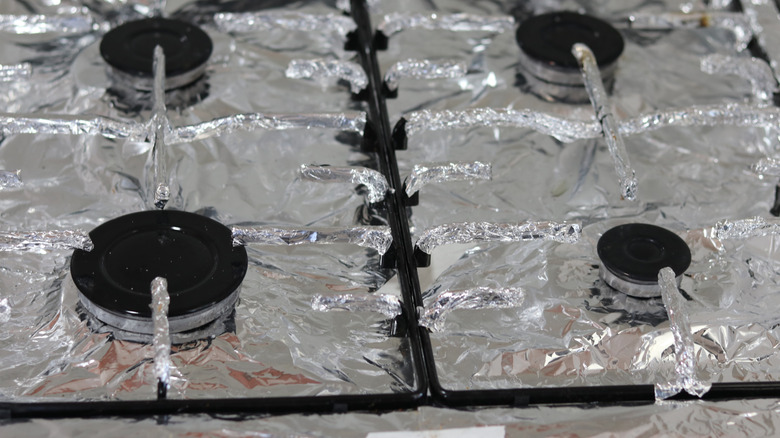
Rather than buying two sets of drip pans, some people line their existing set with foil to make cleanup easier. However, that's not a safe practice, and if you read your instruction manual, you may see a warning about not using foil on your drip pans for various reasons. However, even if your instruction manual doesn't warn against it, know that you shouldn't use foil for your safety.
If you think about how you use foil baking, you'll realize just how well it traps heat inside. If it gets hot enough, it can actually melt into the surface of the stove, especially if you have a glass surface. It also puts you at risk for electric shock with an electric stove. Using foil around the burners of either electric or gas stoves could start a fire. Plus, if you use foil on a gas stove, it could block airflow and cause carbon monoxide poisoning.
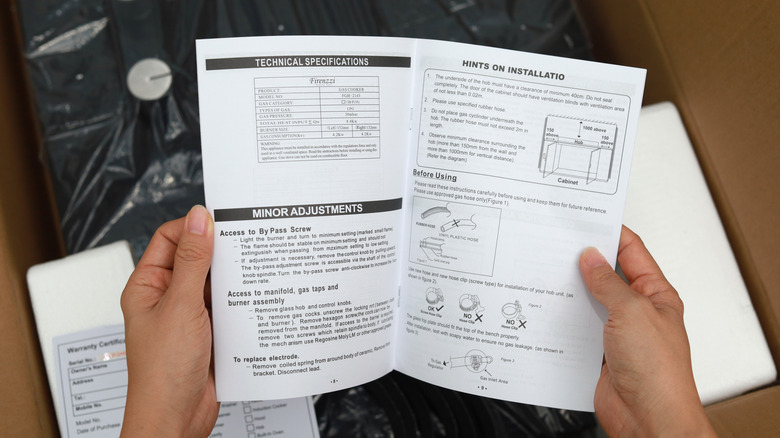
Neglecting to read the manual that came with your stove before cleaning your burners
While we've mentioned a lot of things that you shouldn't do, the biggest mistake you could make when cleaning your stove burners is not reading your stove's instruction manual. You will find a lot of information there that will likely save you some headaches down the road.
The instruction manual is where you'll find information like how long to leave electrical coils on high to burn off spilled food or what specific types of cleaners are best (or worst) for your stovetop surface. Plus, if you have a surface with more parts, like on a gas stove or one with an electrical coil system, it will give you specific information about how to remove and clean those parts safely. Of course, you may not have access to the original user manual that came with the stove, but that's where the internet comes in handy, as you may be able to locate an e-version online for your model or a similar model. If you're lucky, you may even find a video to explain the whole process so that you don't make potentially dangerous or destructive mistakes.
