13 Mistakes Everyone Makes When Making Peanut Brittle, According To A Pastry Chef
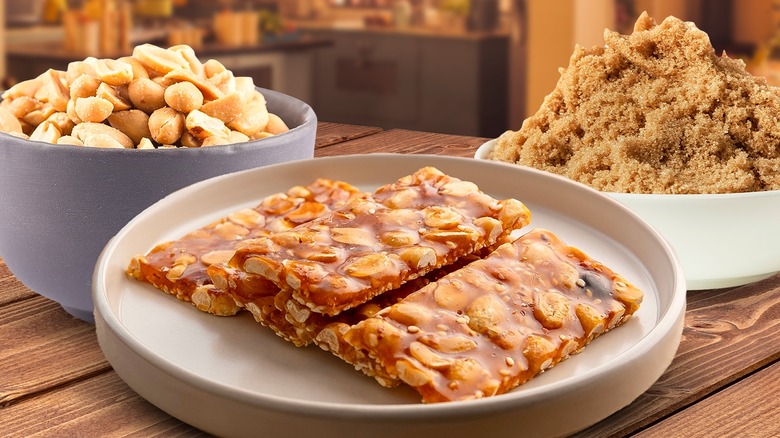
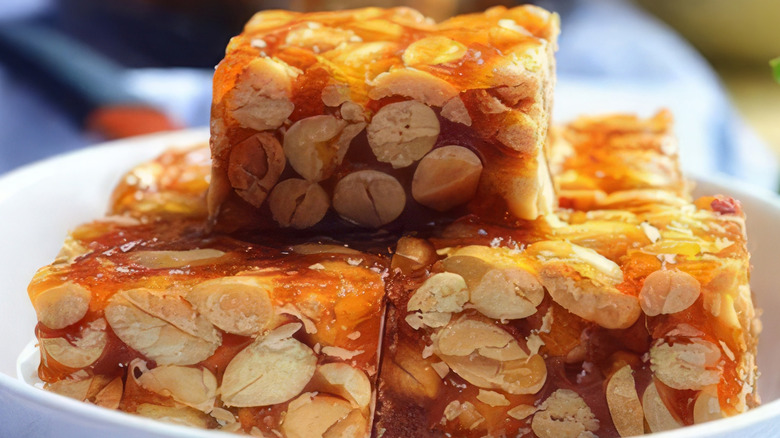
Peanut brittle is an old-fashioned candy that combines the nutty crunch of peanuts with snappy caramelized sugar for a downright irresistible taste. While it's a favorite for gift-giving during the holiday season, peanut brittle is just as good for nibbling any time of the year. This classic candy may look simple, but plenty of things can go wrong while making it. From sticky, chewy disasters to brittle that's more bendy than crackly, even seasoned cooks can make common mistakes.
As a former restaurant pastry chef, I spent countless hours perfecting flawless peanut brittle. Whether sent home as a mignardise or used as a garnish to elevate plated desserts, brittle has always been a part of my kitchen repertoire. Precision, preparation, and even environmental factors play important roles in achieving perfection when making a peanut brittle recipe. From properly prepping your workspace to selecting the best ingredients, every detail matters, and understanding the common missteps — like skipping mise en place or undercooking the sugar — can help you create a truly exceptional brittle. Read on to learn the most common mistakes people make when making peanut brittle and, more importantly, how to avoid them.
Ignoring the weather

Unfavorable weather conditions can lead to less than desirable peanut brittle. Humidity and sugar are each other's worst enemies. When there's moisture in the air, your brittle will absorb it, and as a result, it won't set up properly. Instead of that signature snap and crunch, you'll end up with soft and tacky candy. Your best bet is to make peanut brittle on a dry, low-humidity day; cold seasons are ideal. Winter and autumn days, when the air is drier, offer the perfect conditions for making brittle because the sugar can harden quickly and stay crisp.
High humidity can also slow down the cooling process of peanut brittle, which may not seem like a big deal — until you end up with grainy candy. When brittle cools too slowly, unwanted sugar crystals have more time to form, robbing you of that smooth, glassy texture that makes peanut brittle so satisfying. If you've ever made brittle on a muggy, rainy day and ended up with a sticky, chewy disappointment, humidity was likely the culprit. For the best results, check the weather forecast before making your brittle, and pick a cool, dry day to ensure your brittle sets up perfectly crunchy and smooth.
Skipping mise en place
Before making your peanut brittle recipe, performing a fundamental culinary step known in French as mise en place. This Anthony Bourdain-endorsed ritual translates to "put in place" and involves setting up your workspace with all the items you'll need to make your dish. Mise en place, which is typically made up of tools and ingredients, allows you to work seamlessly and efficiently. In terms of making peanut brittle, this means, prepping your tray, keeping a spatula within reach, and measuring out your peanuts, baking soda, sugar, and water in advance.
Candy making moves fast. Once your sugar mixture starts bubbling, there's no time to measure out ingredients or fumble for a tool, as hot sugar can go from golden perfection to a burnt disaster in seconds. You have to work quickly; there's no room for last-minute prep. Having all your tools and ingredients ready to go keeps the process smooth, ensures you stay in control, and prevents mistakes that can lead to overcooked or grainy candy.
Choosing wax paper to line your sheet tray
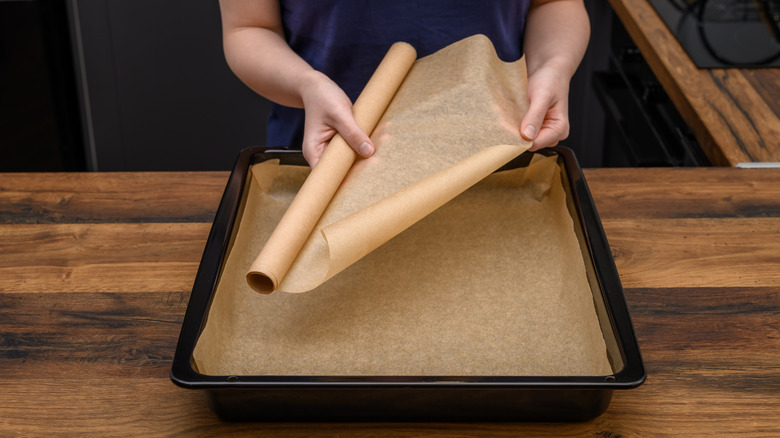
Prepping your sheet tray for your peanut brittle is just as important as gathering your ingredients. Grabbing some wax paper for easy cleanup may be tempting, but don't fall for that mistake. Wax paper isn't heat-resistant, and pouring hot brittle onto it will melt the wax coating and fuse it to your brittle. Once the brittle cools and hardens, the wax paper will be nearly impossible to remove.
That said, you actually don't need to line your sheet tray at all. A simple coating of nonstick spray or soft butter is all it takes to ensure your brittle spreads easily and releases cleanly. Using any kind of liner — like greased parchment or even a Silpat — can backfire, as the liner tends to slide around when spreading, making it hard to achieve an even, thin layer of brittle. A greased sheet tray provides the ideal firm surface to spread the hot candy thinly before it sets.
Using low-quality peanuts
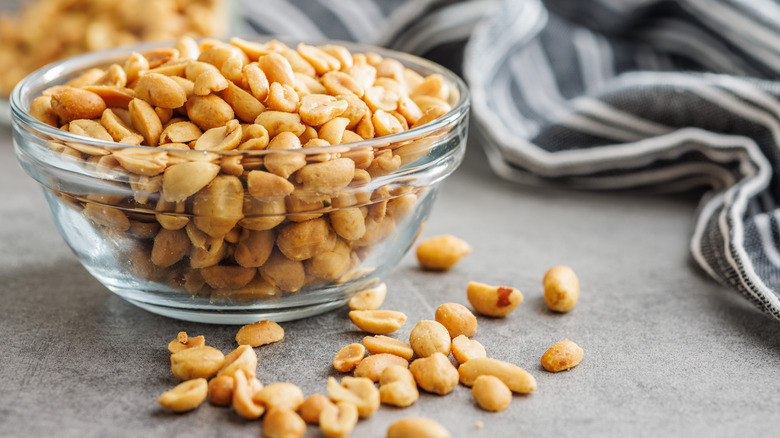
With so few ingredients in peanut brittle, every component needs to pull its weight, but there's no doubt that the peanuts are the star of the show. Using low-quality or stale peanuts is one of the biggest mistakes you can make. Bad peanuts taste bland and lack the nutty depth that makes brittle so delicious. Worse, they can have a rubbery or mealy texture — certainly not the satisfying crunch that pairs beautifully with the crisp caramelized sugar. Why spend all that time and effort making brittle if it won't taste as good as it can?
Good peanut brittle is all about balance — sweet, salty, crunchy, and flavorful. When you use high-quality, fresh peanuts, you get a richer flavor and a creamier finish that stands up to the buttery sweetness of brittle. Virginia peanuts, which are prized for their large size, distinctive crunch, and sweet flavor, are a favorite for brittle-making. Spanish peanuts, smaller yet packed with flavor due to their high oil content, offer an equally delicious alternative.
Opting for raw peanuts instead of roasted
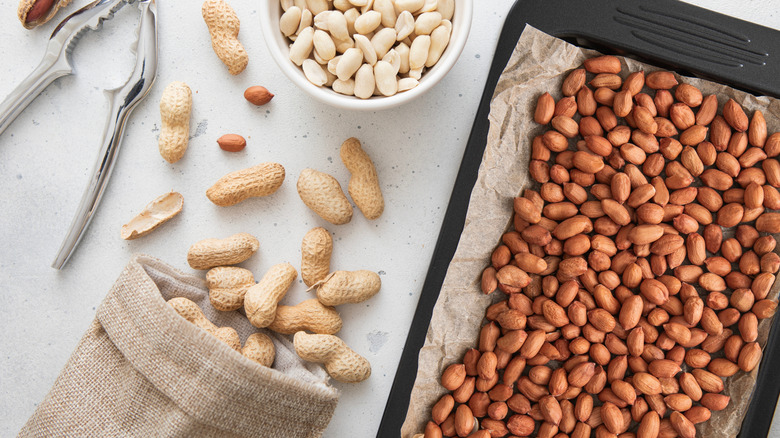
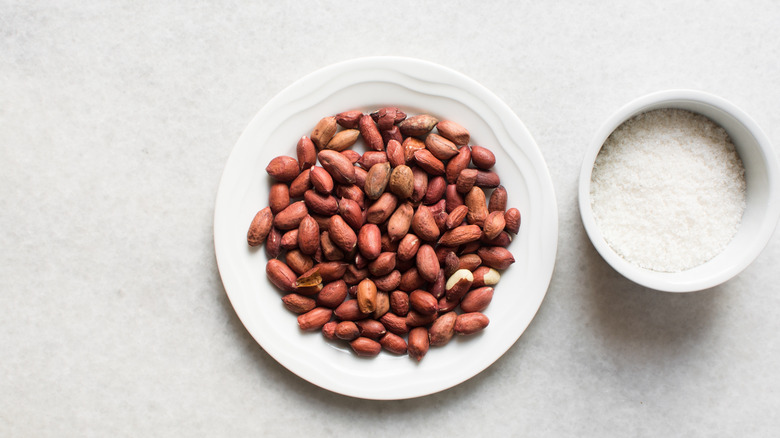
Not only should you use high-quality peanuts for your brittle, but you should also roast them instead of leaving them raw. This is because raw peanuts don't have the deep, nutty flavor that roasted ones bring. You may think the hot sugar syrup will roast the peanuts, but that's not the case. Without pre-roasting, the nuts won't develop the same toasty depth as roasted ones, leaving your brittle flat-tasting and underwhelming.
If raw peanuts are all you can find, take the extra step of roasting them before you make your brittle. Spread the peanuts in a single layer on a sheet tray and bake them in a 350 F oven for about 10 minutes until they're golden and aromatic. This simple step makes all the difference and will ensure your peanut brittle has a wonderfully warm, roasted nuttiness that elevates its flavor and texture.
Not using a heavy-bottomed pot
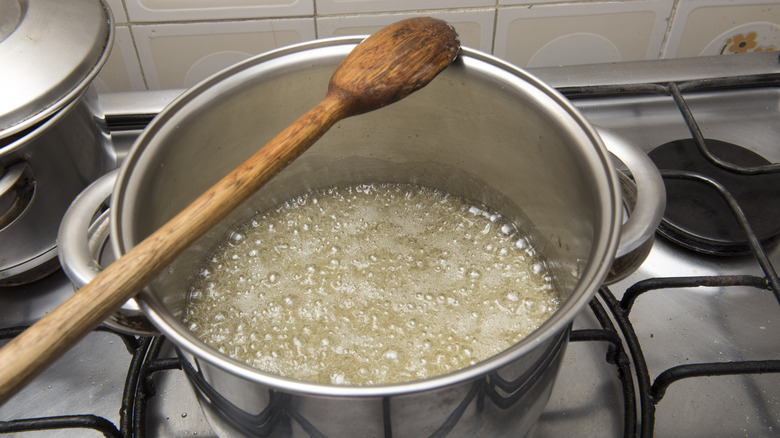
The right pot can make or break your peanut brittle. To ensure success, always use a heavy-bottomed pot when cooking the sugar mixture for peanut brittle. Its thick base offers a consistent, even temperature across the surface, allowing the sugar to caramelize at a steady, controlled pace. In contrast, a thin, lightweight pot creates hot spots, which can lead to uneven caramelization and scorching, as some areas of the sugar mixture will cook faster than others. This uneven heating leads to bitter, overcooked sugar in some spots and underdeveloped flavor in others.
Beyond even heating, a thick, heavy-bottomed pot also retains heat better, which is crucial for working with sugar. Once your brittle mixture reaches the right temperature, you need enough residual heat to keep it fluid while you stir in the peanuts and baking soda. A thin pot cools too fast, which makes the mixture harder to pour and spread before it sets. Investing in a sturdy, heavy-bottomed pot will ensure your brittle turns out crisp and golden, with a rich caramel flavor.
Undercooking the sugar mixture
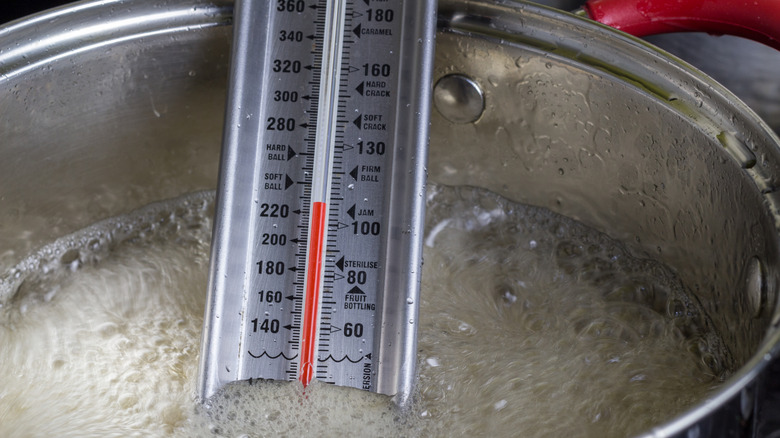
When making peanut brittle, cooking the sugar mixture to the correct temperature is crucial for achieving the right texture and flavor. The sugar must reach 300 F — the hard-crack stage — to produce a crunchy candy. If the mixture falls short of this temperature, the brittle will lack structure, and it's likely the reason your homemade peanut brittle doesn't have enough crunch. Alternatively, if the sugar is cooked too long or too hot, it will taste burnt and bitter.
The best way to ensure your sugar mixture cooks to the right temperature is to use a candy thermometer. This gadget is designed to measure high temperatures and can withstand prolonged exposure to extreme heat. It also features a clip that allows you to secure it to the side of the pot so you can get continuous temperature readings while your sugar mixture cooks. This nifty tool takes the guesswork out of the brittle-making process so you can confidently cook your candy to perfection.
Forgetting to add baking soda
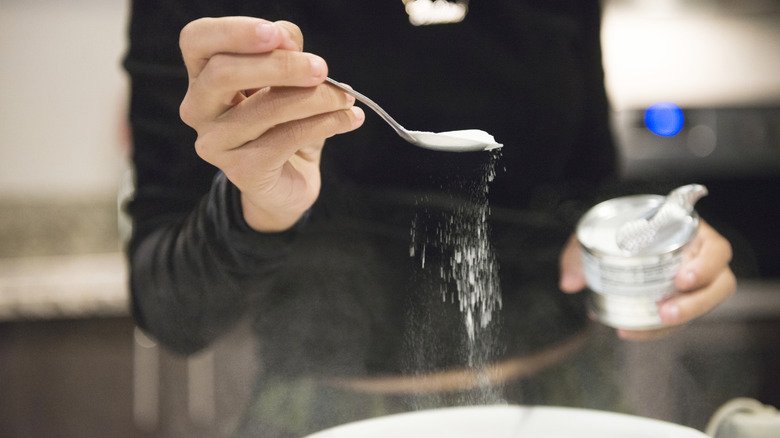
Baking soda is the secret ingredient that gives peanut brittle its unique texture. This pantry staple transforms brittle from a dense, rock-hard sheet of caramelized sugar into a light, crisp candy with a delicate crunch. Without it, your brittle will lack the tiny air pockets that make it easy to bite into. It's a small ingredient, but it plays a critical role in creating the perfect texture in your confection.
To get that signature snap, you need to add baking soda at precisely the right moment — when the sugar mixture reaches the hard-crack stage at 300 F. As soon as the baking soda hits the hot sugar, it will bubble and foam vigorously, aerating the mixture to create those essential air pockets. This reaction between the baking soda and hot sugar keeps the brittle from becoming too dense and gives the finished brittle its crisp, airy, breakable structure.
Not working fast enough

Hesitation is your worst enemy when it comes to making a batch of peanut brittle. Once your sugar mixture reaches the proper temperature, there's no time to waste. If you wait too long before stirring in the baking soda, the sugar will continue cooking and burn, and you'll be left with bitter-tasting brittle. Once you add the baking soda, the sugar will begin to set immediately, transforming from a pourable liquid to a stiff mass in seconds.
Delays don't just affect flavor; they can ruin texture, too. If you wait to long to pour the brittle mixture onto your tray, it can thicken too quickly, making it nearly impossible to spread into an even layer. The result? Uneven, clumpy brittle that's too thick in some places and jagged in others. Your brittle will be not only unpleasant to look at, but also unenjoyable to eat. So, make sure to work quickly and confidently, and you'll be rewarded with flawless brittle.
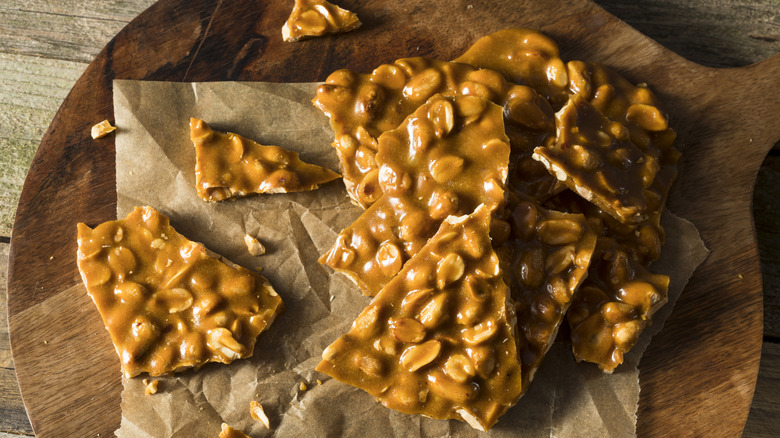
Spreading the brittle too thick
Ideally, your peanut brittle should be ¼ to ½-inch thick, making easy to bite into and enjoyable to chew — any thicker, and you risk a trip to the dentist. If you don't spread the hot candy thin enough, it'll be dense and hard to bite into, rather than light and snappy. Spreading the hot brittle can be challenging because the hot mixture hardens almost instantly after the baking soda is added. You need to work quickly and efficiently to spread the brittle evenly before it firms up all the way through. A well-spread brittle traps the baking soda's air bubbles and creates that signature delicate crunch.
To help make the spreading process a bit smoother, try this pro tip: Warm your baking sheet in a 175 F oven before pouring the hot candy mixture; this buys you a little extra time to spread the brittle. And remember, grease your spreading utensil — be it a spatula, two forks, or the back of a large spoon — to prevent sticking.
Not cooling the brittle completely
Not allowing your peanut brittle to cool completely is a common mistake that can leave you with a sticky, chewy mess instead of the crisp candy you're aiming for. If you try to break your brittle before it's fully cooled, it won't shatter cleanly, and you'll end up with uneven pieces. The cooling process is important because it allows the sugar structure to fully harden and develop its light, crunchy texture.
Storing your brittle before it's completely cooled can also lead to poor results. Trapping residual heat can create excess moisture that softens the brittle, robbing it of its trademark snap. For the best results, let the brittle sit undisturbed at room temperature until it's fully cool to the touch. This can take anywhere from 30 to 60 minutes, depending on the thickness of your brittle and the temperature of your kitchen. When fully cooled, the brittle will feel firm and will be easy to break apart cleanly.
Forgetting to break the brittle into small pieces
Once your brittle is completely cooled, use a mallet to break it into small, manageable pieces. Leaving it in large chunks will only make it more difficult to eat, store, and serve. A well-made brittle should be easy to hold in your hand and enjoyable to bite into. If the pieces are too big, they will be cumbersome to eat and storing them nearly will be a challenge. Plus, since these candies are sweet, it's better to break them into smaller pieces instead of having to commit to one massive chunk.
Even worse, oversized chunks of brittle often break into jagged, uneven shards that are tricky to handle and even risky to eat. Sharp edges can poke at your gums and make the brittle impossible to enjoy. By taking the time to break your brittle into smaller, evenly-sized pieces, you'll ensure that your treats are enjoyable to snack on, easy to store, and perfect for gifting.
Storing the brittle in the refrigerator
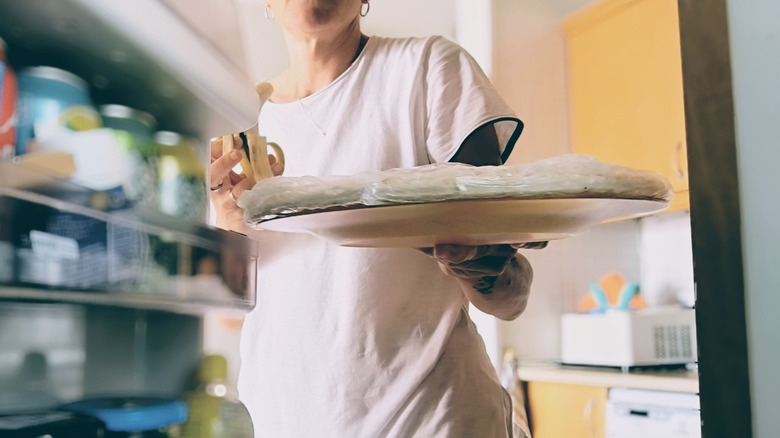
You should never store peanut brittle in the fridge because moisture will ruin its delicate texture. The condensation from the refrigerator can wreak havoc on your brittle and turn it from crisp and snappy to chewy and gummy. While freezing is an option, it's not ideal unless the brittle is stored completely airtight. Even then, the texture won't be quite the same as a freshly-made batch, as condensation can develop as it's thawed.
For the best results, store your brittle in a cool, dry place at room temperature, preferably in an airtight container to keep it fresh and crisp. Adding parchment paper between the layers will prevent the pieces from sticking together and make them easier to grab without breaking. An ideal spot is a pantry or cupboard away from heat and humidity. Keeping your brittle dry and well-sealed is the key to maintaining its perfect texture.