Mistakes Everyone Makes When Braising Chicken
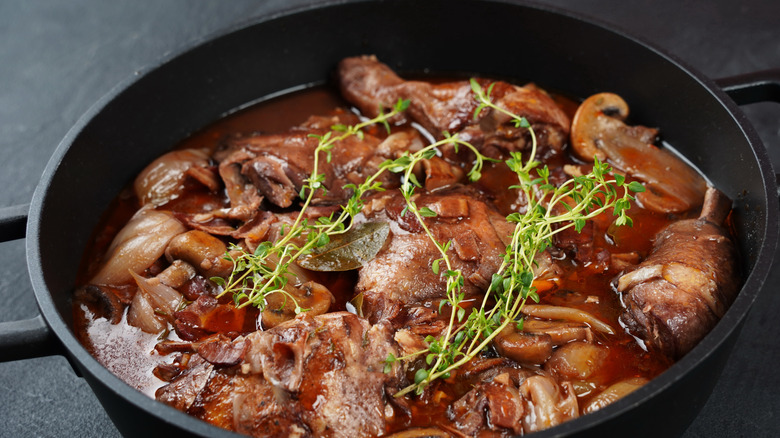
There's a reason why braising chicken is a time-honored technique. It requires two parts: searing the chicken until it's golden-brown and simmering it gently in a tasty liquid. It's the liquid that allows you to transform an inexpensive piece of poultry into a fall-off-the-bone-tender delight with a full flavor. Once you learn how to braise, you can do it to your heart's content and create versatile dishes like Mediterranean braised chicken thighs.
This is one cooking method that is both simple and complex at the same time. The steps required are easy to accomplish, but it's just as easy to make a seemingly insignificant error that could ultimately ruin your dish. I learned the technique in culinary school and mastered it over years, both as a personal chef and as someone who taught others how to do it via cooking classes. These are the mistakes you'll want to avoid for perfectly braised chicken every time.
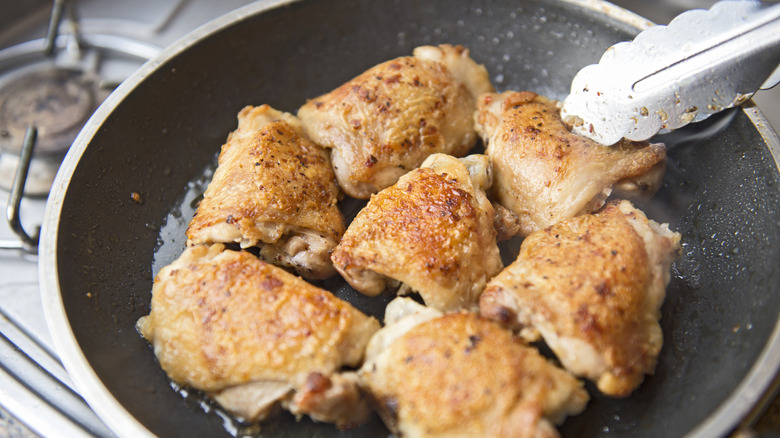
Choosing the wrong cut of chicken
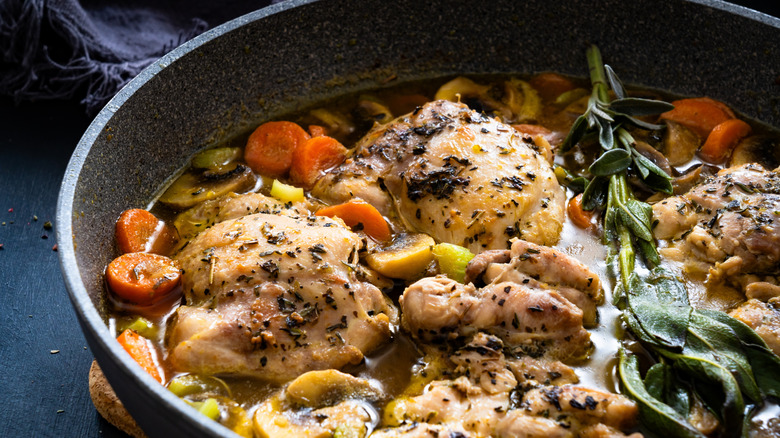
Once you've learned how to master a cooking technique, it can be applied to just about any food. For example, once you're perfected your roasting technique, you can roast everything from duck breasts to crispy vegetables. Braising is one exception to this rule. While the technique can be used for multiple foods, there are some cuts that should not be braised — I'm looking at you, boneless, skinless chicken breasts. Braising works best for bone-in chicken pieces, like thighs and legs.
These pieces are perfect for braising for a number of reasons. First, the bones release marrow during cooking, thus adding additional flavor to the meat. The extra fat in dark meat and collagen in the bones can also contribute to its superior flavor. In addition, while breasts and other white meat are easily overcooked and can dry out, bone-in, skin-on dark meat is much more merciful. They're hardier than boneless, skinless breasts and can withstand a longer cooking time without the risk of overcooking. The juices and fat from the bone and skin help keep them moist, even over long cook times.
Using the wrong pan

In some instances, the steps you take before you start cooking can have a direct impact on how your dish comes out. When you're braising chicken, your work starts when you open your cabinet and select what pan you want to use. Not just any pan will do, and the wrong vessel can potentially ruin your braise.
For the best results, choose an oven-safe pan that you can both sear the chicken and complete your braise in. There is a pan called a braiser that is built specifically for it. It has a wide, heavy bottom and sloped sides that are perfect for containing your braising liquid. Don't worry if you don't have a braiser, though; any heavy-bottomed, oven-safe pot, like a Dutch oven or a cast iron skillet, will do. Pans with a heavy bottom are great choices because they conduct heat more evenly, and once they're hot, they stay hot. Make sure the pan is large enough to accommodate not only the chicken, but the braising liquid as well.
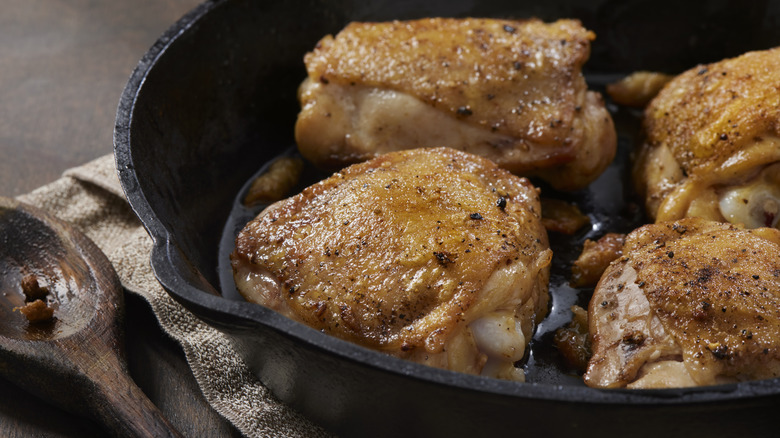
Skipping the sear
Browning is a step in the braising process that some cooks may be tempted to skip. Why bother when the simmer will cook the chicken fully anyway? Browning chicken before braising it is more than just getting it to the appropriate temperature. Searing the chicken before you add your braising liquid will give it an appetizing golden-brown color. If you're familiar with the Maillard reaction, though, you know that a beautiful color is not the only benefit that comes from searing — it also enhances the flavor of the chicken.
Another benefit of searing is the fond left behind in your pan. Fond is the term used to describe the tiny bits of browned chicken that stick to the bottom. If you're wondering if fond actually contributes anything to your cooking, the answer is yes. It's the secret ingredient that will give your braise a rich, savory flavor. When you add your braising liquid to the pan, use a wooden spoon or spatula to gently loosen the fond from the bottom so it becomes part of the liquid that cooks and seasons your chicken.
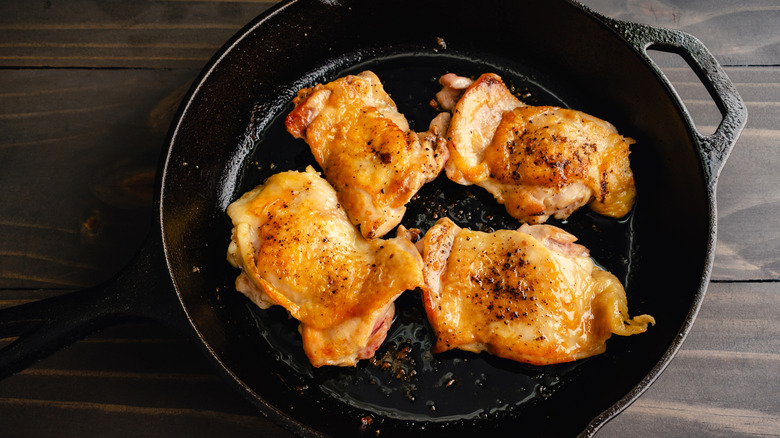
Crowding the pan when you sear
There's more to searing chicken then just adding it to a pan and waiting for it to brown. One common mistake people make when they sear is that they load up their pan with all of their chicken at once in order to speed things along. If your pan is large enough, it's no problem. But if you're piling your chicken into a pan that can't comfortably hold it all, you won't get the crisp, golden-brown outcome you're looking for.
Your chicken pieces shouldn't touch when you add them to the pan. You need space between each piece to allow the hot air to circulate evenly around it. If the chicken is too close together, the hot air will be trapped and you'll end up with steamed chicken instead of seared. Excess steam in the pan will also keep your chicken from browning properly, if at all.
Using a flavorless braising liquid
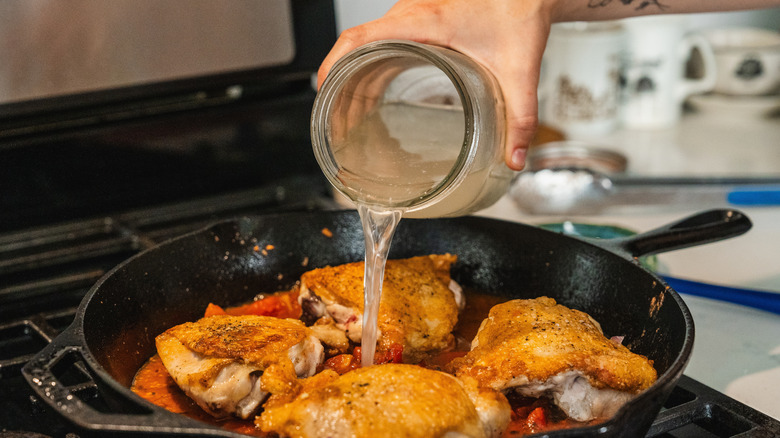
The liquid you choose to braise your chicken with may be the most important ingredient in your recipe. It's the building block of flavor that will have the greatest influence in the final taste of your braise. Technically, you only need a liquid, even just water, to braise. In fact, esteemed chef James Beard recommended braising with water, accented by the addition of a pig's foot or veal knuckle. If you don't have pig's feet or veal knuckles hanging out in your kitchen, there are, thankfully, other, more accessible options.
More common options include stock and wine. Each works well alone, but many recipes recommend blending the liquids to achieve a balanced flavor. You can also create delicious braises using liquids like apple cider, coconut milk, tomato sauce, or alcohol, like port or beer. What you use is up to you, but if you want a flavorful braised chicken, be sure to use an equally flavorful braising liquid.
Getting the amount of braising liquid wrong
Once you've chosen your braising liquid, your next challenge is to make sure you get the amount of it right. Braising produces two tasty end products: fork tender chicken and a delicious sauce. Both are influenced by the amount of braising liquid you use. You might be tempted to load your pan with braising liquid so the chicken is completely covered, but just know that less is more. Otherwise, you'll risk making a stew.
There are some big differences between stewing and braising. Both involve searing and simmering meat or poultry in a tasty liquid. But, stewing calls for completely submerging and slow-cooking smaller cuts. Braising, on the other hand, uses larger cuts and less liquid.
The braising the liquid should cover the bottom third of the meat; no more than halfway-up the side of the chicken. If you skimp on the braising liquid, your chicken may not cook evenly and the meat may come out dry. Use too much braising liquid, and the texture of your chicken may be chewy instead of deliciously fork tender.
Not covering the pot
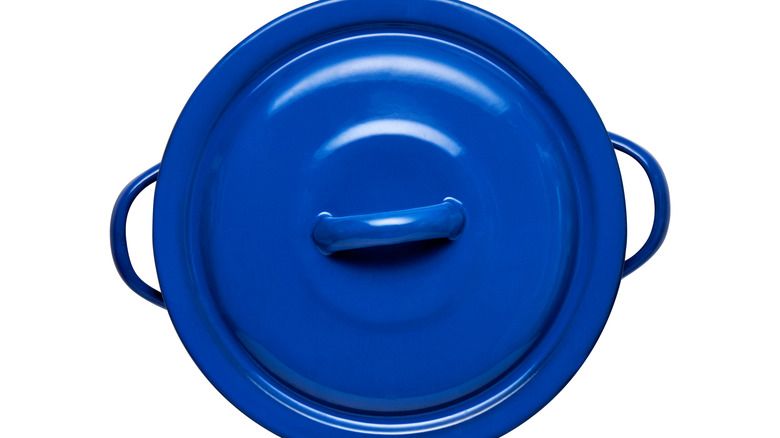
Braising is a moist heat cooking method. It relies on moisture from the braising liquid to help cook the chicken. As the liquid simmers, it infuses the chicken with flavor, while also heating it to a safe temperature. Once you've reached this stage of your recipe, you might think you're home free, but that's not the case. There's one simple mistake cooks often make at this point in the braising process that can yield calamitous results: not covering the pot. Once you have your seared chicken in the pan with your braising liquid, it's imperative that you cover your pot with a tight-fitting lid.
Whether you're braising on the stovetop or in the oven, covering the pot is a step you can't skip. The lid traps the steam that will inevitably build up in your hot pan. The steam helps cook the chicken, and the lid will ensure that the chicken stays moist. It also prevents your braising liquid from reducing and evaporating away too quickly — before it has a chance to fully cook the chicken. If your liquid evaporates, you'll have no sauce left to serve with your finished chicken. You can wrap your pan tightly with foil if the pan you're using doesn't have a lid.
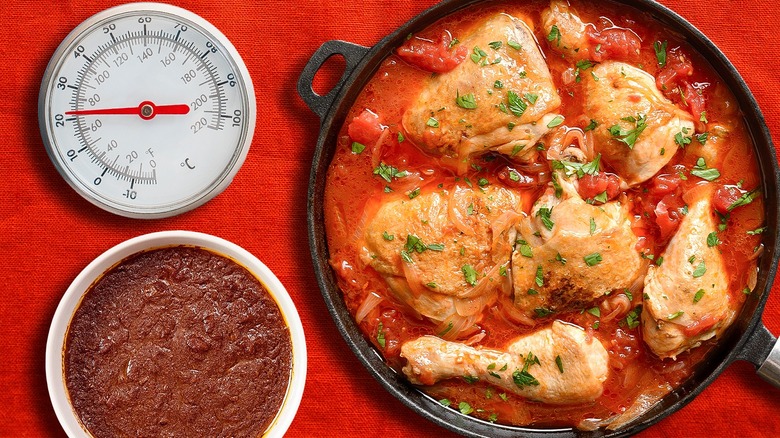
Getting the temperature wrong
Temperature is a key factor in braising chicken. Braising is generally a forgiving cooking technique, but getting the temperature wrong can ruin your chicken. If it's too high, you run the risk of drying out your protein or burning it. Too low, and your chicken won't have a golden-brown color and may not cook through fully (and no one wants medium-rare chicken). Since braising is a cooking technique consisting of two steps, you'll need to make sure you get the temperature right for each one.
When you sear the chicken, you need a high heat to make sure the skin gets golden-brown and crispy. Pro tip: Resist the temptation to move the chicken around once you've added it to the pan. This is one of the biggest mistakes you can make when searing chicken. Let it cook, untouched, until it no longer sticks to the bottom of the pan. Once your chicken is seared and you've added in your braising liquid, you'll need to lower the temperature to finish your braise. Your oven should be at a relatively low temperature at this stage; around 325 F should suffice. The low temperature, combined with a longer cooking time, will give you chicken that's fall-off-the-bone tender and delicious.