12 Biggest Mistakes You're Making With Homemade Hummus
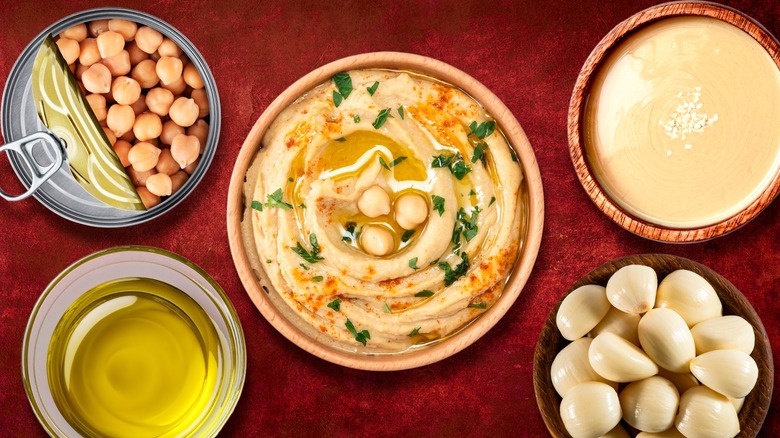
As someone with Middle Eastern heritage, I've witnessed how hummus has gone from the humble (and mostly unknown) chickpea dip my family made growing up to becoming a household name worldwide. Its popularity is a testament to how tasty hummus is. Still, it's also quite strange to see it as something fancy or expensive — not to mention seeing all the wacky and sometimes ghastly takes on the market (I'm looking at you, chocolate hummus). To me, it's always been an ordinary and super affordable food that any household could make, and it's pretty nifty that hummus can feed many, given that it's completely plant-based.
As a recipe developer who had the privilege of learning to perfect hummus in my family home from a young age, I've always tried to advise people on easy ways of making it and have even taught classes about it. This is because it's almost always better to make it at home than spend a pretty penny on a small tub of store-bought, mostly mediocre hummus. There's nothing better than dipping some bread into some freshly made, homemade hummus that isn't full of unnecessary salt, stabilizers, and preservatives. You can even adjust the acid and seasonings to your taste and get that fluffy, creamy texture. While making the perfect hummus is relatively stress-free and simple, there are some common pitfalls that are best avoided. These are some of the biggest mistakes you're making with homemade hummus.
Using canned chickpeas
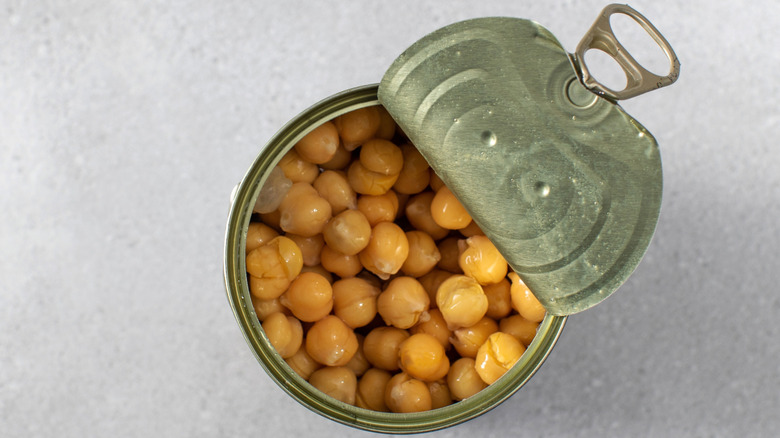
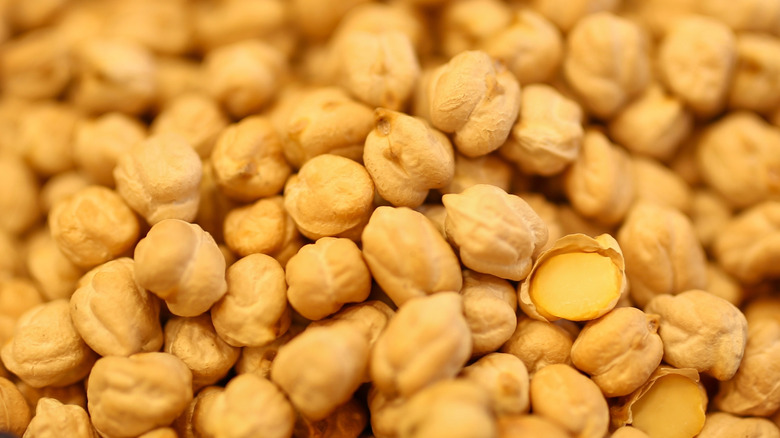
In our busy lives, we're always looking for shortcuts or tricks of convenience to get what we want with less effort or time. With hummus, a lot of people would rather use canned chickpeas than go through the lengthy process of soaking and then cooking dried beans. This isn't a bad thing, and when it comes to hummus, you can still make okay or even decent hummus with canned chickpeas. However, if you want great hummus, you should consider going the long way and using dried chickpeas. The beans are cooked to perfection and taste super fresh without any undesirable aromas from the can. Every time I've made hummus with canned chickpeas, I can taste and feel the difference — it can be grainy and just not as delicious as the dried version.
Whether you can't be bothered with dried chickpeas or you're in a pinch and need to make a quick hummus with canned beans, there's a way to improve it. Canned chickpeas are usually cooked, so we dunk them straight into the food processor without thinking twice. But they're often still a little hard or not as soft as one would like for a velvety hummus. For creamy homemade hummus, cook your canned chickpeas. Drain and rinse your beans and then simmer them in water on the stove for about 20 minutes, or until they're soft enough that they easily turn to mash when you squeeze them with your fingers.
Forgetting the tahini
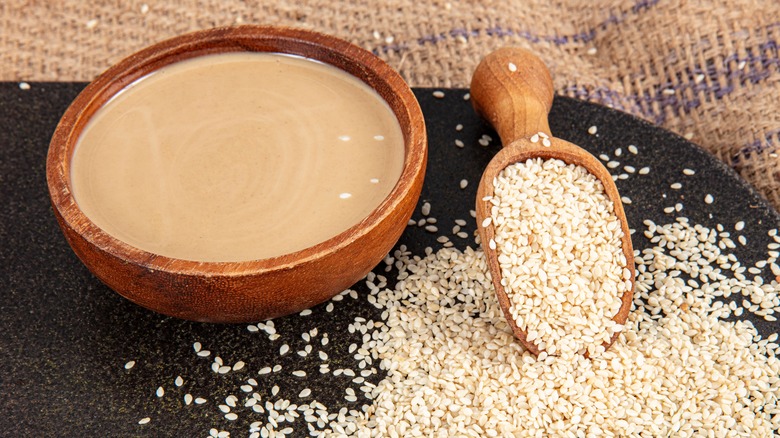
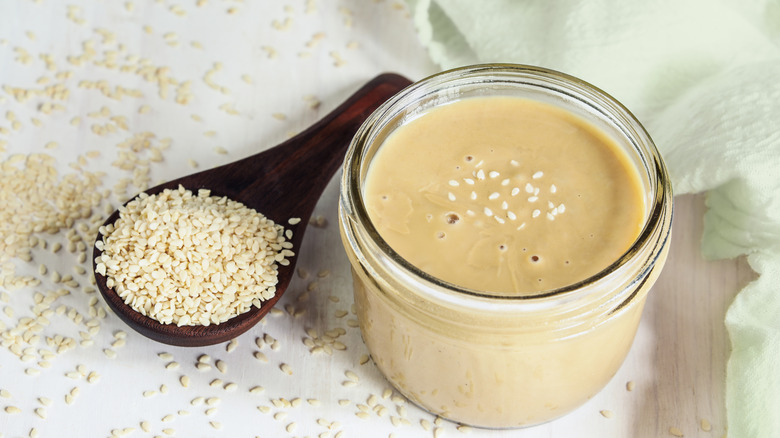
Over the years of teaching hummus-making classes, there's one mistake that's a repeat offender for many people. Either people have been led astray by inauthentic recipes or they thought they knew what went in hummus but forgot one essential ingredient: tahini. Think of it this way: Chickpeas are the base of hummus, but tahini is its flavor backbone. Tahini, a paste made from crushed sesame seeds, gives hummus that earthy nuttiness that we love so much. And it's absolutely crucial to making traditional hummus.
Now, since I grew up in a Middle Eastern household, tahini was a guaranteed pantry staple. However, if it's not as familiar to you, I recommend getting some and trying it in various applications. There are many unexpected ways to use tahini that might convince you to make sure you've always got some at home. Whether it's for hummus or any other use, you have to loosen tahini up with some water to make it a creamy and workable consistency — it's a tip for working with the ingredient that people often don't understand. Without doing that, it's hard to mix and work with since it has a gooey peanut butter-like texture in its natural state. When you add the water to it, it will seize up as you start mixing, but don't give up. It will soon emulsify and become a lovely, whipped texture. Make sure to do this before adding it to your chickpea mix in your food processor for a more seamless integration and a lighter texture.
Using undercooked chickpeas
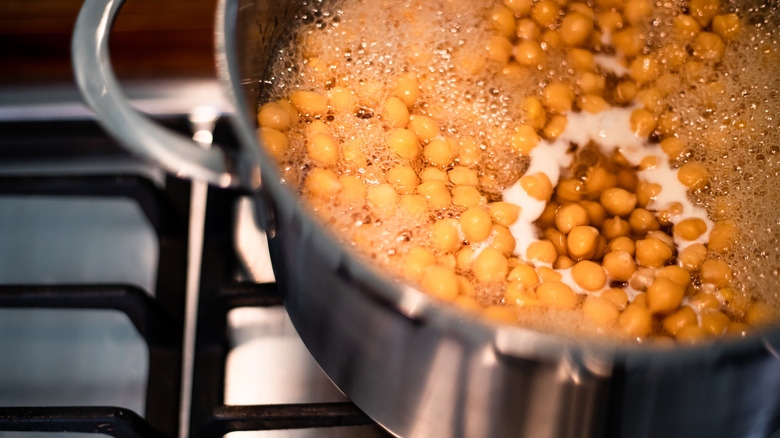
One sure way to ruin your hummus is by undercooking your chickpeas. If you've ever made hummus only for it to end up super grainy and full of chunky chickpeas that won't mash, undercooked chickpeas might be the culprit — despite following the steps to making it soft and fluffy. Perhaps you've done everything right, from using dried chickpeas to soaking them overnight, but then it feels like it takes a while to cook. Unfortunately, they take ages to soften. But you've come this far, so don't go and ruin it in the final hour by getting impatient and taking them off the heat too soon. Let them cook for as long as it takes to get them nice and soft. In fact, you're better off having overcooked chickpeas than undercooked ones any day.
It's hard to say exactly how long it takes chickpeas to fully cook, as it depends on the beans and how dry they are. However, in my experience, a long, slow boil of about two hours will do the trick if you've soaked them overnight. They should easily squish in your fingers, and the skins should release with no trouble. If they don't do this, keep cooking them until they do. The beans will soften eventually, and your hummus will be all the more creamy for it.
Leaving out the ice
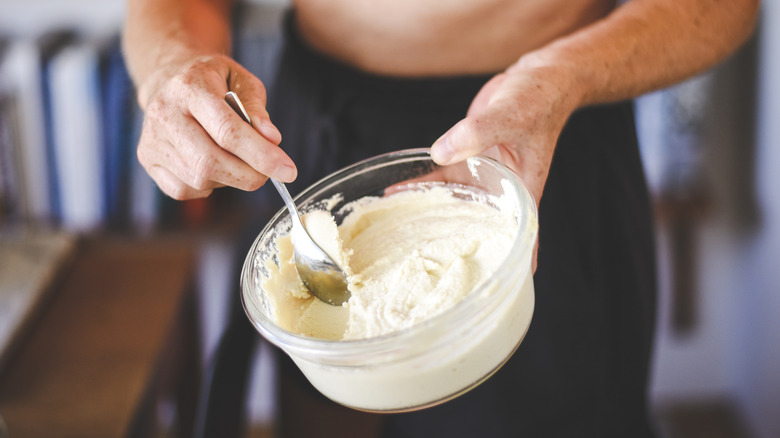
Many people struggle with getting the right consistency they want with hummus and end up with a dry or too chunky of a texture. This is because you're forgetting the ice cube tip that will amplify your hummus, a trick I learned later in life. But it's a game-changer because it helps smooth out the hummus without watering it down. Of course, you need some water at the beginning to make hummus, or your food processor might have a tough time working through the chickpeas — but adding too much water will thin out your hummus and make it bland.
The benefit of using ice cubes is that they have tiny air bubbles trapped inside them, and the fast motion of the blades will evenly disperse these air bubbles, helping to build volume and fluffiness. As another perk, the ice also helps to keep your hummus cold while it blends. There's a certain amount of heat that is created while the blades of your blender or food processor work, and this can be detrimental to the texture of your hummus, making it mushy or pasty.
If you're unsure how to add your ice cubes, add them at the end once you've already given everything a pulse so that it's all well combined and mashed into a uniform consistency. Then add one or two cubes at a time at the max and pulse. Your food processor will thank you for not overdoing it with too much solid ice at one time.
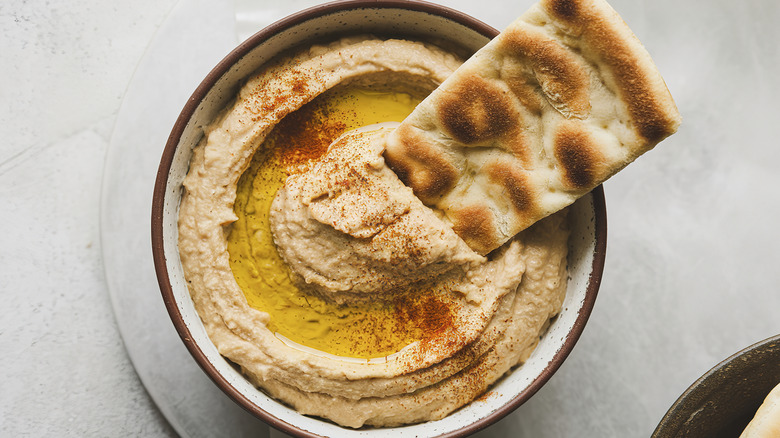
Adding the olive oil in your blender
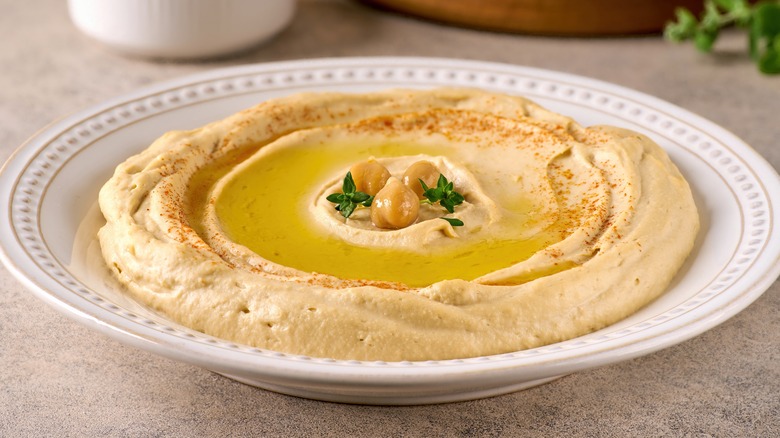
Unfortunately, there are too many recipes online that tell you to add olive oil to your blender or food processor along with your other hummus ingredients. This can be a big mistake as it can lead to a bitter-tasting hummus. Growing up, olive oil was essential for good hummus, but it was always drizzled on top just before serving. So, if you've ended up with bitter results, you should wait to add your olive oil at the end. The blades create heat that messes with the integrity of the olive oil when it's blended at a high speed.
I experienced this in many other recipes that say to blend your olive oil in things like salsa verde, chimichurri, and even when making homemade olive oil-based mayonnaise. With hummus, you don't need to mix in the olive oil while it's blending. Simply drizzle it on top of your hummus once you've placed it into a bowl or serving plate. You can even create a little well in your hummus so that your olive oil pools into it. This way, you'll get a generous glug of it with every bite of hummus.
Opting for less than good quality extra virgin olive oil
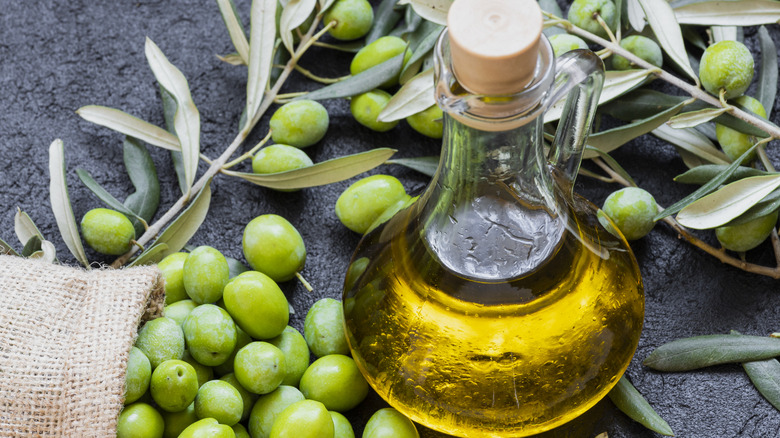
Now that we've established the importance of adding olive oil on top of your hummus and not into it while it's being made, we need to talk about the quality of the olive oil you use. With hummus, you're not using olive oil simply as an aesthetic thing or for its oily consistency. You're really using it for its flavor. A good hummus can be taken to the next level with the rich and fruity aromas of your olive oil.
This means you should opt for a good quality extra virgin olive oil. The better your olive oil tastes, the better your hummus will taste. These days, good quality olive oil is on the pricier side. It makes sense that we'd try to cut costs by using some more affordable varieties. However, I'd rather buy a smaller amount of olive oil than a mediocre one that's cheaper. You can use it sparingly, but you'll taste the difference in your next homemade hummus.
Leaving the skins on
There are endless debates about whether it's necessary to peel your chickpeas or if you can keep the skins on. It's a pain to peel each little chickpea skin, and if you're whipping up a quick hummus, it's the last thing you want to do. I'm here to be the bearer of bad news. Out of the hundreds or more times that I've made hummus, my hummus is better when I've peeled my chickpeas. Unfortunately, keeping the skins on makes your hummus rougher and chalky. If you're not too fussed about the texture, then perhaps you'll be fine with that. But removing them makes for a silky and smooth consistency that makes the effort worth it.
I usually put my cooked chickpeas in a bowl and make peeling them a communal affair with my family while we watch television. If I'm cooking alone or in more of a time crunch, there are other tricks to speeding up the peeling process. You can cover your cooked chickpeas with water and agitate them with your hands, shaking them gently until some of the skins release. They'll rise to the top of the water and float, making them easier to remove. This method doesn't remove all the skins, but it's better to remove some of them than not to remove any at all.
Using subpar quality or old tahini
Another secret to making great-tasting hummus is checking on the quality of the tahini you're using. Tahini isn't very forgiving when it's not good quality, so the texture can be gritty, and the taste can be pretty bitter, too. You're looking for tahini with silky, buttery consistency and a lovely rounded taste of nuttiness. Always taste your tahini first before adding it to your hummus mixture.
Other than just the quality, you should always check the expiry date of your tahini when you open your jar. It's easy to keep an old jar of tahini in your fridge for months, but old tahini can taste quite off-putting. Since you'll be using a generous amount of tahini in your hummus, make sure it's fresh and actually tastes good. There are so few ingredients in your hummus, which means there's nowhere to hide if you're using subpar quality ingredients, especially something like tahini that gives your hummus a lot of flavor.
Forgetting the acid
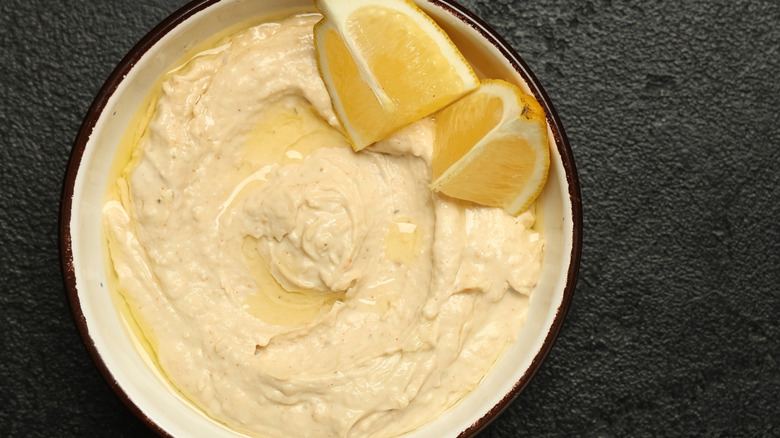
One thing that instantly lifts the flavor of hummus is adding lemon juice or vinegar. This acidic component is crucial to a delicious hummus. Many people don't realize just how important it is to add not only an acid but also a sufficient amount to make your hummus zing. As with many Middle Eastern dips, acid plays a huge role in making the flavor what it is, and it's no different with hummus. I would never use tahini without at least some lemon juice if I'm using it for something savory.
Sometimes, I mix my tahini with lemon juice first before mixing it in with the chickpeas. This helps the ingredients spread evenly for a more balanced flavor. I like to use a combination of lemon juice and vinegar to brighten up my hummus with sharpness, but if you're only going to use one, use lemon juice, as its fruitiness pairs well with the chickpeas and tahini.
Overpowering it with too much garlic
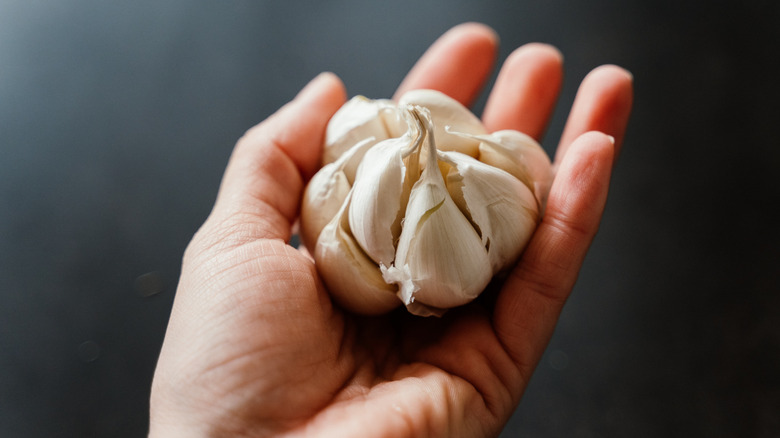
Adding garlic to hummus isn't the most common thing to do in Middle Eastern cooking. However, it doesn't mean you shouldn't add it to your hummus if you love the taste of it. We all know that garlic can be great in almost anything, so I'm not opposed to garlicky hummus. However, be careful not to add too much garlic, or it will completely overpower your dip. Hummus already has a subtle taste, and garlic can take over the whole flavor if you add too much.
Personally, I don't recommend adding raw garlic to your hummus because it's likely going to be too strong, even if you only add a small amount. In my experience, you can get the most out of garlic for hummus by roasting it to mellow out its potency. Roasting garlic also brings out its natural sweetness and a little butteriness that will complement your hummus beautifully. Plus, this way, the garlic will be softer and easy to mix into your dip.
Thinking that hummus doesn't need spices

A pretty common mistake people make is forgetting to season their hummus generously. Hummus can be tasty enough with just salt, but adding some spice can really take it to the next level. In my household, it would be unheard of to make hummus without cumin. Cumin is an integral spice in Middle Eastern cooking, and I can't think of one chickpea dish that doesn't have it. It intensifies the savoriness and brings out the earthy taste in your chickpeas even more.
There are plenty of other spices that work well with hummus, so don't despair if you're not a cumin fan. You can also use ingredients like paprika or even sumac to give your hummus a little extra something. These spices also add a speck of color to the beige dip, which has the double benefit of improving its appearance and taste at the same time.
Not giving it time in the fridge to set
If you have an urgent craving for hummus or you need to whip something up for last-minute guests, you're not going to like this one. However, if you have the time or forethought to make your hummus the night before, it will be miles better than a last-minute one. This simple step will make your homemade hummus more flavorful. It requires no extra effort on your part since your fridge will do the heavy lifting. After you've made your hummus, place it in the fridge overnight.
It doesn't need to "set" the way Jell-O does. But, the flavors of your hummus will get more familiar with each other and become one cohesive and intensified taste. Yes, making good hummus requires a lot of patience, what with soaking the hummus overnight, then cooking until completely soft, peeling the beans, and then setting the product in the fridge. If you get over the length of time it will take, you'll see that the active part isn't too much effort, and all will be rewarded with some delicious and velvety hummus.