13 Mistakes You Need To Avoid When Making Gravy
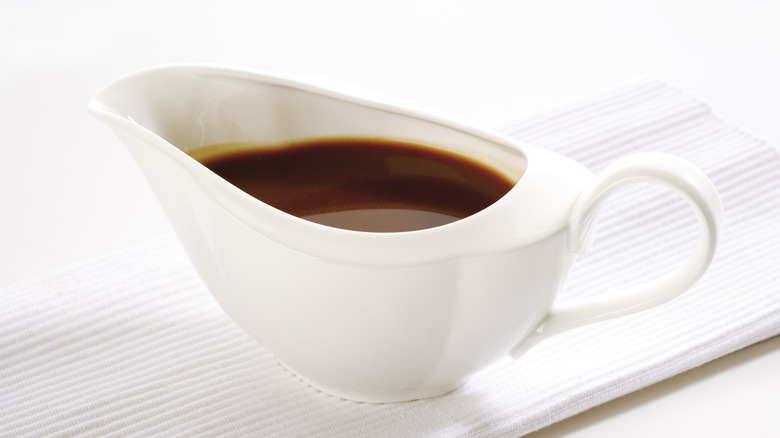
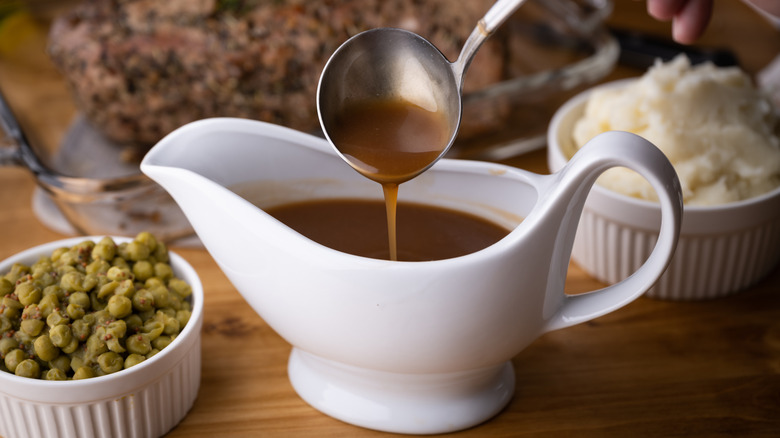
There's no doubt that a well-made gravy is at the heart of a roast. Drizzled over mashed potatoes, tender roasted meats, or alongside biscuits or fried chicken, a rich and velvety gravy has the capacity to turn a good meal into a great one. Though canned, boxed, and sachet mix varieties are all ready-to-use options you can buy, few things compare to the depth and nuance of homemade gravy.
However, as anyone who's ever tried to make gravy knows, it's not as easy as it sounds. A few wrong moves can leave you with a lumpy mess or a flat and underwhelming concoction. While mistakes can be frustrating and discouraging, don't let a failed attempt put you off homemade gravy. We've compiled some of the most common mistakes people make when preparing gravy so you can avoid a disastrous dinner in the future.
Whether it's your first time making homemade gravy or you're sick of repeated unfavorable results, this guide provides you what you need to know to ensure consistent success.
Using low-quality stock or broth
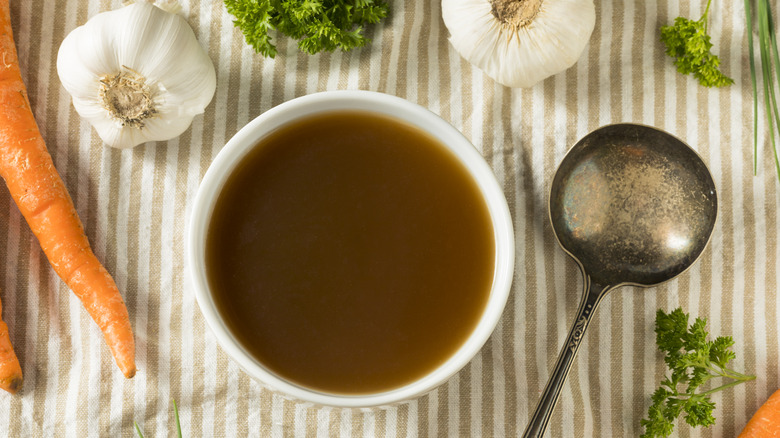
Your gravy will only ever be as good as the liquid that you are using, so if you're ending up with bland results, it might be time to re-evaluate the base of your gravy. Many store-bought stocks and broths are packed full of salt but lacking in dimension. Even if you pay close attention to the cooking process, use all the right seasonings, and nail the consistency, no amount of flavoring or thickening is going to magically make a weak base taste rich and complex. Our step-by-step guide to making a deeply flavorful stock will help you yield the best results. Simmering bones, vegetables, and aromatic herbs on gentle heat for an extended period of time allows for a rich base and thus next-level gravy.
Of course, it's not always convenient to whip up homemade stock every time you want to make a gravy. When opting for store-bought stock, choose a high-quality version. Opt for a make that isn't loaded with salt, since you can always adjust this later. It is much easier to add to your gravy to make it more savory than it is to reduce unpleasant levels of saltiness.
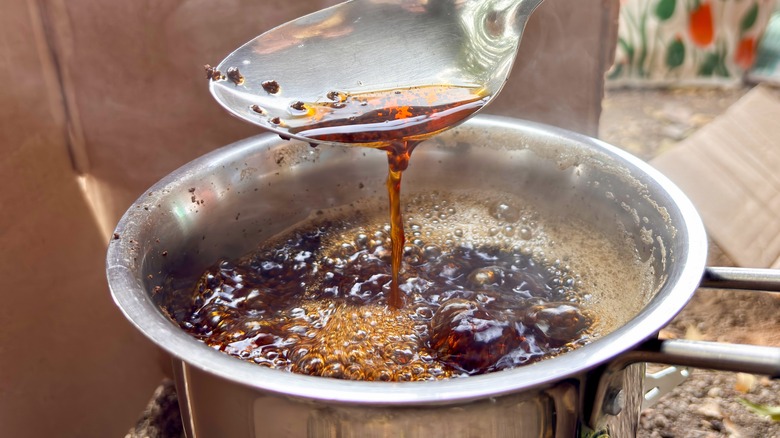
Overusing or underusing your pan drippings
Pan drippings are liquid gold. They are packed with intense flavor, incorporated from the juices and scraps from your roasted meat. Knowing just how much to add, however, can be tricky. It can be just as easy to overdo it on the pan drippings as it is to skimp.
If you don't use enough of your drippings, or omit them altogether, you're missing out on an opportunity to add authentic umami richness. You may think that the crispy bits collecting at the bottom of your roasting tray should be discarded, but they are, in fact, pure flavor. Don't just collect liquid juices, scrape up these tasty caramelized morsels, too, and mix them into your gravy.
On the flip side, overusing drippings can be detrimental to your gravy. Since the juices and pan drippings that run off your meat are mostly fat, adding too much of them can lead to greasy gravy with an unpleasant mouthfeel. Indeed, copious amounts of liquid fat will make things feel heavy, and you'll end up jeopardizing your silky smooth sauce, turning it into an oily mess. After collecting your drippings, let them sit for a minute so that you can skim off excess fat before adding them to your gravy.
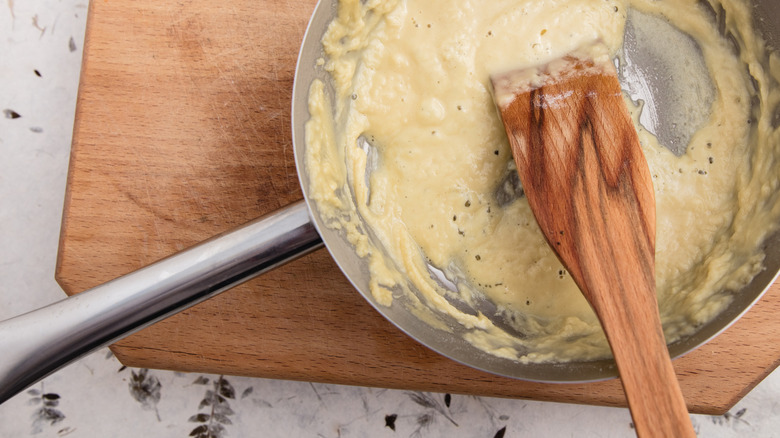
Skipping the roux
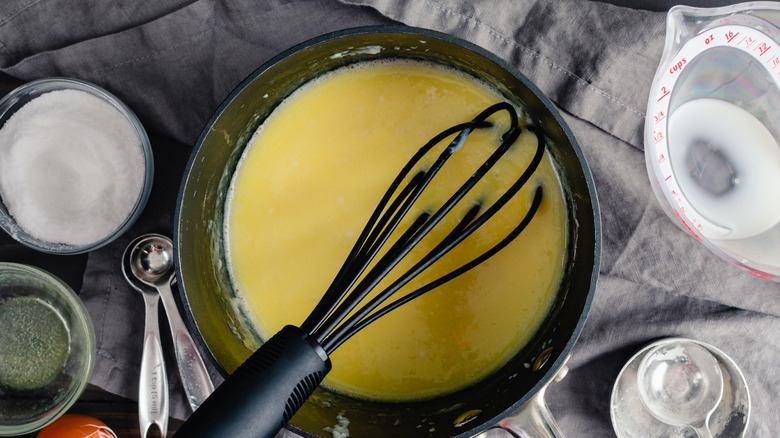
If you want to create a lump-free gravy, think twice before skipping the roux. It's crucial to combine the starch with a little fat to ensure a well-structured gravy and prevent last-minute attempted fixes like dumping in flour or cornstarch. A roux — a mix of fat and flour cooked together — is the perfect foundation for a delicious gravy. In addition to creating a smooth, perfectly thick texture, a roux also contributes to the overall flavor the of the gravy, imparting a slight nuttiness and reducing plain flour's raw, starchy taste, proving that its much more than a thickening agent.
If you'd rather save a little prep time when you make a gravy, consider making your roux in advance. You can cook a roux, let it cool, and then store it in an airtight container in the refrigerator or freezer to be used at a later date. It'll be good to use for up to six months in the refrigerator or a year in the freezer, so you'll be more than covered whenever you need to whip up a gravy but are under a time crunch.
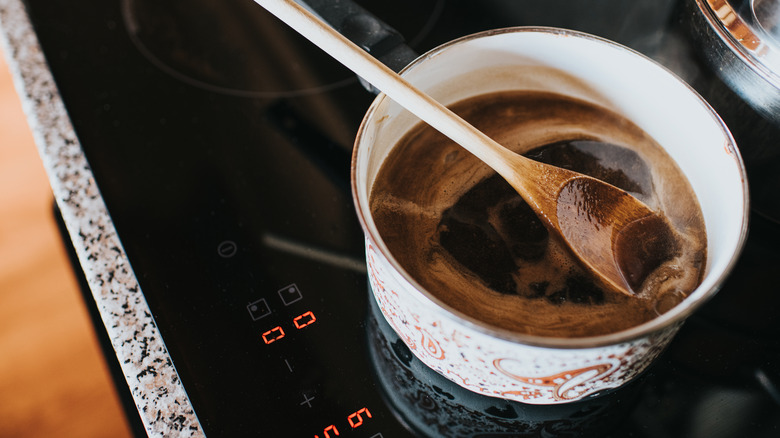
Overcooking or undercooking your roux
In theory, a roux is relatively simple to make; however, it can be tricky if you're not careful. An undercooked roux won't do its job properly, while an overcooked roux will taste bitter. How long you should cook roux really varies, so you'll need to pay attention to visual clues to help you know when it's time to take the mix off the heat.
To thicken gravy, you're aiming for a roux thats a light golden color. Although some dishes require a deep brown roux that is gently cooked for upwards of 30 minutes, the light roux you need for your gravy shouldn't take very long to cook at all, likely being ready to use in under five minutes. Another way to be sure your roux is ready is to check if you can still smell the flour as you come close. If there's no chalky, starchy scent lingering in the air above the pan, you're good to go.
Remember, too, that you'll want to continuously whisk your flour and fat until the mix changes color. Keeping things moving ensures that the roux doesn't burn or become lumpy, instead breaking everything down into a silky smooth paste.
Adding liquids too quickly
The last thing you want to do after nailing a perfectly smooth and silky golden roux is ruin it by dumping all of your stock or broth in at once. Too much liquid can overwhelm the roux, making it impossible to fully incorporate. As a result, you'll end up with an uneven texture and unwanted lumps. Instead, go for gradual incorporation, mixing constantly to ensure that the added liquid is being absorbed by the flour and is fully incorporated before you add more.
You may want to start by adding just a few spoonfuls of your liquid, whisking everything together until you get a thick, paste-like consistency before carefully and slowly adding the rest of your stock in small increments. This may mean you'll need a minute or two more to bring everything together, but this simple act of slowing down just a little can make a huge difference to your gravy's texture.
Not paying attention to the temperature of your liquids
Much like you'll want to consider the speed at which you add your ingredients to ensure a good gravy, you'll want to pay attention to the temperature of your ingredients. For great results, you'll want to add cool or room temperature broth or stock to a hot roux, so be sure to let your stock cool down before you add it and don't let your roux sit for too long and go cold. This method remains the safest way to ensure lump-free, uniform results.
While you can use hot liquid to make gravy with less stirring required, it does take some more attentiveness. This method is faster but calls for whisking continuously and employing a little more elbow grease.
Ultimately, both methods can work, but you'll need to adjust your mixing techniques and the speed at which you add the liquid to your roux depending on the temperature of your stock, so be sure to make these adjustments accordingly and don't treat hot and cold liquids the same.
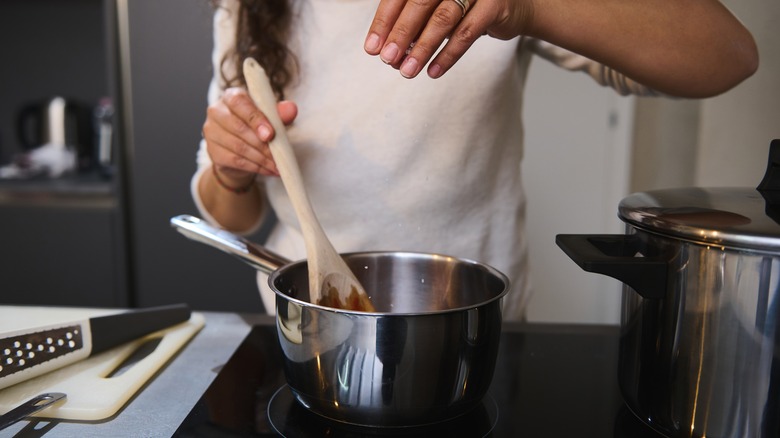
Not whisking frequently enough
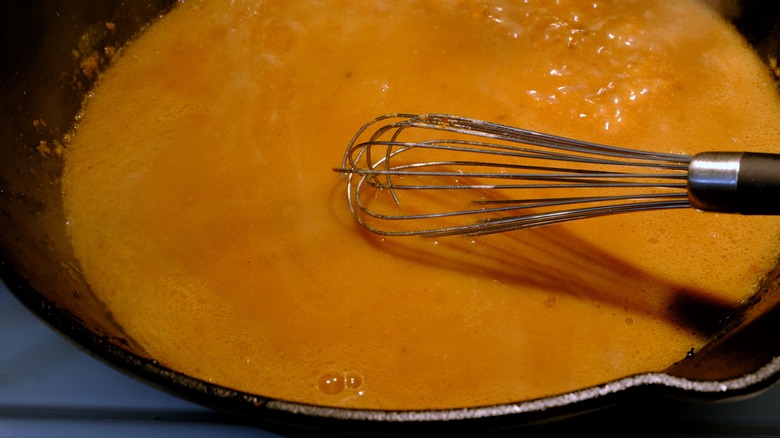
Stirring frequently is a crucial part of ensuring a successful gravy — its importance really cannot be understated. From ensuring that your roux comes together properly to helping liquids meld together as they should without lumps forming, consistent whisking is pretty much the only way to guarantee that your gravy comes out silky smooth. Even as you simmer the roux and stock together, you'll want to stay close by with your whisk in hand to ensure that nothing is sticking to the bottom of the pan. Stirring constantly may not be necessary, but frequent intervals of whisking will help to keep your gravy smooth and uniform.
Its also important to note that not all stirring tools will suffice when making gravy, so when we say "whisk," we really do mean whisk. Although some sauces can be stirred with a wooden spoon, gravy really needs the multiple wires of a whisk to help break up any clumps and secure that ideal velvety texture. Choosing the right type of whisk can also make your job easier, so its worth taking the time to ensure you are equipped with the best tool for the job. A flat whisk is great for making sure anything at the bottom of the pan is scraped up and incorporated back into the gravy, while a spiral whisk is particularly useful for making a roux.
Seasoning too early
As is the case with many steps when making gravy, patience is key. This is even true when adding seasonings. While it may be tempting to load up your gravy with your desired seasonings and a generous helping of salt before leaving it to simmer until serving, doing so can make for an unbalanced, irredeemable mess. Gravy reduces as it cooks, becoming more concentrated in flavor and consistency. This means that what tasted perfectly seasoned when you initially added your ingredients at the start of the cooking process may eventually taste overwhelming.
As such, you should wait until the gravy has reached its final form before making adjustments. Of course, you can still add a moderate amount of salt and aromatics at the beginning to allow these flavors to meld together as the gravy reduces, but be sure to leave the majority of your salting until you're almost ready to serve.
Using high heat
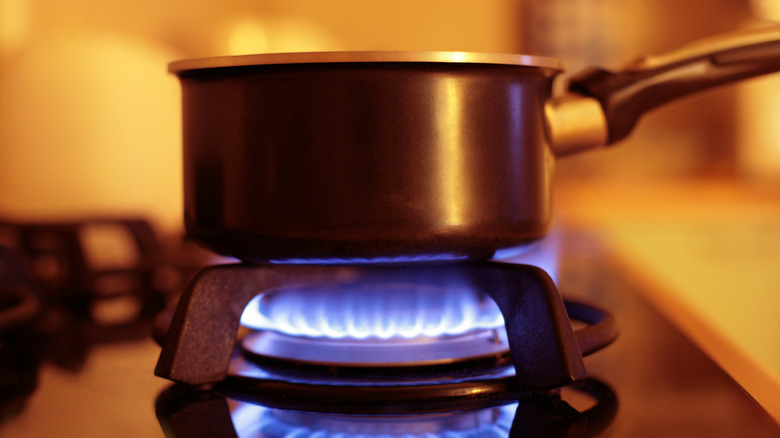
Like most great sauces, low and slow is the best approach for a nuanced, flavorful gravy. Although it may seem like something that can be whipped up relatively quickly, cranking the heat up in an attempt to get everything on the table in under 15 minutes is a quick route to disaster — at the very least leaving you with an underdeveloped and underwhelming gravy, and at worst giving you practically inedible, burnt sauce thats more reminiscent of a charcoal grill than a roast dinner. No one wants the taste of blackened turkey with their mashed potatoes, so be sure to exercise patience and control, avoiding cranking the heat up in a rush.
When making a roux, keep the heat on low to medium — anything higher and you risk burning the flour, creating an awful bitter taste. As you leave your combined starch and stock mix to simmer, be sure that its doing so gently. Excessive bubbling or boiling could cause the gravy to reduce far too quickly, making it overly thick or giving it an unpleasant scorched taste. Allow everything to come together and reduce gradually.
If you know your time is somewhat limited, you can reduce the amount of liquid at the start of the process. With less volume, your gravy will reduce more quickly, without the need for intensely high heats to speed things up.
Ignoring the need for umami boosters
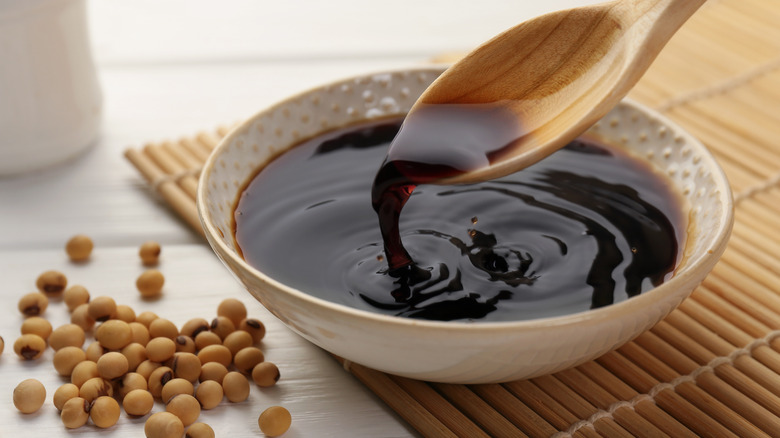
If you've used homemade or high-quality store-bought broth, perfected your roux, and reduced everything until its velvety smooth and wonderfully thick, but your gravy still tastes a little flat, you might need the help of some key additions. Sometimes, even when you've done everything right, gravy can taste as if its just missing that little something. An extra pinch of salt will sometimes suffice, but you could be missing out if you don't add some tried and tested umami-boosting ingredients for that extra oomph.
Adding rich and savory sauces like soy, oyster, or even Worcestershire sauce — the secret ingredient that gives sausage gravy its boost – to the mix, adds nuance and dimension without disrupting the texture or shrouding any pre-existing flavors. Nutritional yeast (a umami bomb for thickening vegan gravy), miso paste, or even a spoonful of the controversial yet arguably perfectly suitable beefy Marmite spread, also serve as excellent options for that final flourish to give your gravy the bold quality it deserves.
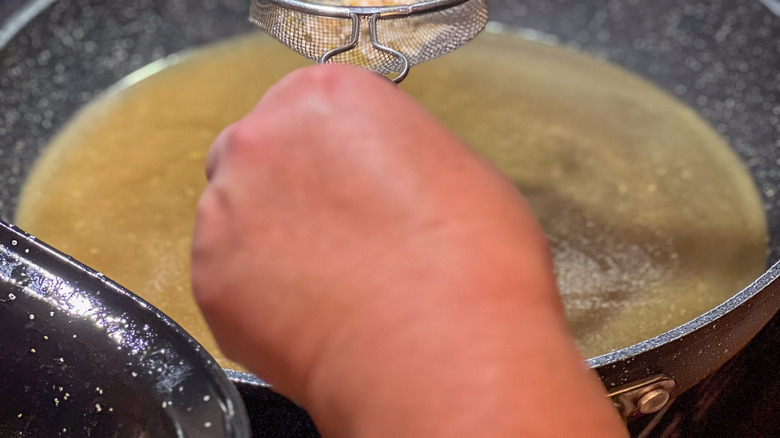
Forgetting to strain your gravy
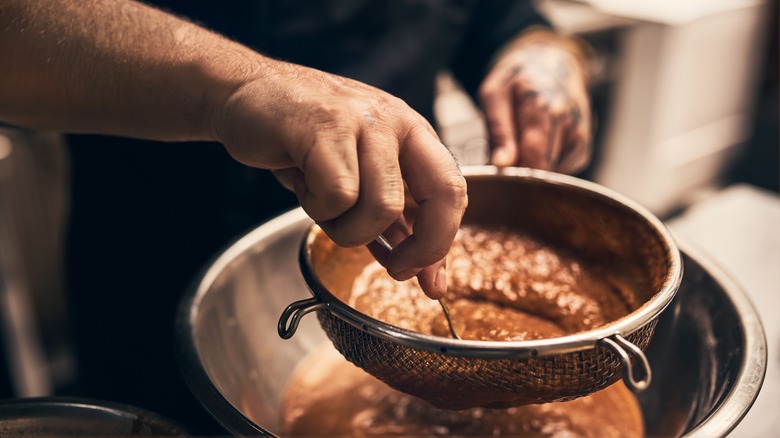
When taking a spoonful from the top or middle of your pan, you may think that your gravy is perfectly smooth and silky, but skipping the straining can leave you with an unpleasant gritty texture or unexpected lumps. Even if you have been exceptionally careful and attentive when whisking, there's still a chance that small morsels of flour, drippings, or coarse herbs didn't fully dissipate, especially those that were stuck to the bottom of the pan. A quick pass through a sieve or strainer is a surefire way to ensure that any of these lumps are removed before serving, leaving you with professional-grade silky smooth and uniform gravy.
Of course, if you prefer a chunkier gravy with a little more texture, you can choose to omit this step, but it's worth considering if you've been cooking with fresh aromatics, gristly scrapings from your roasting tray, or roughly chopped ingredients. An unexpected crunch or chew mid-meal can be quite off-putting for even those who are fond of a more rustic consistency, so play it safe — it's worth the extra minute or two it takes.
Not letting the gravy cool
You may think that serving your gravy straight off the stove, piping hot, is the best way to ensure maximum flavor. However, not giving your gravy the chance to cool is a mistake that could contribute to a greasy, oily consistency and unpleasant mouthfeel. Indeed, as gravy cools down, any fat will float to the top, where it can then easily be seen and scooped off with a spoon. As a result, you'll be left with a lighter, more balanced texture and a gravy whose rich, meaty flavors shine through, not its oils or grease.
There's no need to leave your pan on the side for hours, though. All you have to do is let your gravy rest for a few minutes off of the heat to give the fat a chance to rise to the top. Once you've skimmed it off, you can pop the pan back on the stove top and gently reheat it until its time to serve.
Not making enough
An all-too-common mistake, and one that most of us are likely familiar with, is simply not making enough gravy. With a full saucepan, you might think you've got more than you need, only to find everyone scraping the bottom of the gravy boat long before they've finished their meals. When made well, there truly is no such thing as too much gravy, so it's better to err on the side of caution and make more than you think will be necessary to ensure there's plenty to go around multiple times. And if you do happen to end up with leftovers, there are plenty of ways to put excess gravy to good use.
In addition to using it throughout the week as a tasty accompaniment to dinnertime meats and veggies, you can use gravy in unexpected ways to give your meals an instant upgrade. Amp up the richness of soups with a little leftover gravy, or add a few spoonfuls to mac and cheese for an even more comforting indulgence.