13 Clever Tips For Organizing Your Baking Supplies
We may receive a commission on purchases made from links.
If you've ever struggled with a cluttered pantry full of baking supplies, you're not alone. It's only natural for bakers to amass a huge amount of tools, some of which you may never use again (we see you, egg separator). If you're not sure how to store your pile of cake tins or collection of candy thermometers, there's a solution for you — and you may just need a few simple organizational tips to keep your baking supplies clutter-free.
As an avid baker myself, I know the pain of dealing with kitchen clutter. After all, nothing takes the joy out of baking faster than a disorganized utensil drawer or messy shelf. Thankfully, having worked as an interior design writer and organizing pro for several years, I've also collected a number of useful organizational hacks (along with baking dishes).
I've compiled a list of my favorite ways to organize the most common baking essentials and the spaces they live in. Whether you want to tackle a messy pantry head on or just looking for better ways to store your baking sheets, here are some important tips to remember when organizing your baking supplies.
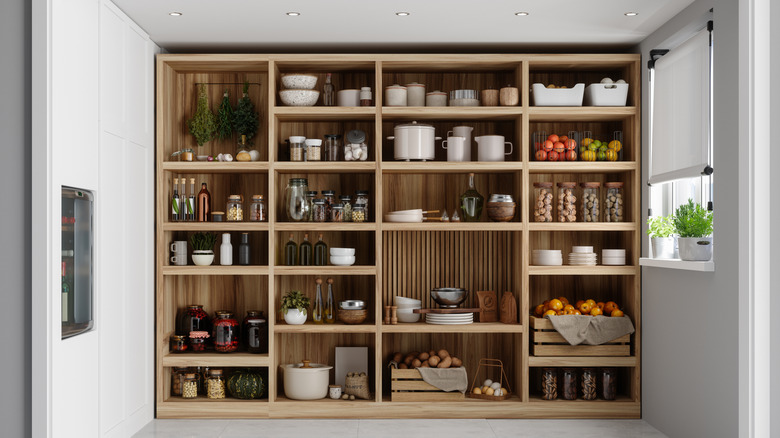
Use clear containers to store baking ingredients
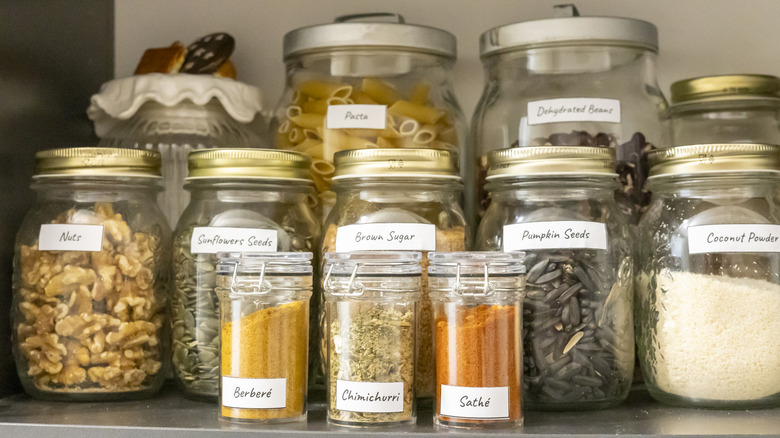
Clear containers may have become bit of a trend on social media, but there's a good reason for that. For one thing, storing and organizing items in clear containers makes it easier to see what you're working with. Clear containers also often offer a single shape to work with, simplifying the organization process, and making it easier to match containers that are the same size and shape in your pantry.
Furthermore, I'd recommend labeling containers as you sort your baking ingredients. Clear containers can cause easy mix-ups — like thinking flour is actually powdered sugar. If you have to taste everything before you use it to bake, that kind of defeats the purpose of having an organized pantry in the first place, so consider labels of some sort. Be sure to use containers with airtight seals, as well, to help reduce the risk of bugs or vermin accessing your pantry ingredients.
Use dry erase markers for labeling things
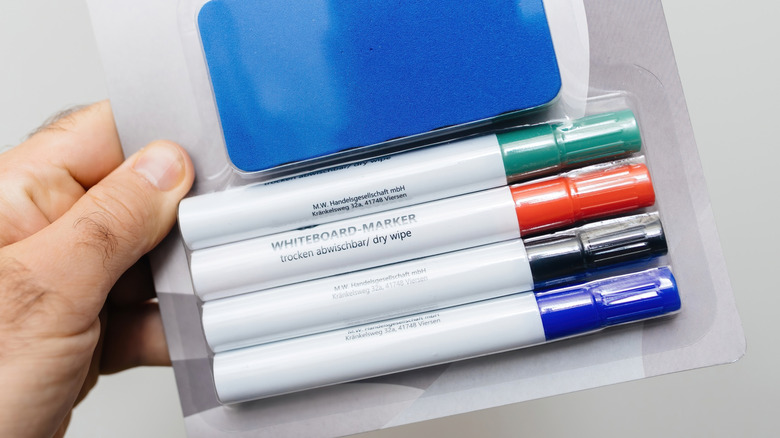
After you've switched all of your ingredients over to clear containers, you may be wondering what's the best way to label them. You can write names on a piece paper and tape it onto the container, of course, or use a label maker to print specific labels for each item. But my personal favorite option involves labeling necessary items with a dry erase marker. Dry erase markers aren't just well-suited for labeling containers of all types in your pantry; they're great for writing anything on an item that you want to make sure to remember.
Have milk in the fridge that expires seven days after you opened it? Write down the new expiry date on the carton the first time you pop the lid. Similarly, if you have a bag of brown sugar that you don't want to crystalize, you can write the date you opened it on that, too, to keep track. Dry erase markers are a convenient way to re-label containers as needed, too, particularly if you're frequently swapping out the ingredients.
Be sure to clearly label anything that has allergens
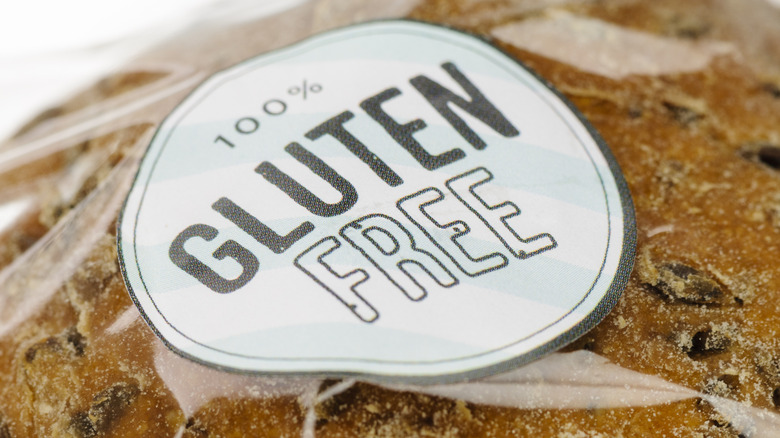
If you live in a household with someone who has a particular food allergy, make sure you take that into consideration when you're organizing your baking supplies. Unfortunately, this is something many people forget to think about. But even if you only occasionally bake for a friend who's allergic to nuts, for instance, it's worth organizing your baking supplies in a way that prevents cross-contamination.
One way to do this is by keeping separate, allergen-free containers for commonly-used ingredients. Let's say you're baking for someone who can't eat gluten, and you reach for the butter. If it has breadcrumbs on it, or there's a knife in it that previously touched bread, it's unsafe to use. The same goes for all items that could potentially be affected by a cross-contamination — even ones you don't usually think about. Did you use a measuring cup for flour, dump everything into your baking bowl, and then double back for a cup of sugar? Your container of sugar now has gluten particles in it, meaning it's a no-go for a gluten-free individual.
In fact, when working with serious allergens, it's always best to have a separate set of baking supplies. This includes sugar, flour, butter, milk, and any other ingredient that's frequently used (like jams or nut butters). It doesn't typically cost much to reserve these kinds of baking supplies, and will help ensure you're keeping everyone safe when baking.
Frequently check your old bottles and boxes

If you don't have every single item in your pantry stored in an airtight container (let's be honest, who does?), you'll need to check in on it every once in a while. It's a known fact that, as a home baker, you might go a while without using certain ingredients. Over time, however, bottles can start to leak and stick to shelves; you might even notice a few holes in your old baking boxes. Consistently performing a thorough check of your pantry will prevent you from finding any spills or leaks before it's too late to save your pantry shelves.
Regularly checking your baking supplies and replacing any containers that show signs of breakage (or are just straight up expired) will save you from any future baking disasters. There's nothing worse than thinking you have all the ingredients you need for your recipe, only to find out that one of your ingredients leaked or went bad while you weren't looking.
Use pot lid holders to store baking sheets
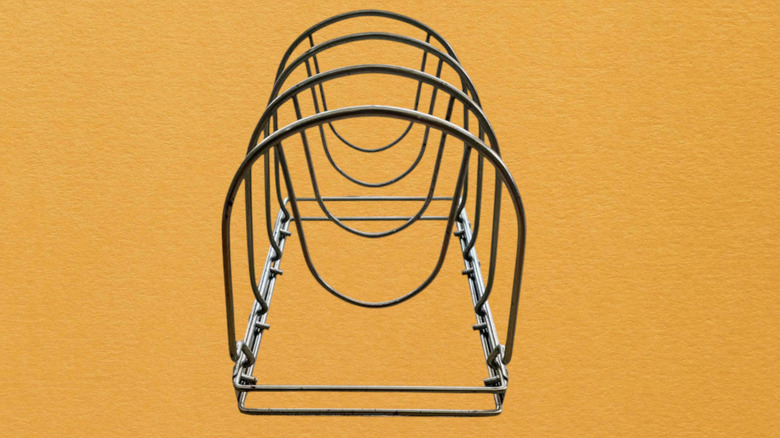
If you don't have a designated cupboard for baking sheets, you might find it difficult to organize all of them. Without a shelf to comfortably fit baking sheets, your storage options may end up causing you to struggle to pull the right sheet out of a huge stack. Enter one of the most useful organizational tools for your baking supplies: pot lid holders. These small metal holders feature wood or metal racks that are designed to help your lids stand straight up for easy storage, and they work perfectly to hold your baking sheets, too.
To utilize this tip, simply slide your sheets into the pot lid holder — organizing them from smallest to largest will help you access them more easily, as well — and pop the whole thing into a cupboard or onto a pantry shelf. You can store your sheets horizontally or vertically with any pot lid holder, making this method versatile enough to fit virtually any sized shelf.
You can even find pot lid holders that clip onto cupboard doors so you can hang your baking sheets, allowing for extra storage space — as long as they aren't too large, of course. Either way, it'll make it simpler when considering using a baking sheet before making cookies.
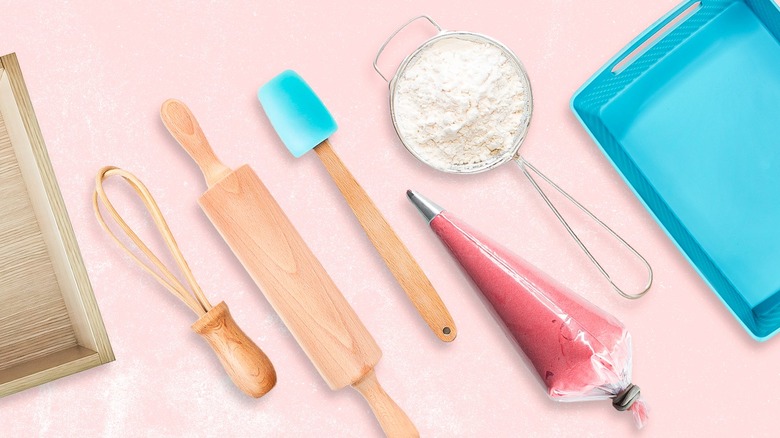
You can hang your rolling pins
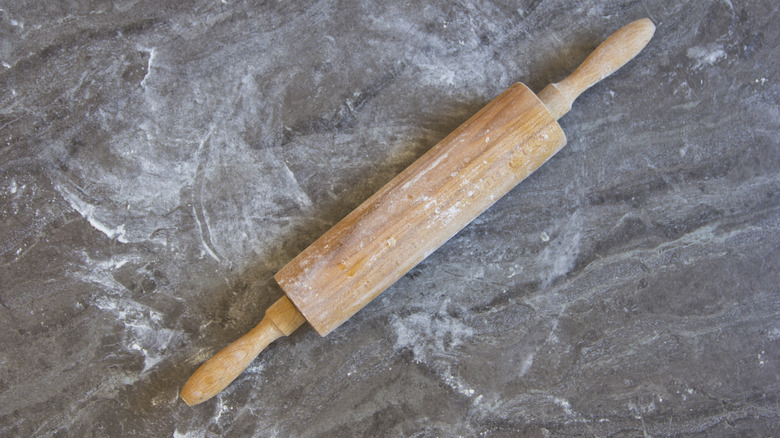
One of the most awkward baking tools to store is a rolling pin. Many drawers just aren't large enough to fit one unless you shove it in diagonally, which leaves little room for other items. Meanwhile, leaving it on the counter or loose in a drawer causes it to, well, roll around. Given this, the best way to store your rolling pin by far is by mounting it on the wall or placing it in a stand.
Now, since hanging a rolling pin by the end can look a little awkward, what you're really searching for is a designated rolling pin storage stand. One type of stand can be mounted on the wall via suction or screws, with a minimalist set of wire or wooden hooks that your rolling pin can rest on. Another type of rolling pin stand simply sits on the counter, though it provides a small hollow for your rolling pin to nestle into.
Regardless of which type you go for, your rolling pin will be easy to access with a stand. This will prevent it from rolling around, while adding a little bit of cozy charm to your kitchen wall or countertop. You can place the baking tool stand on a pantry shelf, in your cupboard, or on your counter.
Use containers to store like items together
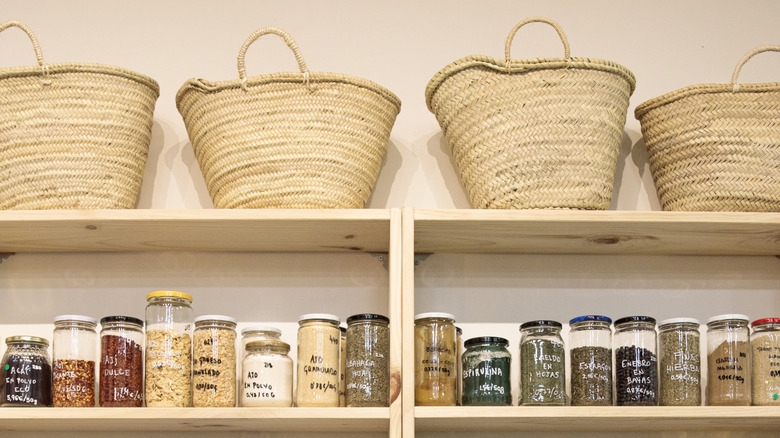
As a baker, you probably have a pantry full of ingredients that are perfect for quickly whipping up a cake, creating a fragrant frosting, or rolling out a pie crust. With that in mind, the best way to organize your ingredients is by storing like items together. While I prefer to use clear containers to organize all of these items, woven baskets or wooden trays are both viable options, too (as long as they're not too difficult to clean, that is).
Not only will you know exactly where to look for your baking supplies when they're organized this way, but they'll be much easier to see and access, as well; you won't accidentally hide your tiny bottle of vanilla extract behind a bulk bag of flour, after all. For example, you can organize all of your extracts and oils in one container, while popping your dry ingredients — like flour, sugar, and baking powder — into another.
Since these baking items are typically tucked into a cupboard or placed on a pantry shelf, you should opt for form over function when choosing a container. Metal and plastic containers will typically be the easiest to clean (nobody wants to deal with a flour spill in a fabric organizer bin), while wicker and woven baskets are typically best for storing bagged items, smaller appliances, and baking accessories.
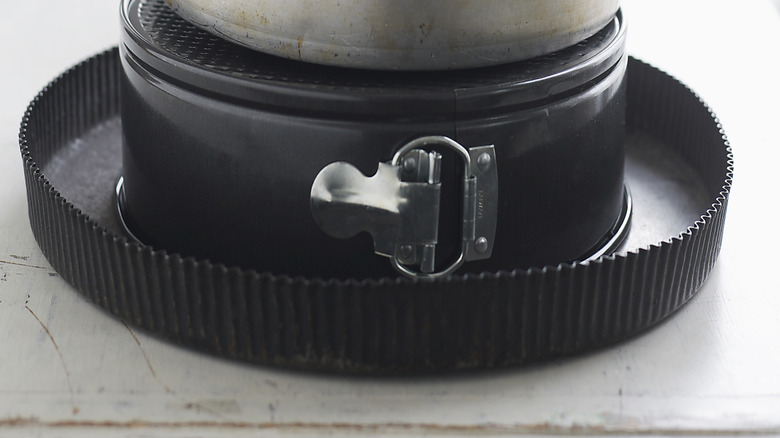
Organize your kitchen by how often you use each item
If you're a hobby baker, you might find there's not enough space to store every single one of your baking supplies in the kitchen. After all, bakers often amass dozens of different tools over time, including cookie cutters, fruit peelers, and endless piping tips (to name a few). With that in mind, be sure to take stock of your most commonly used items and keep them close by; that way, they're on hand when you decide to bake.
Now, this typically includes items such as mixing bowls, measuring cups, spatulas, spoons, and baking sheets. Once you've established which baking supplies you use most often, you can then take a look at the things you don't use quite as much. This may includes items you use once a week or less (think pie dishes or cake tins), meaning they can be stored in a cupboard or pantry area that's not as easily accessible.
Lastly, consider the baking stuff that almost never comes out (like jelly molds, Bundt pans, or seasonal cookie cutters) and store them wherever they'll be both most organized and least bothersome. While the items you regularly use or don't use will vary from person to person, organizing in this manner means less-used items can go into storage boxes, hall closets, pantries, or the back of cupboards.
Bag or box small items
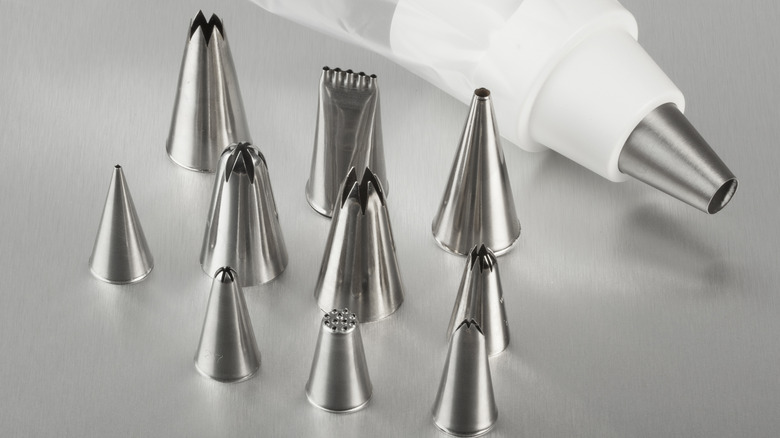
Certain types of baking supplies can be difficult to organize, meaning you've likely got plenty of loose piping tips, cookie cutters, and other random baking supplies lying around. Of course, if you open up one of your kitchen drawers only to hear the clattering of countless loose items rolling around, you're doing something wrong. To alleviate this issue, items like these should be bagged or put into a small box before they're officially organized.
The best option is to use the actual box provided for storing these items; for example, piping tip sets often come with box organizers for each piping tip. No matter your choice, bagging or boxing the items before putting them into a separate drawer or container will make sure that small, loose baking items aren't just sliding around everywhere.
Additionally, be sure to label the bag or box you use before tucking it away. These items can all be gathered together into one bigger storage container (like a clear organizer) or left alone in your drawers. Regardless, doing this will at least make sure any similar baking supplies can be found at once when you need them.
Line up boxes of the same item on your cupboard shelves
If you're like me, then you have a couple of the exact same box mixes on hand just in case you need to whip up a sweet treat super fast. Then again, perhaps you're the type who likes to hoard baking supplies, so you've got multiple bags of flour, sugar, and a pantry full of canned fruit (just in case). Unsurprisingly, keeping so many baking supplies on hand so they're easily accessible can make your pantry feel cluttered. To combat this, make sure you're placing each repeat item in a line behind each other on the shelf.
To be perfectly clear, I mean placing them exactly like you'd see items on grocery store shelves. From the top down, you'll be able to see precisely how many of each item you have in stock (so to speak). More than that, you'll be able to clearly see every item in your pantry. So when you pull your last bag of flour to the front of your pantry shelf, you'll know it's time to go get more.
Organize your most commonly used cooking utensils
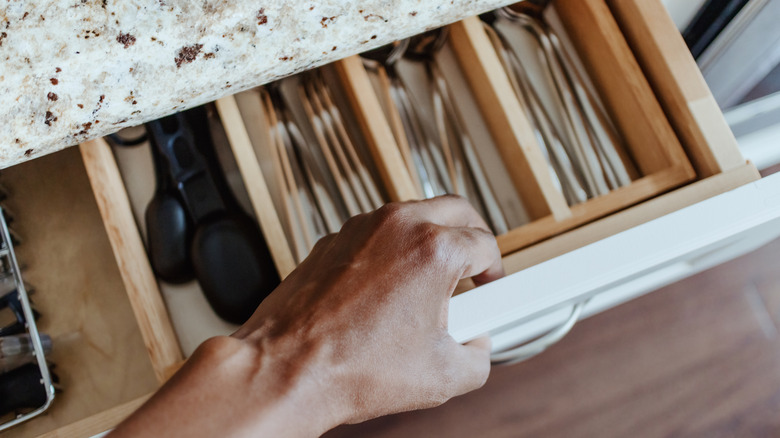
Spatulas and whisks can be stored hanging up or in a jar on the counter. If you've got a lot of counter space, storing them in a designated jar can be one of the more stylish organizational options. This method also allows you to see all of your cooking utensils at once, which ensures all of your utensils are easy to access while you bake.
If you prefer to have your tools tucked away when not in use, then a drawer organizer is the way to go. I would personally recommend only storing your absolute most used baking utensils (such as a single spatula, wooden spoon, and whisk) inside of a drawer organizer, so that your kitchen drawers don't get clogged up with cooking tools you rarely use. Keep your less-used cooking utensils in a back cupboard or in your pantry to give yourself more space in your drawers.
Organize your spice rack with labels
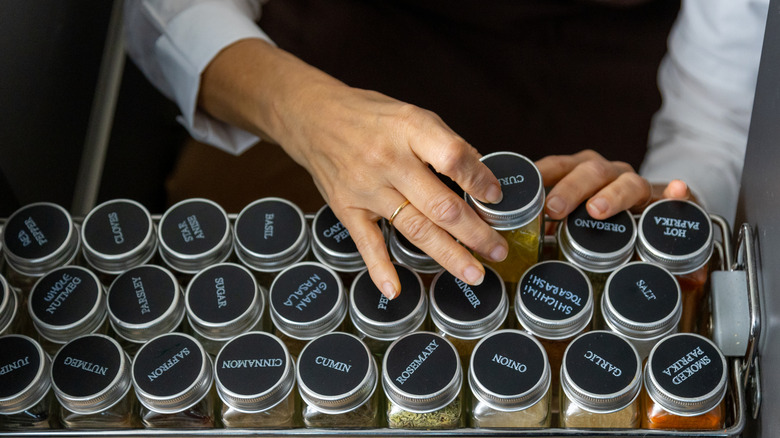
Tackling your spice rack can feel like a major chore, but it doesn't have to be. A cupboard spice rack is a simple (and often very budget-friendly) purchase to help you keep all of your spices visible and organized. If you don't already have a dedicated cupboard spice rack, you might want to transform one of your kitchen drawers into a tilted spice rack instead, and use labels to keep track. This clever tip will undoubtedly save a lot of cupboard space for anyone with a large spice collection.
Drawer-friendly spice racks also helps you store all of your spices lying down, meaning it's easy to see what you have since the containers won't slide around. Of course, before you start organizing your spices, make sure both the top (on the cap) and the front of each spice jar is labeled. This way, no matter the kind of rack you use, the labels will be easy to see.
You can also add a label on each jar with the date you purchased it if you prefer. After all, contrary to what you might think, spices do expire. They lose their fragrance and power over time, which can cause your baking to go from perfect to flavorless.
Don't leave your measuring cups lying around
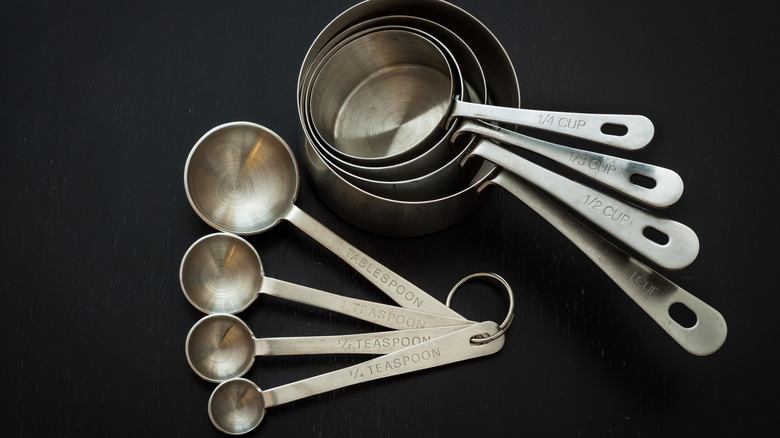
There are a couple of ways you can organize your measuring cups. With that in mind, I personally prefer buying the type of measuring cups (and spoons) that can be stacked within one another. After all, you simply need to stack them from largest to smallest until you have a nest of measuring cups, which is generally possible with all measuring cups that don't have awkward handles. These types of measuring cups and spoons also take up less space in your drawer, while helping prevent your cups from sliding around, as well.
If you prefer, you can also purchase measuring cups that come with an organizational hanging ring. These rings will keep all of your measuring cups and spoons stored together, while also giving you an easy way to hang them up. I'd recommend hanging measuring cups of this type on your wall or backsplash rather than the oven or dishwasher handle, since frequent movement could cause them to fall, potentially damaging your measuring cups (or the floor).